Installing the apron extensions

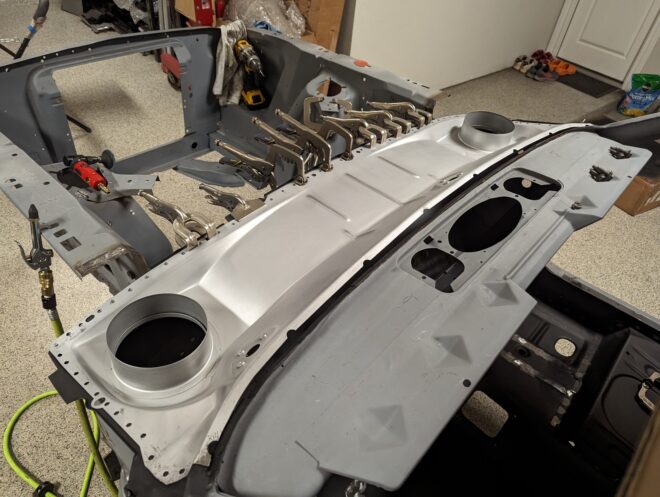
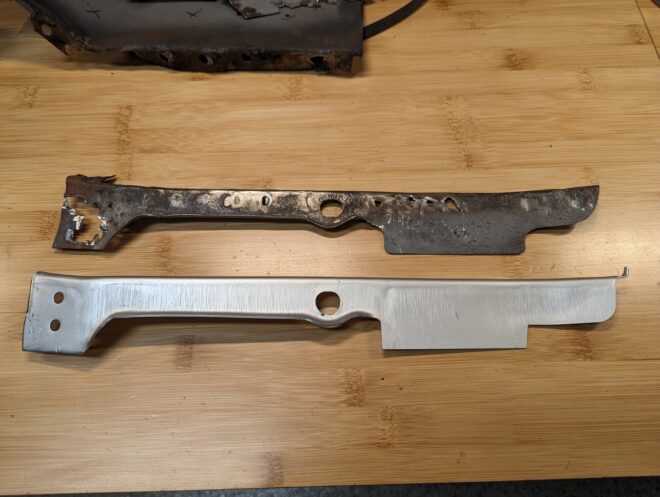
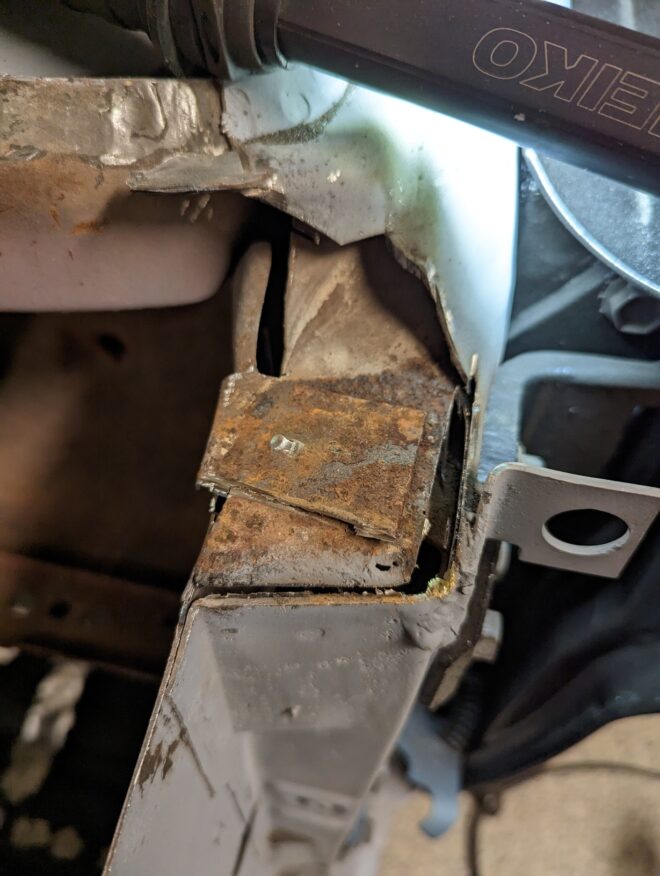
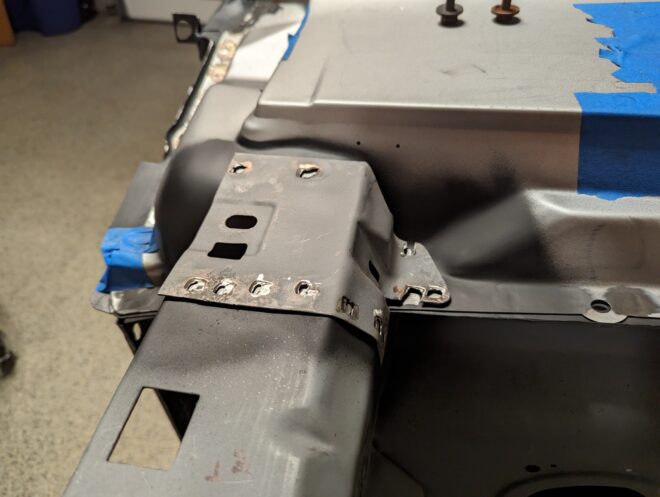
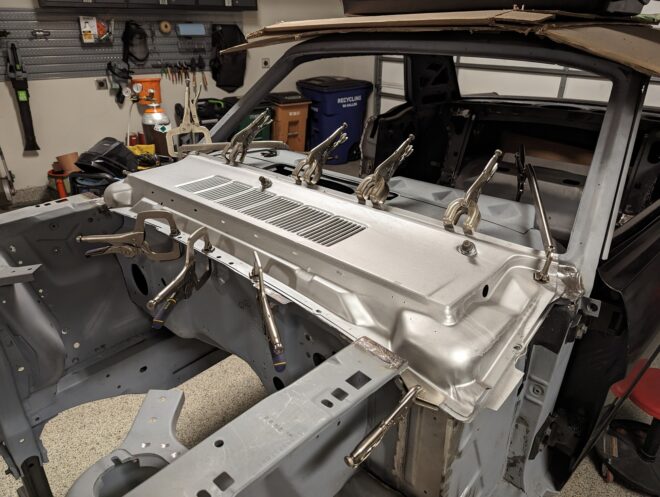
With the cowl complete I was able to reinstall the apron extensions that tie the top of the engine bay aprons to the top of the cowl. I had ordered replacements for these since they weren’t expensive, but after test fitting the reproductions against the originals I decided to clean up and reuse the originals. […]
Continue reading

Installing the upper cowl

After grinding down the welds on the lower cowl and drilling out all the holes for the spot welds on the upper cowl I mocked everything up again, paying specific attention to where the upper cowl mates with the dash panel to form the base of the windshield frame. Some minor adjustments were necessary along […]

Continue reading

Installing the lower cowl

The first order of business was to mock up the entire cowl and install the wiper motor assembly to ensure that everything was lining up as expected. It appeared that the front of the upper cowl wanted to sit back a fraction of an inch further on the driver’s side than it did on the […]

Continue reading

Painting the back of the dash

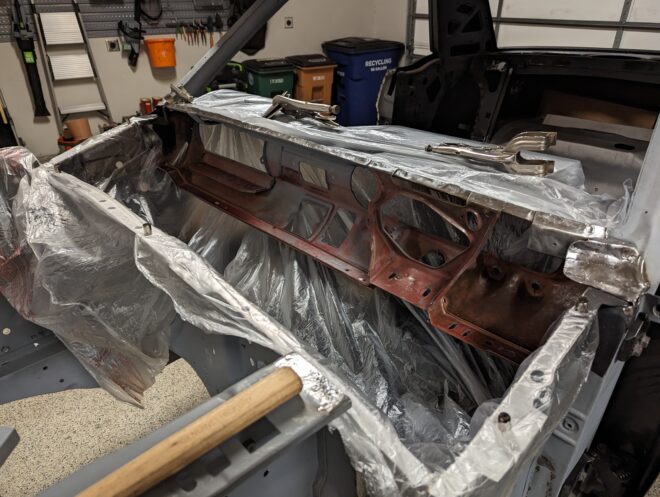
Before installing the new cowl I decided that I should go ahead and repaint the back of the dash while I had access to it. I started by roughing up the various surfaces and cleaning out as much of the surface rust and grime as possible. After masking everything off I sprayed rust encapsulator as […]

Continue reading

Patching passenger’s side upper firewall, A pillar

The passenger side went must as the driver’s side did, albeit slightly faster since I knew what I was getting myself into. I started with the top flange of the firewall where the export brace bolts to. There was a lot of pitting and some holes from where spot welds ripped out rather than separating […]

Continue reading

Test fitting the rear seats

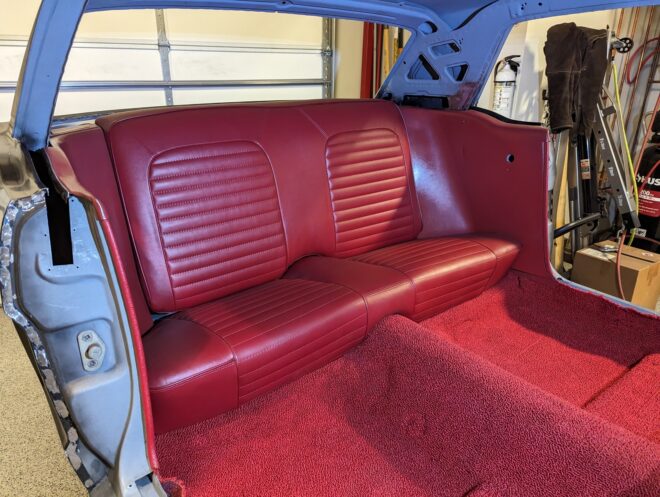
With the rear seat support brackets reinstalled there were only a couple small brackets preventing the back half of the interior from being able to be installed. The first set of brackets to install were the rear seat retaining brackets. Thankfully I took pretty good measurements before removing the original floor so locating them properly […]

Continue reading

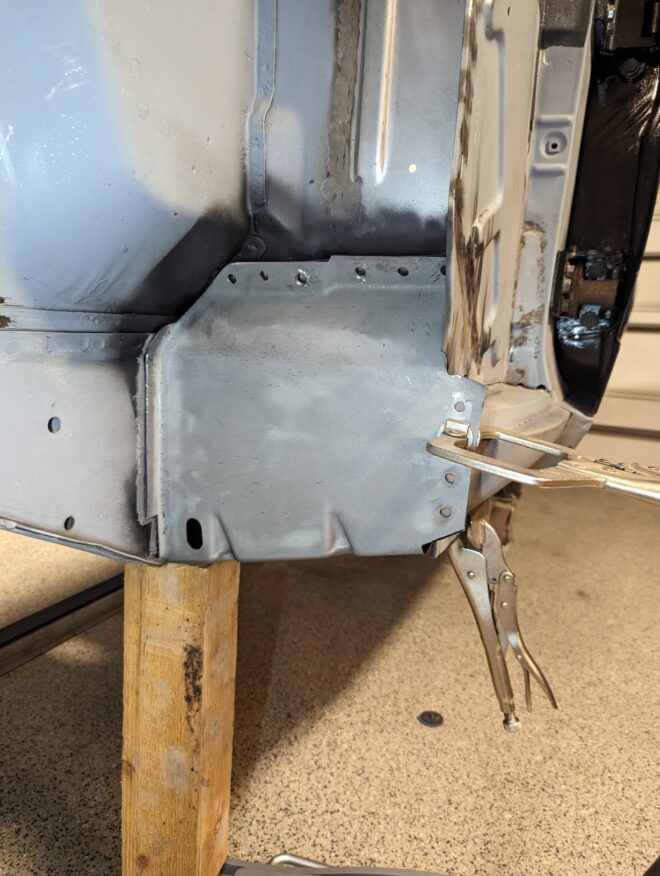
Installing the driver’s side torque box

At the recommendation of seemingly everyone online I decided to add front torque boxes while I was in there. I ordered one piece boxes but immediately realized I was going to need to separate the pieces to have any chance at a successful install. While working on patching the driver’s side of the firewall I […]

Continue reading

Laser cut patch for package shelf

The package shelf was pretty clean save for the mounting flange to the driver’s side C pillar which was permeated with rust damage. The first trick was to get the flange separated and cut off the package shelf. This was an exceptionally awkward area to be working in due to the proximity with the wheel […]

Continue reading

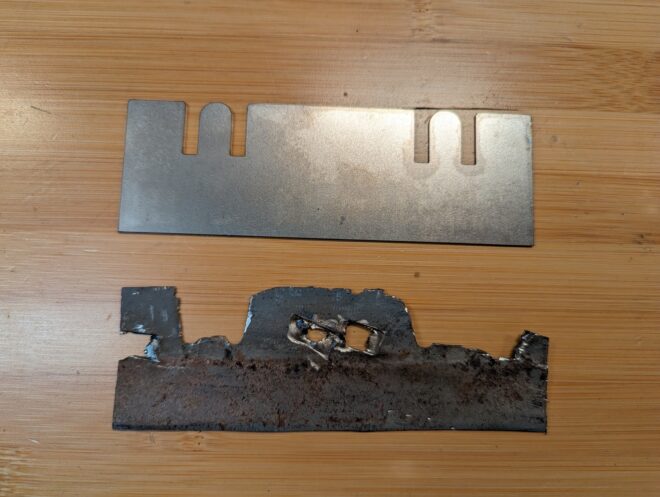
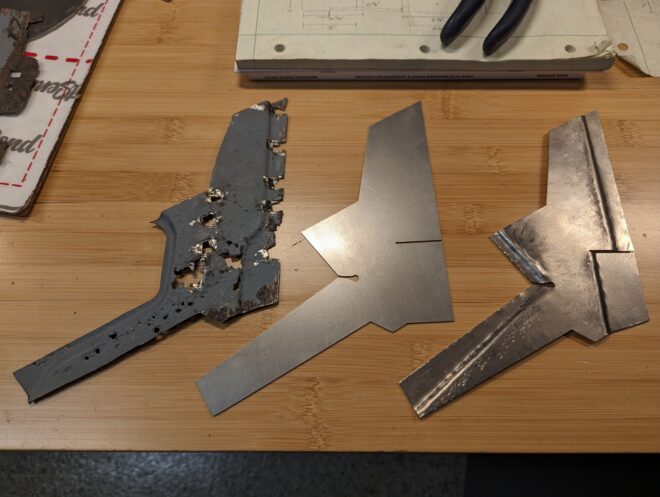
Laser cut patch for C pillar

The majority of the car’s core structure was solid, unfortunately the primary exception was a section on the inside of the driver’s side C pillar. A highly awkward area that isn’t reproduced, I had no good options other than reproducing the part somehow. Due to the mildly complex curves on the flanges I knew I […]

Continue reading

Patching driver’s side upper firewall, A pillar

With the cowl removed I was able to see the rust damage that existed at the base of the A pillars and at several areas of the firewall, concentrated around the upper flanges that mate to the cowl. I started by focusing on the driver’s side A pillar and firewall. The upper lip of the […]

Continue reading