With the rest of the interior exorcized it was time to start in on the dash.
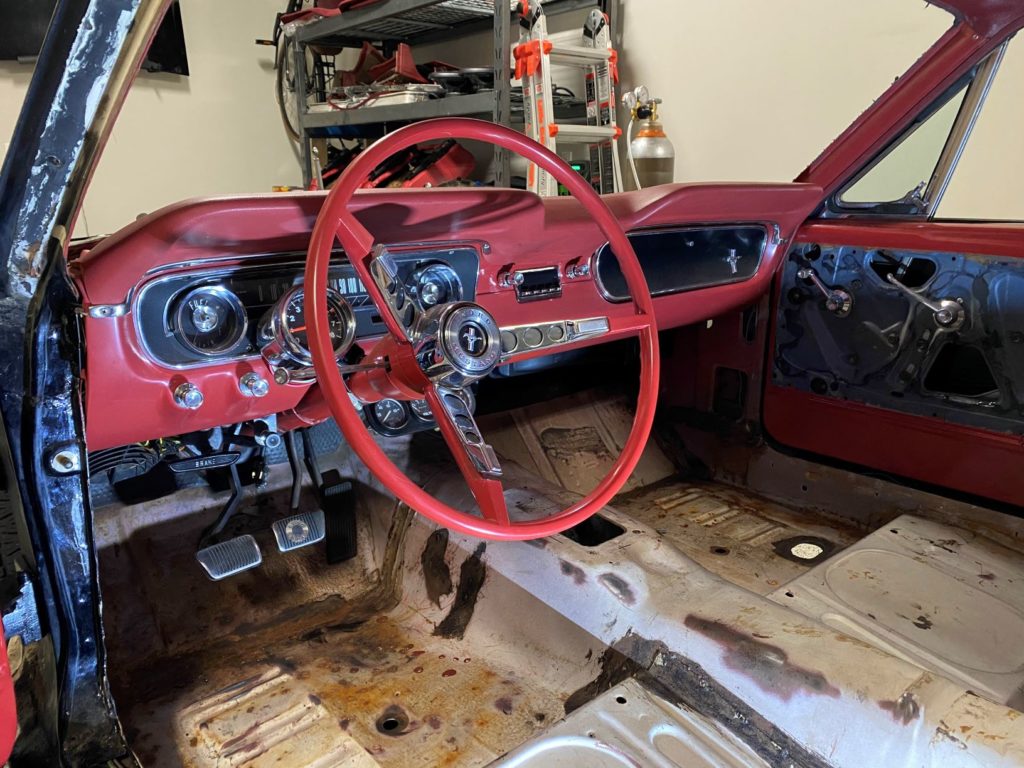
One of the challenges in working with the dash is that unlike modern cars where the dash typically consists of multiple removable plastic (or similar) sections mounted to metal braces, the entirety of the Mustang’s dash is a single solid metal piece welded into the car. Working behind the dash ends up requiring a lot of awkward contortion and terse conversations with various deities.
I decided to start with the easy stuff by removing the steering wheel, glovebox liner, and radio before setting my sights on the heater core.
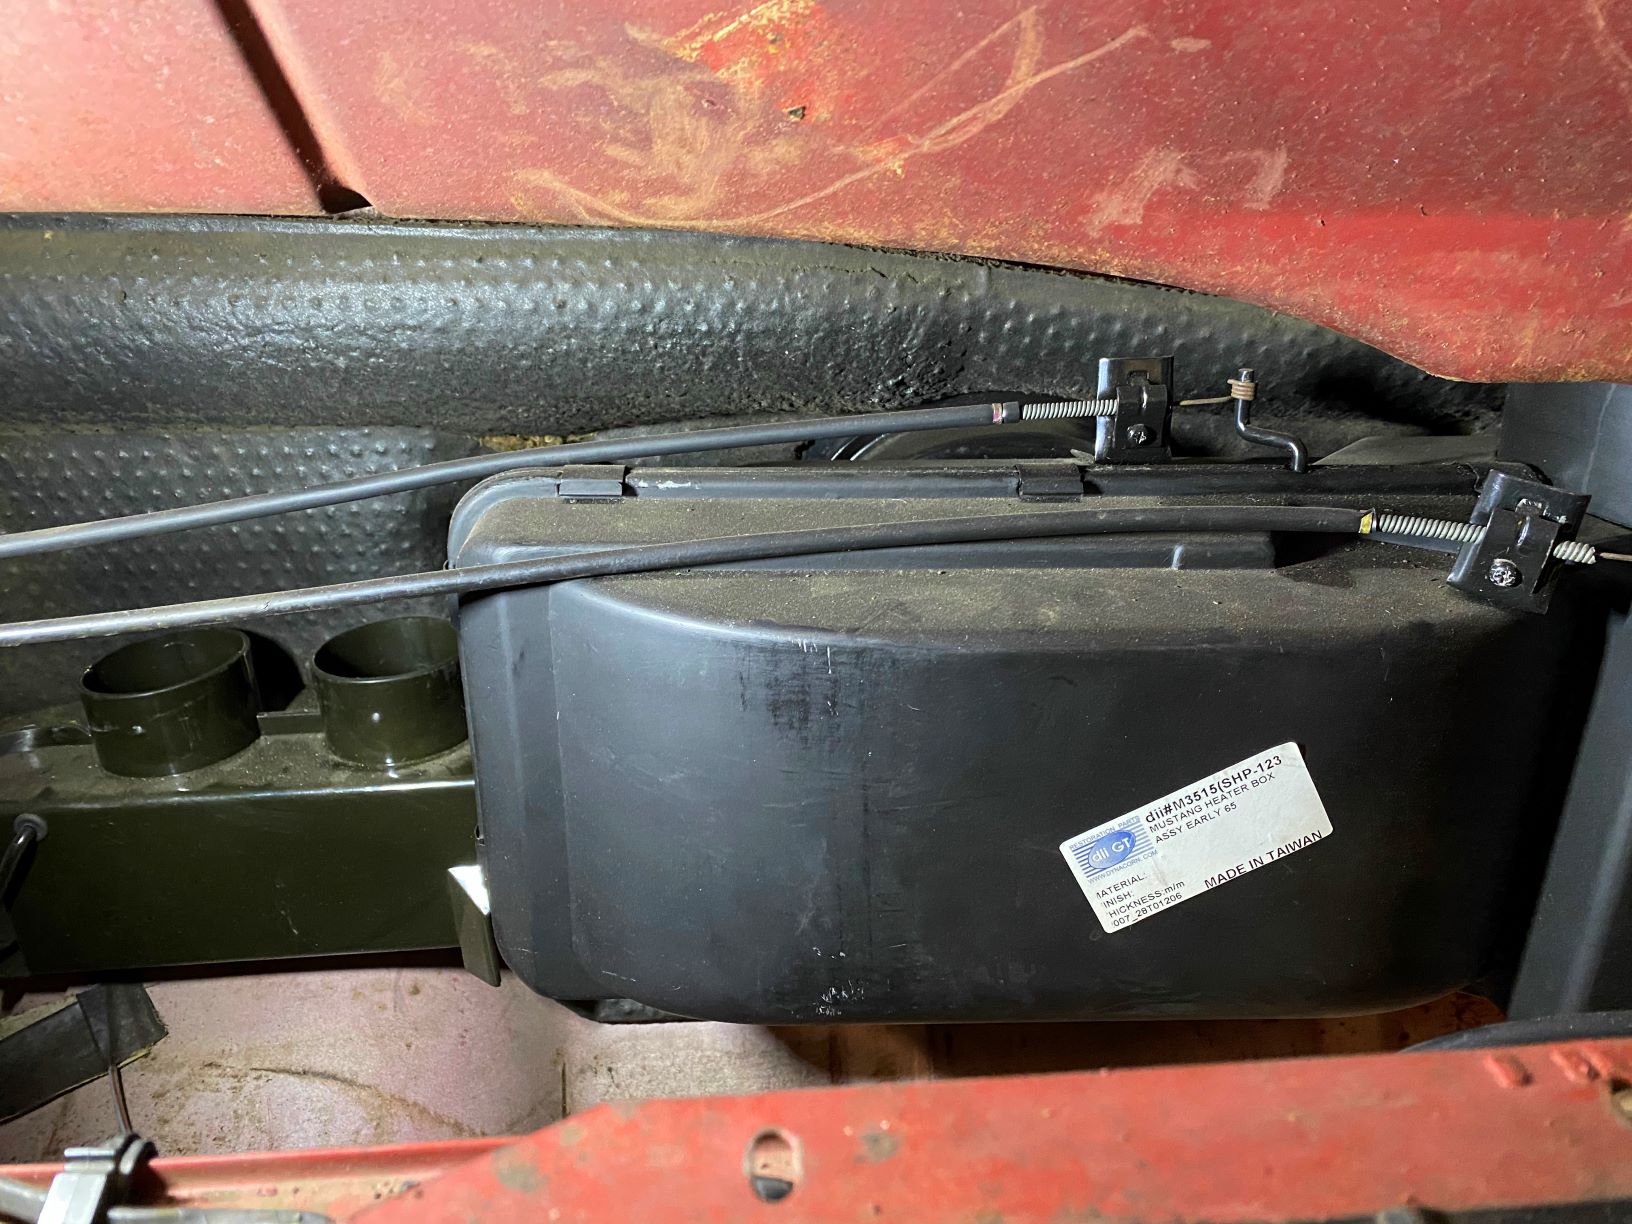
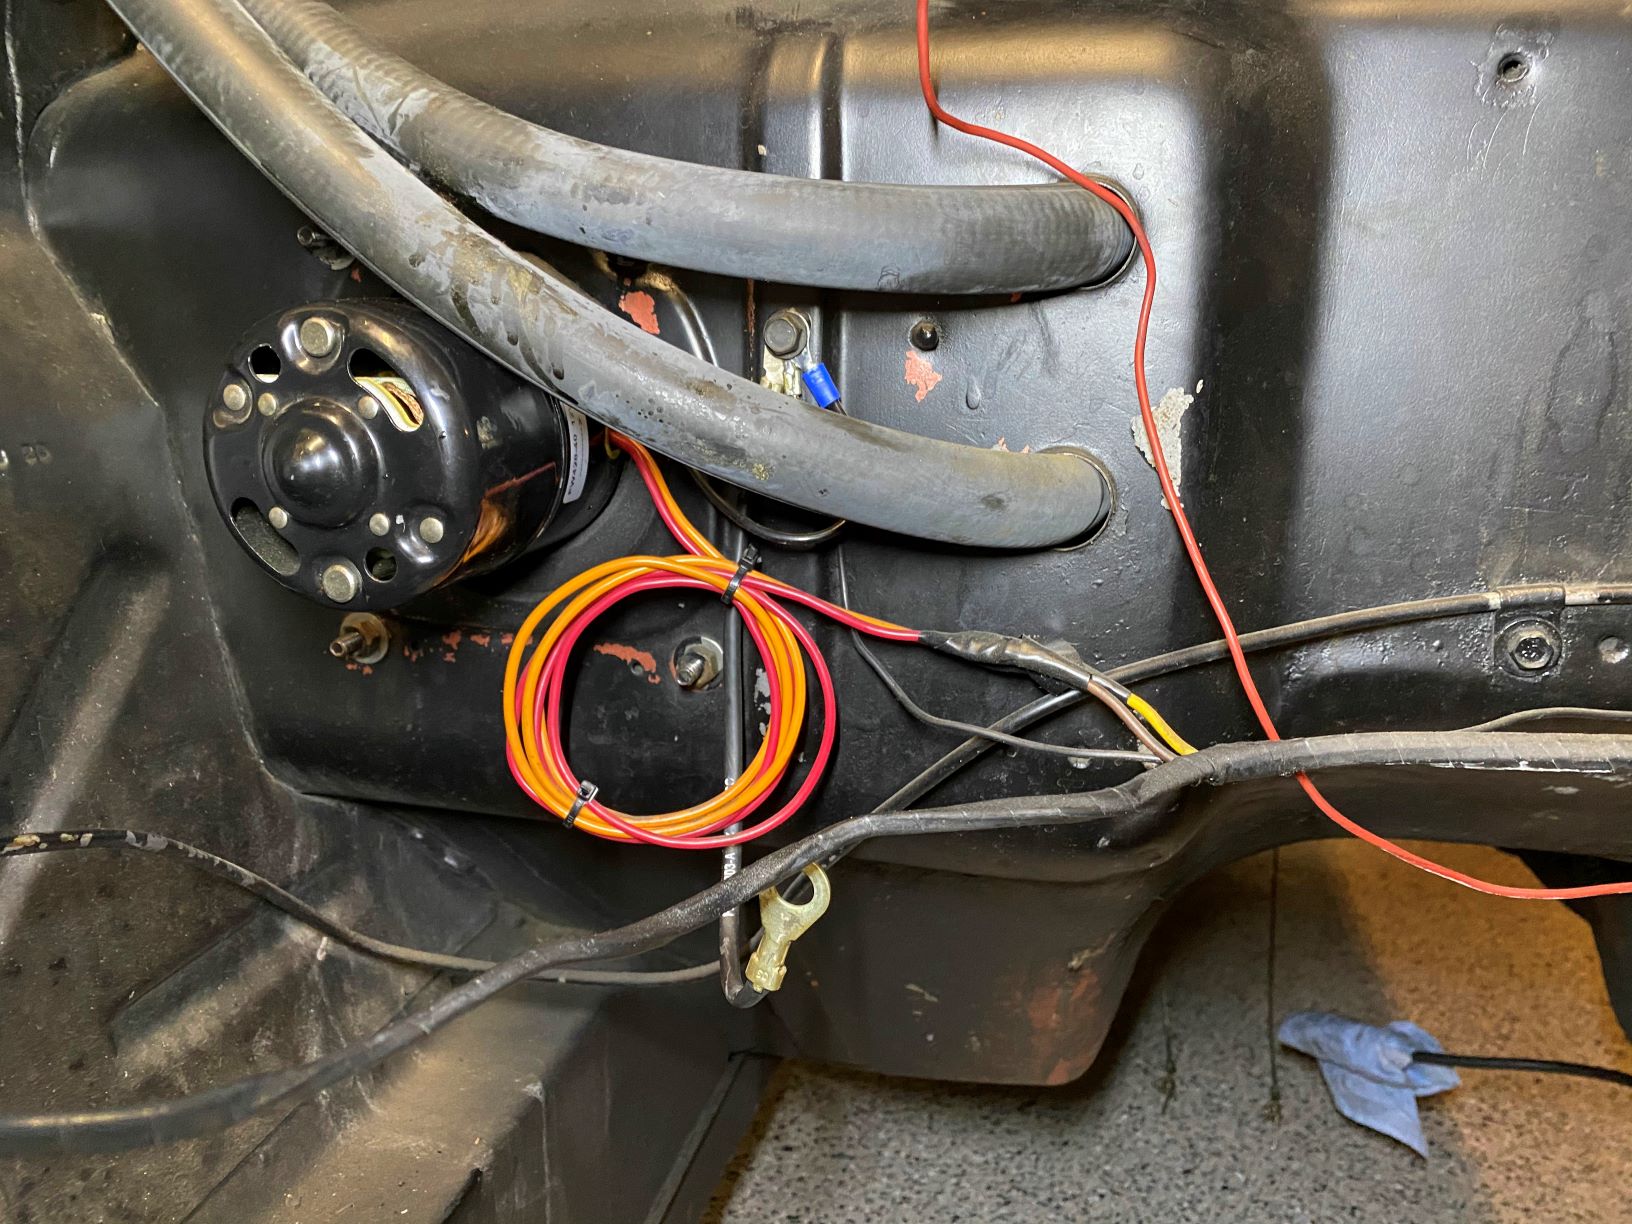
The heater core design is interesting as the blower motor that drives the air across the heating element is bolted to the heater housing but protrudes out into the engine bay through a hole in the firewall. In the next photo you can see what I’m talking about, along with the heater hoses that carry the hot coolant from the engine through the radiator in the heater core and back again. I left those hoses attached to try and prevent any remaining coolant in the heater from making a mess.
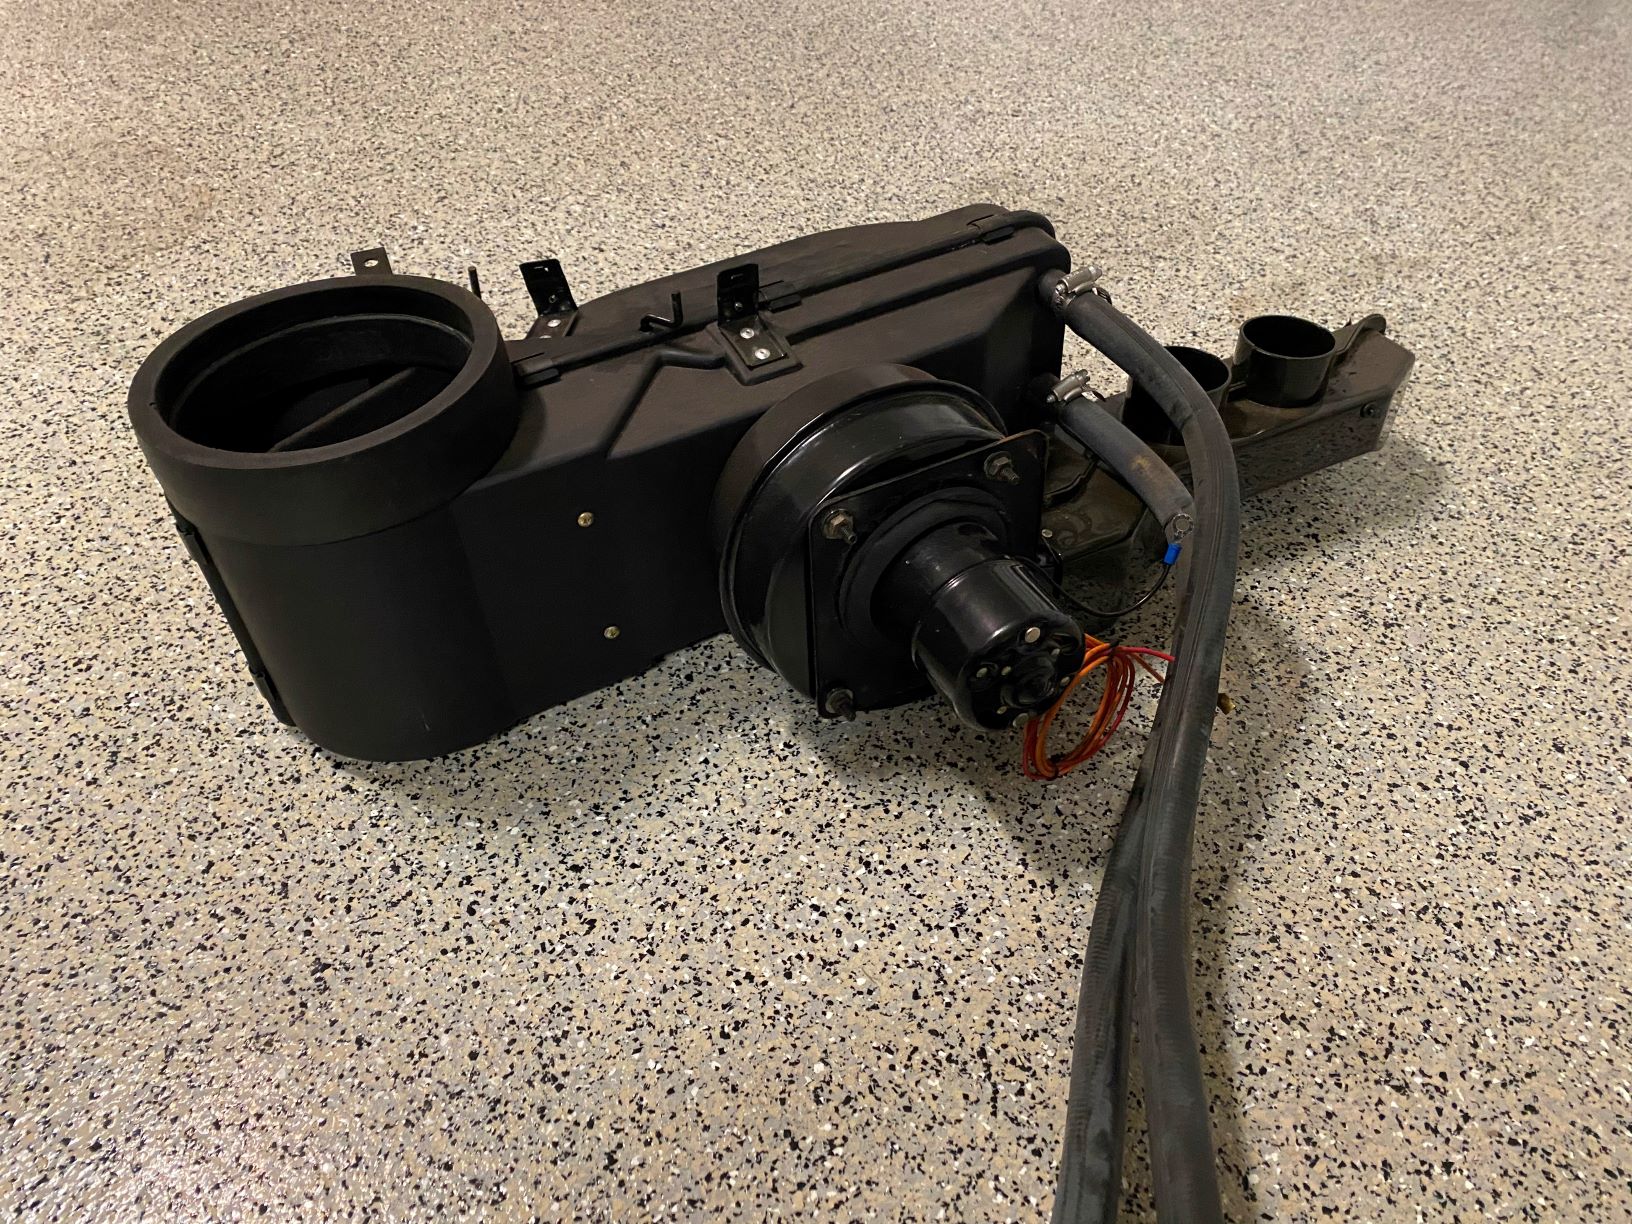
The previous picture shows the heater core assembly removed from the car. The large hole in the top left fits to a fresh air vent in the top of the dash, serving as a potential source of the air that the blower forces across the radiator and out into the footwells and defroster. Air can also be pulled from the interior of the car for recirculation depending on how the heater controls are adjusted.
With the heater core out it became possible to start removing the ancient and revolting firewall insulation.
The dash pad and chrome trim followed.
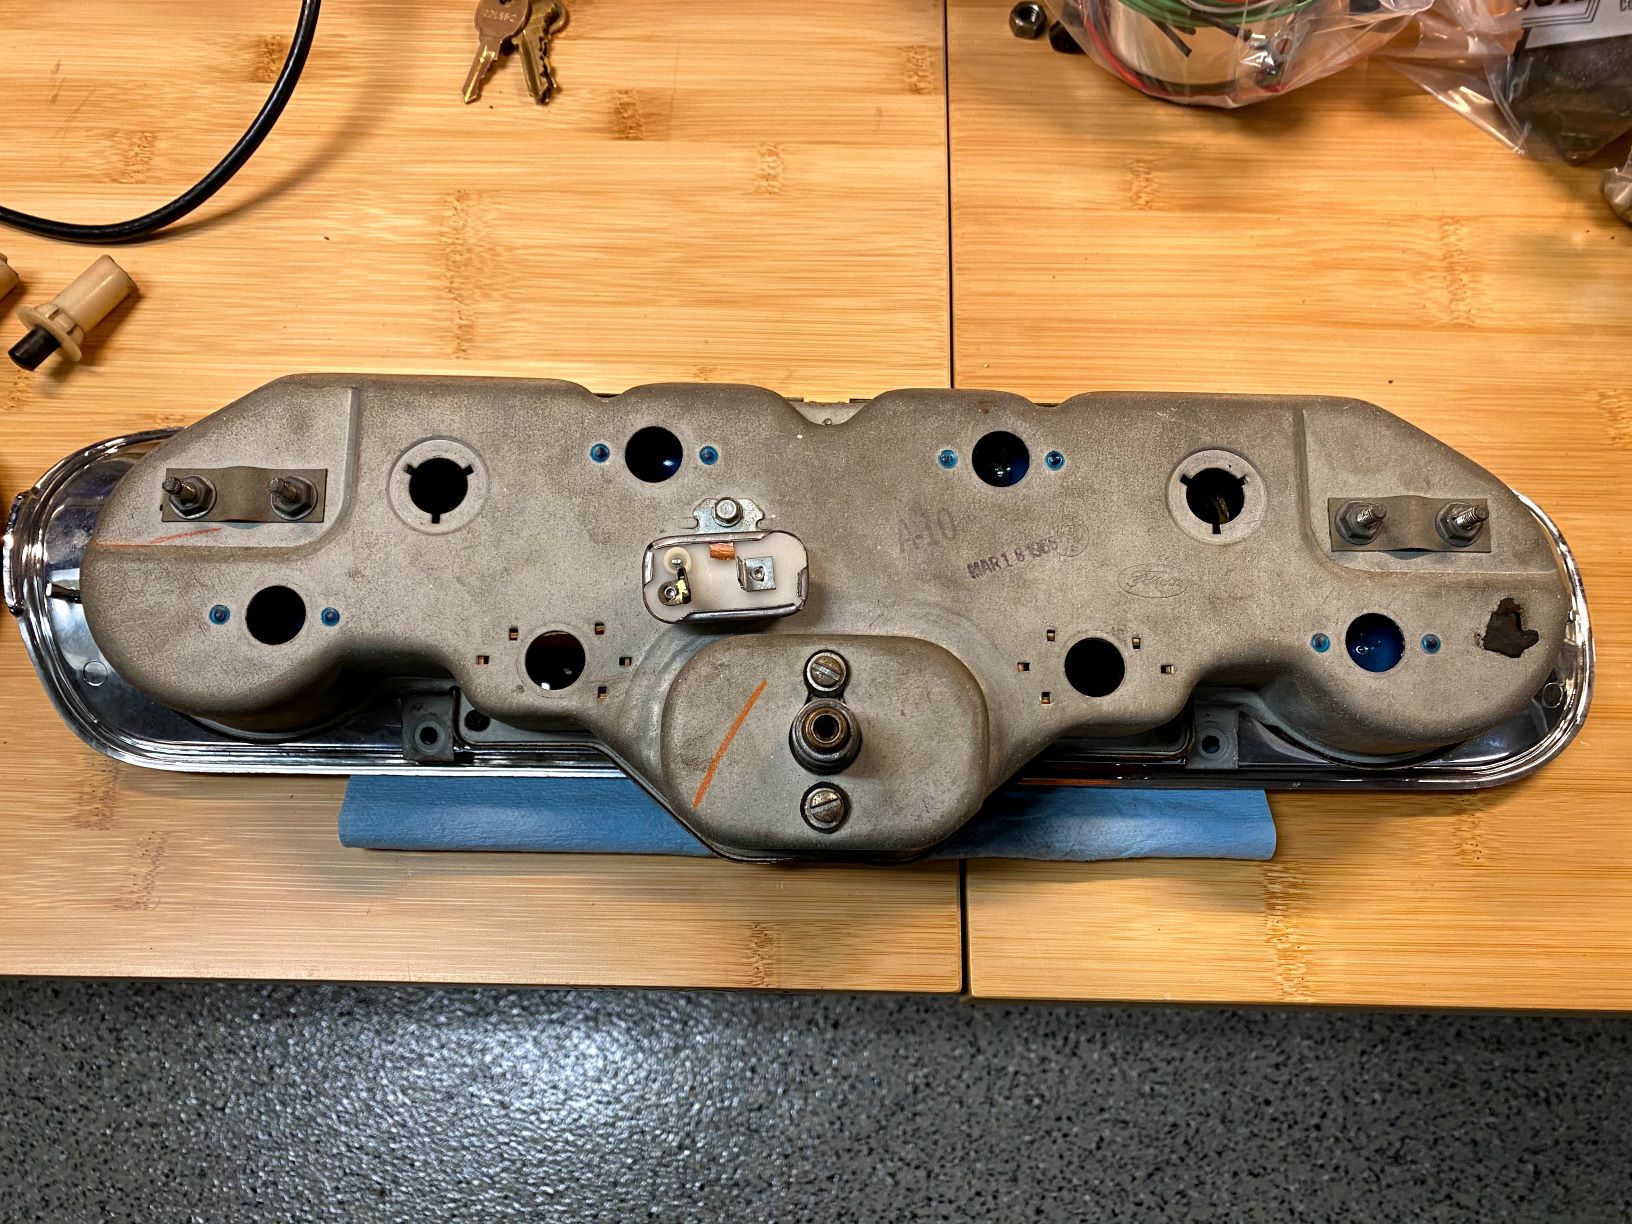
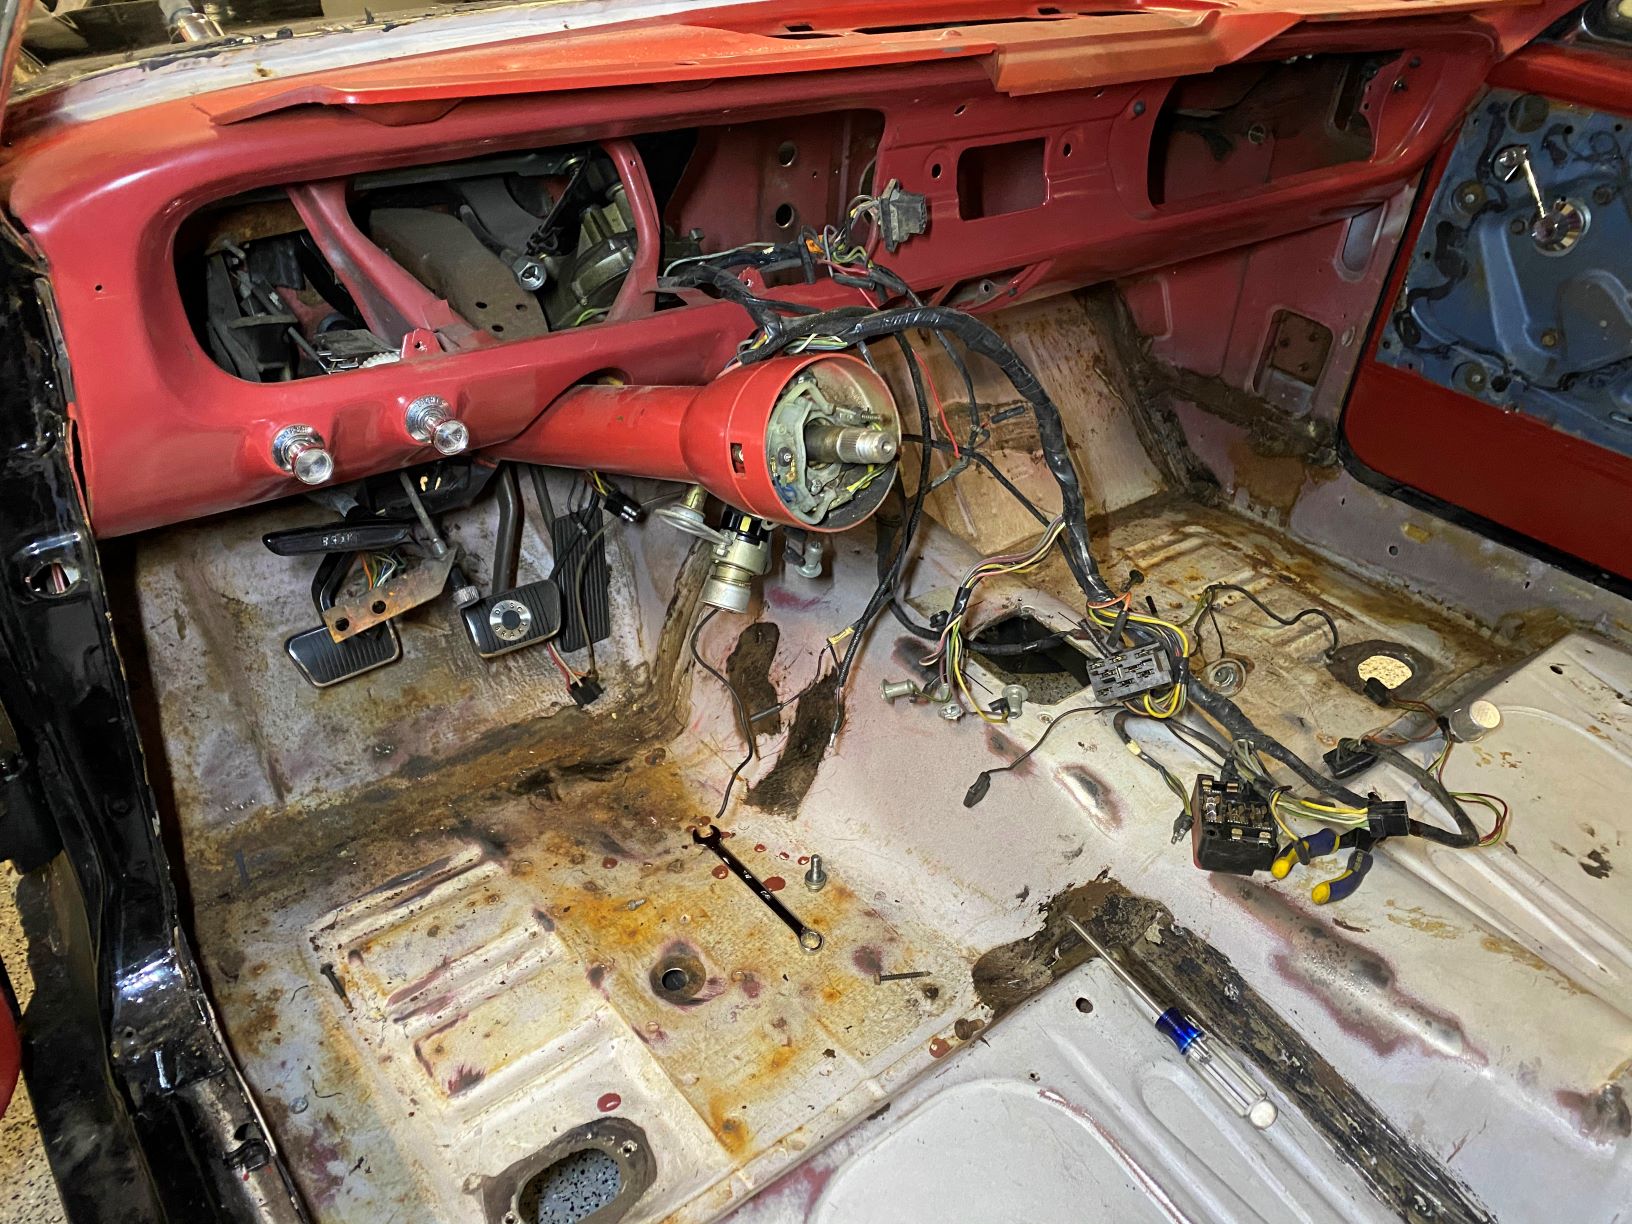
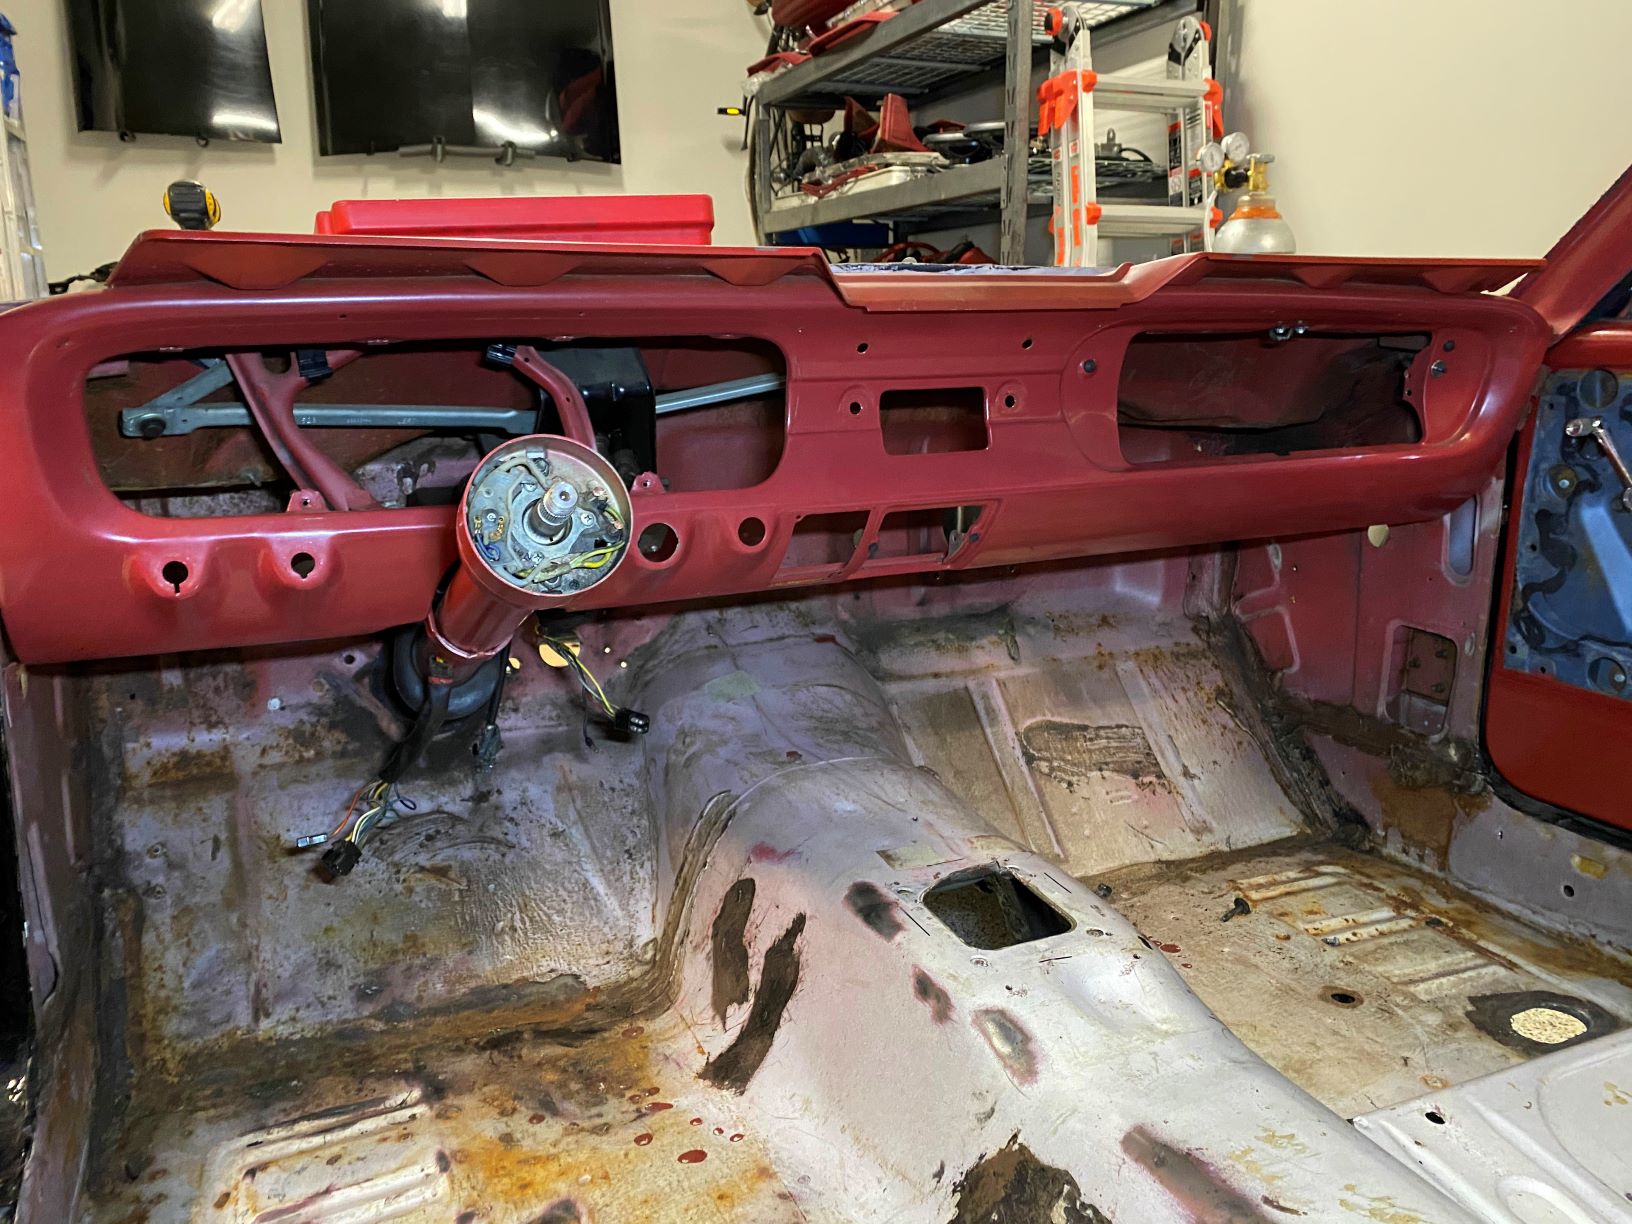
Then it was time to tackle the rat’s nest of wiring behind the gauge cluster.
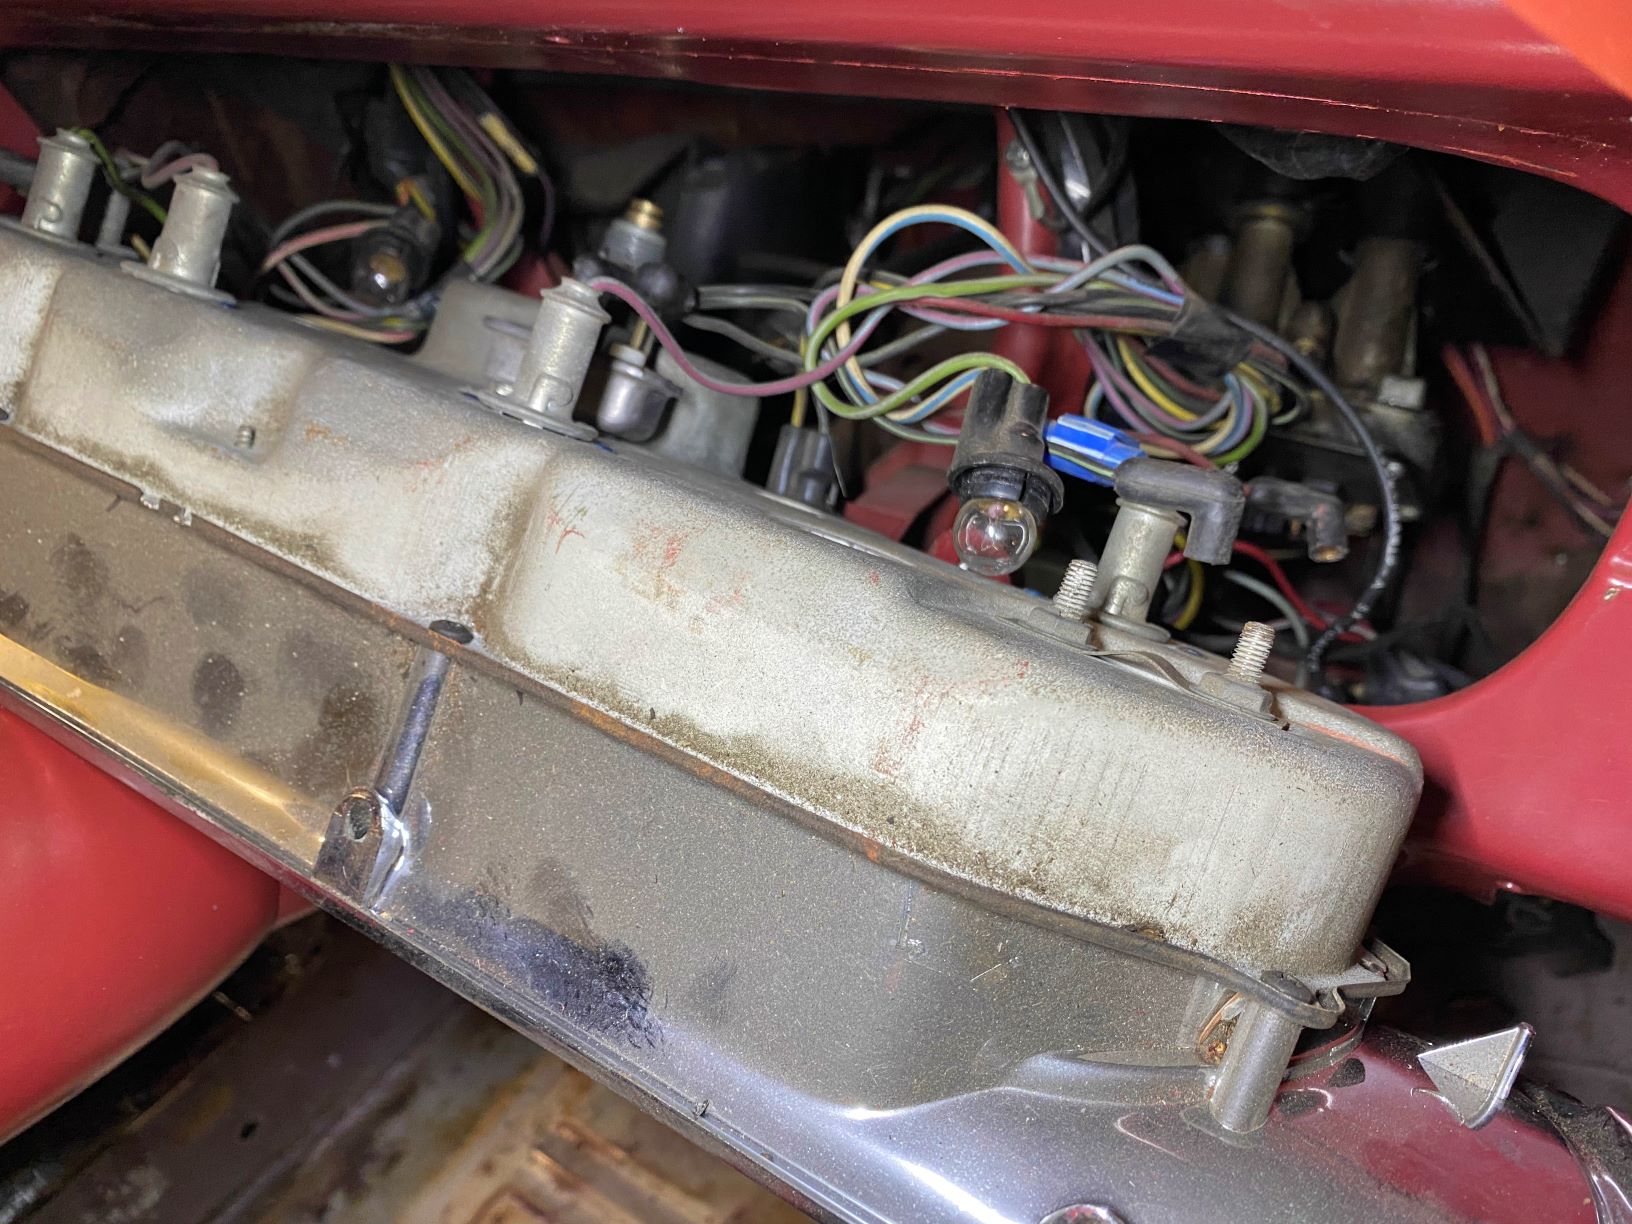
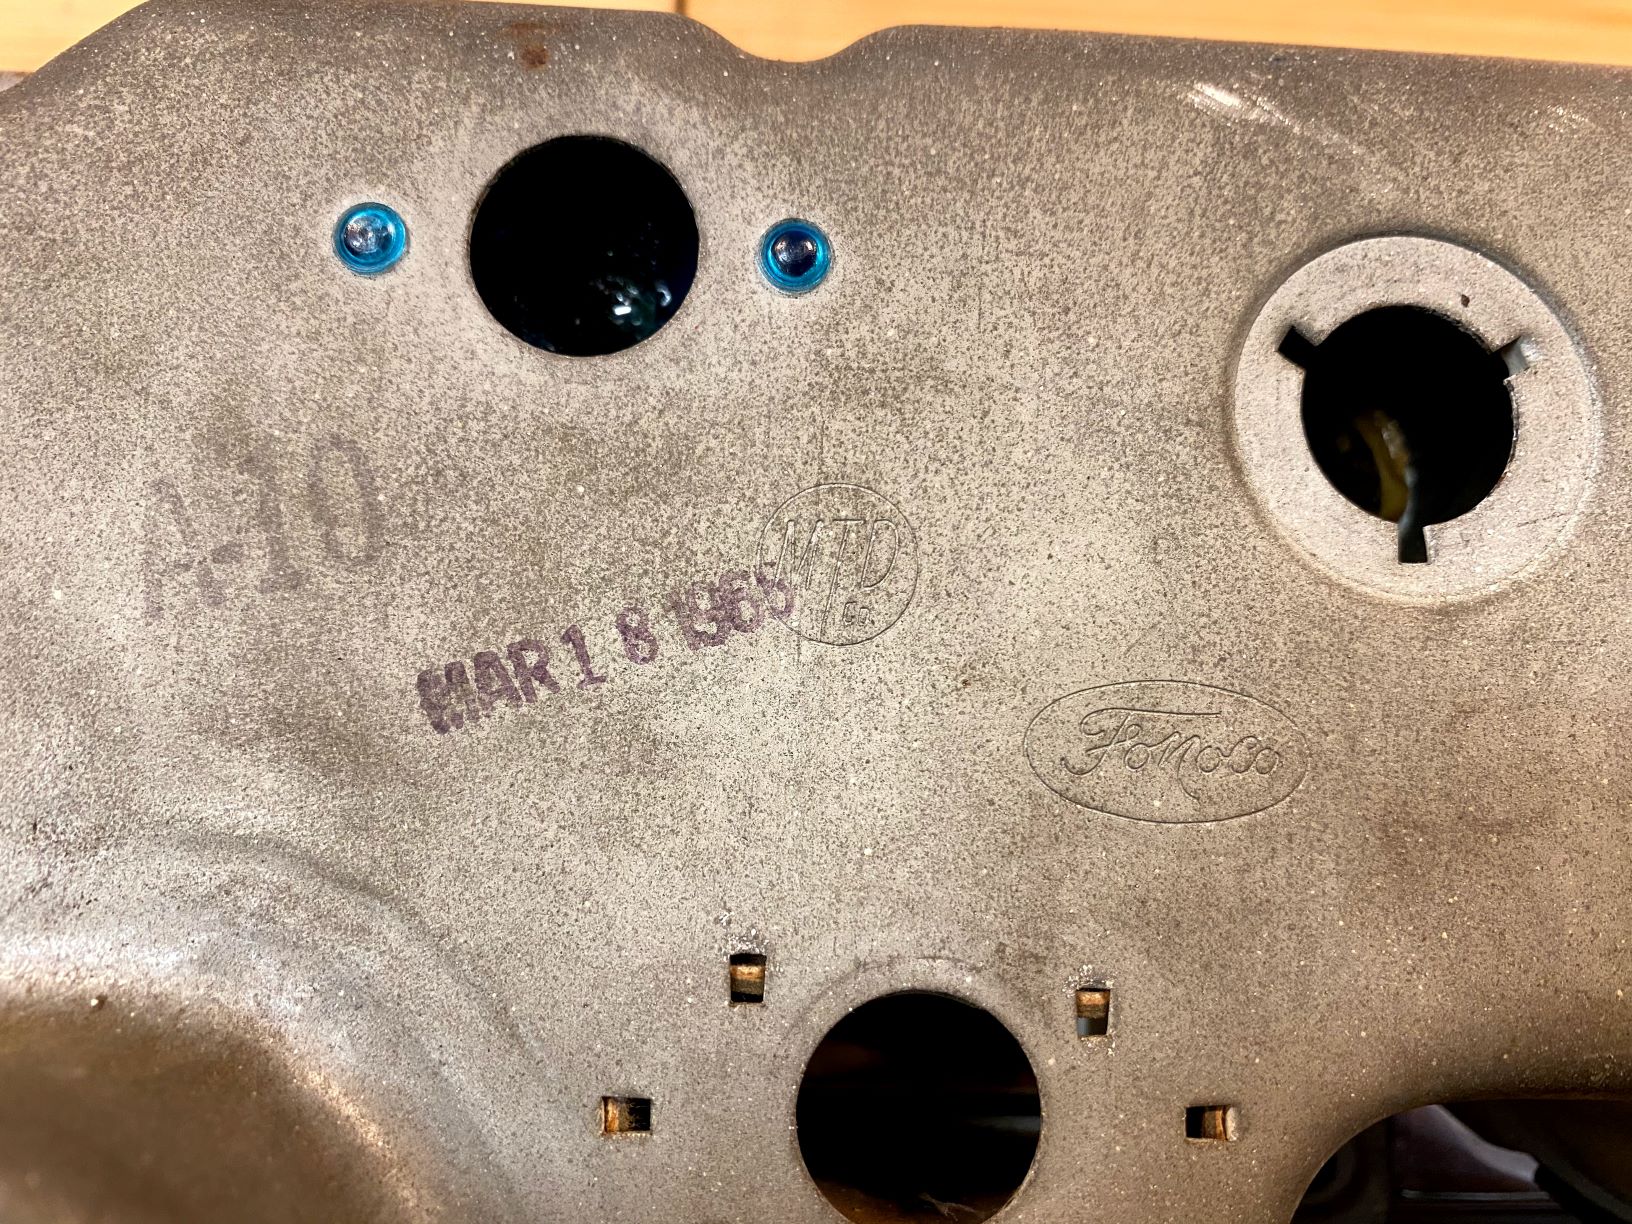
One of the cool things about removing the gauge cluster was that I found the original manufacture date stamped on the back of it – March 18, 1965.
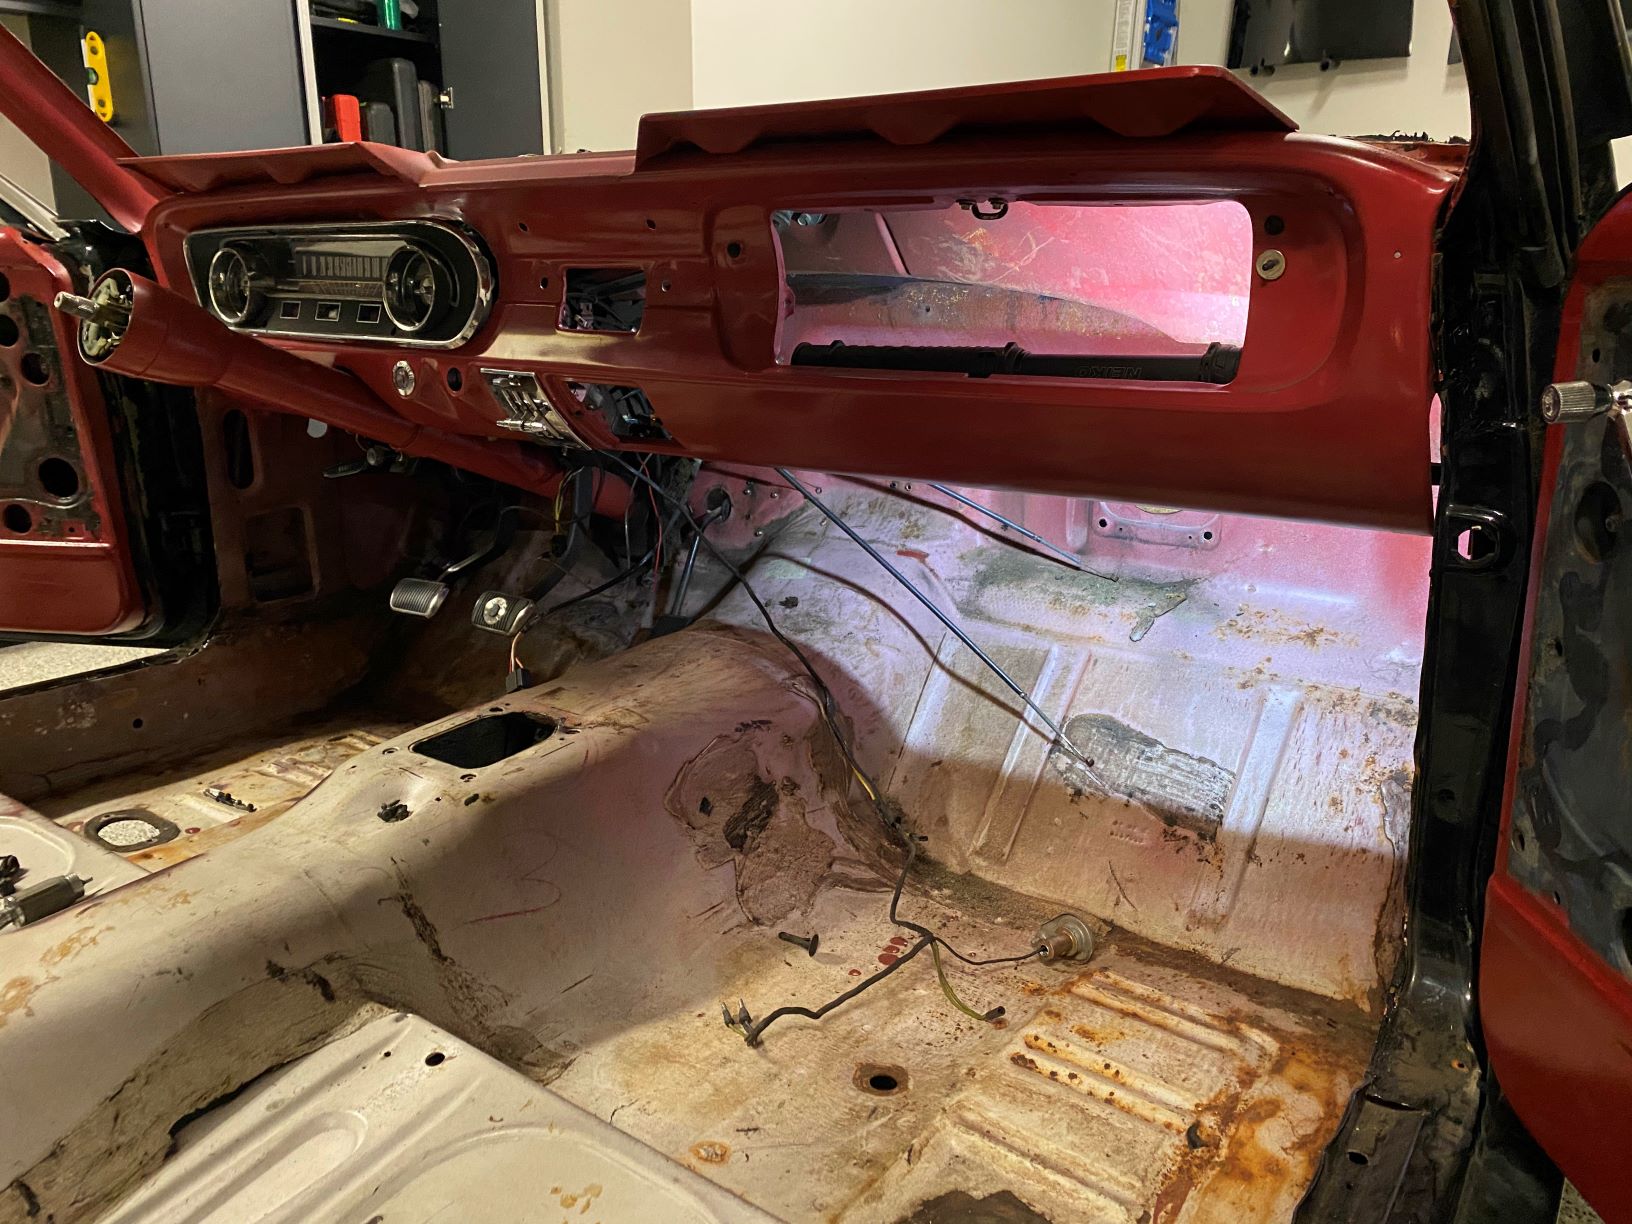
With the gauge cluster out it became a little easier to access the remaining components on the drivers side.
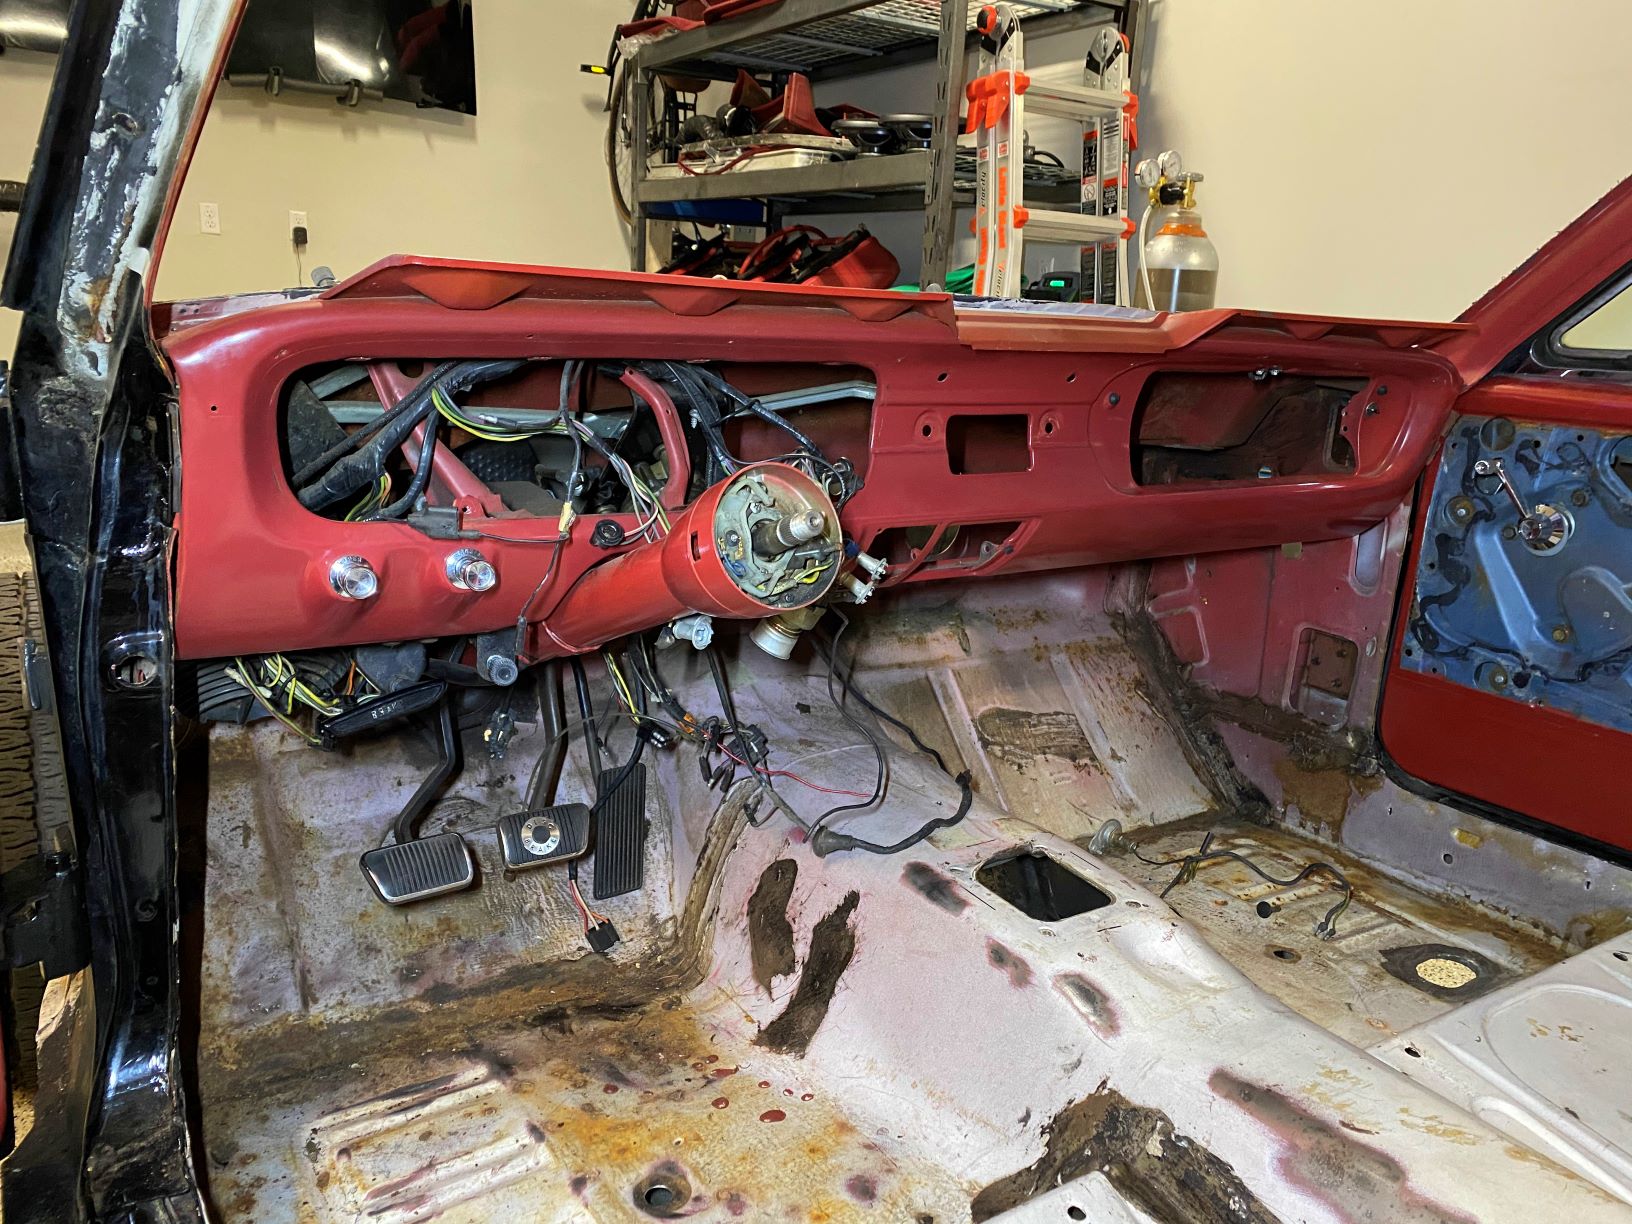
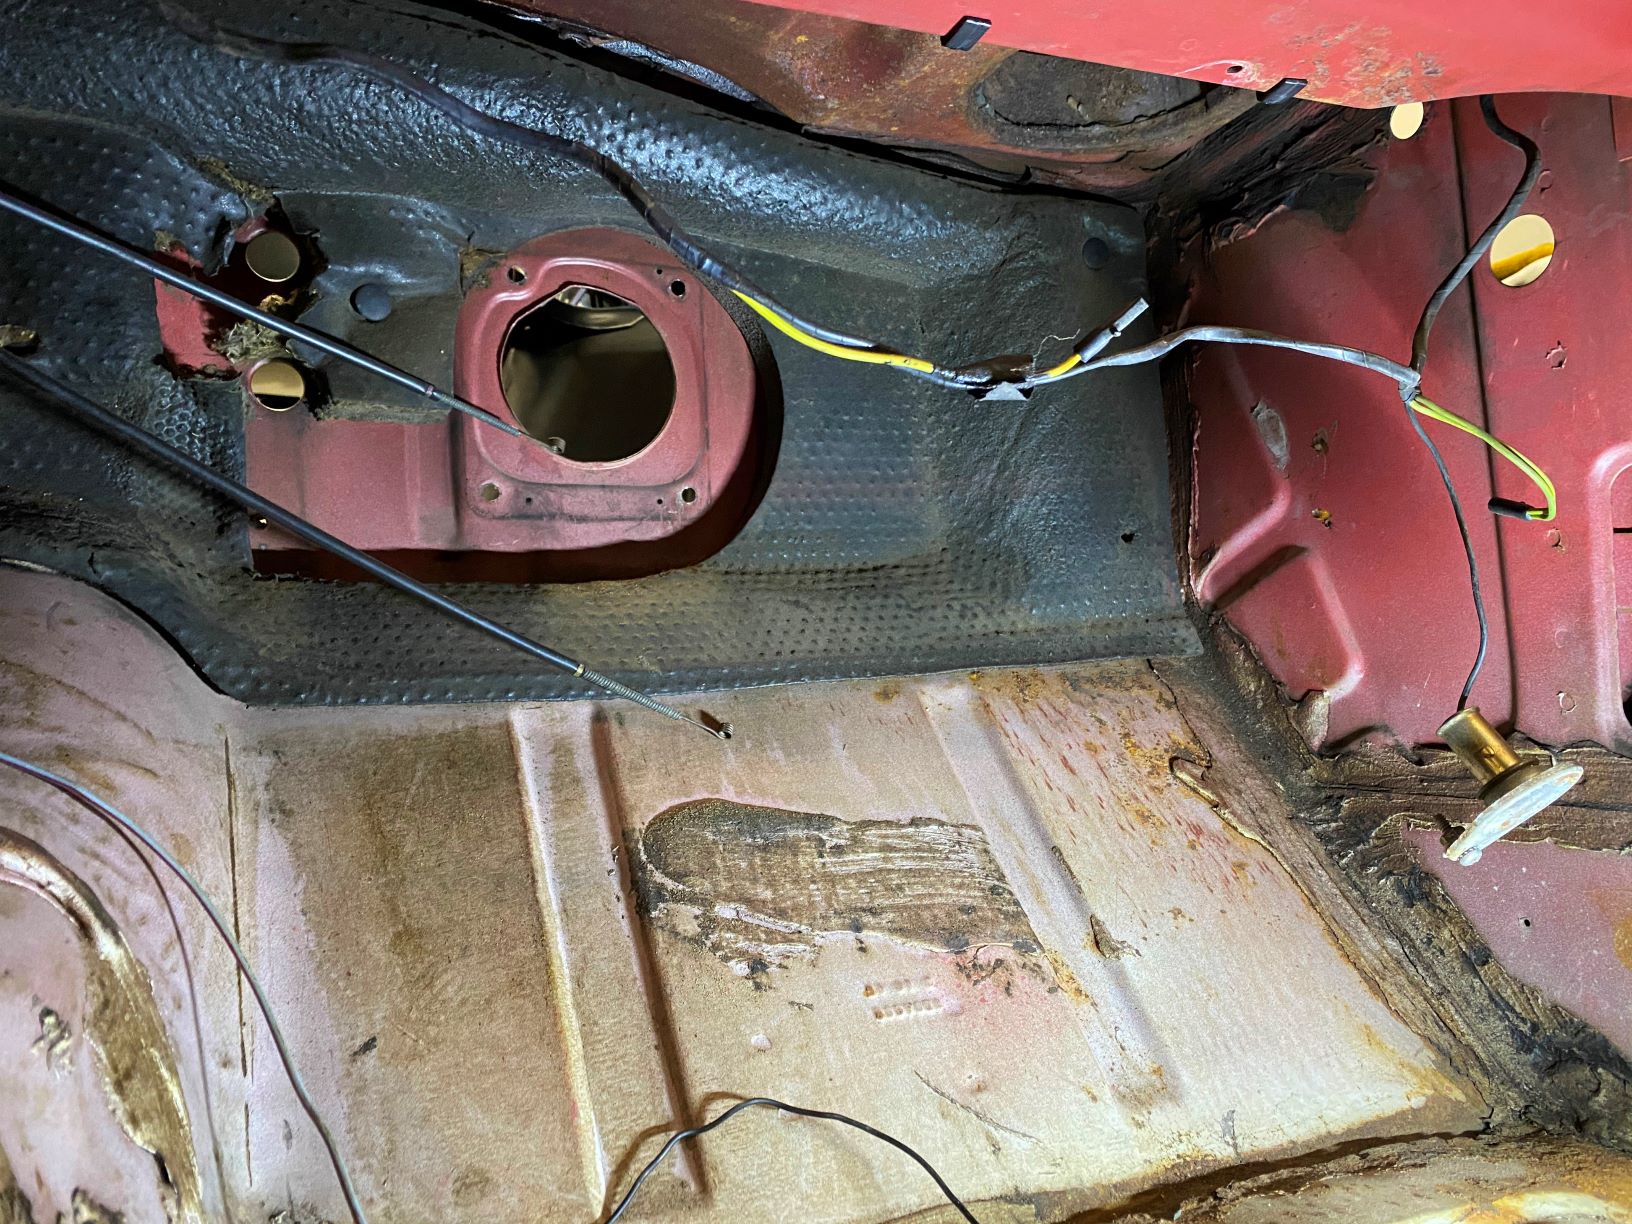
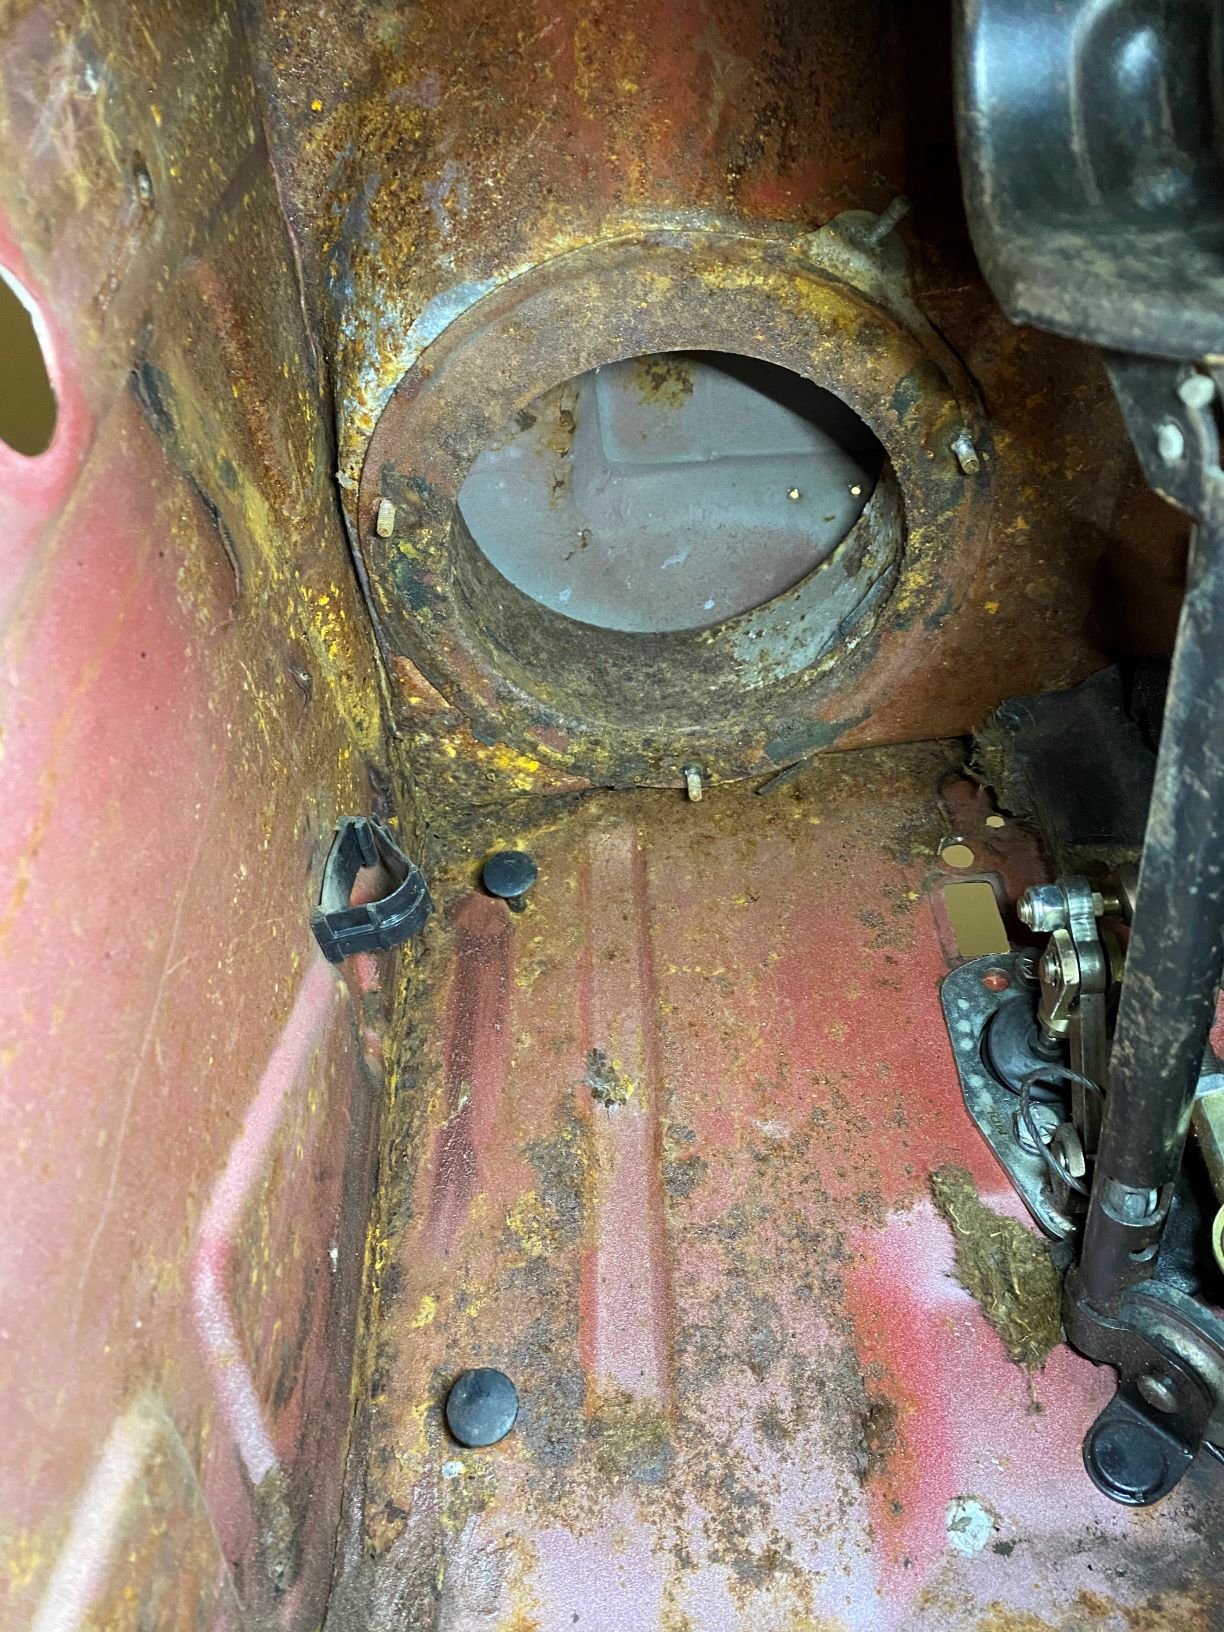
The next picture is looking up from the driver side footwell, the large plastic vent contraption on the left is another fresh air vent from a hole in the cowl. The open/close control for the vent is driven by a push/pull cable seen at the top right of the picture with the round black knob on it, just to the left of the red steering column cover.

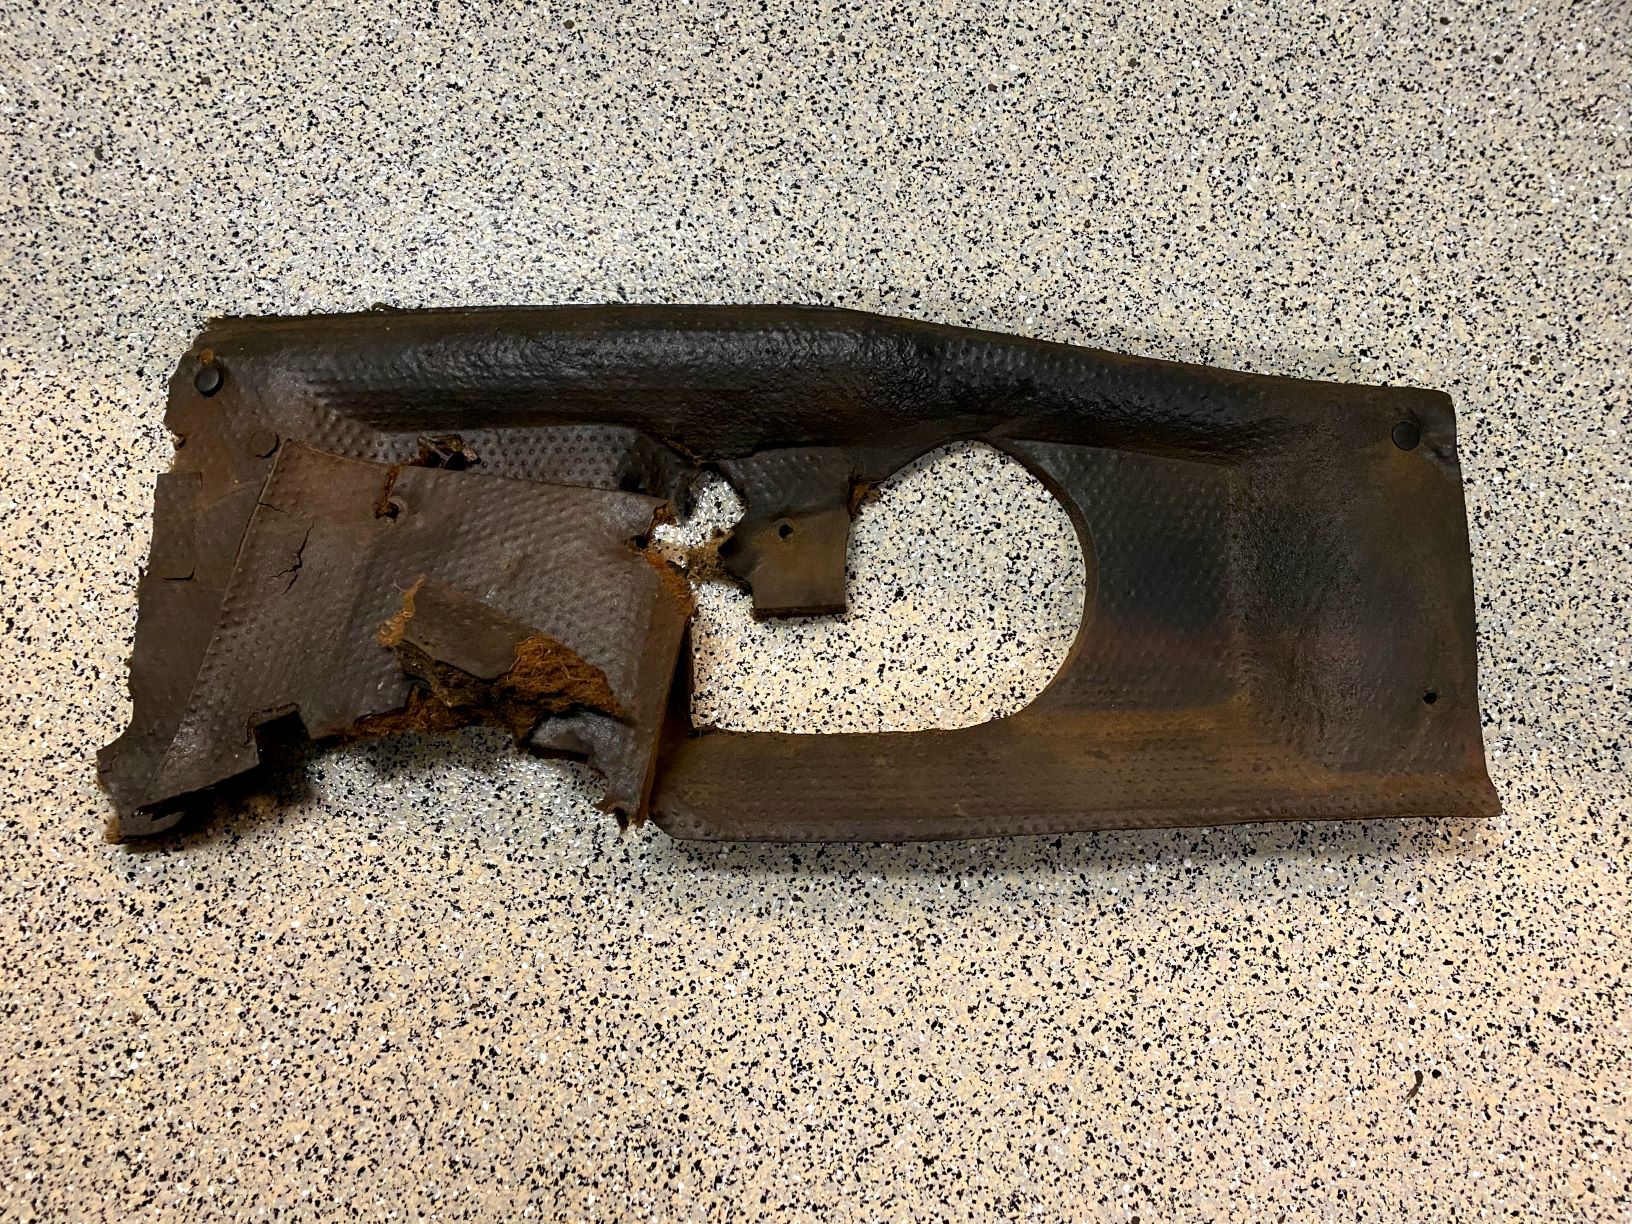
The air vent came out looking like something pulled up from a deep sea wreck.
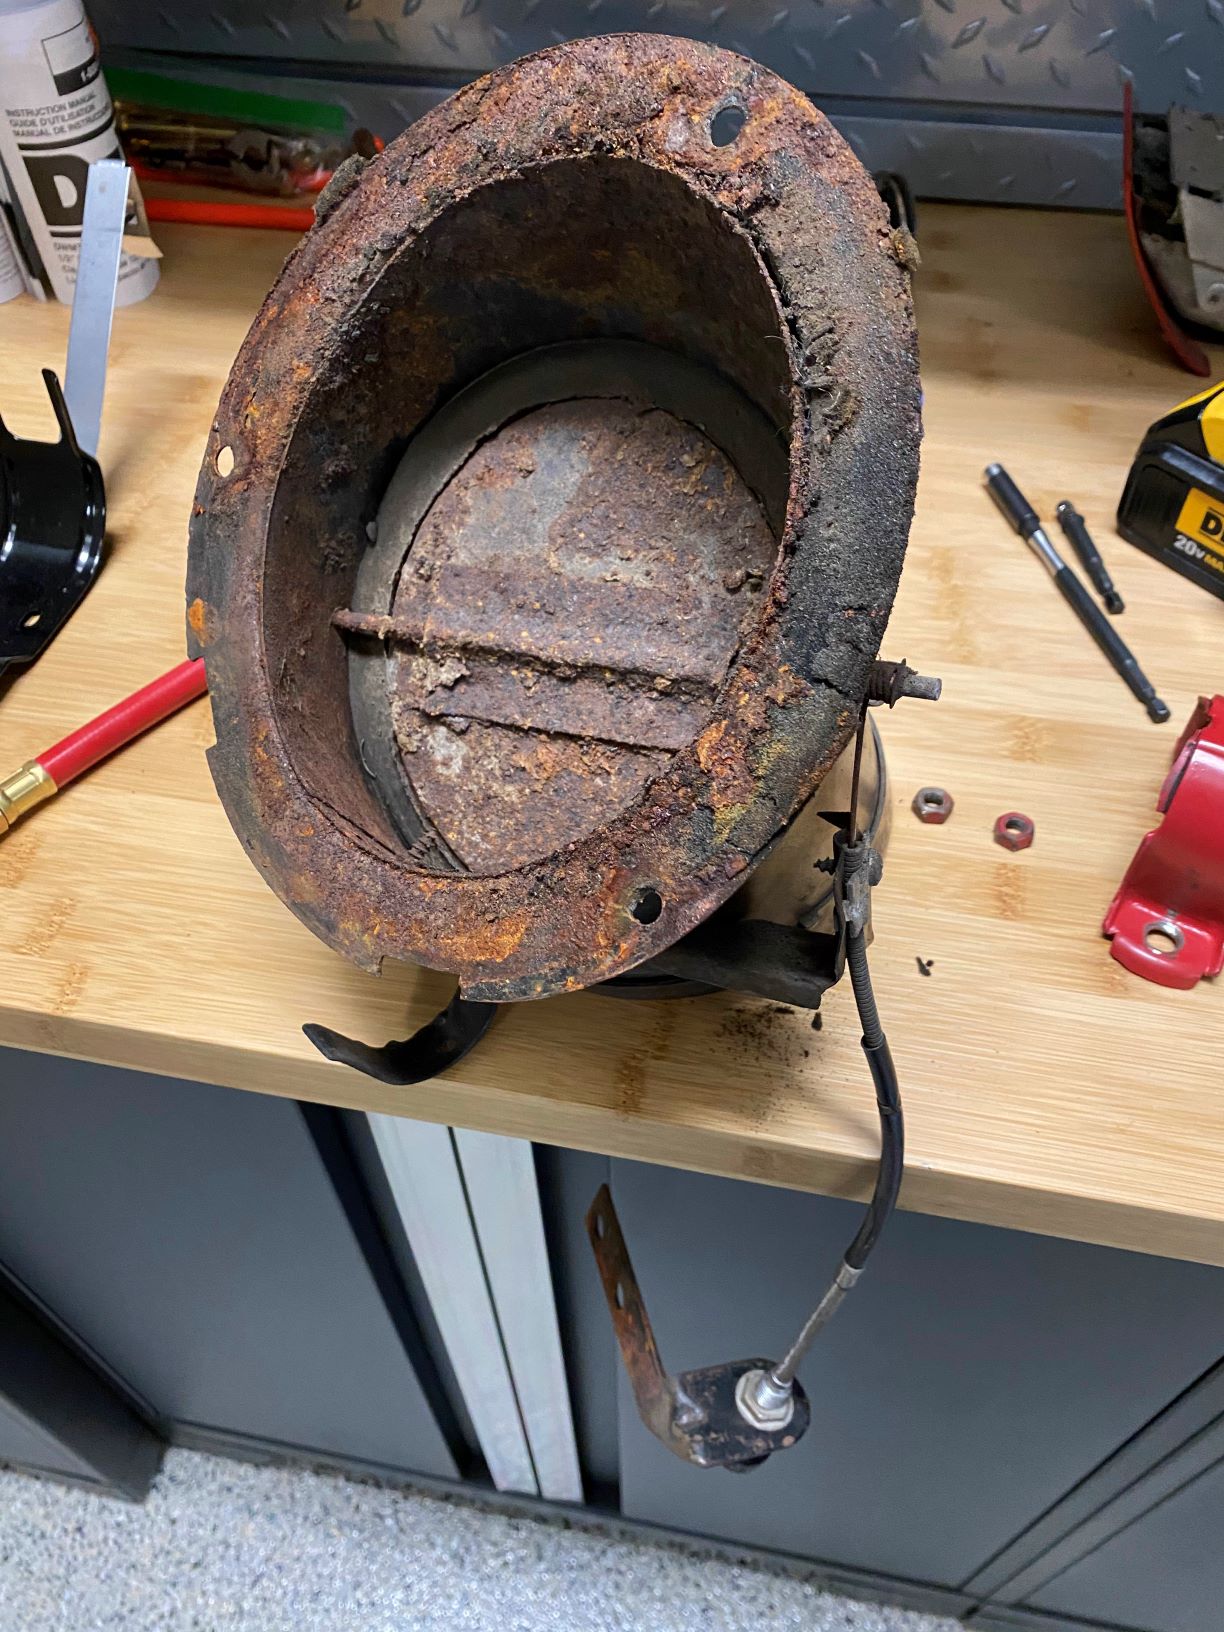
The cowl hole that it was attached too didn’t fare much better.
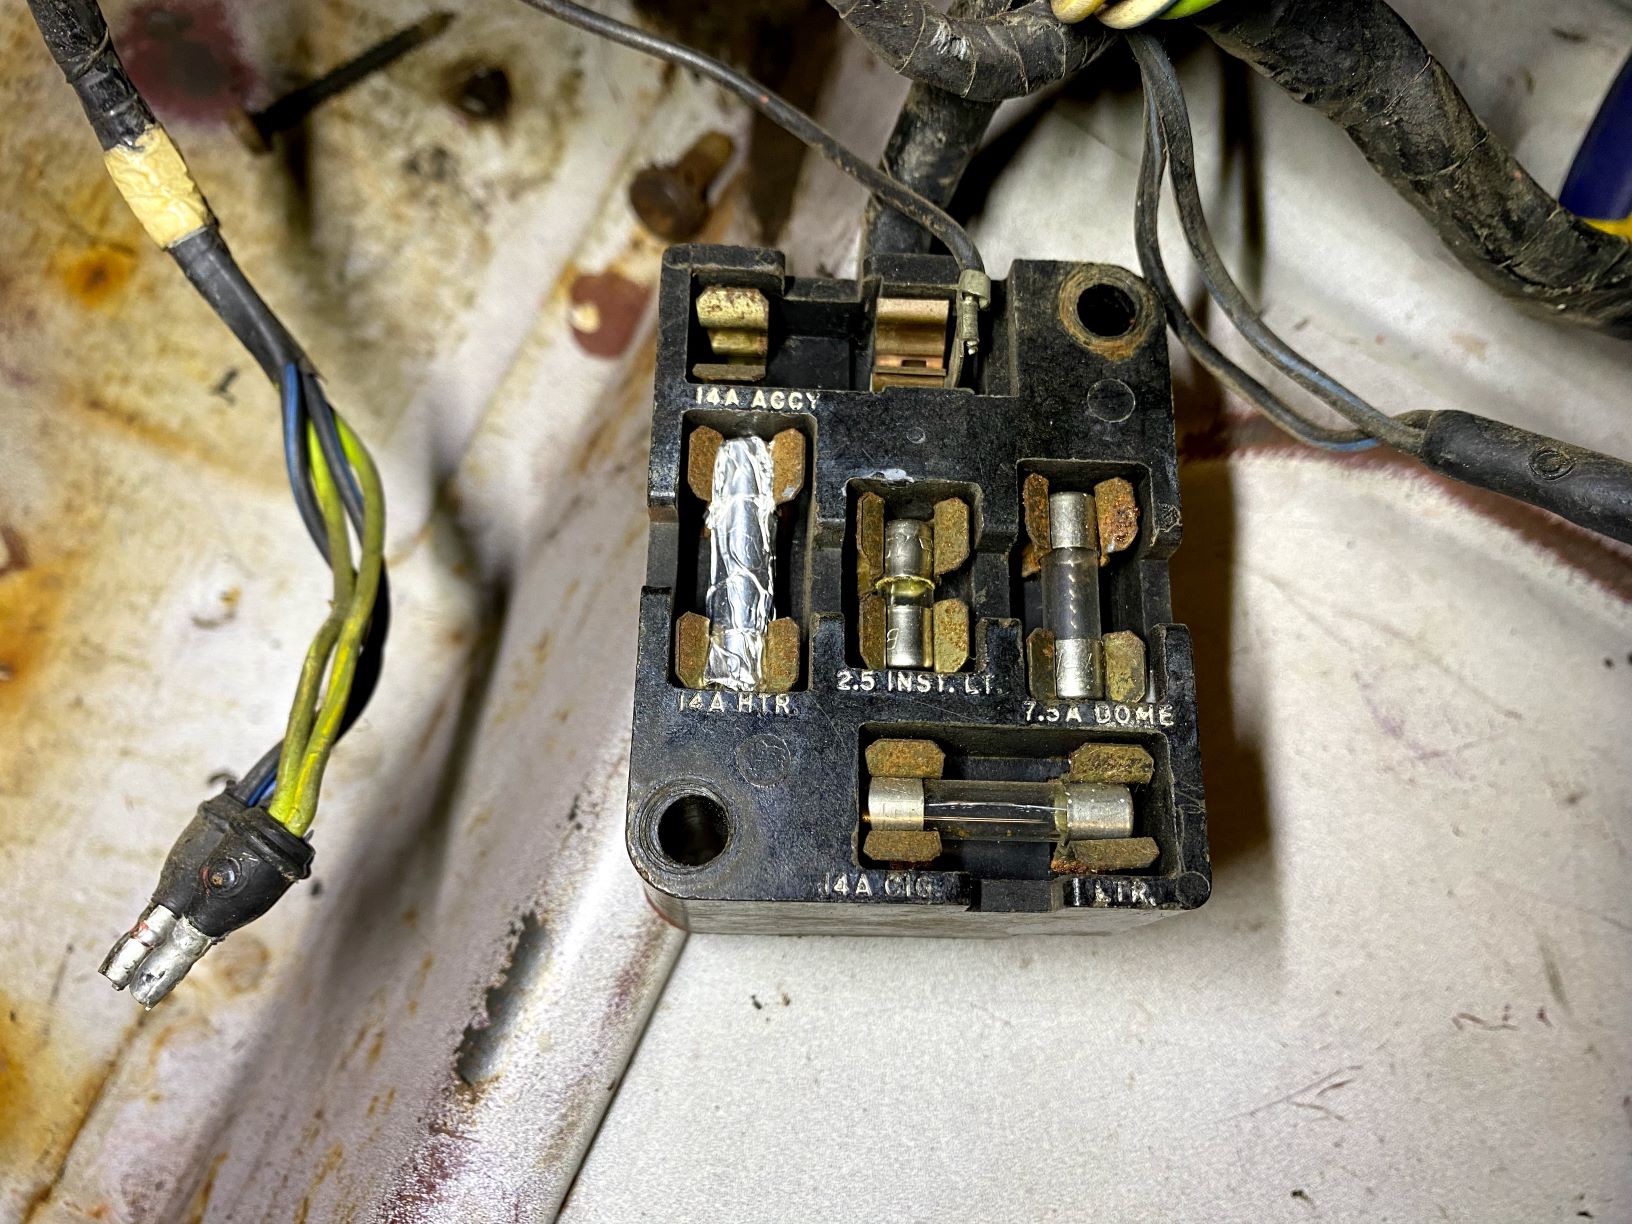
Getting the air vent out of the way allowed me to remove the fuse box and the last couple of electrical connections that were made through the firewall. Here you can see the majority of the dash wiring harness snaked out of the dash across the transmission tunnel.
I got a kick out of the fuse box. Notice that there are only four fuses in the entire car (a 2020 Honda Accord has 56) and one of them is wrapped in aluminum foil.
The complete wiring harness from the car laid out neatly on a U-Haul box that has definitely not been used as a drip tray.

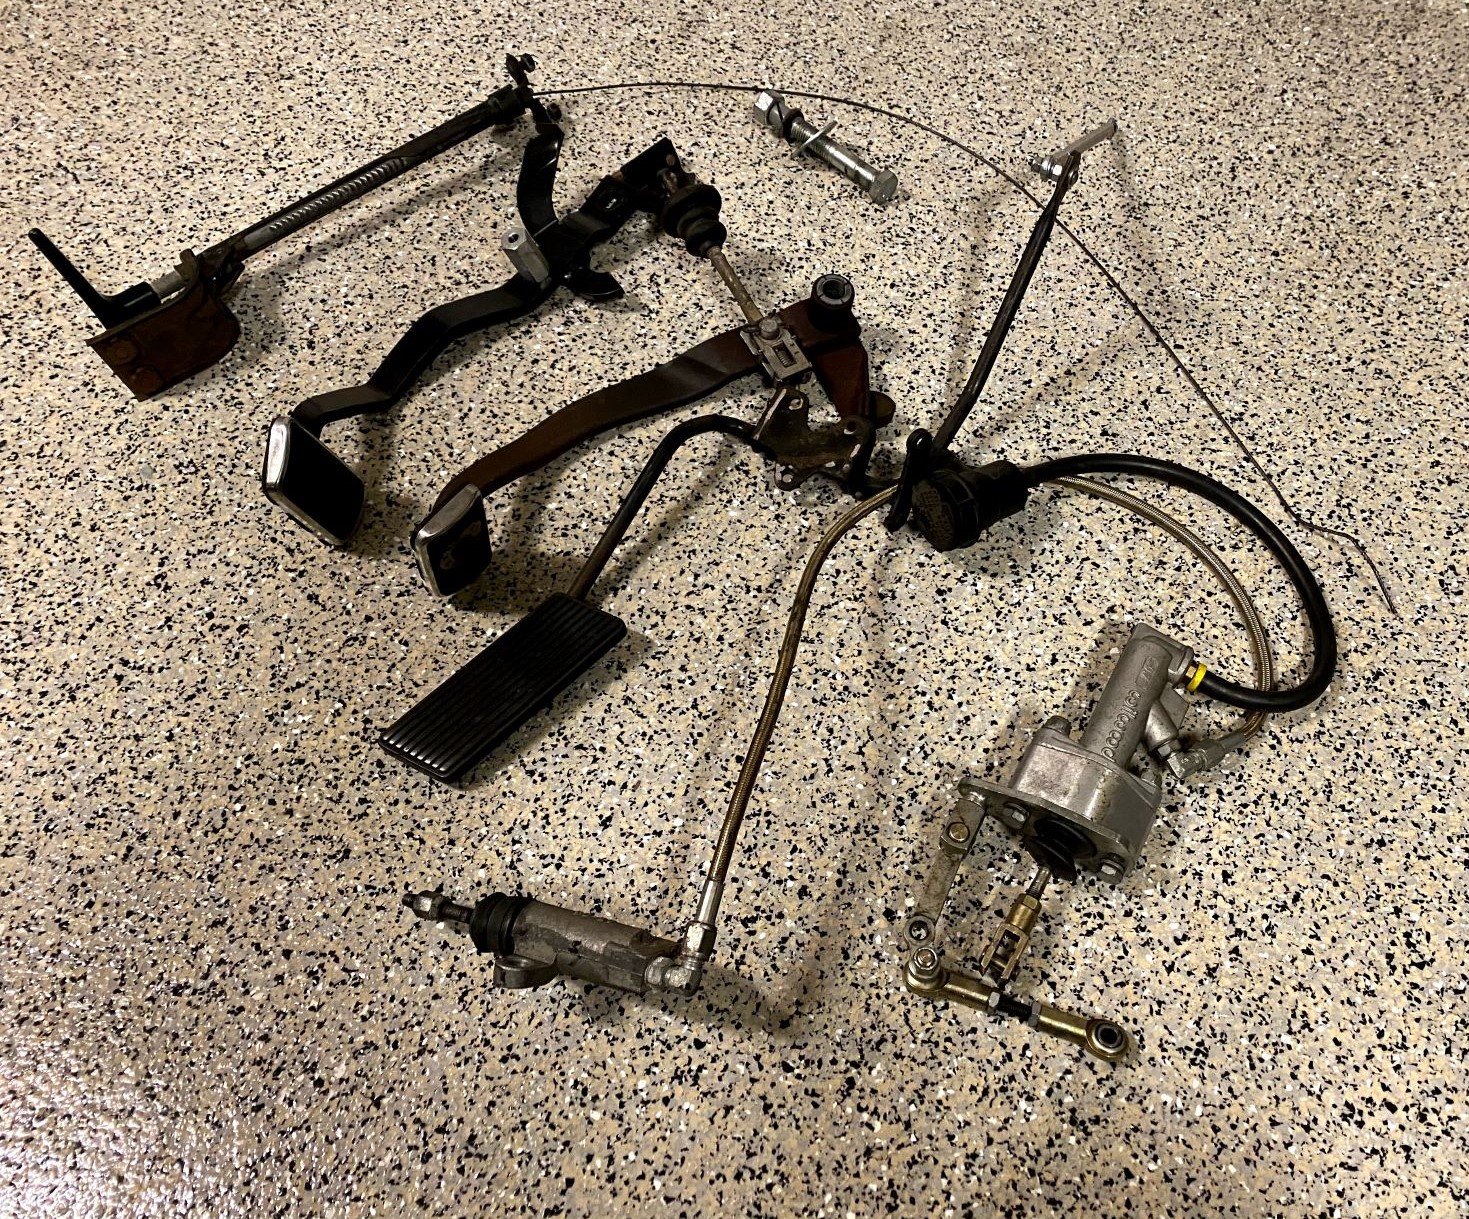
From left to right – emergency brake lever, clutch, brake, accelerator, and hydraulic clutch assembly.
The accelerator pedal is unique in the collection because it doesn’t hang from a pivot point mounted in the interior like the clutch and brake pedal do, instead it’s a simple lever arm that has its pivot point mounted to the rear of the engine bay against the firewall. When the car is fully assembled the return springs attached to the carburetor provide the resistance that is encountered when pressing the accelerator.
Not much left! On the interior the main things that remain include the steering column, wiper motor and bracket, and the window glass + crank mechanisms. The rest of the car is still holding on to the suspension, brake system, (empty) fuel lines, rear end, and a couple steering components.