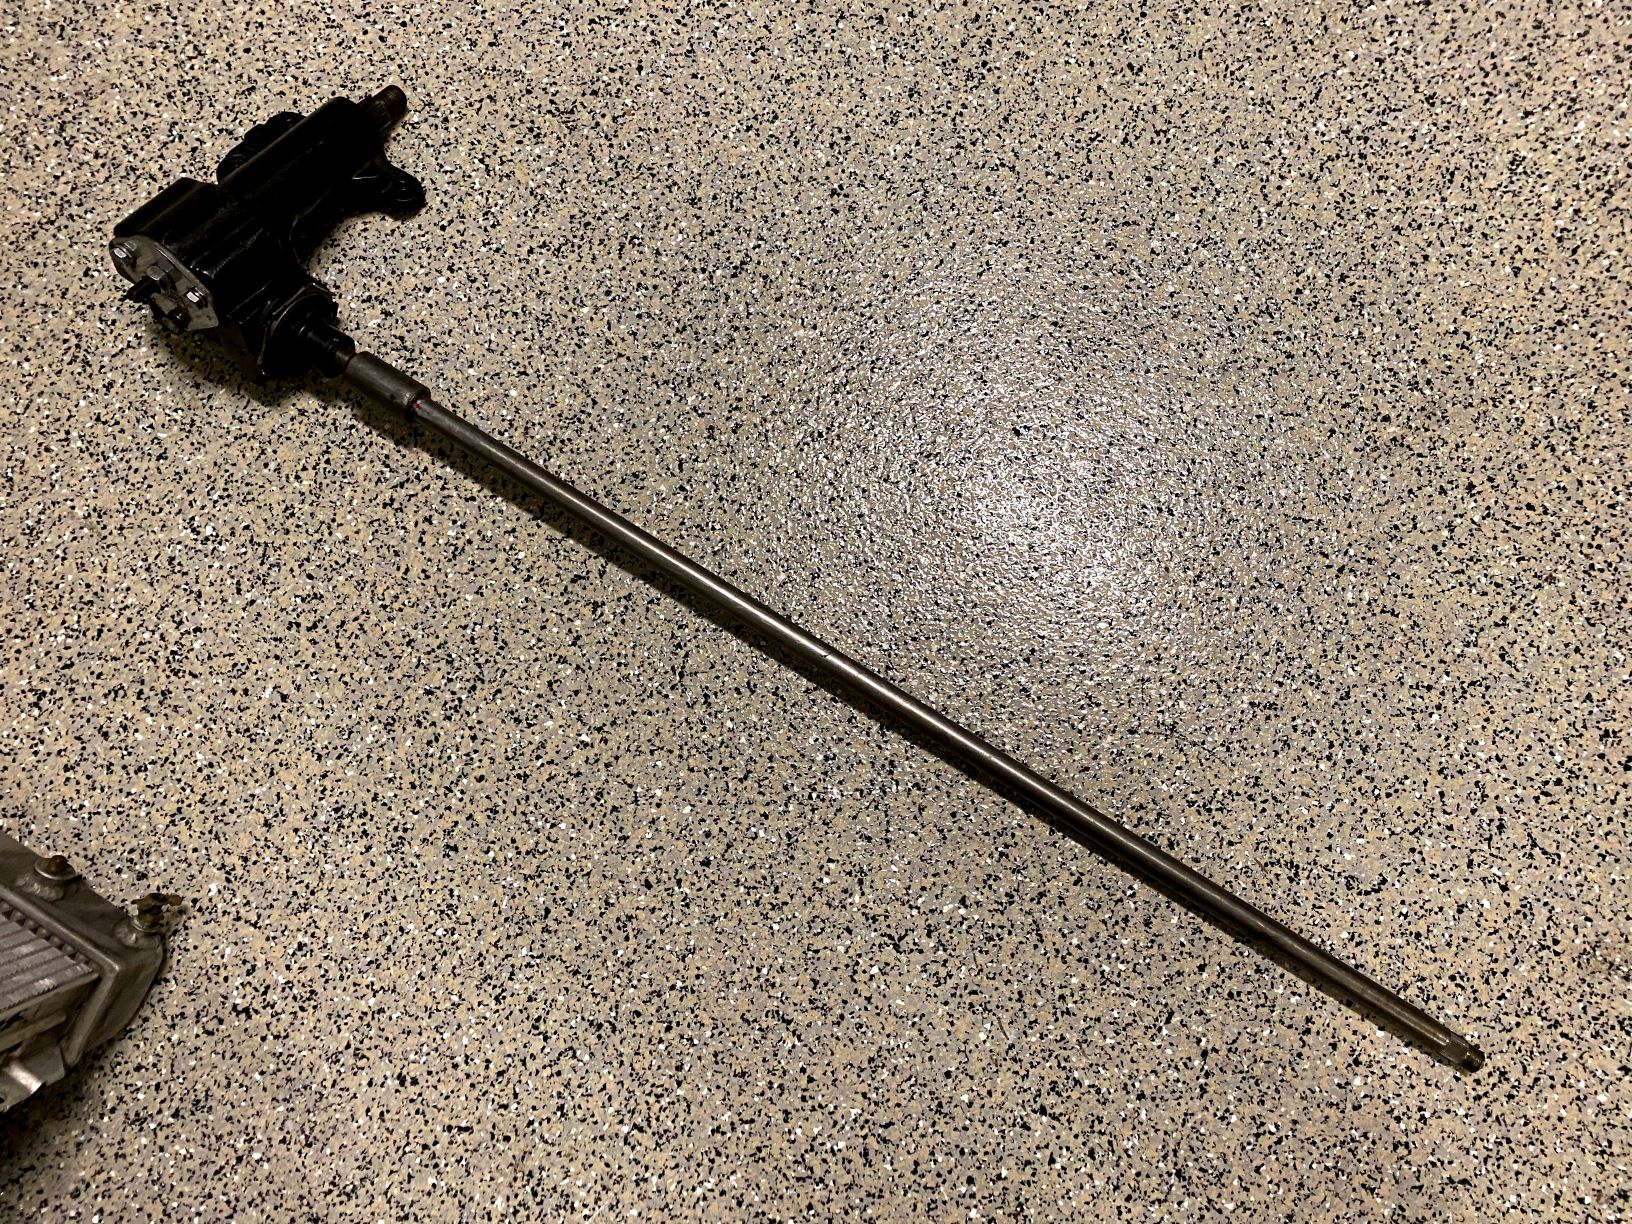
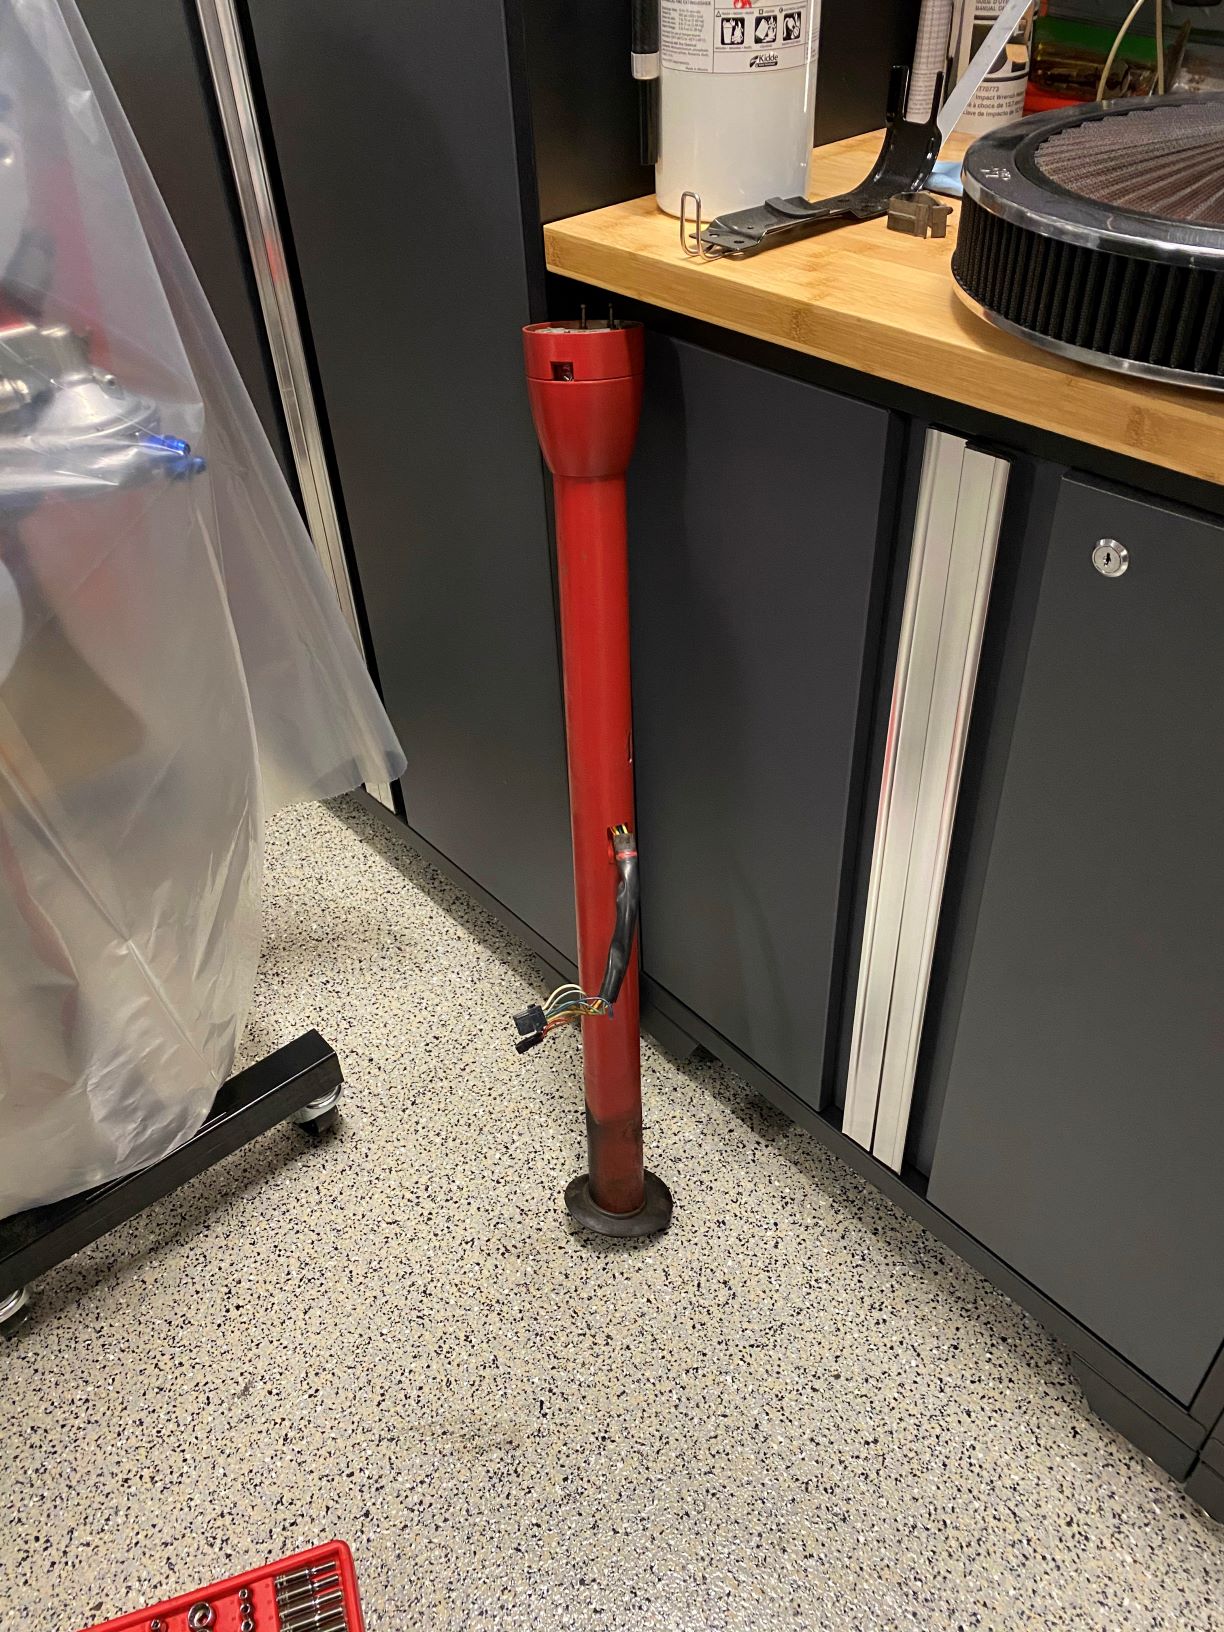
The first target of the day was the steering shaft and column. In the picture below the black “box” with the steel plate on top is the steering box. On the bottom it connects to the pitman arm in order to drive the control valve back and forth, on the other end a steel steering shaft extends all the way into the interior where the steering wheel is ultimately mounted. Because the steering shaft is a long steel rod aimed squarely at the driver’s upper torso it’s often lovingly referred to as a “spear”.
Around the steering shaft sits the steering column, effectively a long steel tube that supports the steering shaft, houses the turn signal and horn mechanisms, and looks prettier than a bare steel shaft.

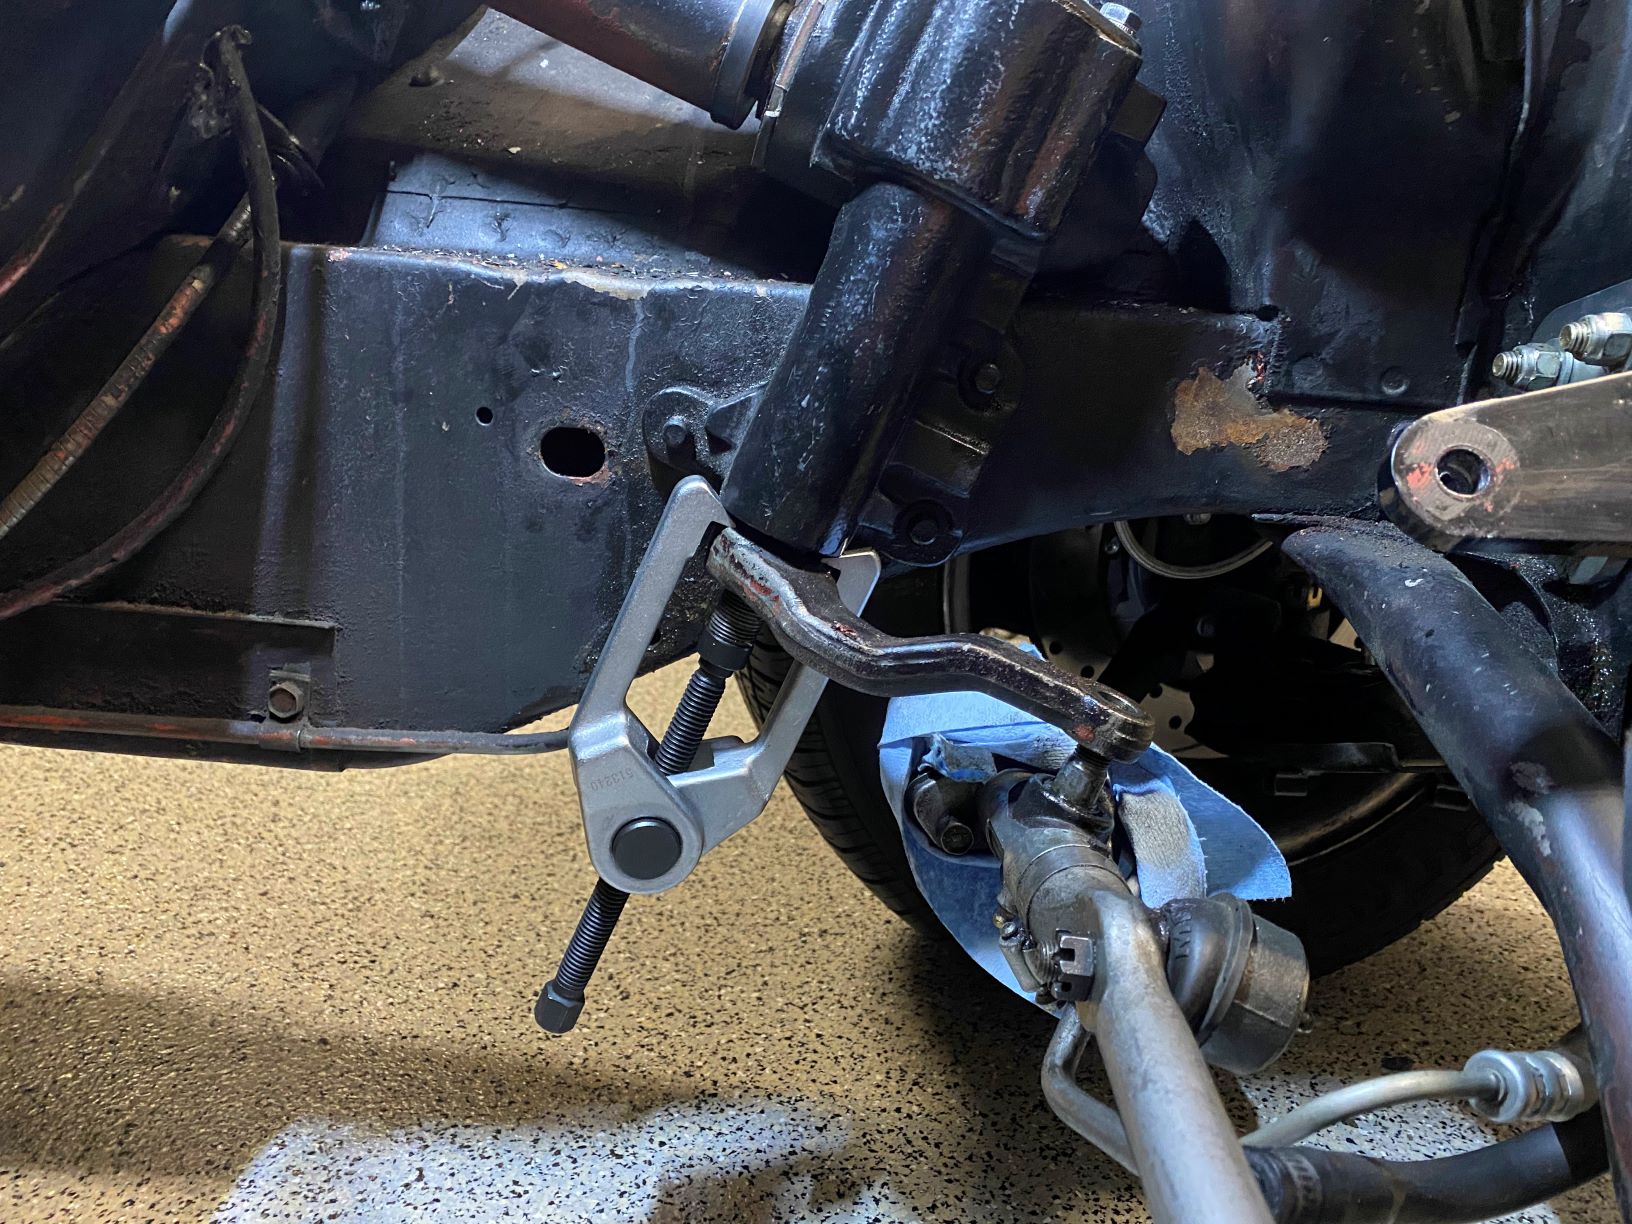
I love legitimate reasons to use specialized tools and suspension pullers are some of my favorites. There’s just something gratifying about the silent effort followed by the sudden loud BANG that means either your suspension is free or your water heater exploded. I had to throw a 3 foot breaker bar on the pictured pitman joint in order to break it loose.
Once the pitman arm was disconnected I asked Amara to join me in the garage to help support the steering column from the inside of the car. With her help keeping the column steady I removed the supports under the dash and then we were able to slowly twist the column up and off of the steering shaft. From there it was a quick three bolts and some careful maneuvering to get the shaft clear of the interior and out through the engine bay.
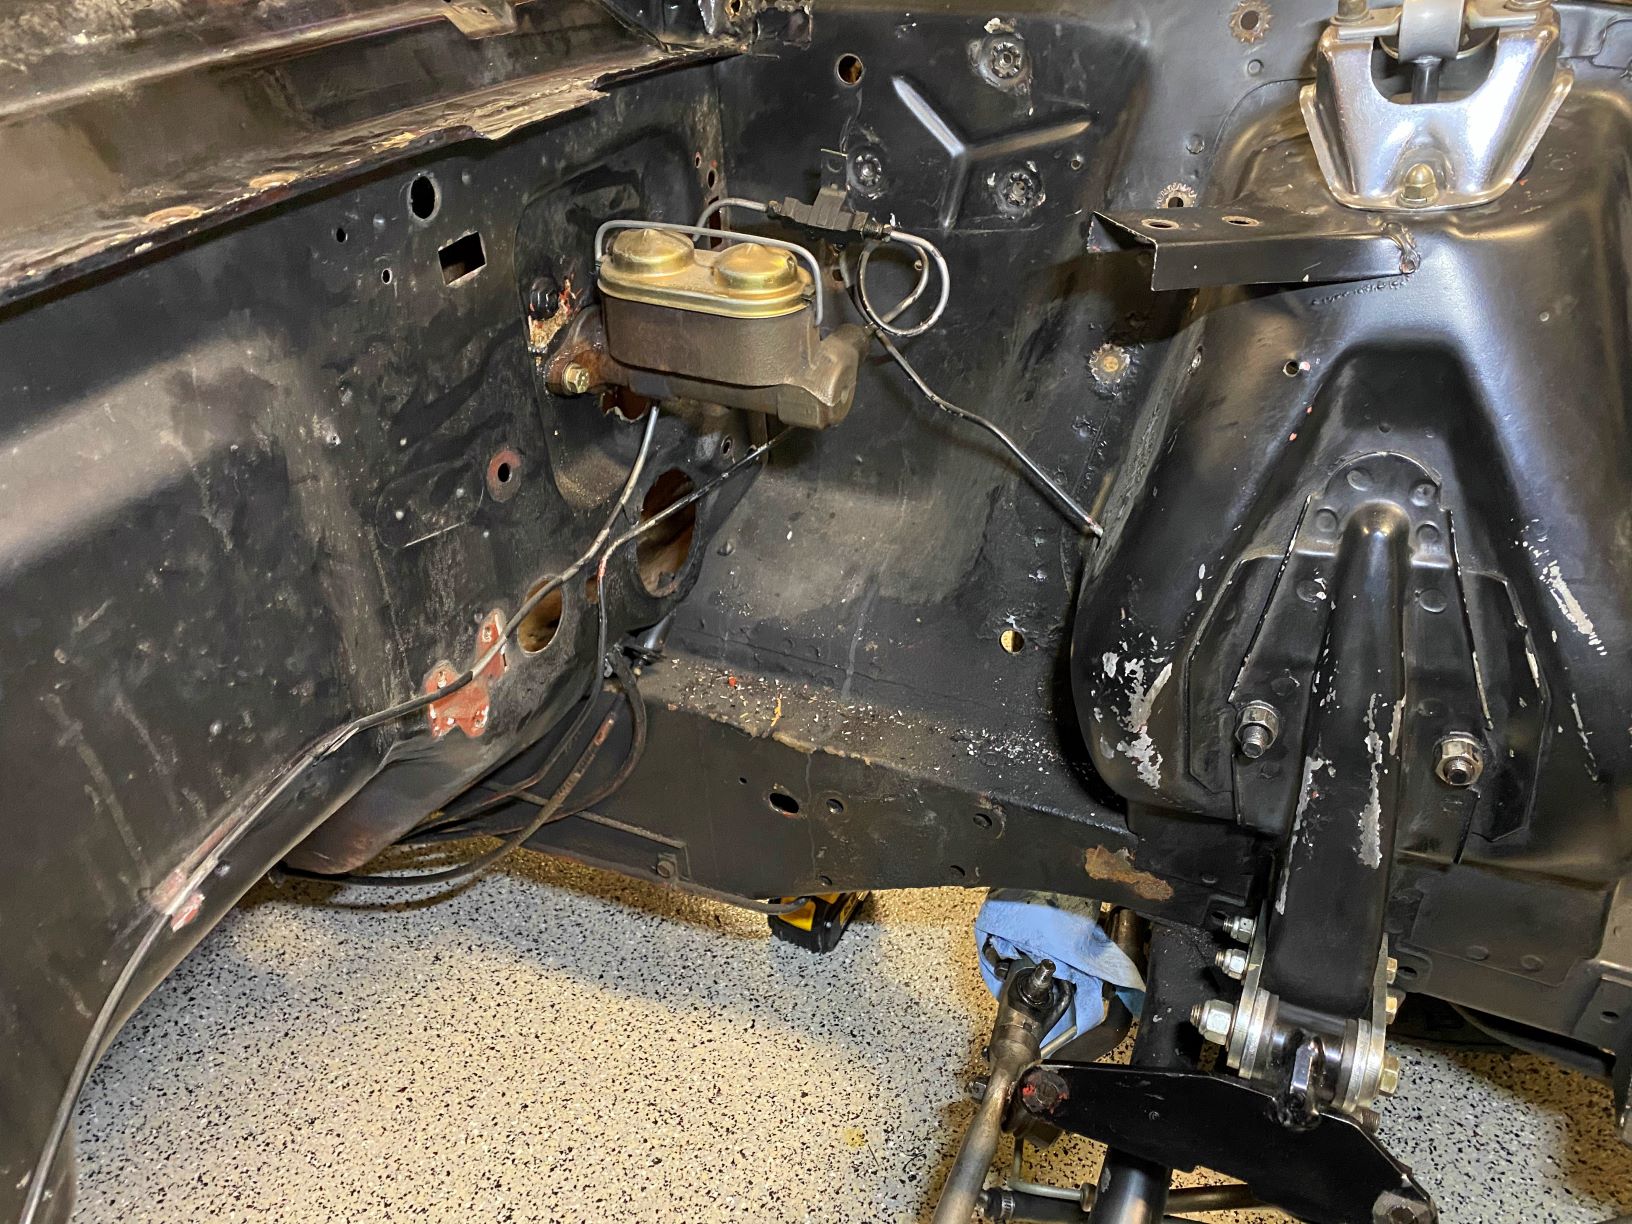
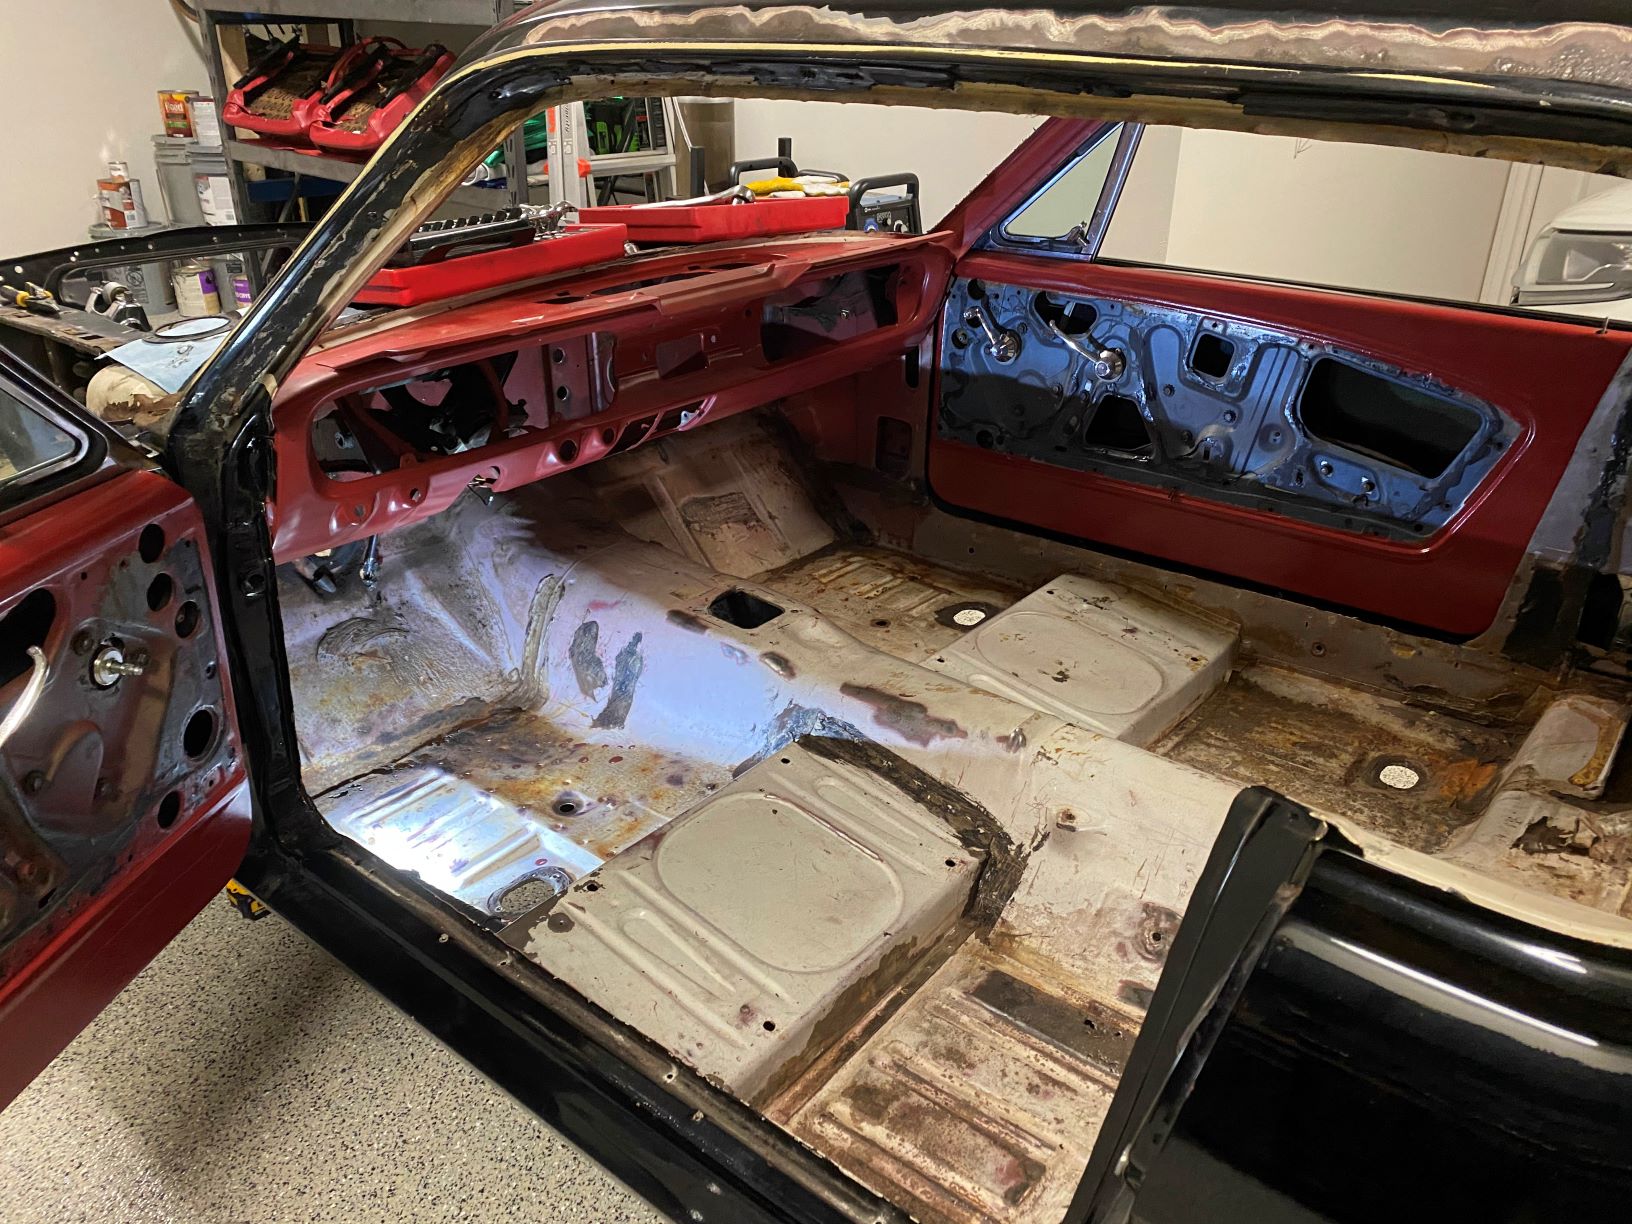
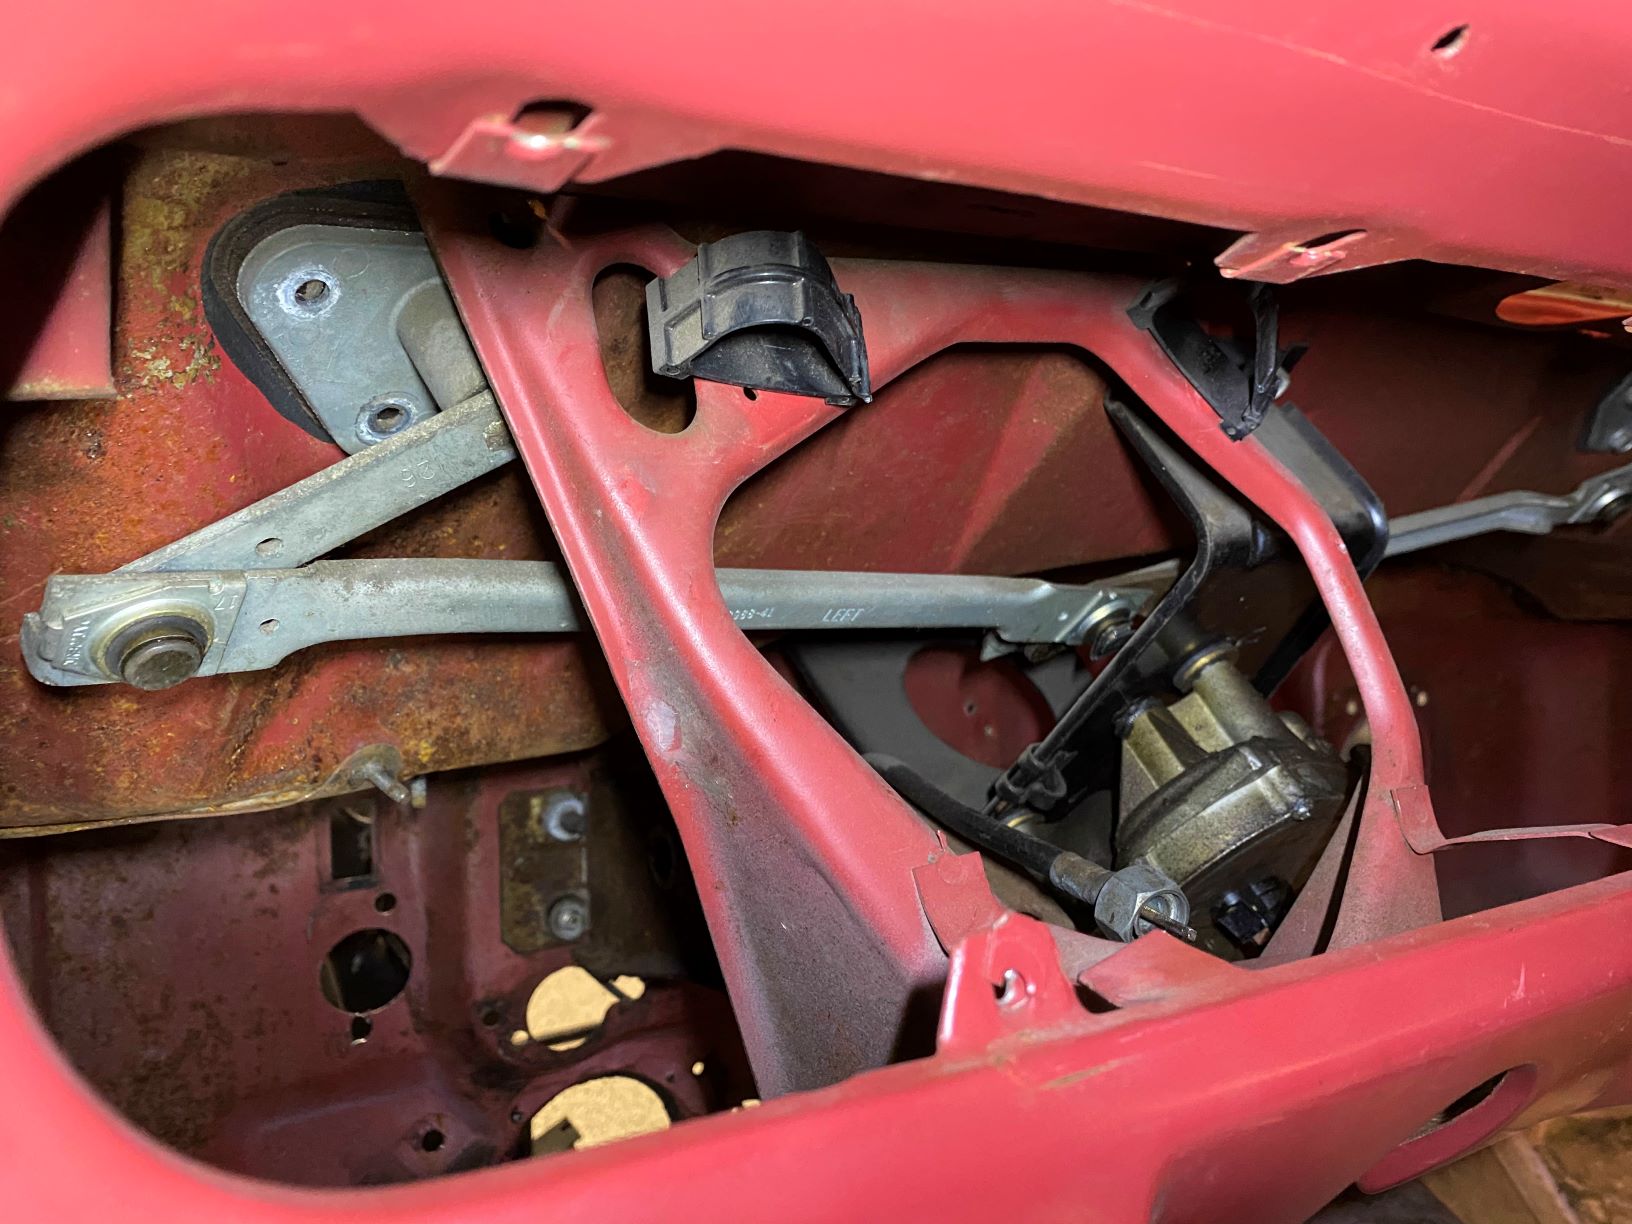
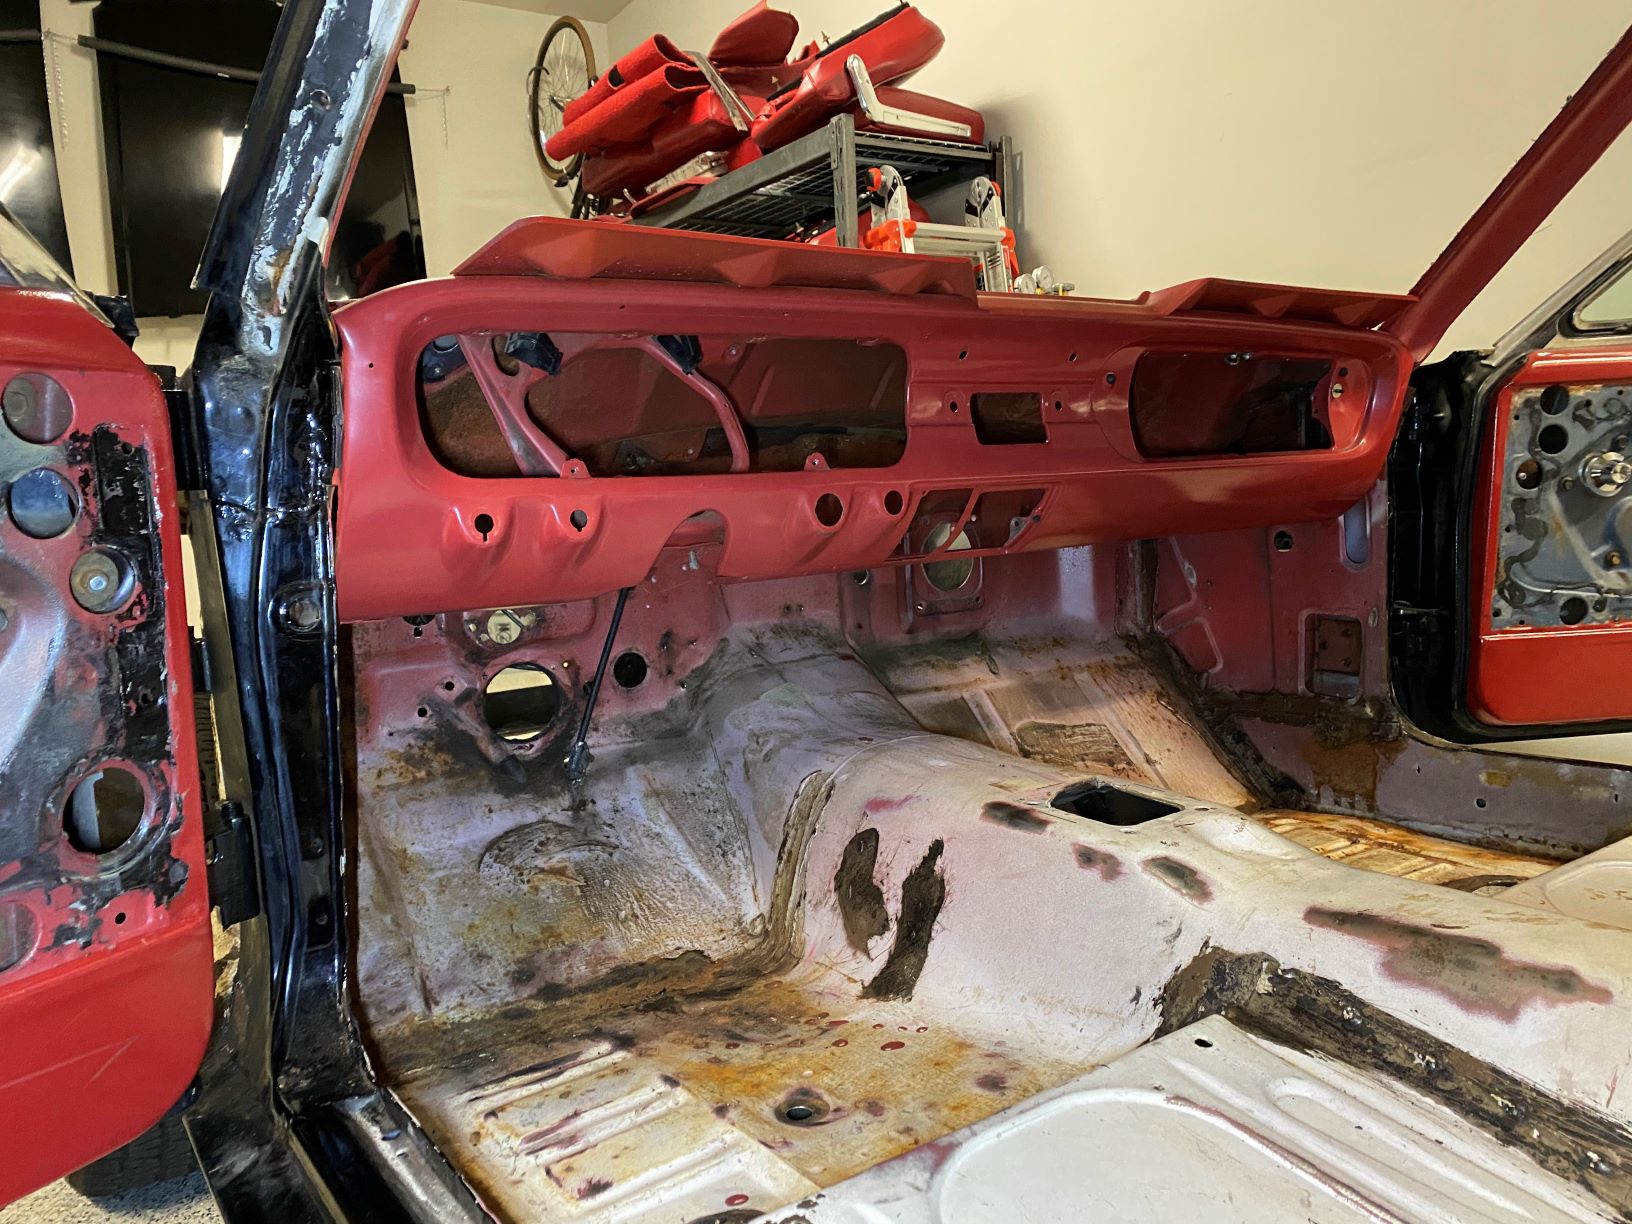
The dash is looking pretty empty these days. The only things left under there are the windshield wiper motor, bracket, arms, and the speedometer cable.
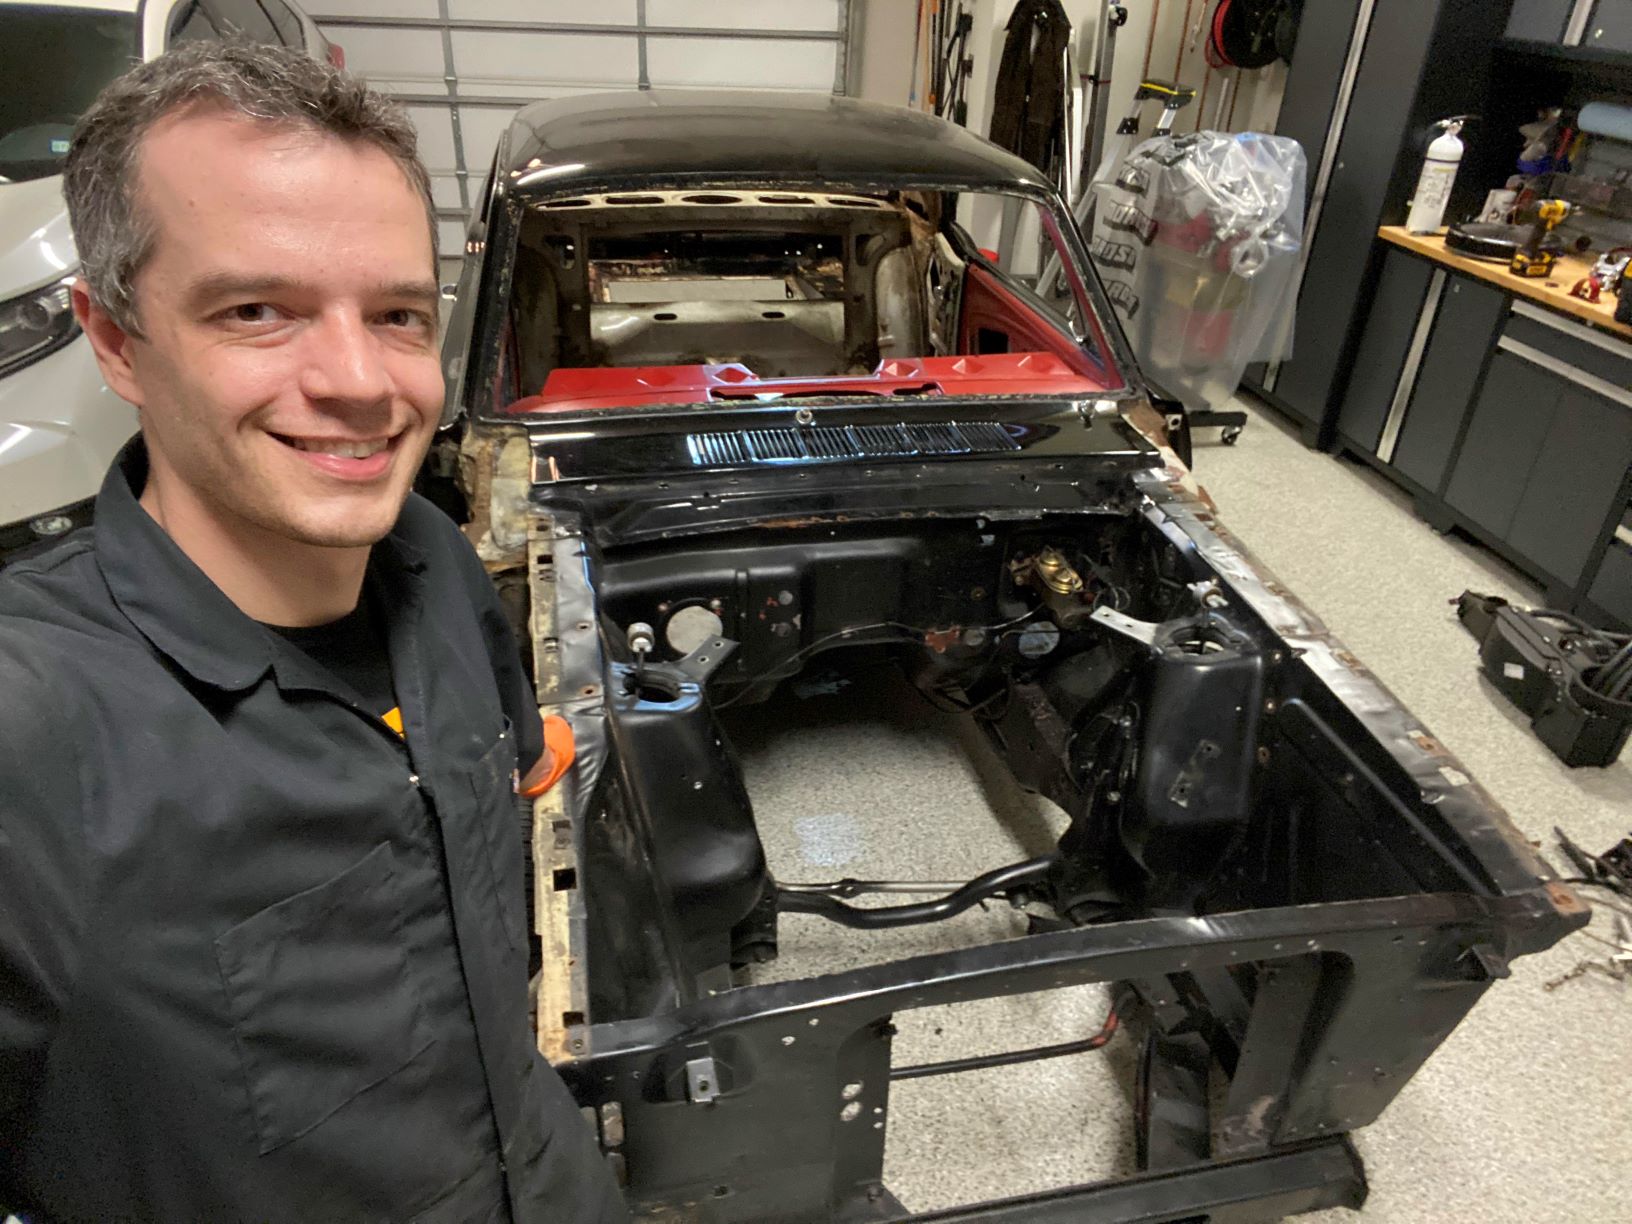
Shamelessly blurry selfie
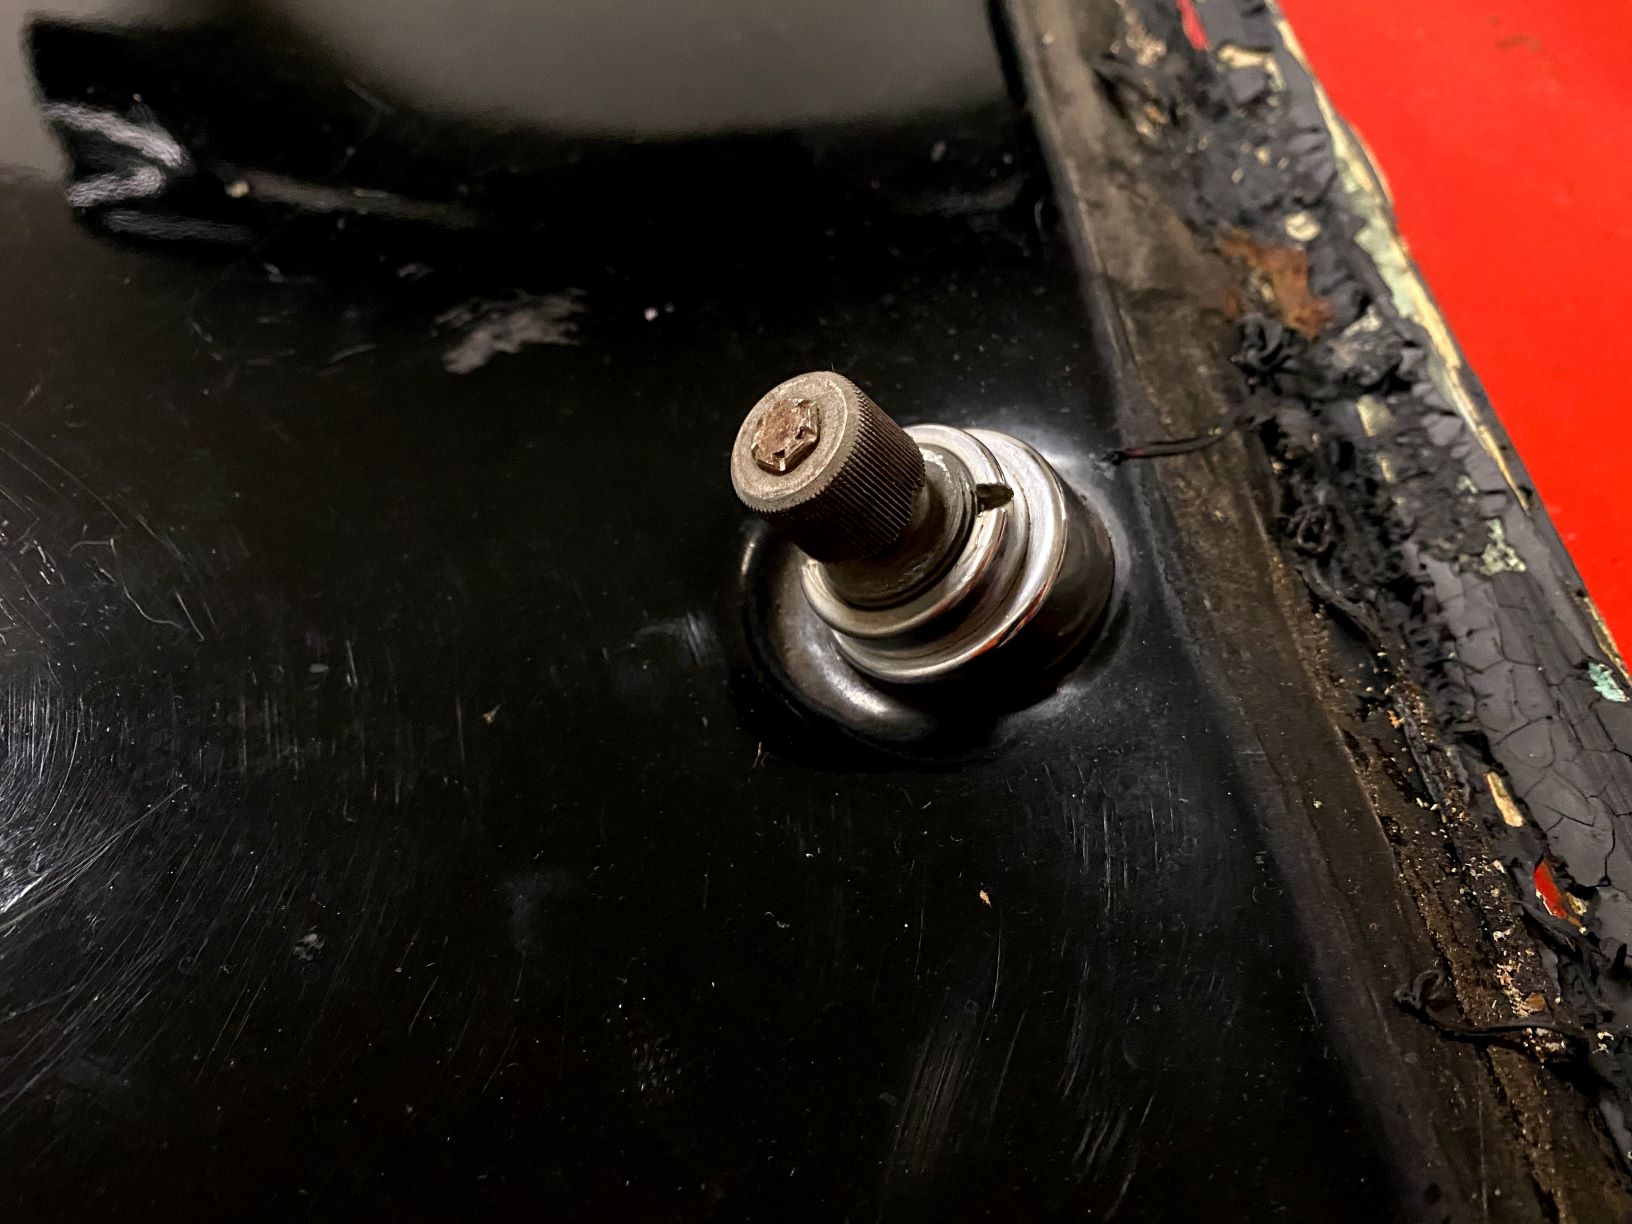
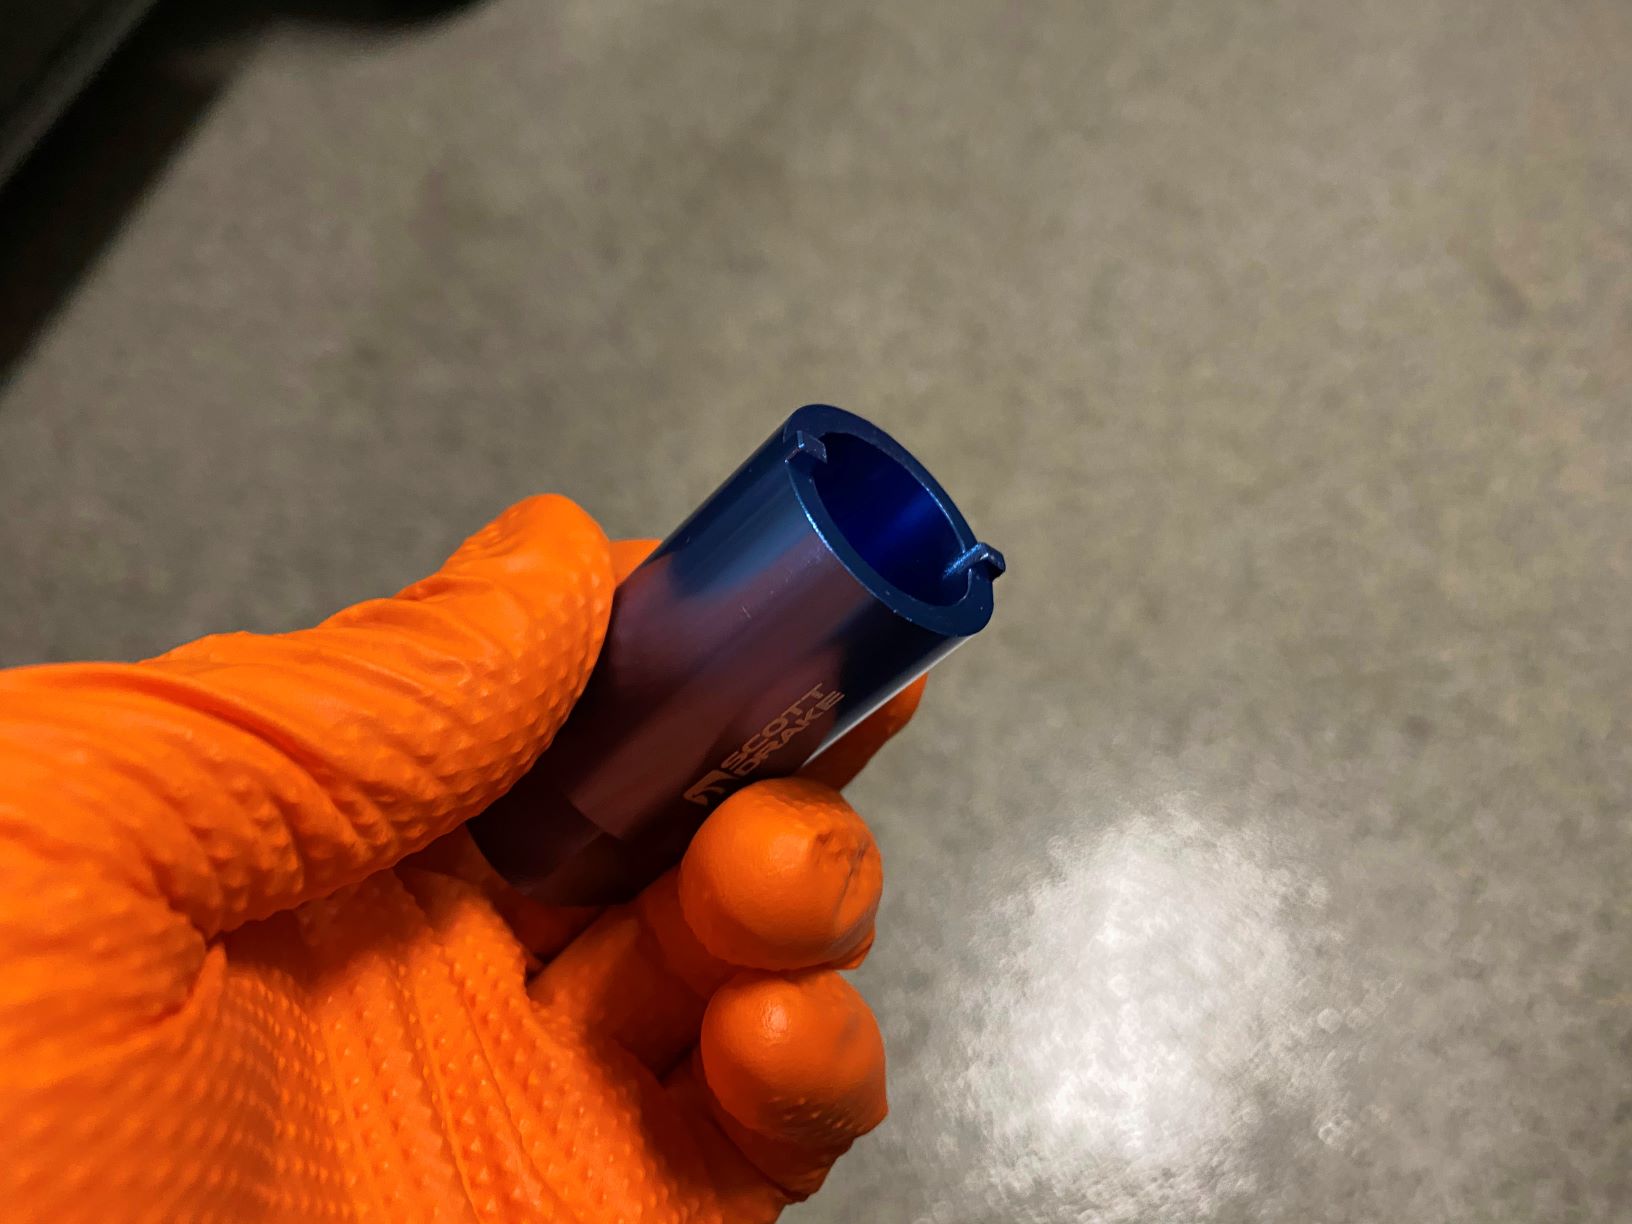
On the ’65 and ’66 Mustangs Ford decided that it would be a great idea to cap the wiper studs with chrome bezels that require an obtusely unique socket to remove. One $20 eBay purchase and seven days later I’m now the proud owner of a ridiculous tool I will use exactly twice.
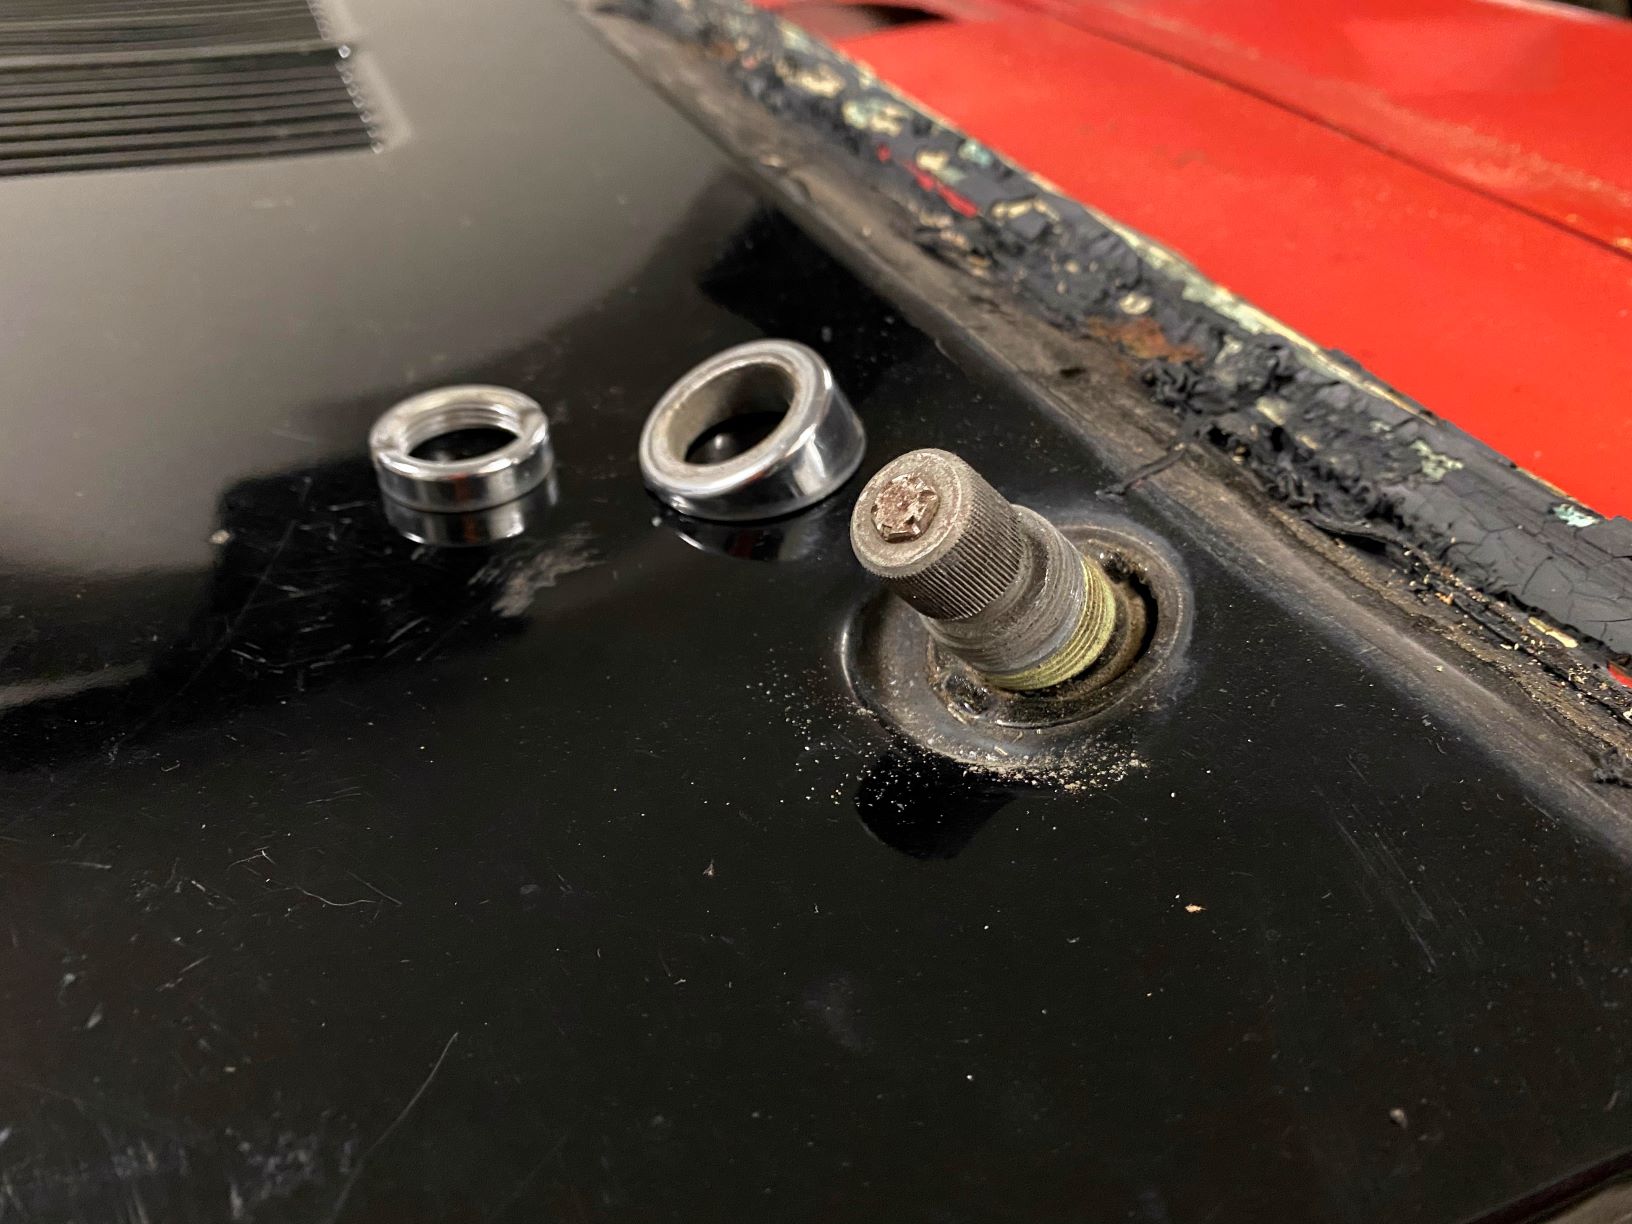
With those bezels removed it was time to get back under the dash to remove a dozen or so bolts holing the wiper motor bracket to the underside of the dash and the actuation arms to the cowl. One of the bolts in the cowl snapped in half but I’m planning on replacing the cowl anyway so it won’t be an issue.
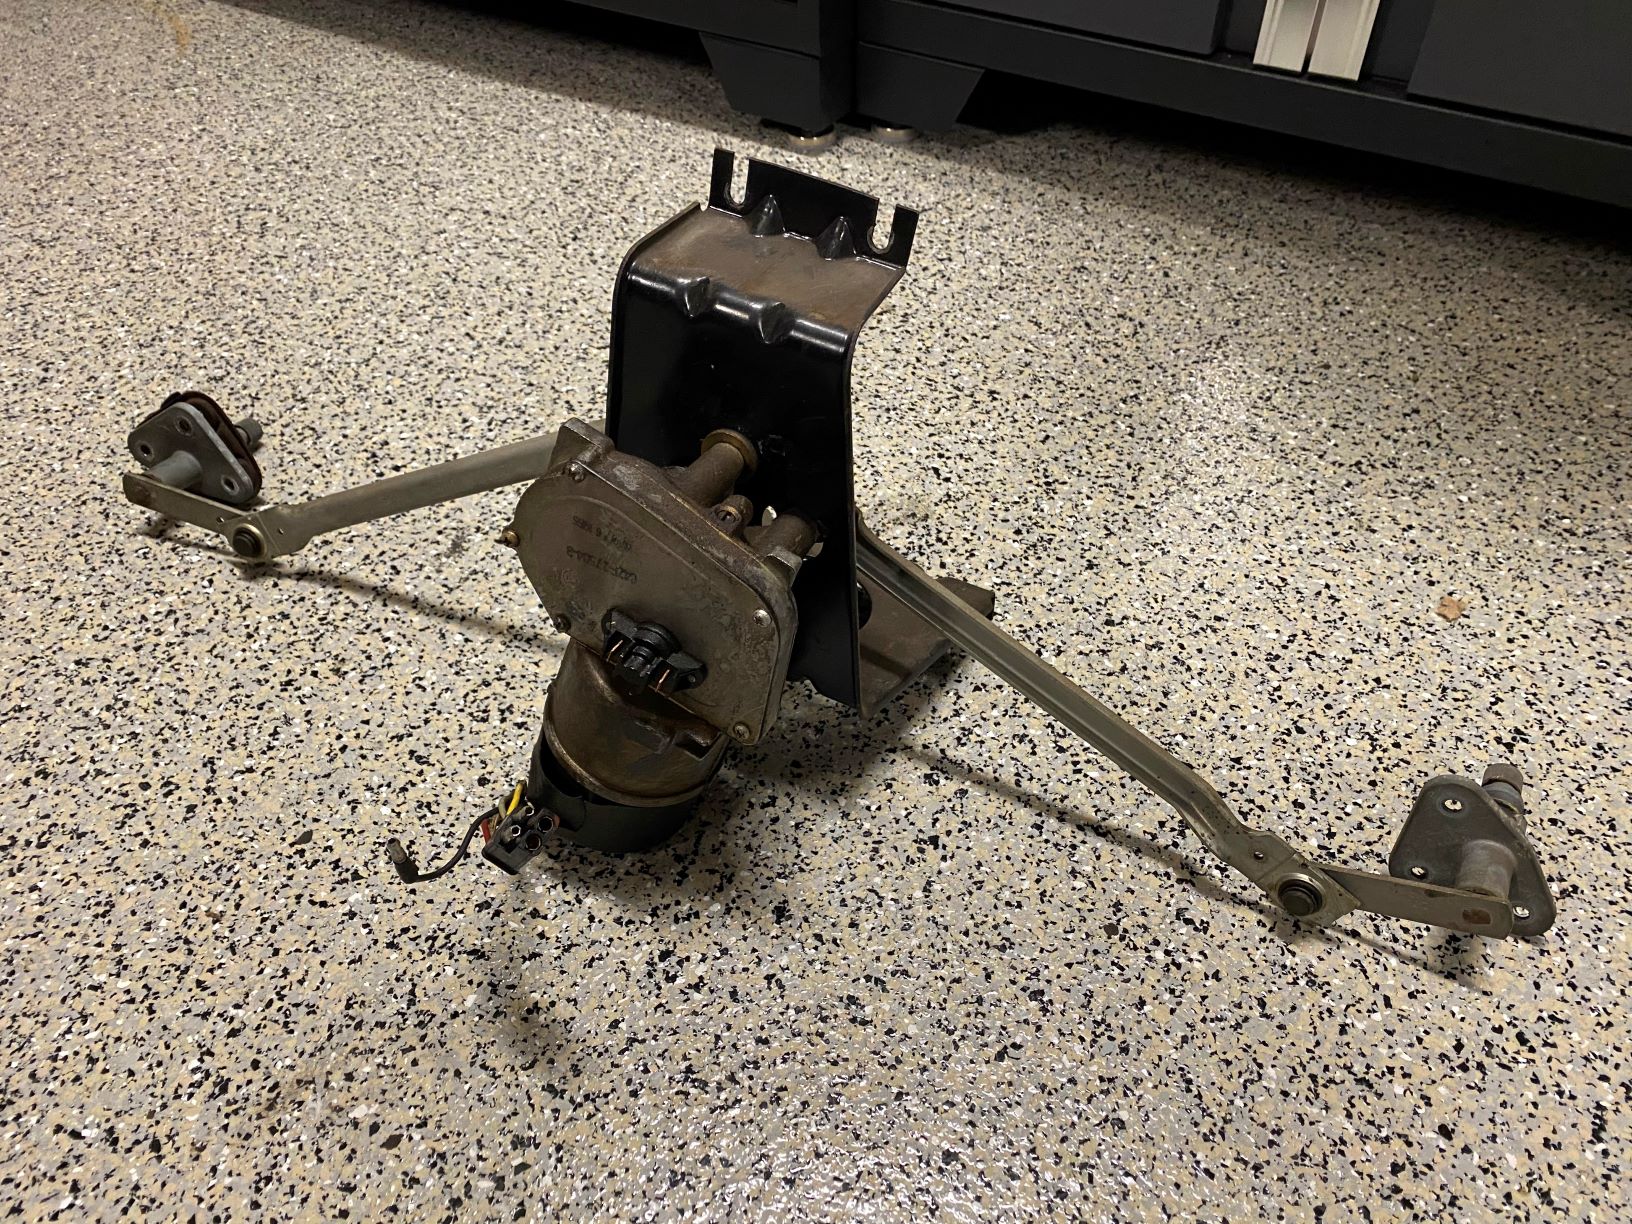
Now it’s just the speedometer left, I’ll remove that once the car is up on the rotisserie and access to the bottom of the car is much easier.
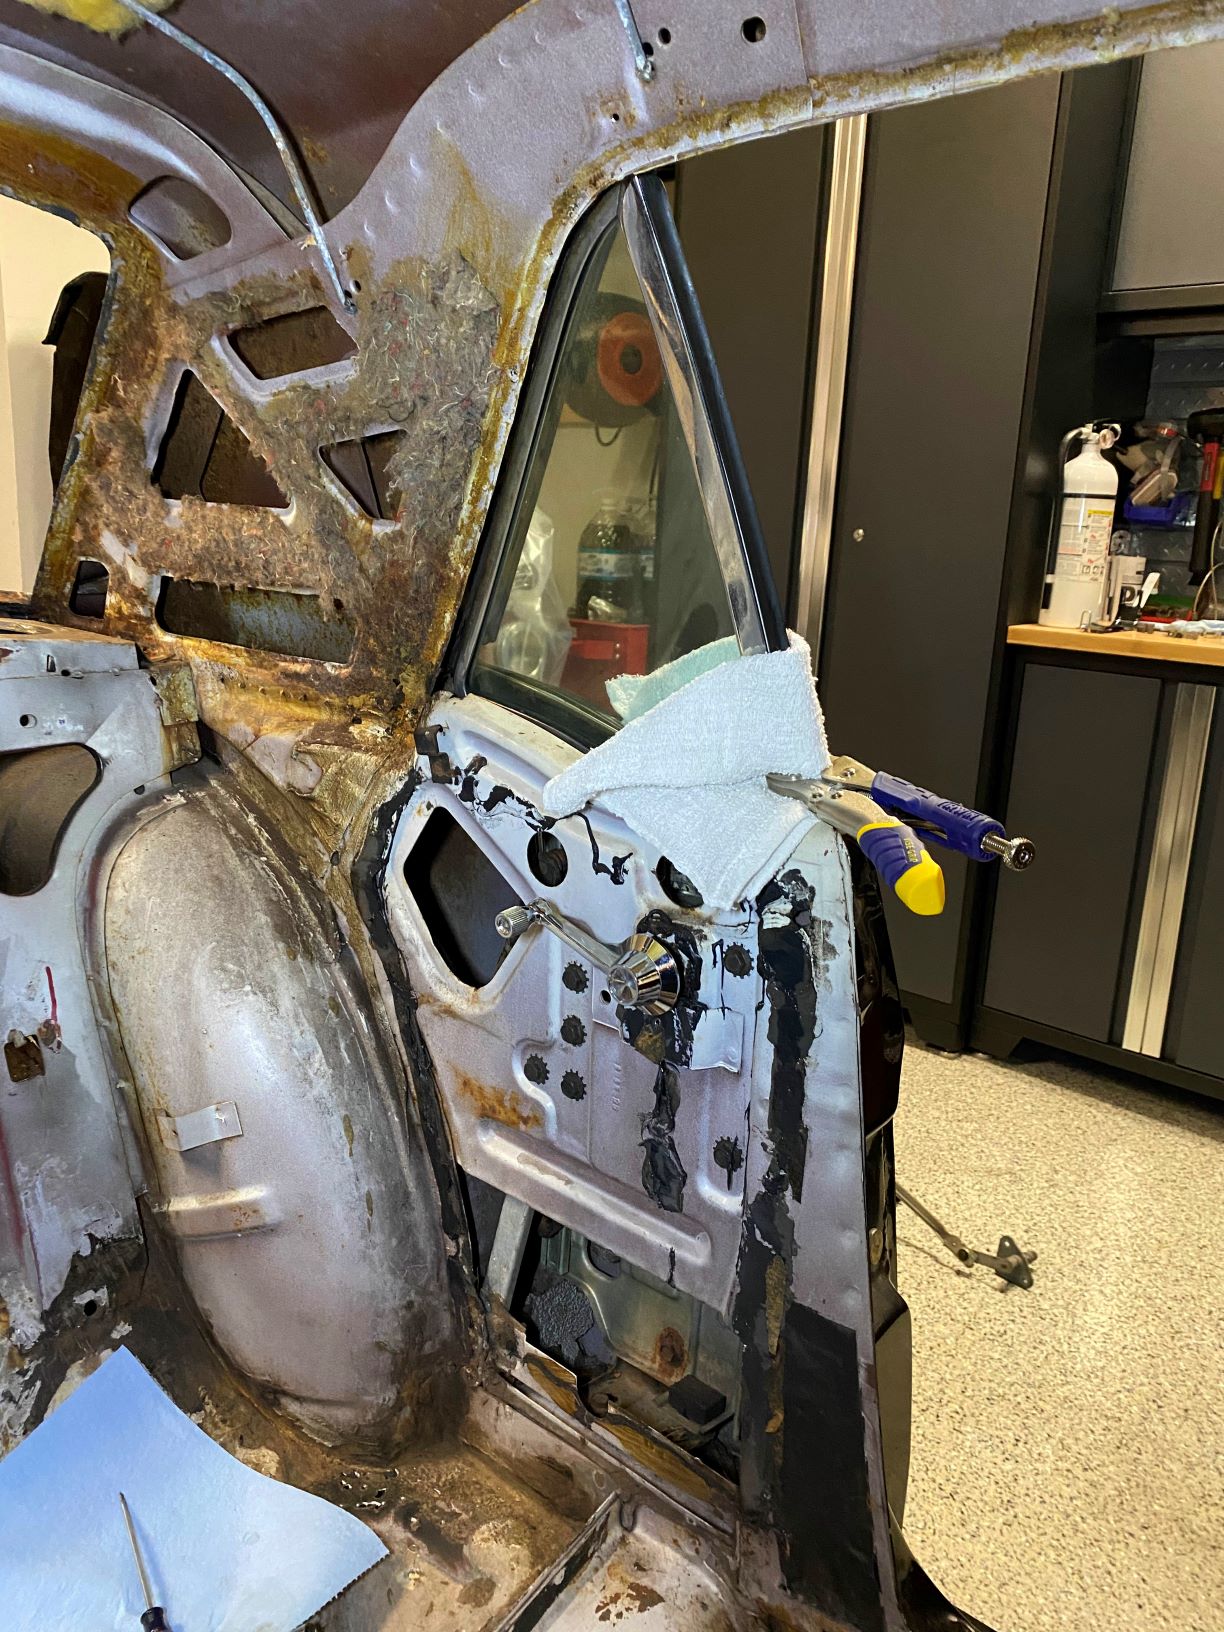
The last item on the list for the day was the glass and window mechanisms in the quarter panels. The removal procedure is quite tedious and you have to be exceptionally careful not to scratch the glass as absolutely everything else (regulator, track plate, window stops) has to come out before the glass can be removed.
Adding to the adventure is the fact that the sheet metal design of the interior panels means that certain aspects of the window mechanisms are only accessible at certain glass positions, hence the vice grips keeping the free-floating window elevated at the top of its tracks in the photo below.
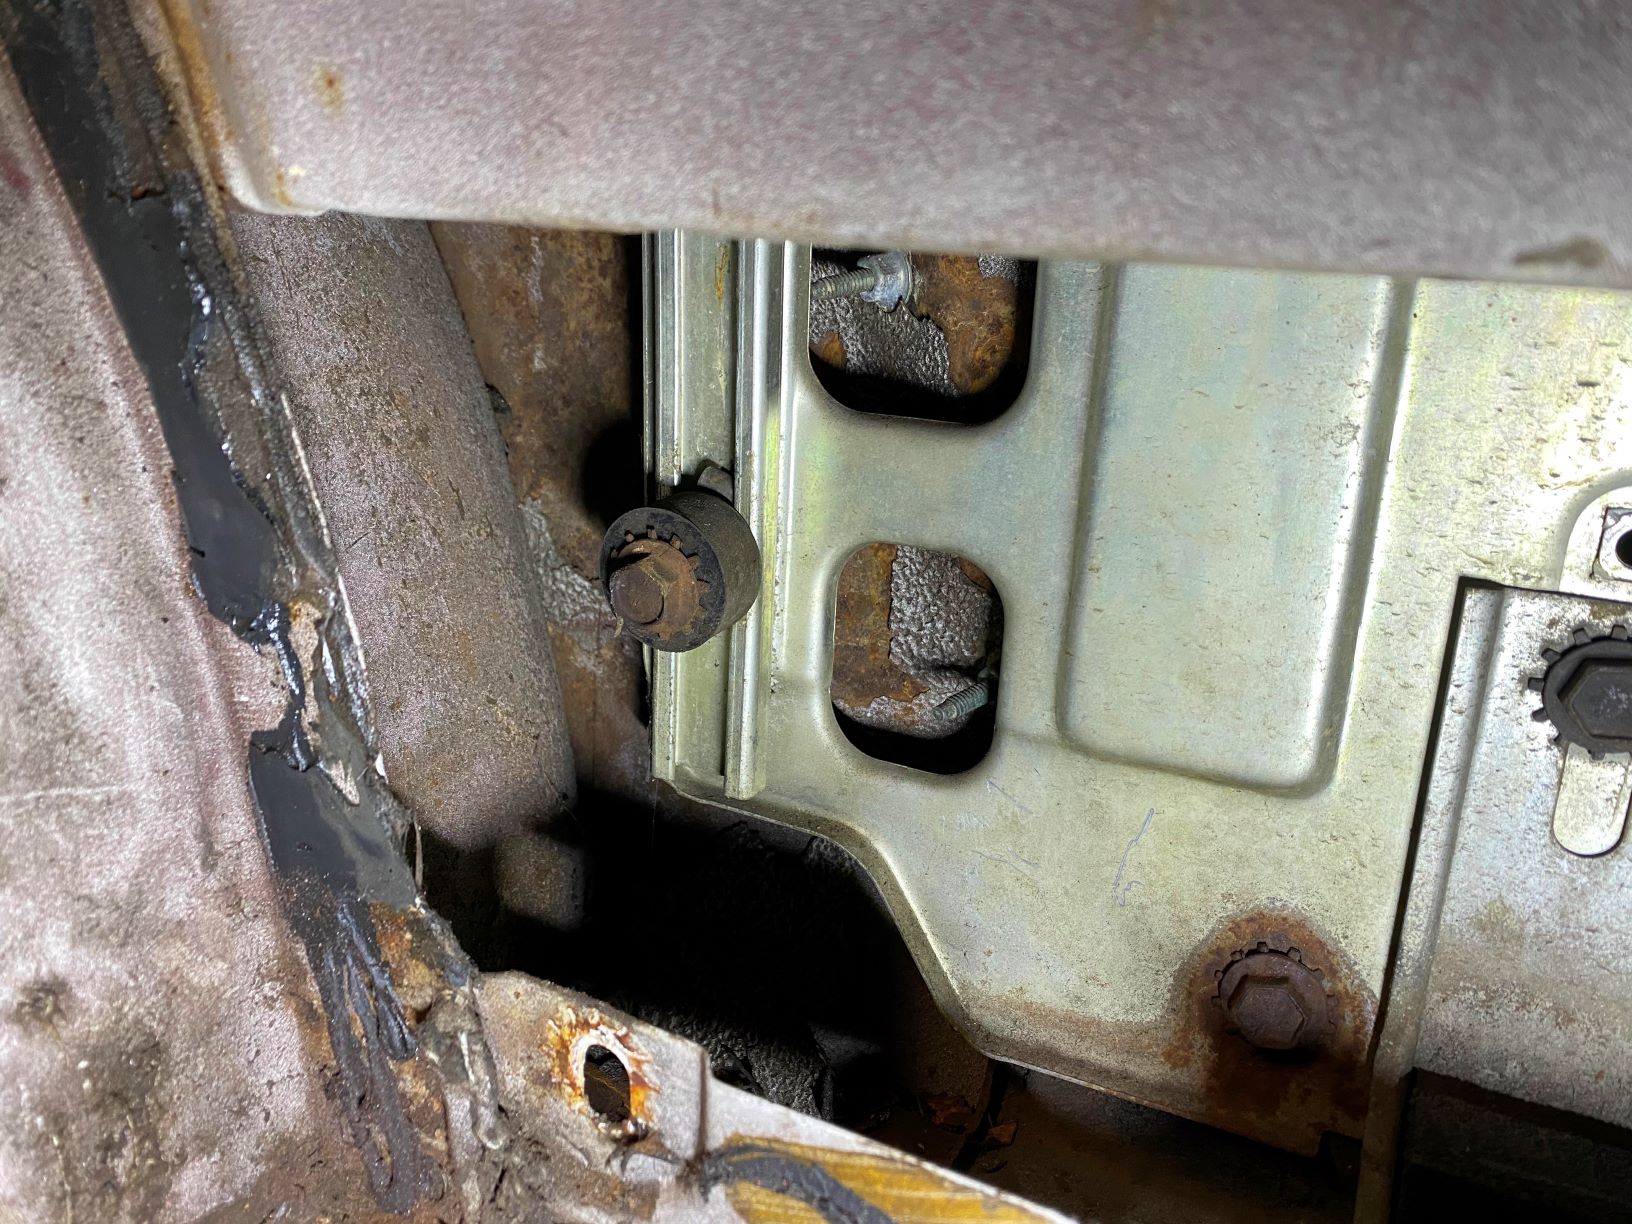
The next photo shows a stopper in one of the window tracks that prevents the window from rolling too far down. The function of the stopper isn’t very interesting but I thoroughly enjoyed discovering that it was exquisitely crafted from an inverted body panel clip, a suspension bushing, and a bolt with a tooth lock washer. That’s some MacGyver style execution on Ford’s part, bravo.
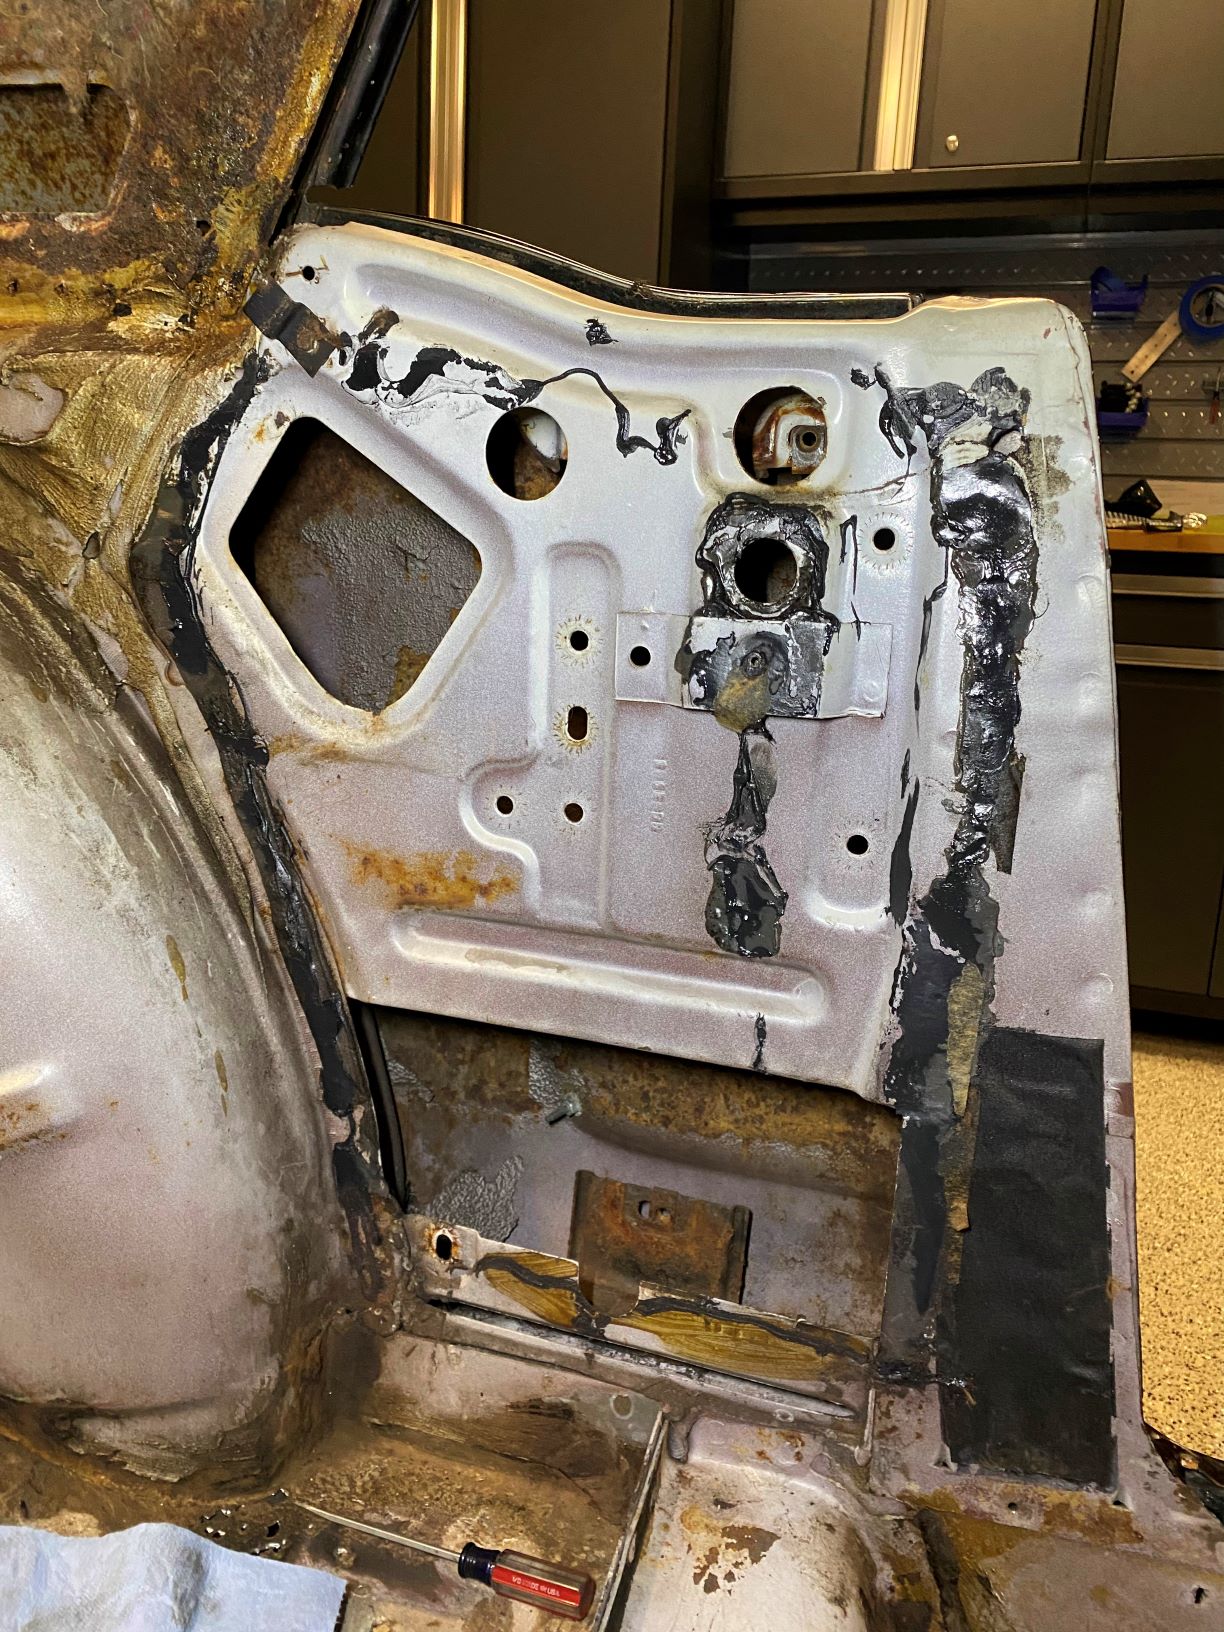
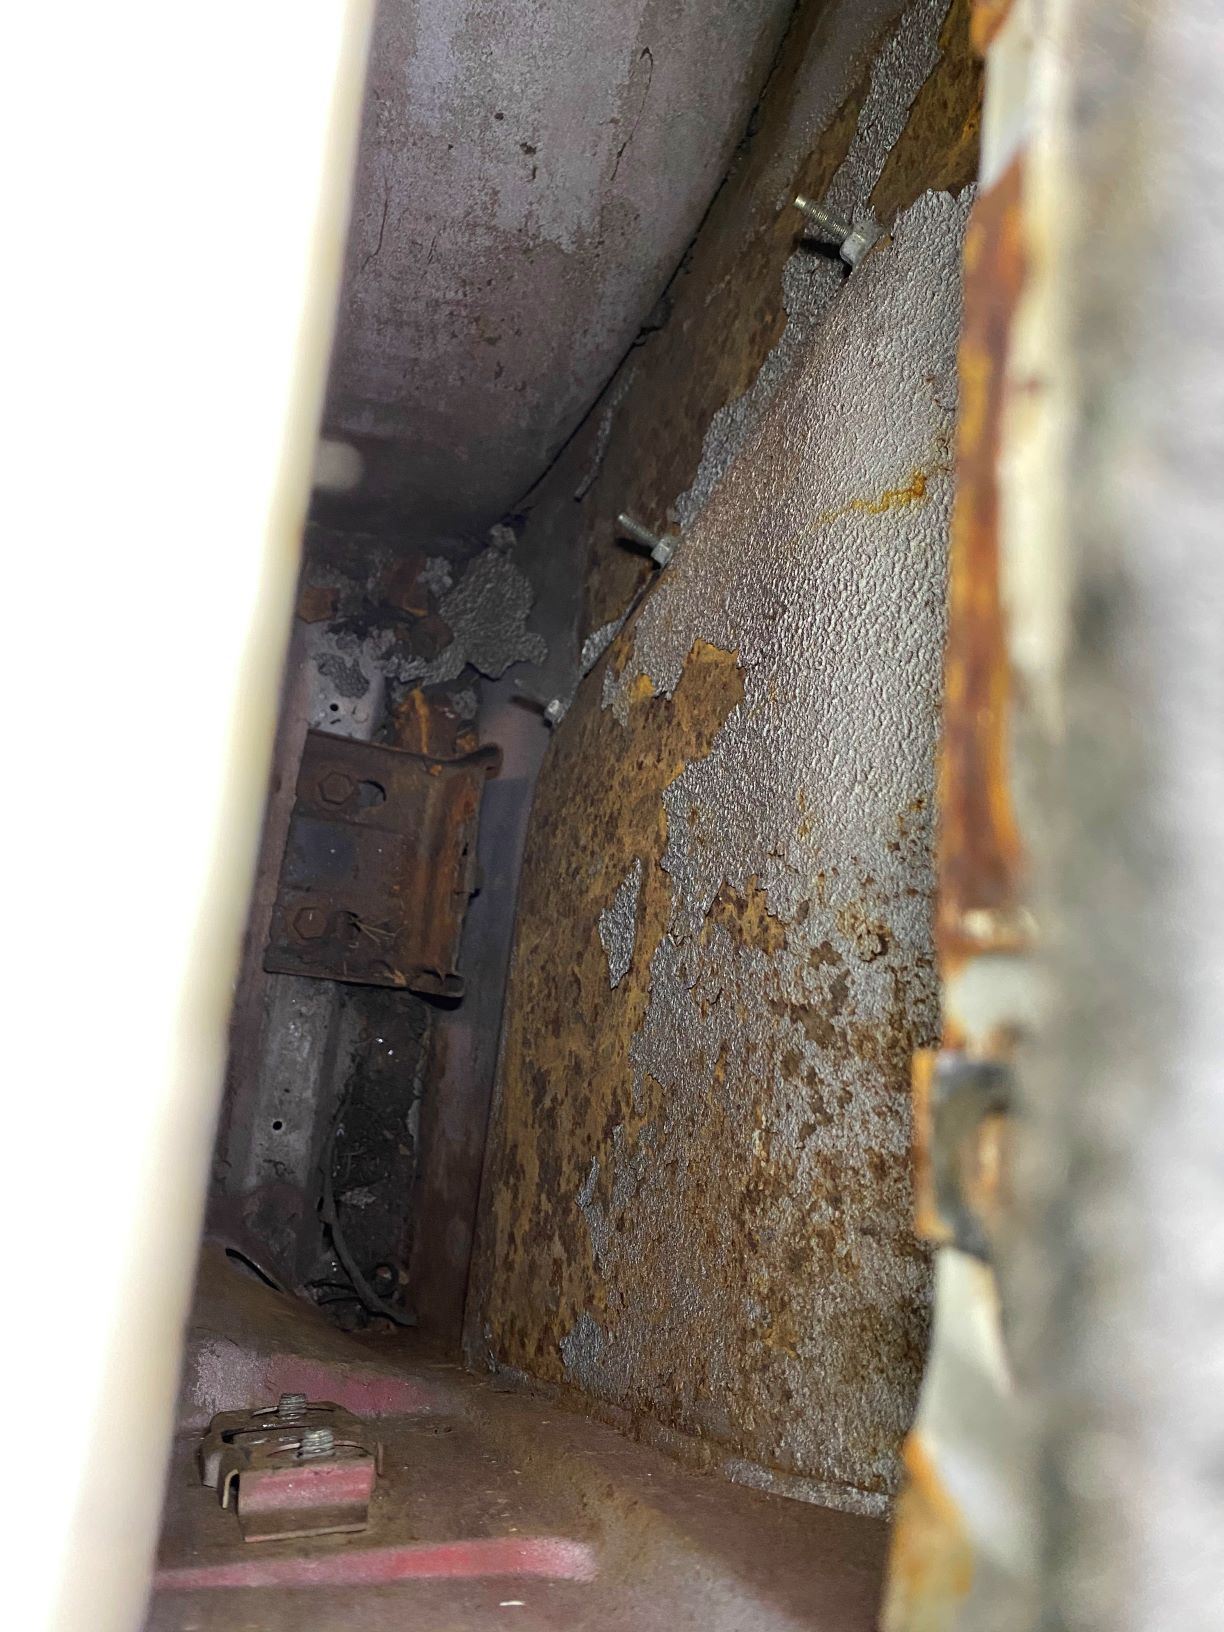
With the glass and window assembly removed I was able to access the three retaining nuts that keep the chrome quarter panel trim attached. The following picture is taken looking down into the slot that the window would typically roll up out of and the three studs can be seen protruding into the cavity.
asdf
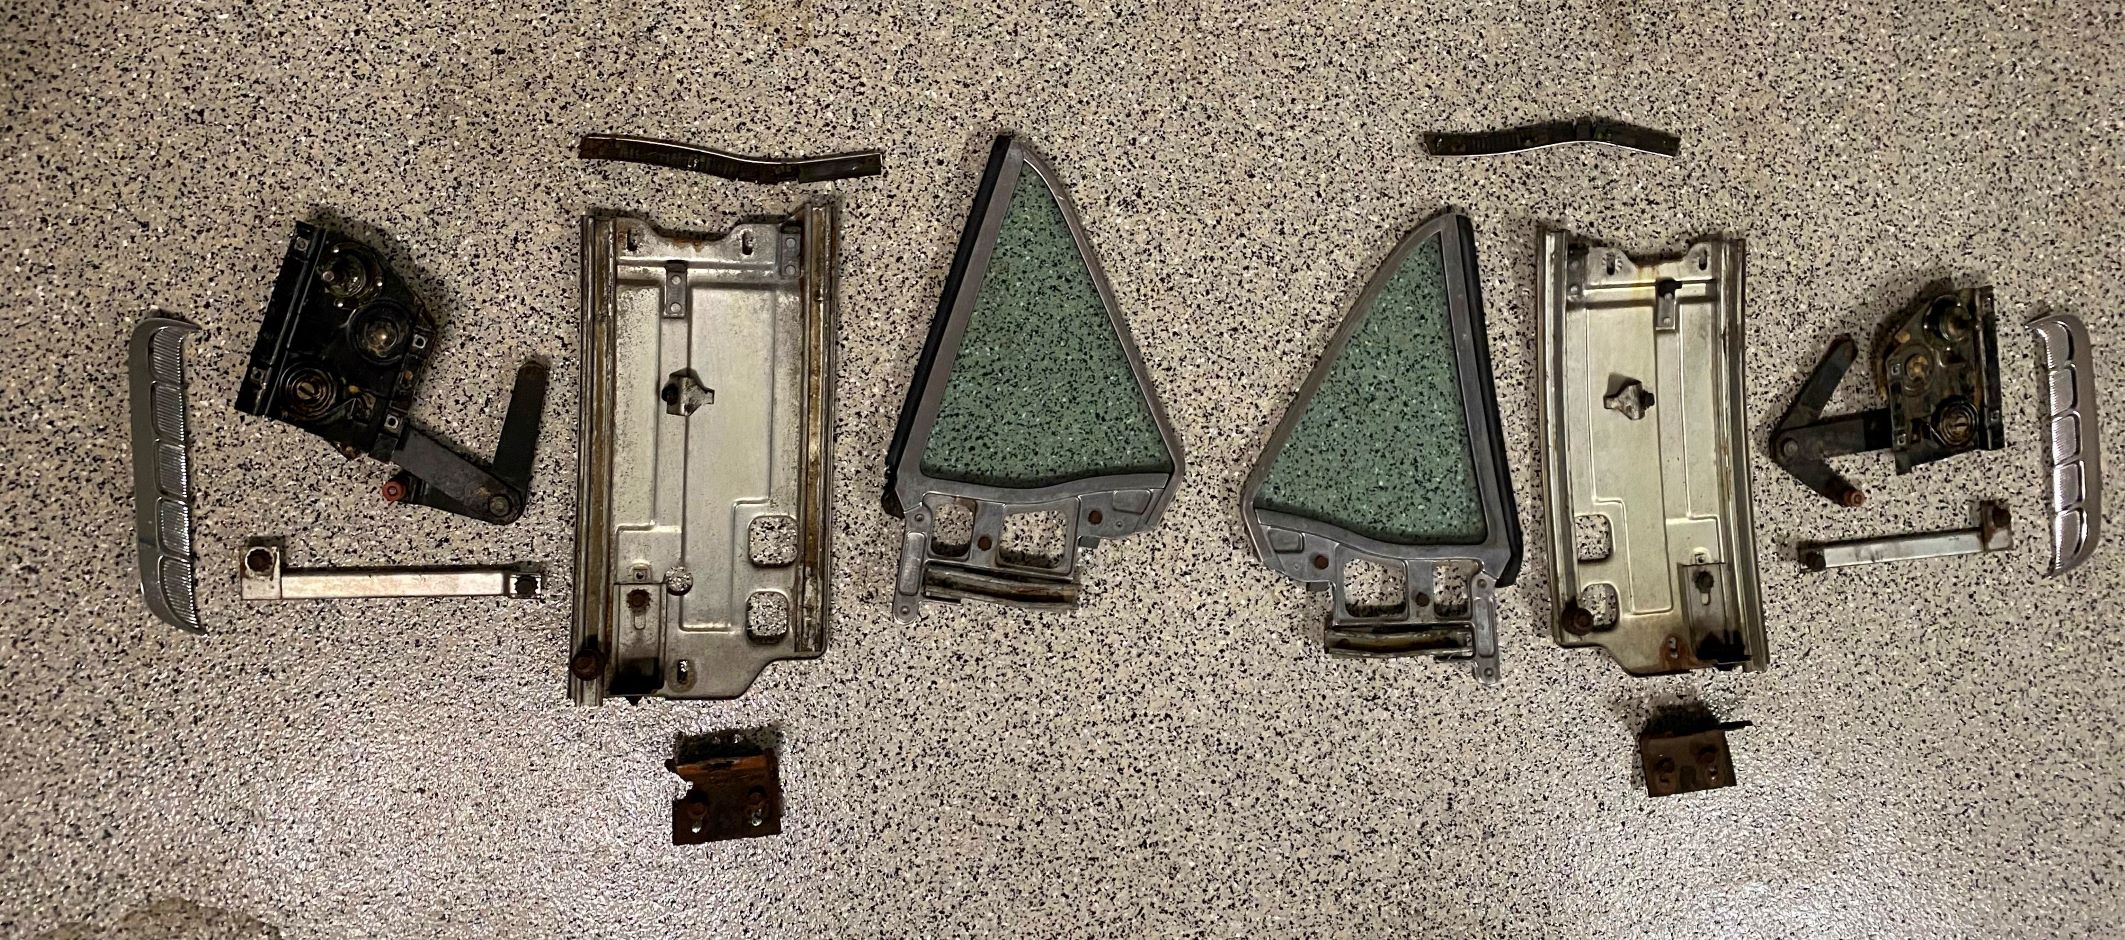
After rinsing and repeating on the passenger side I laid out all of the quarter window components.
From left to right: chrome quarter panel exterior trim, window regulator (top), interior regulator track (bottom), outer felt guide (top), window track panel (middle), window track bottom bracket (bottom), quarter glass, then all the same items in reverse for the driver’s side
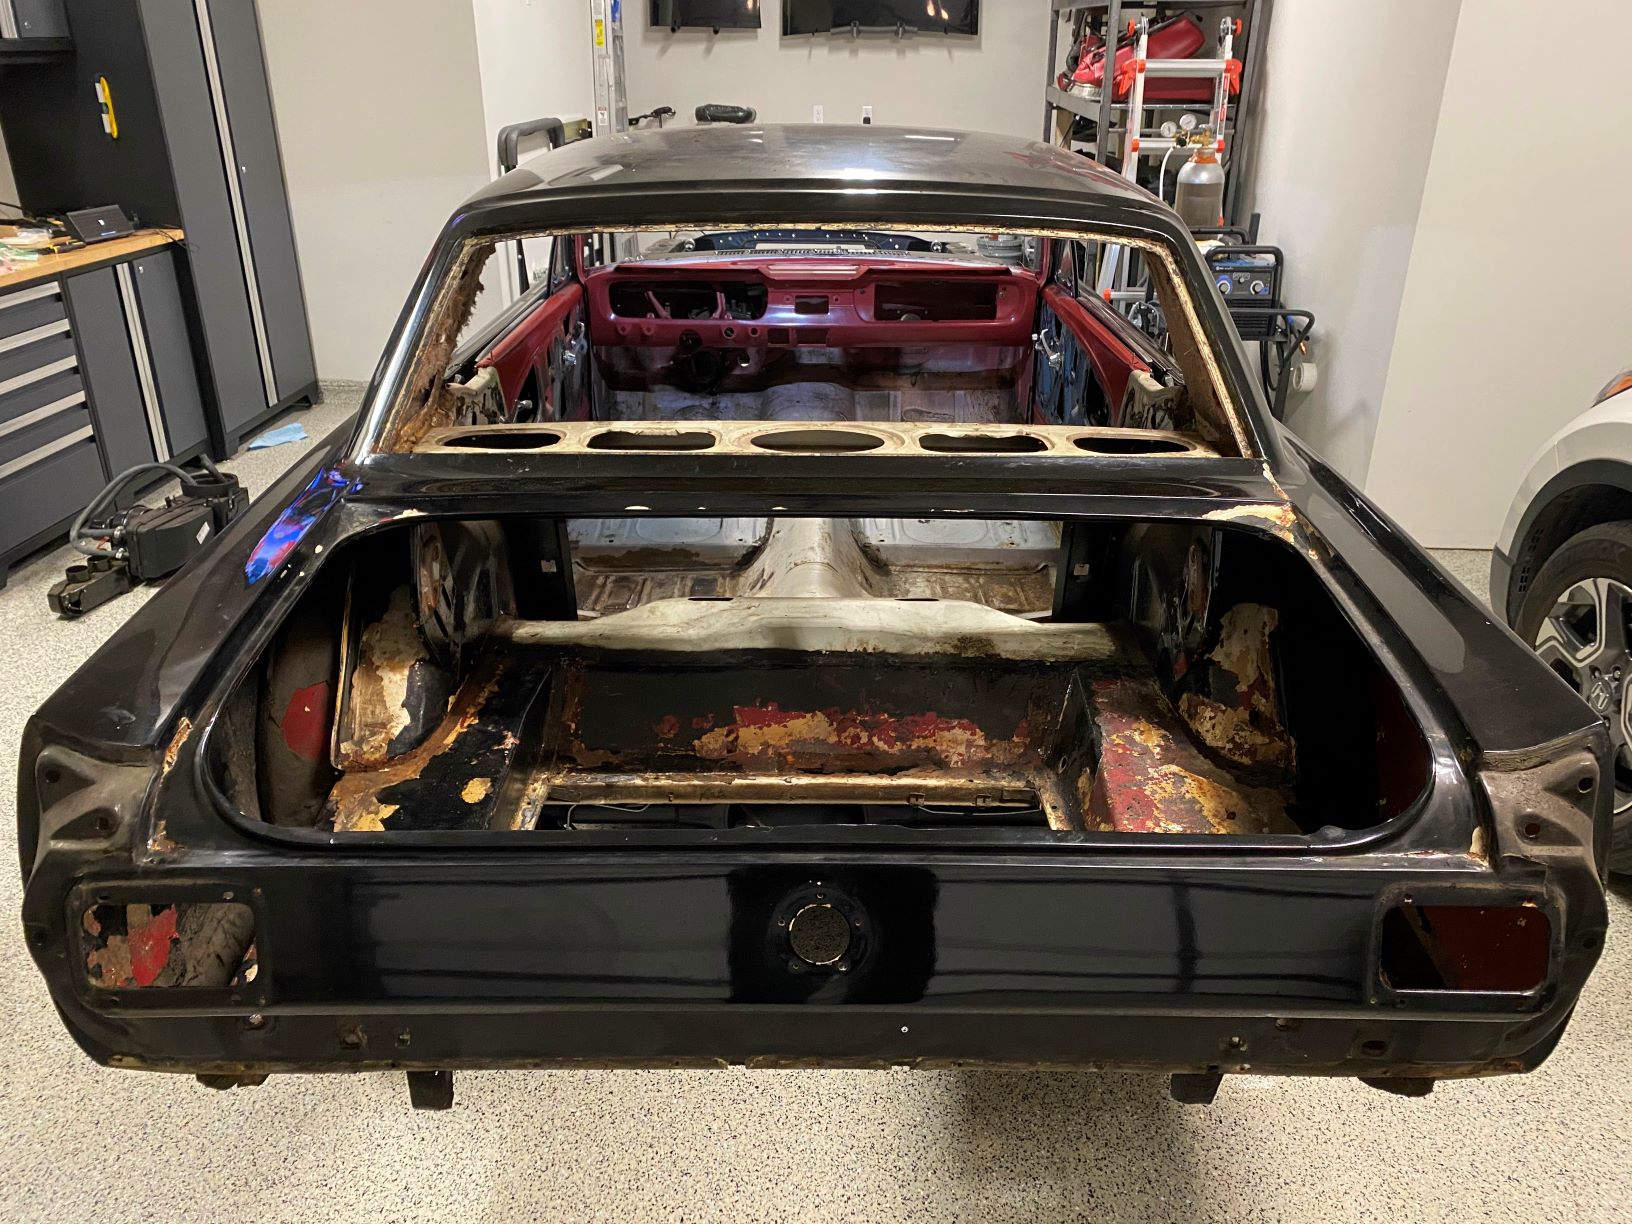
At the end of the day I took some time to re-organize the parts on the metal shelving so that the bottom shelf will be able to serve as a home for the rear end housing and leaf springs once they are relieved of their current duties.
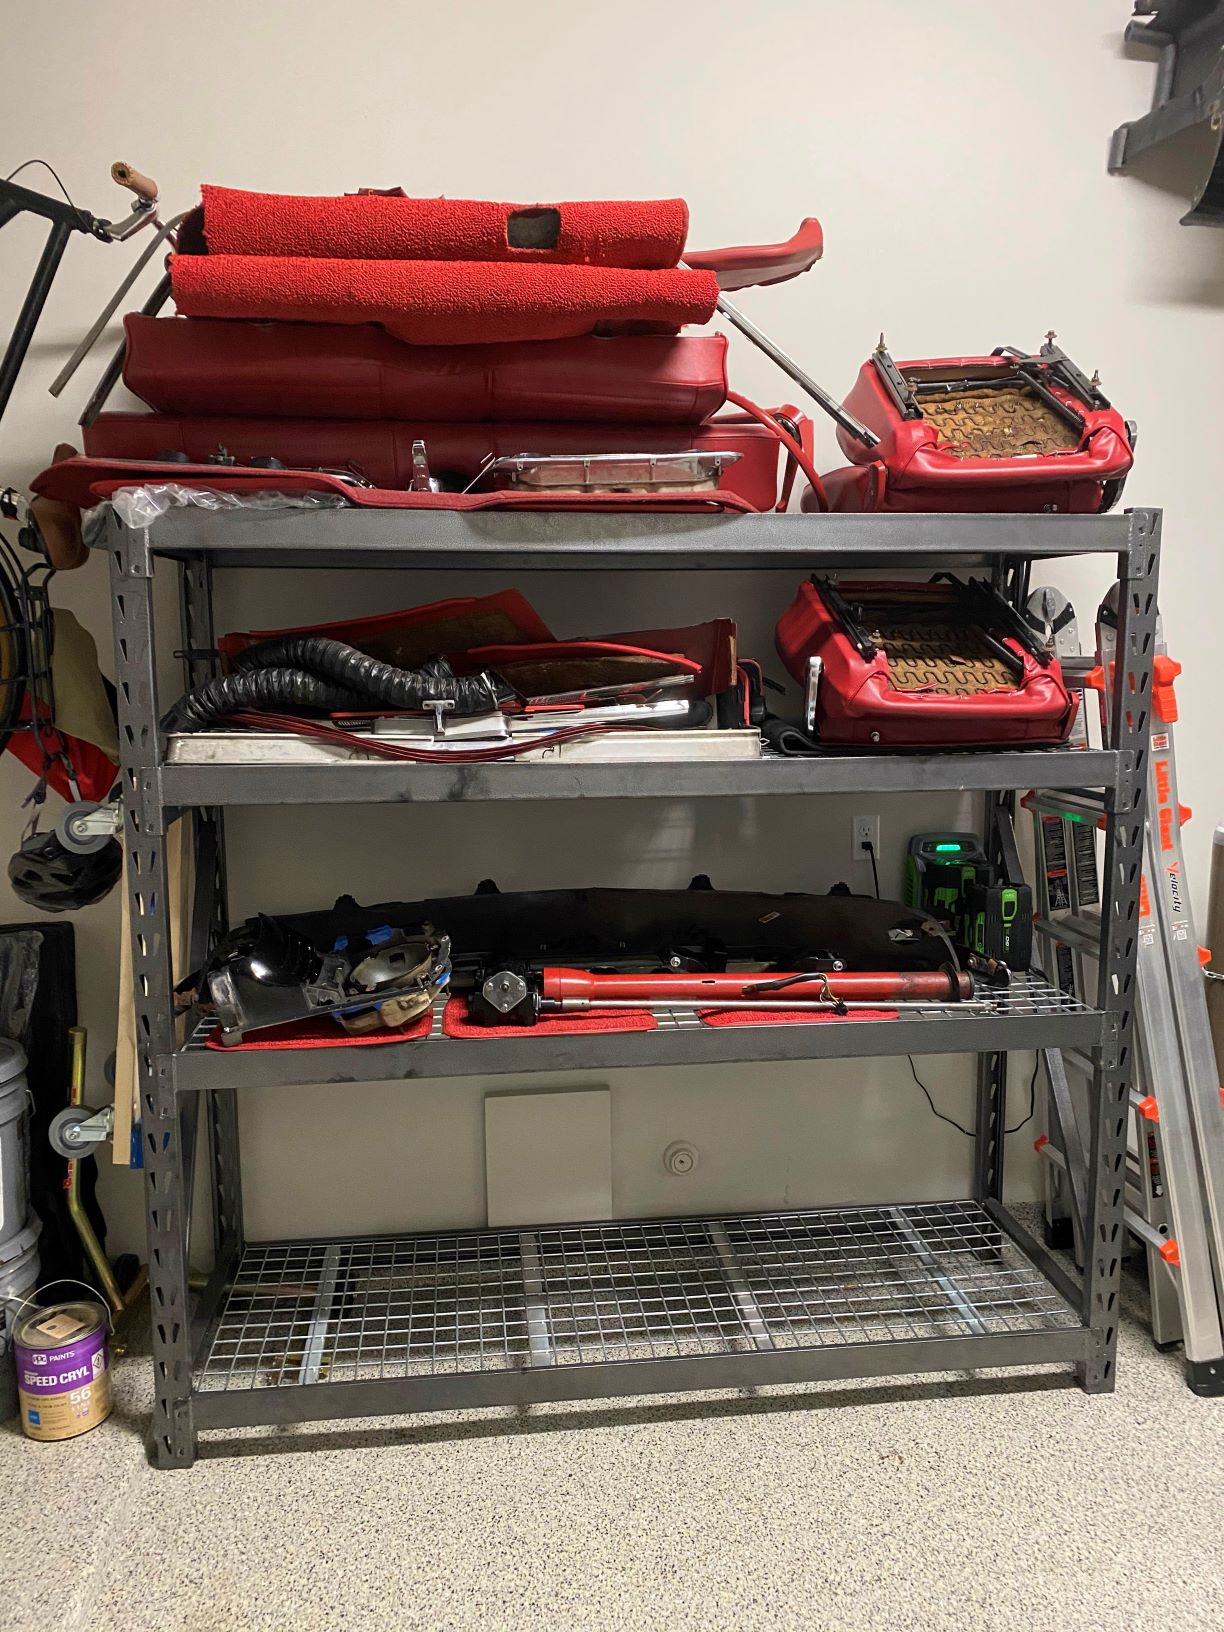
Such an alluring mix of black, red, white, and rust.