The replacement trunk floor that I ordered came as a fully assembled piece, making it rather large and unwieldy. So much so that there was going to be no way to get it into the car without removing the tail panel. There were some areas on the tail panel that needed attention anyway so this wasn’t a horrible inconvenience. Started out by removing the trunk latch bracket on the inside of the tail panel.
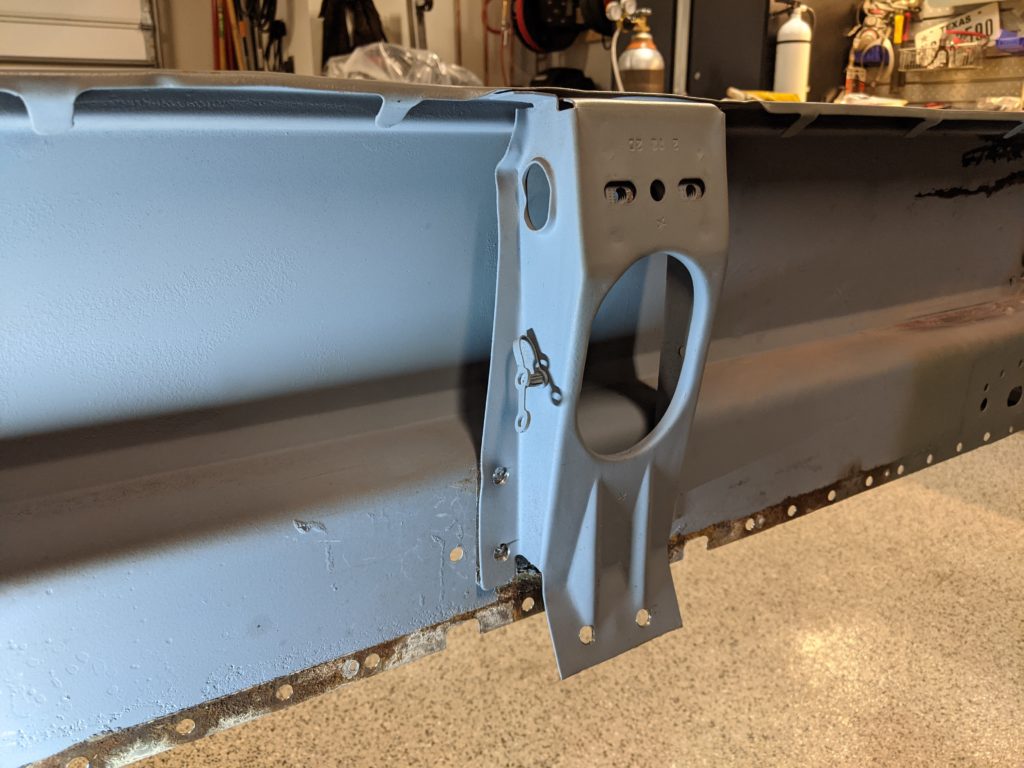
Drilled out a few spot welds and it broke free fairly easily.
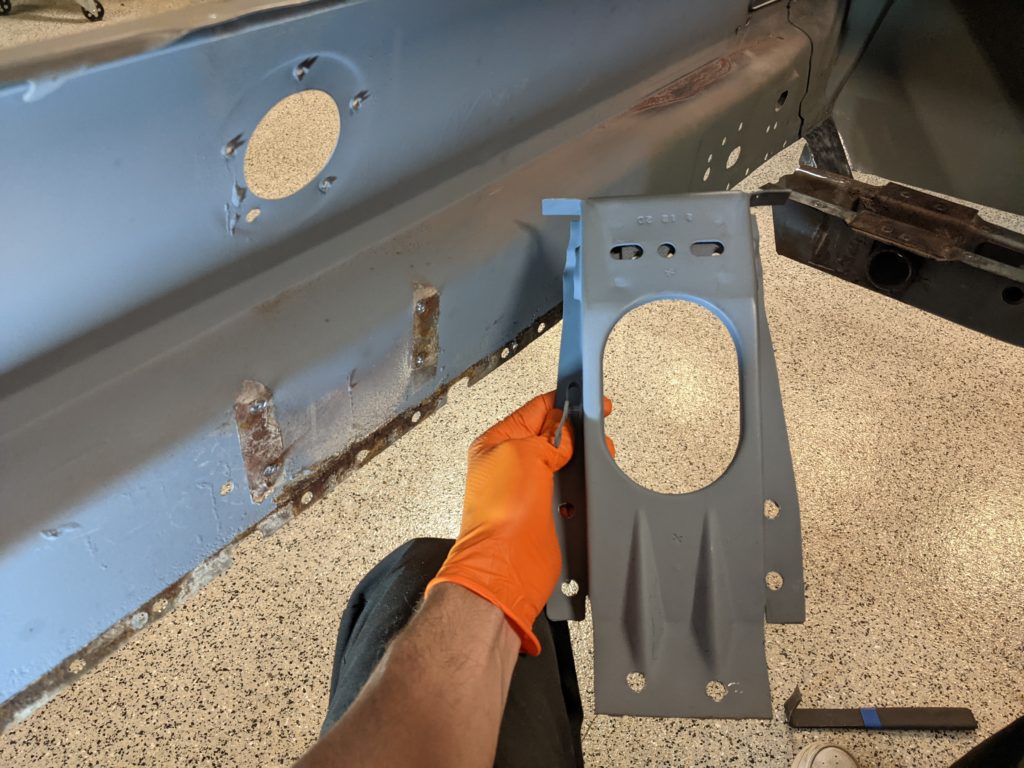
Drilled out the spot welds down both the left and right sides of the tail panel.

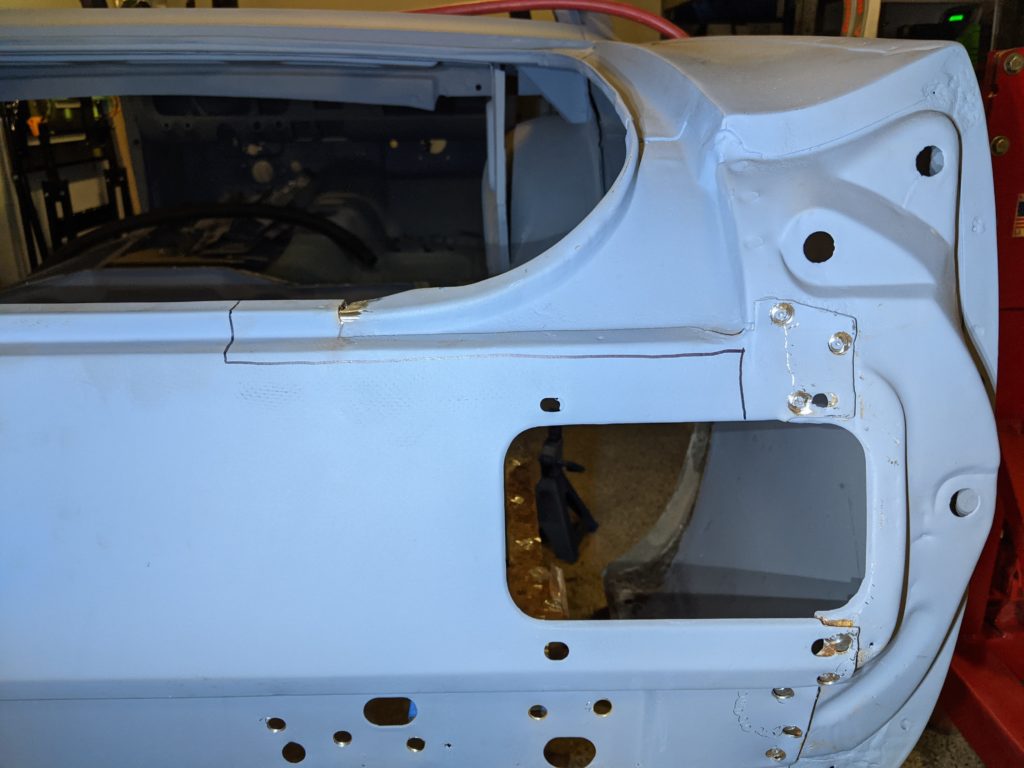
In the next photo you’ll notice some lines in Sharpie across the top of there the tail panel meets the quarter panel extension. The top of the tail panel was actually brazed to those extensions from the factory, so removing that in a way that kept everything intact was going to prove difficult. I priced out replacement tail panels online and they weren’t too bad so I decided to save myself some effort and go ahead and cut those sections of the tail panel so that it would be easier to remove the remaining sections.
After a little while and a complete lack of photos later the tail panel was successfully removed.

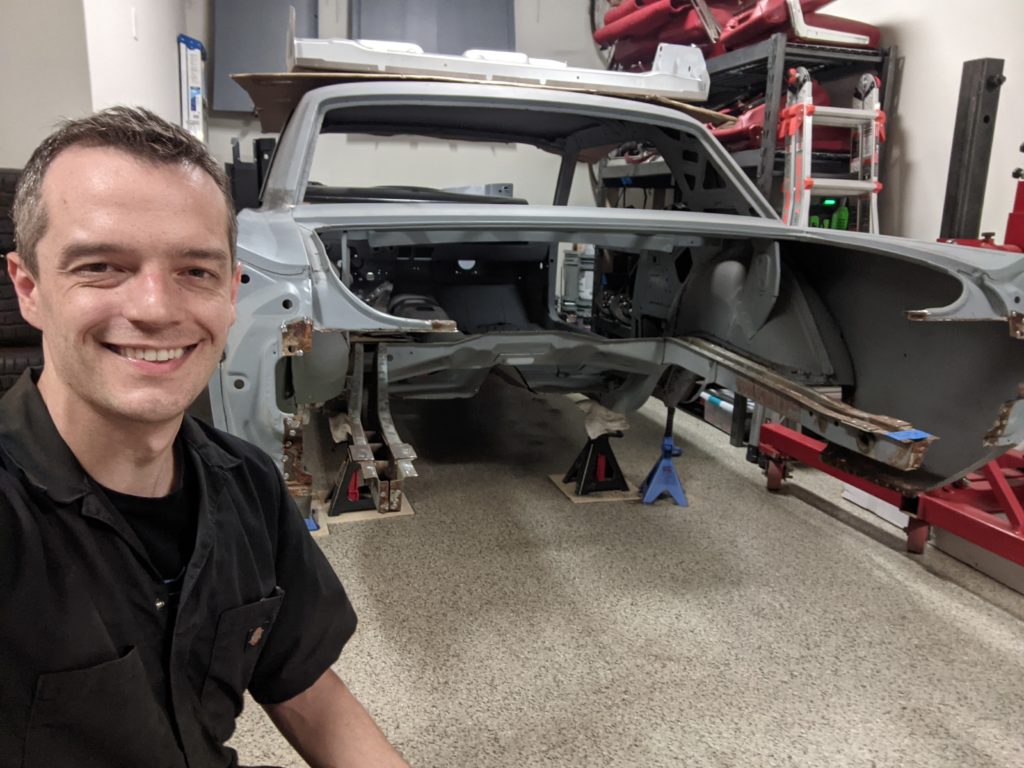
It’s always nice when you’re able to accomplish what you set out to do that day.