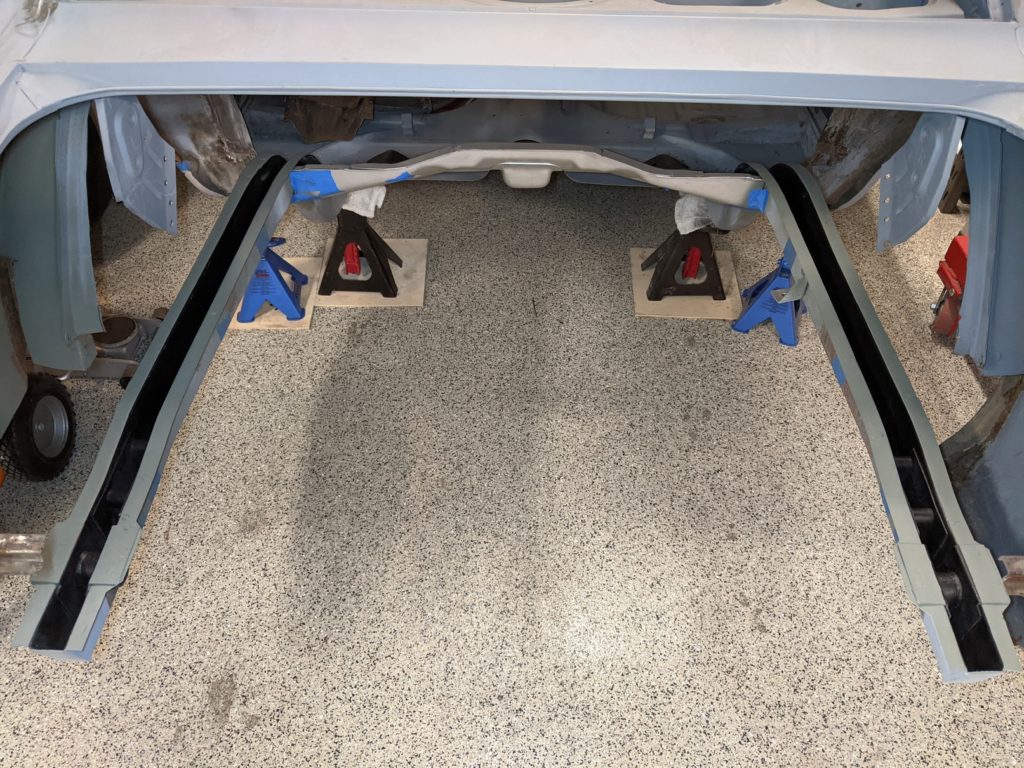
While testing the fit of the new trunk floor it became apparent that the assembly was sitting about half an inch too far towards the rear of the car. The limiting factor in the forward movement was the interaction between the piece under the rear of the trunk and the end of the frame rails that it rests against. Ultimately I decided that I was going to modify both piece of the equation – slice and slightly bend out potions of the rear panel under the trunk and shorten the frame rails slightly due to the condition of the rear tabs requiring replacement anyway.
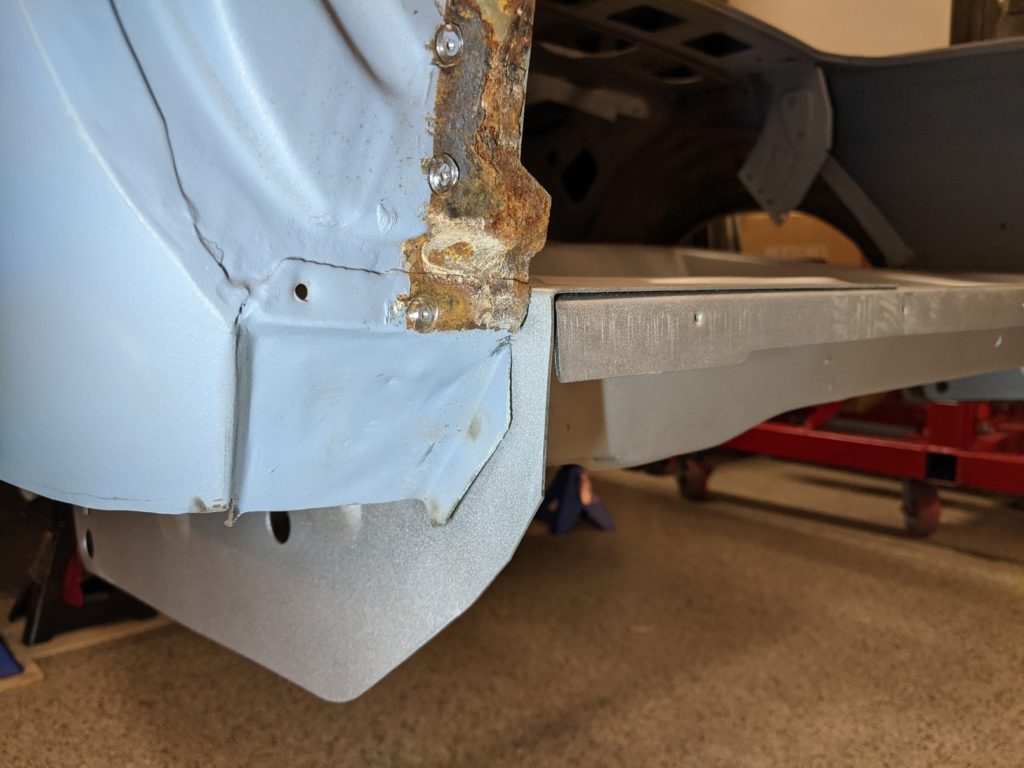
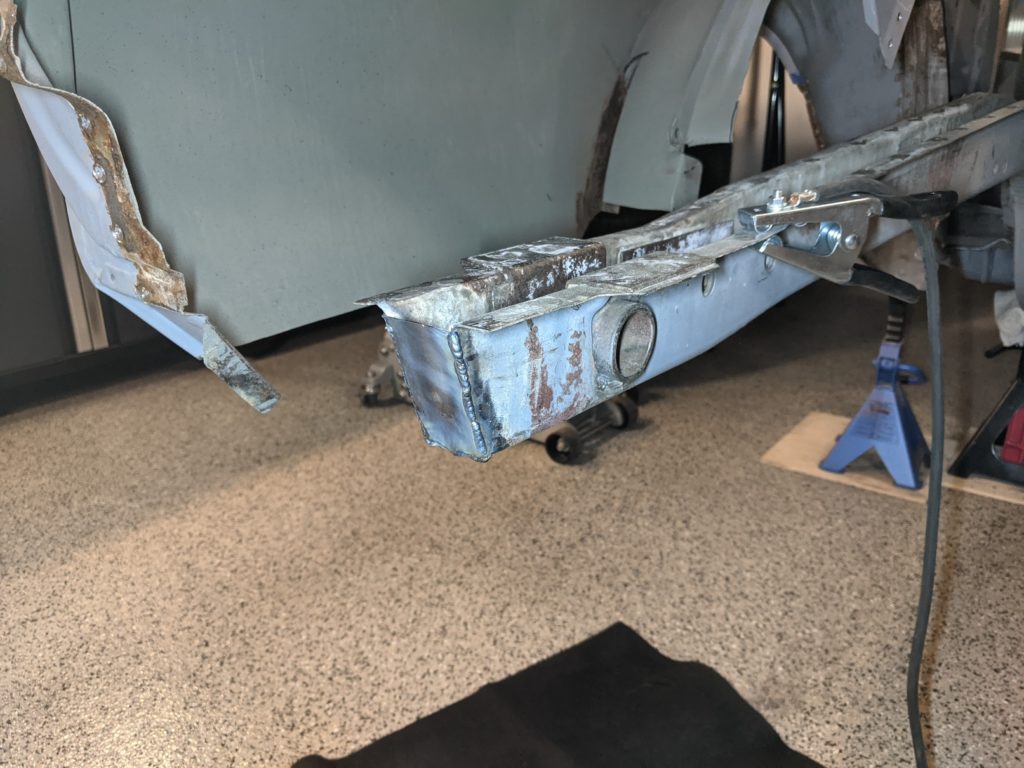
This picture shows the fitment issue, the rear of the trunk should be flush with the rear of the quarter panel. It was a similar story on both sides.
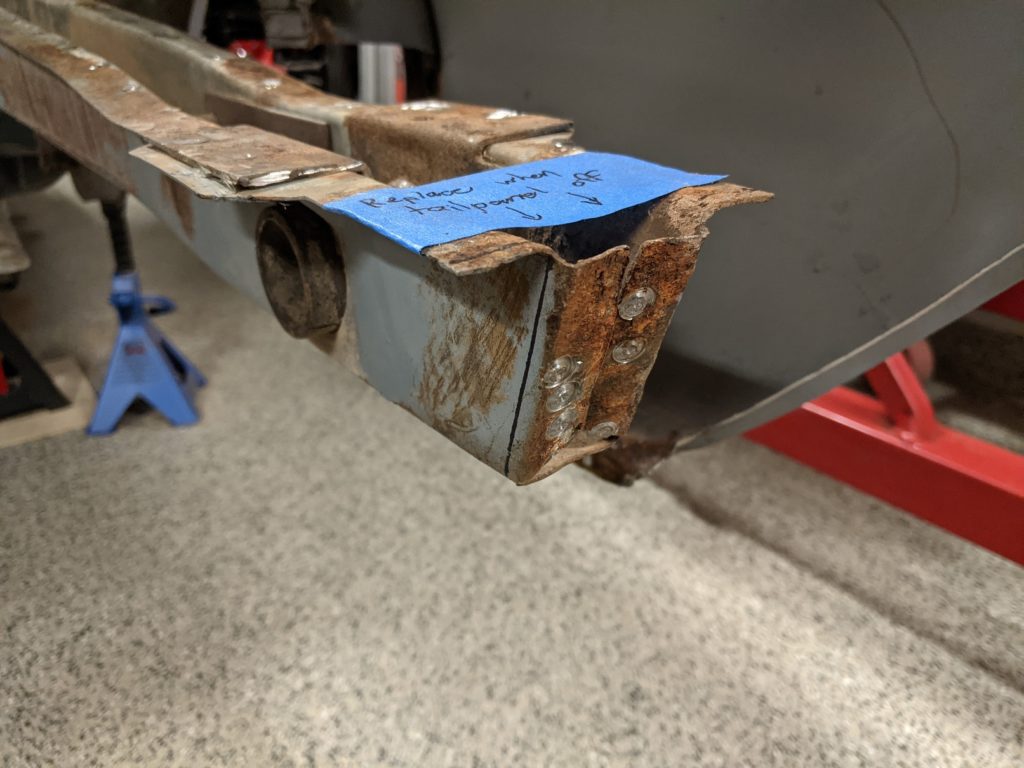
I started off by cutting the original rear-facing tabs off of both frame rails as they showed a fair amount of rust damage and moving them back by a fraction of an inch would present me with some of the forward clearance the new trunk required.
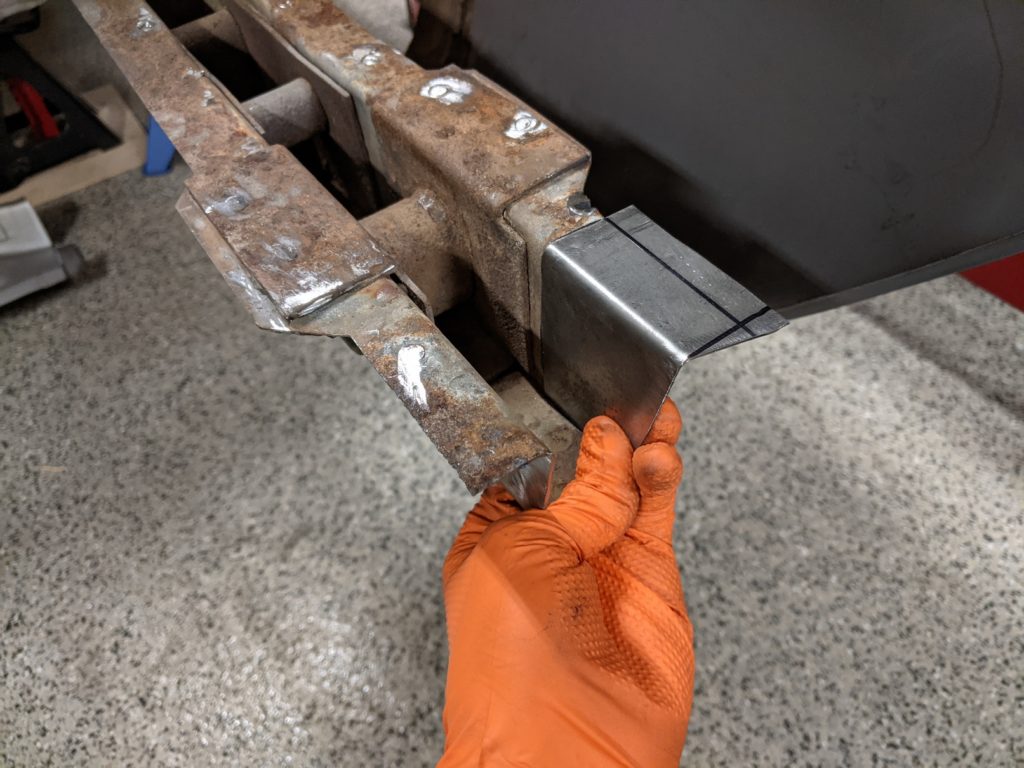
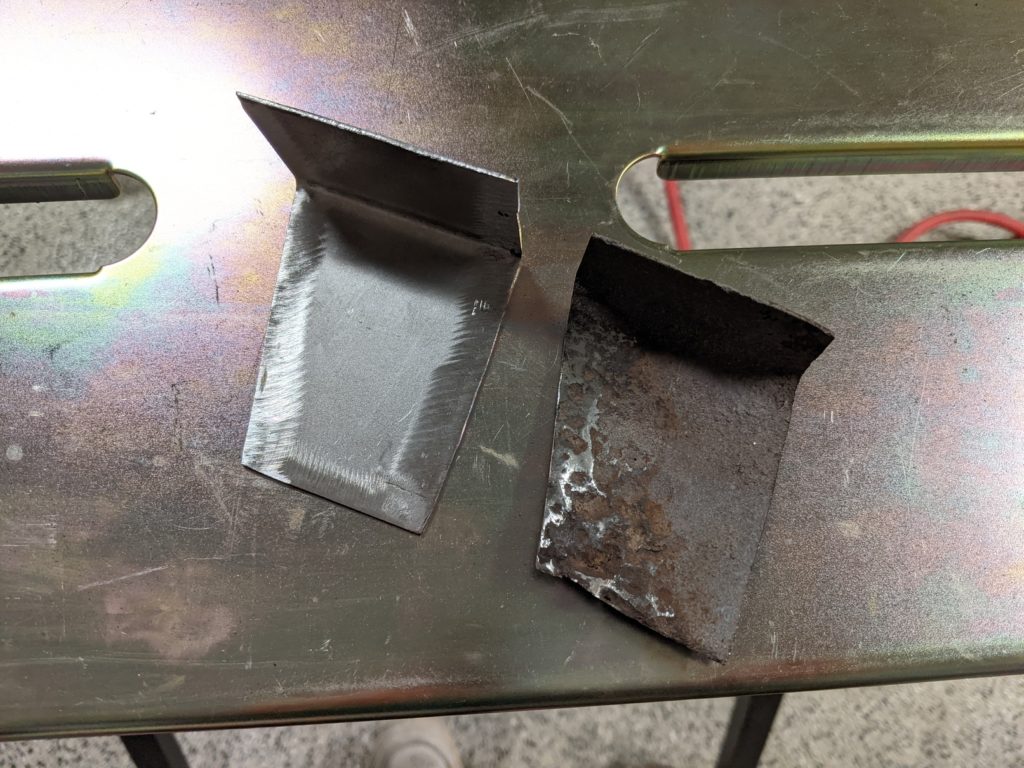
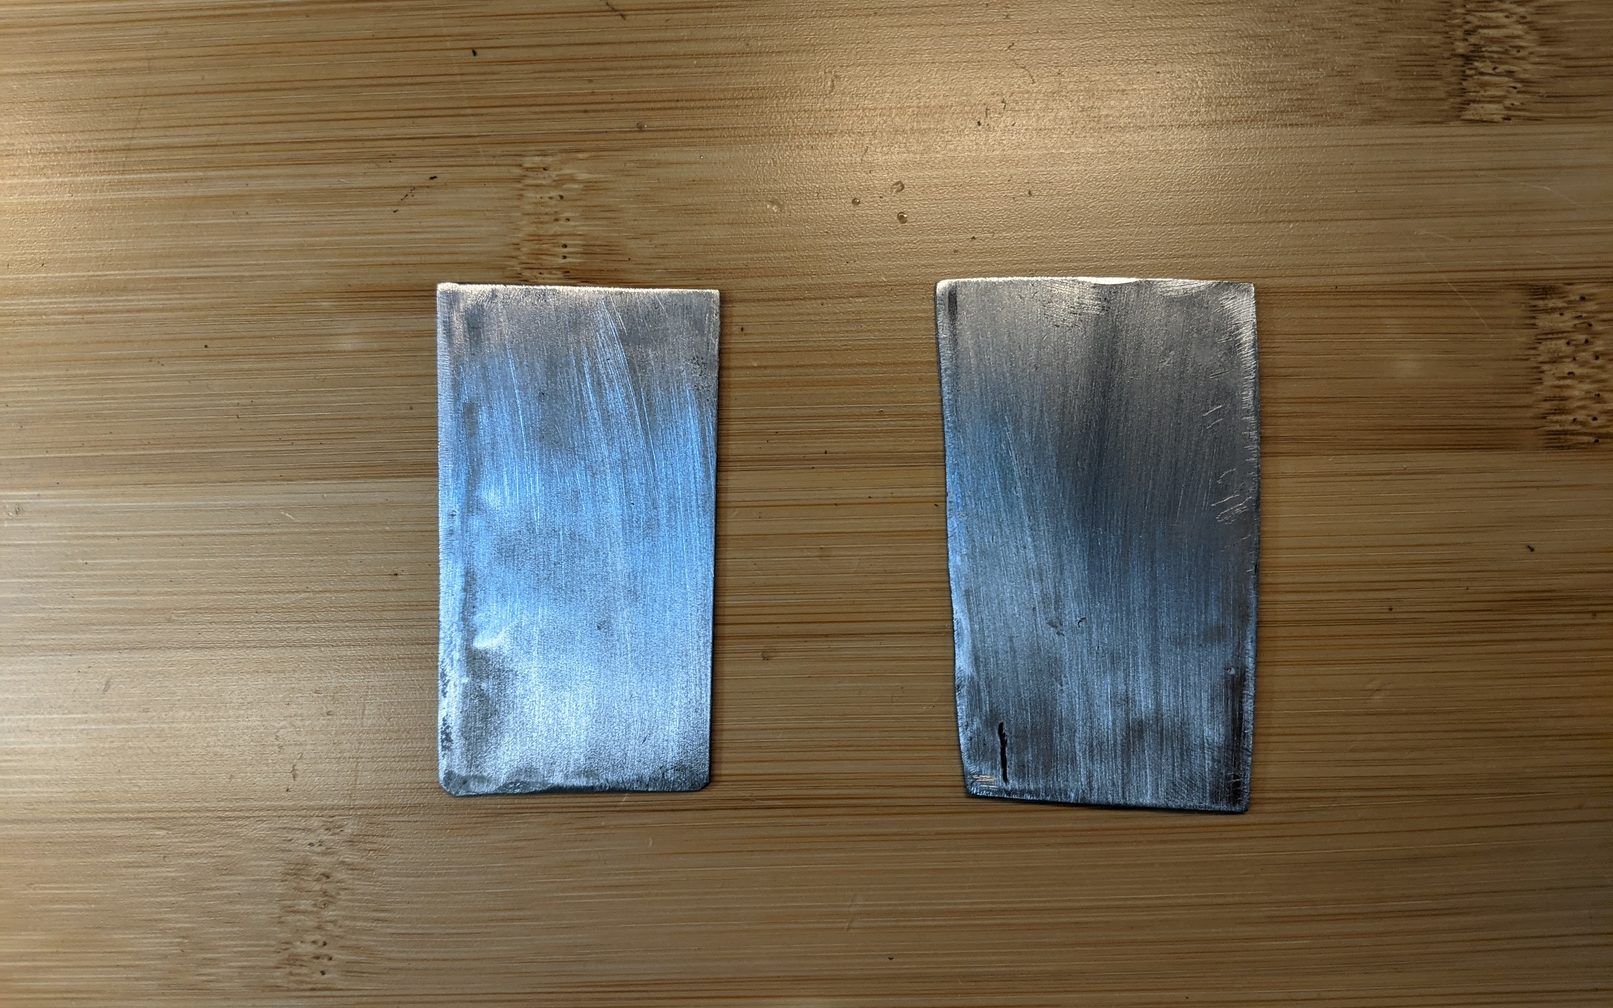
While the frame rails proved to be in pretty good shape overall there was a small section at the rear of the passenger side frame rail that was pitted enough to merit replacement. I rough-cut a replacement and hand shaped it before mocking it up for more precise cuts and eventual welding.
asdf
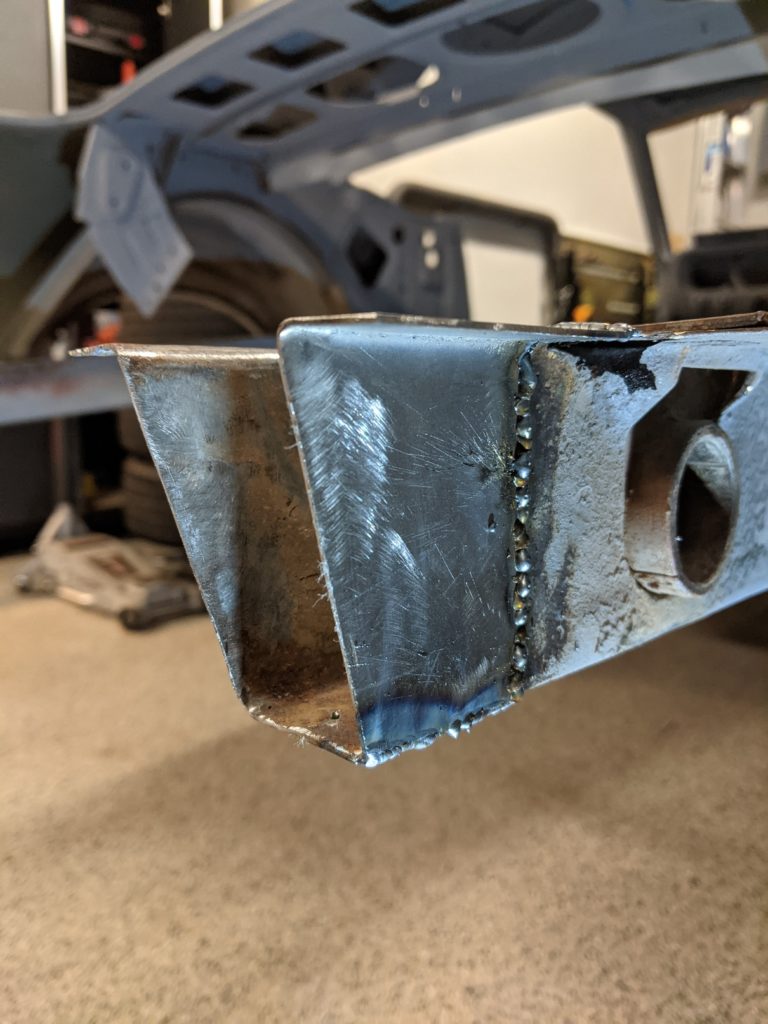
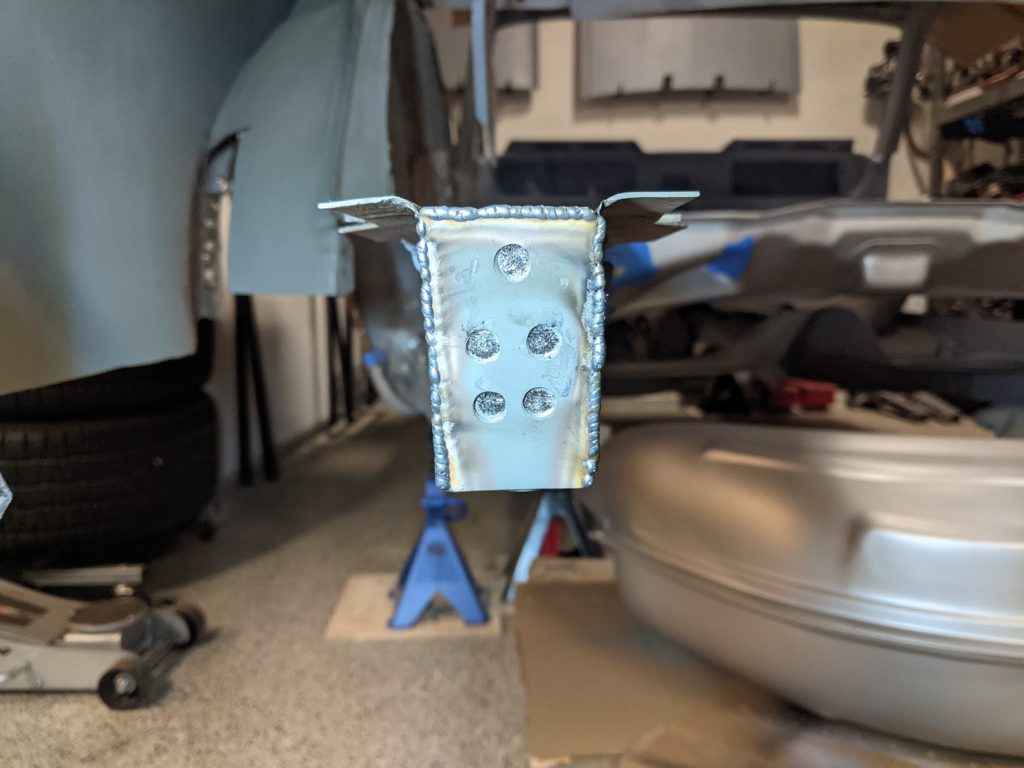
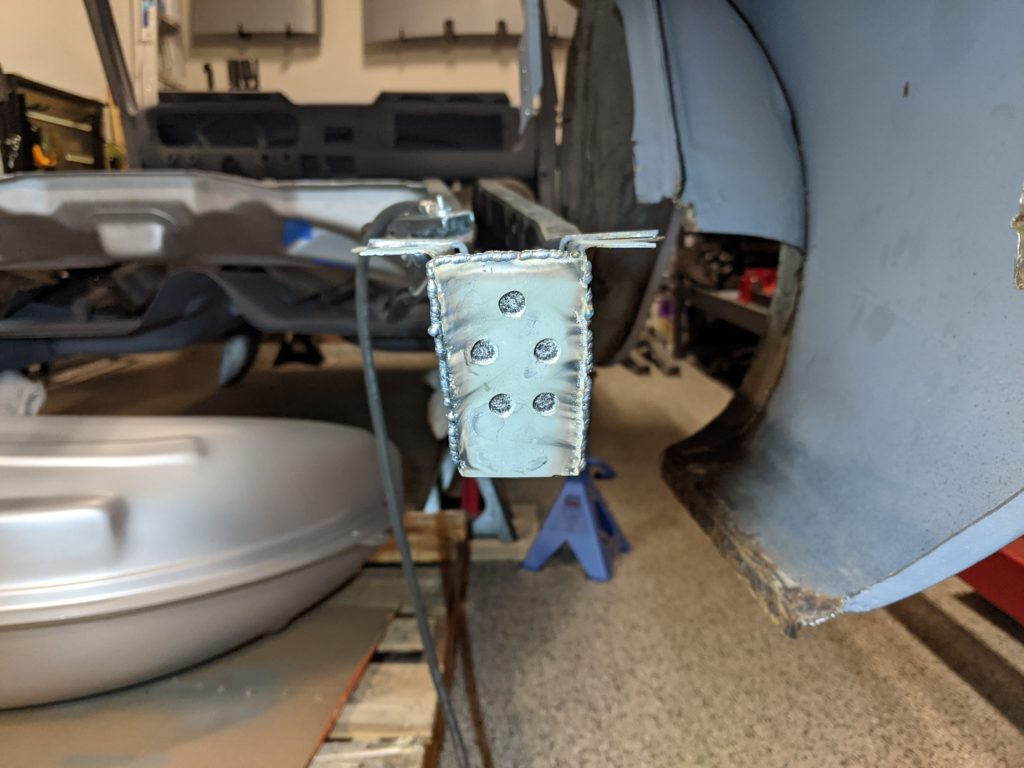
With the patch in place I went about fitting and welding in replacements for the recently excised rear tabs. I opted for a flat sheet of metal rather than trying to replicate the original tabs which had been a result of the way the frame rail was originally formed.
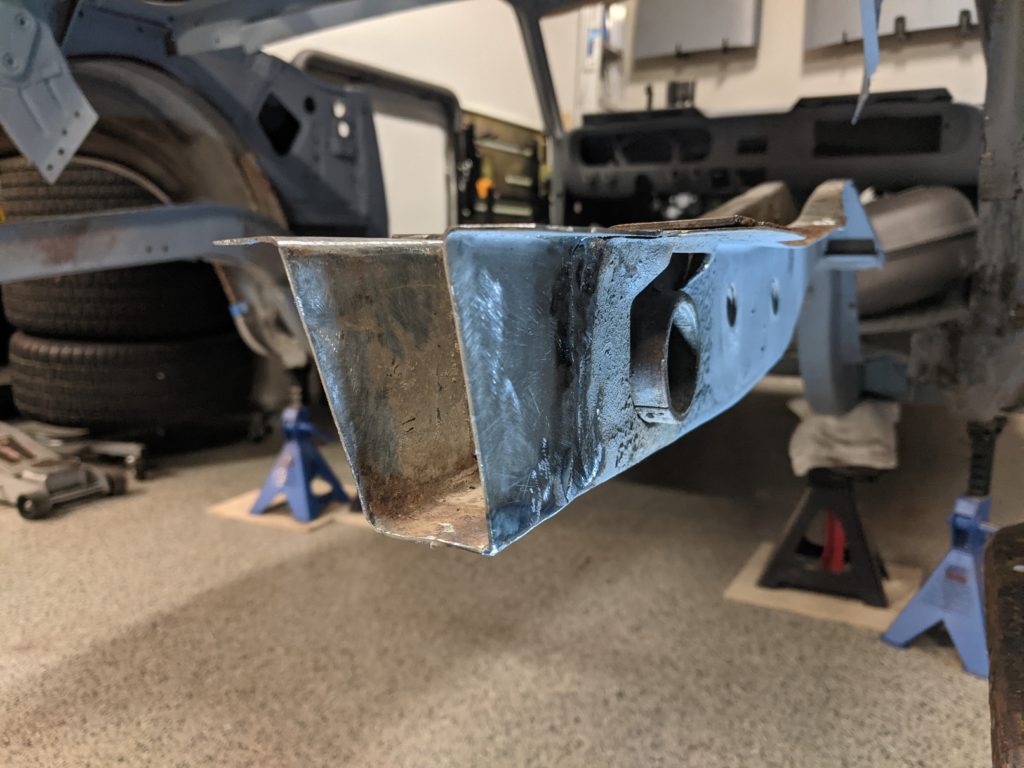
After the new end caps were completed I went about removing as much rust and grime from the inside of the frame rails as possible before treating it with a rust converter and finally spraying the interior with several coats of Eastwood’s internal frame coating.
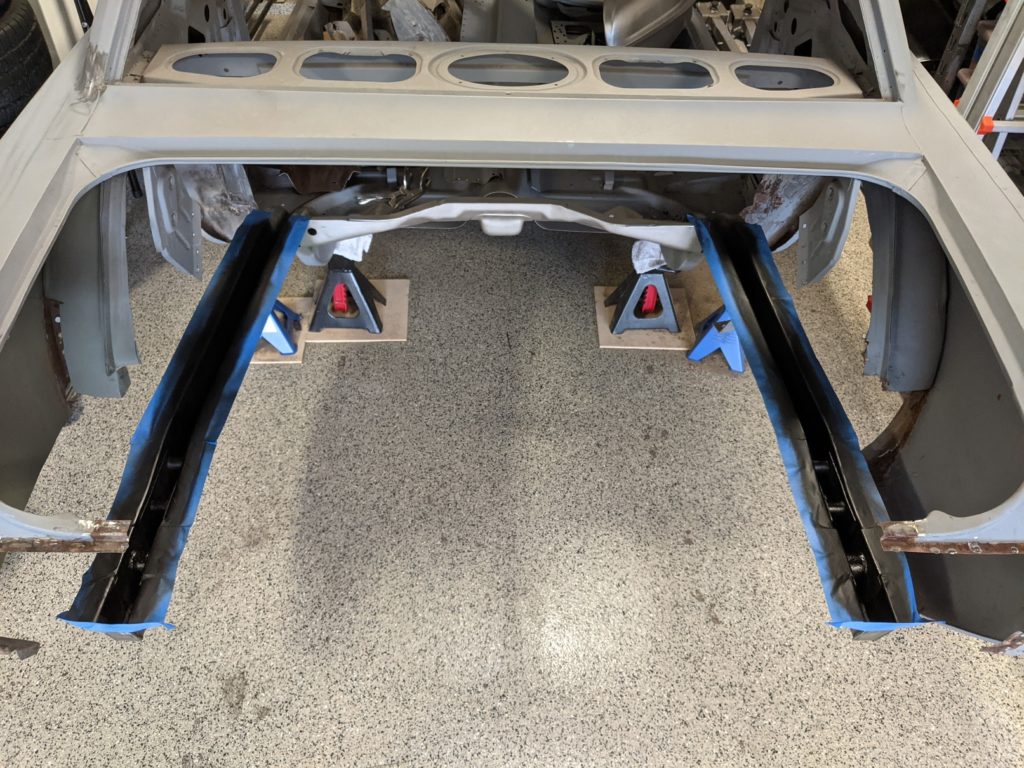
I was carefully to tape off the flanges where the frame rails and the trunk floor would be welded together.
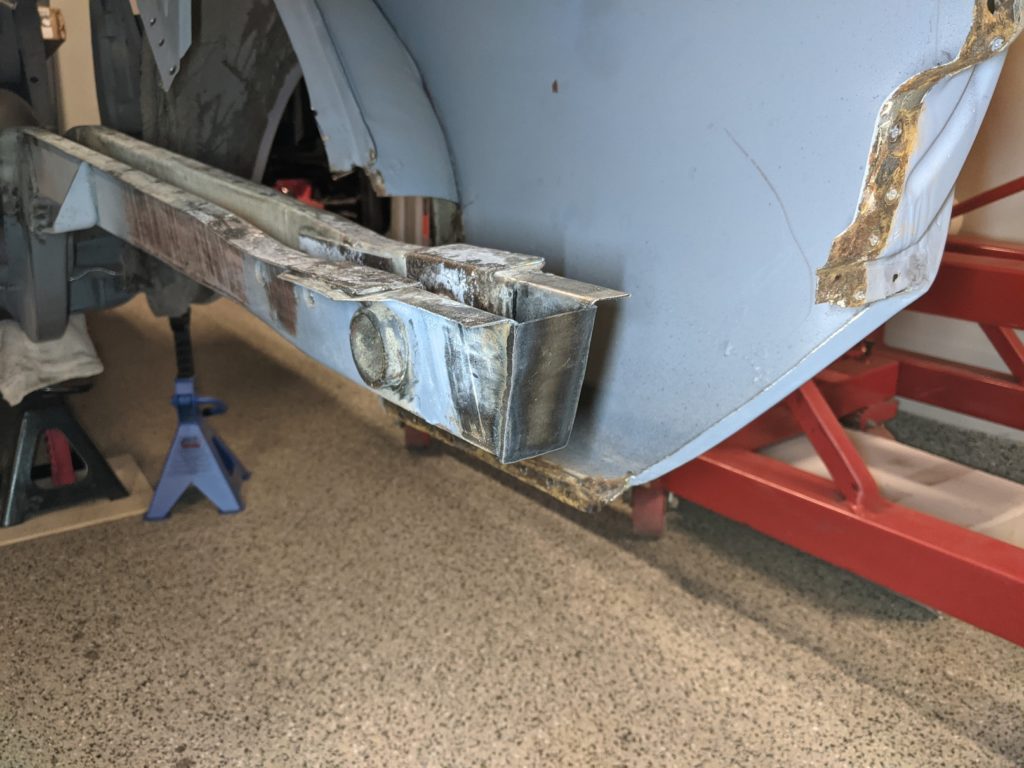
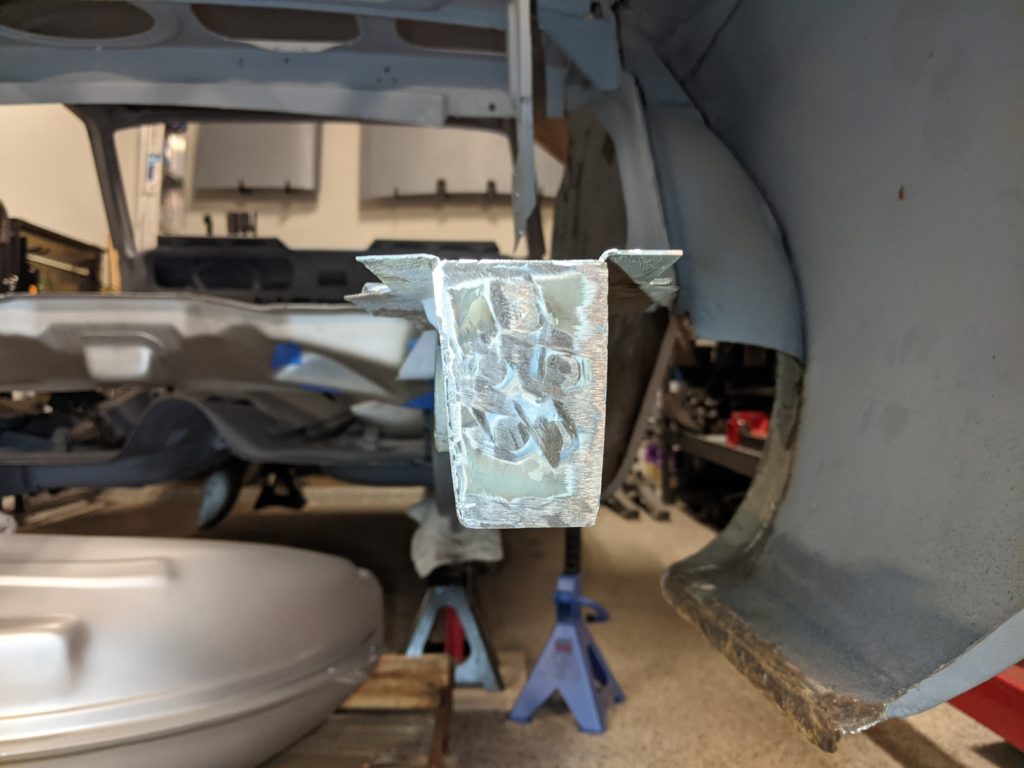
After mocking up the trunk floor again I found that I had slightly overshot the additional forward clearance the trunk needed to align properly with the rear of the quarter panels. To push the trunk back out slightly I cut shims to match the rear of the frame rails and welded them in place.
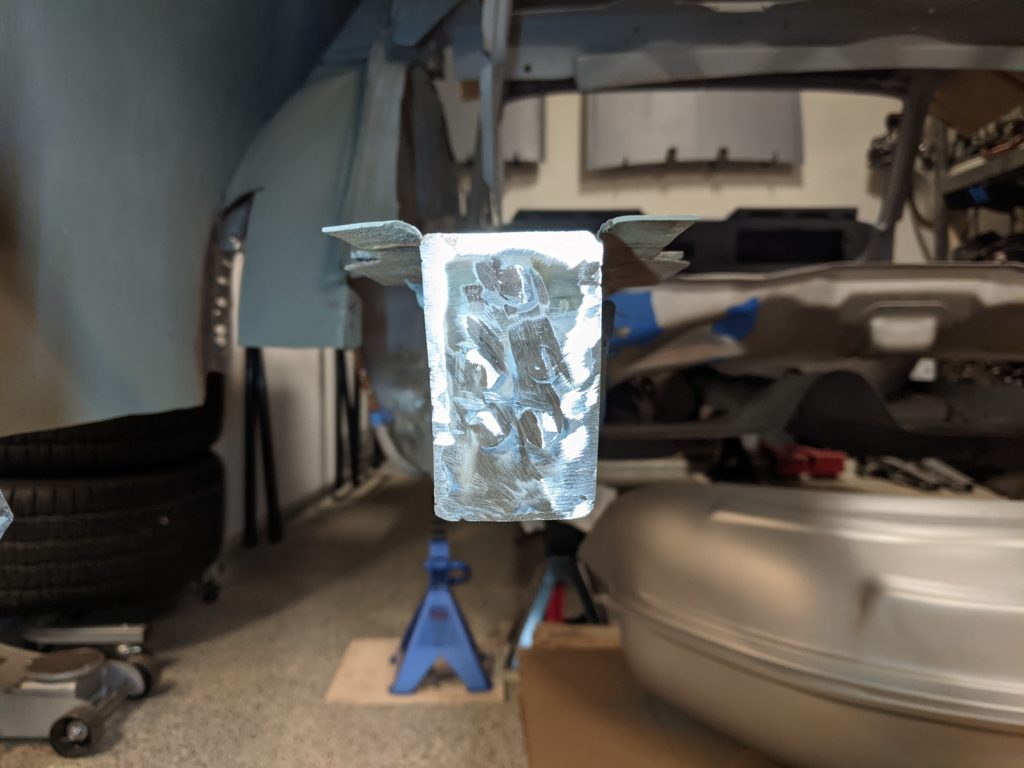
With the trunk floor now aligning properly I went through all of my new welds and the spot welds that I had cut out to free the original trunk floor and ground them all down, welding up and re-grinding any holes that I came across in the process.
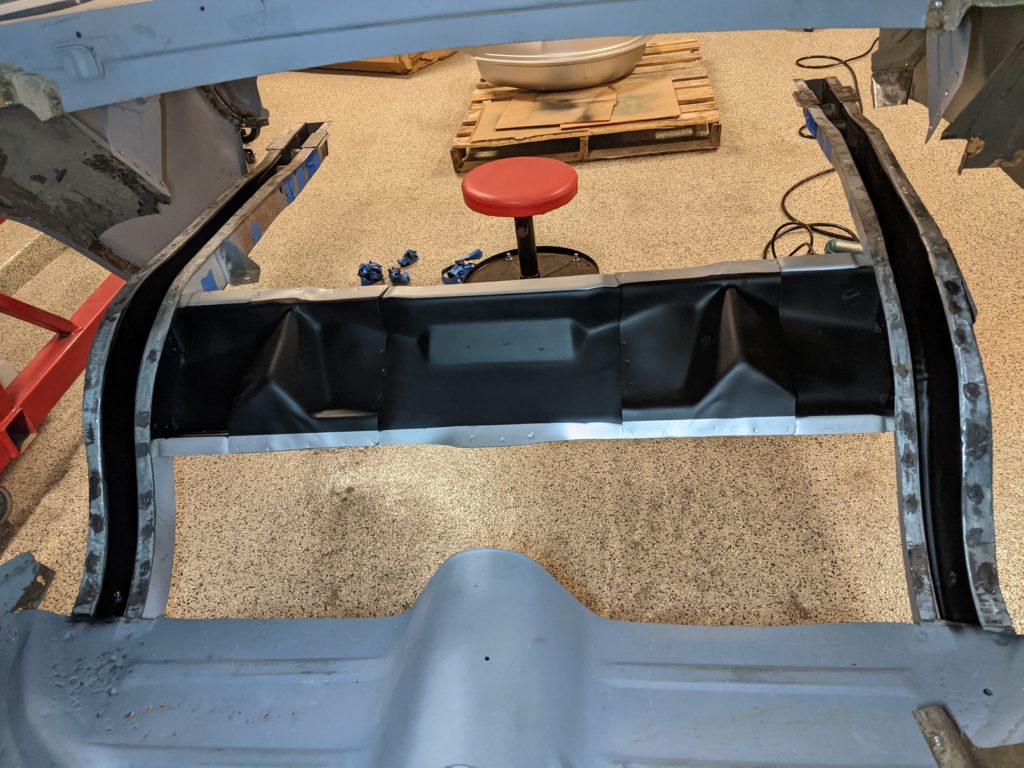
Once the flanges and new metal was looking good I taped off the already-painted interiors of the frame rails so that I could spray a couple coats of primer on the flanges where they would mate with the new trunk floor. With that the frame rails were finally ready to have the new trunk floor welded to them.