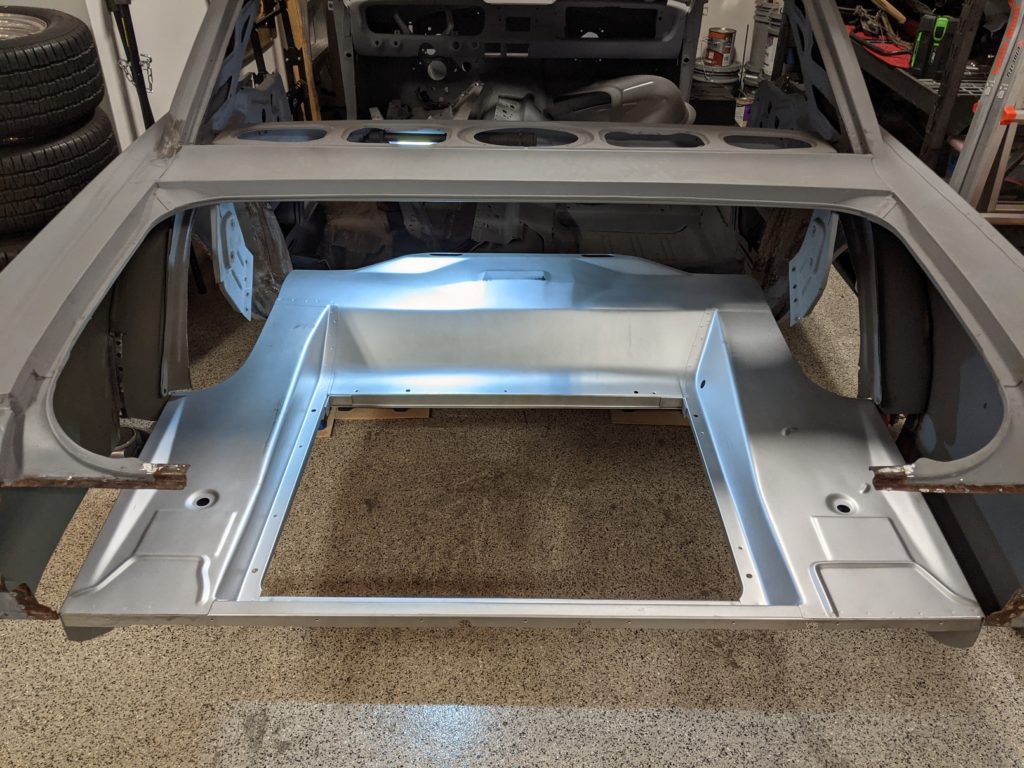
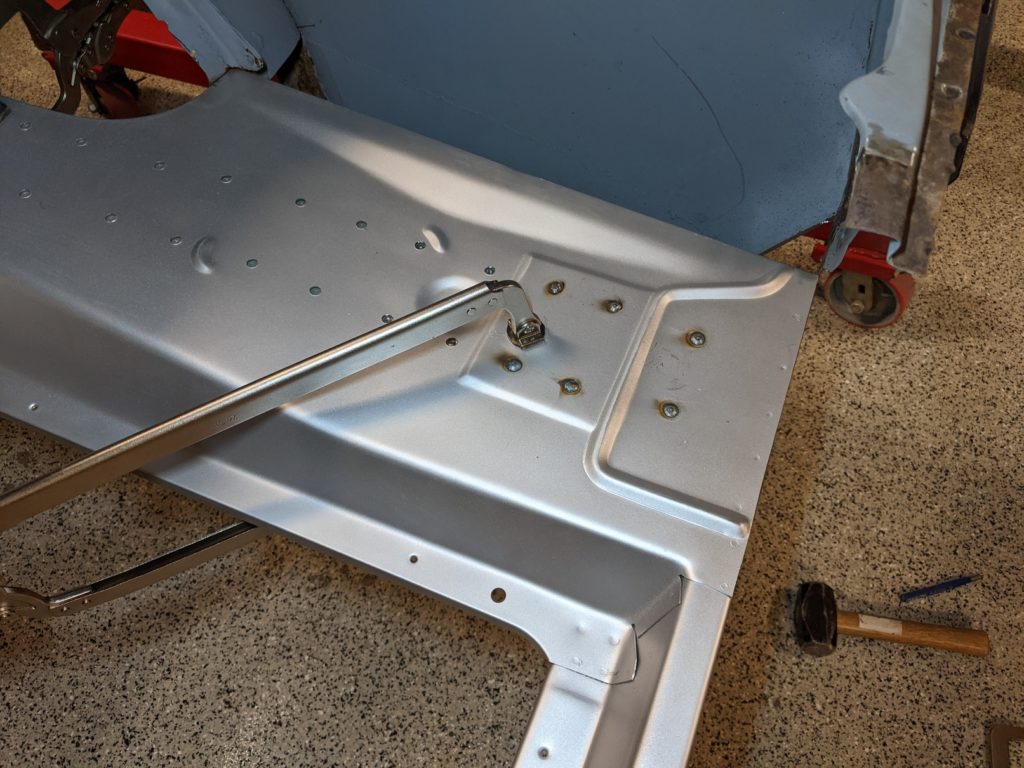
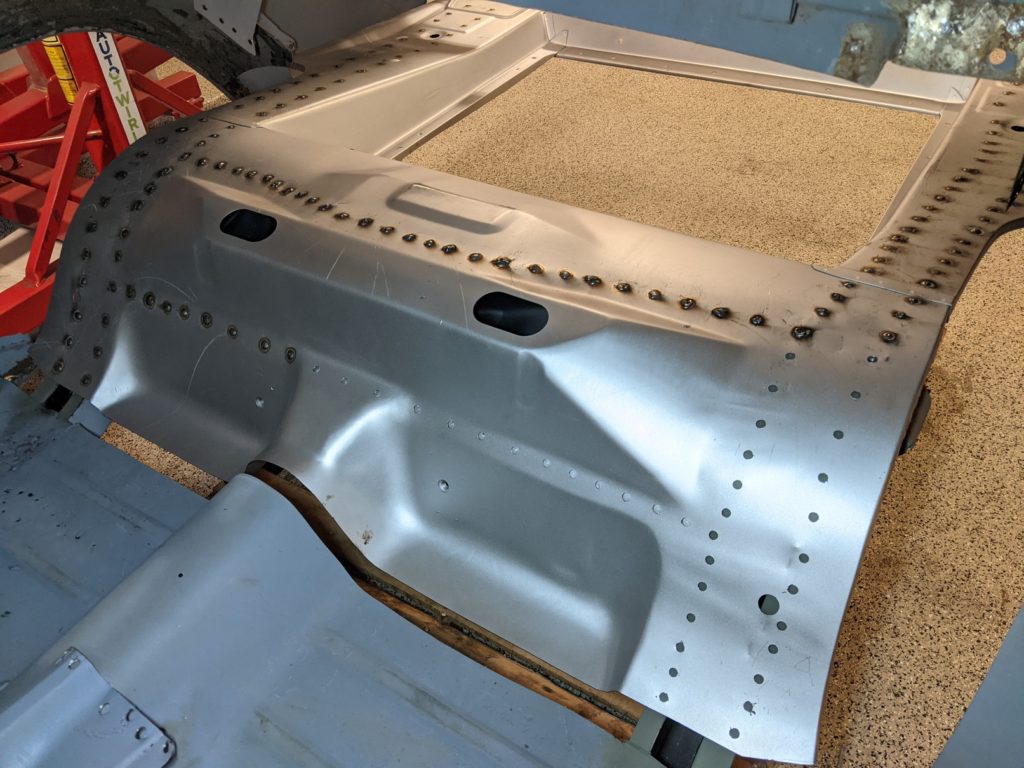
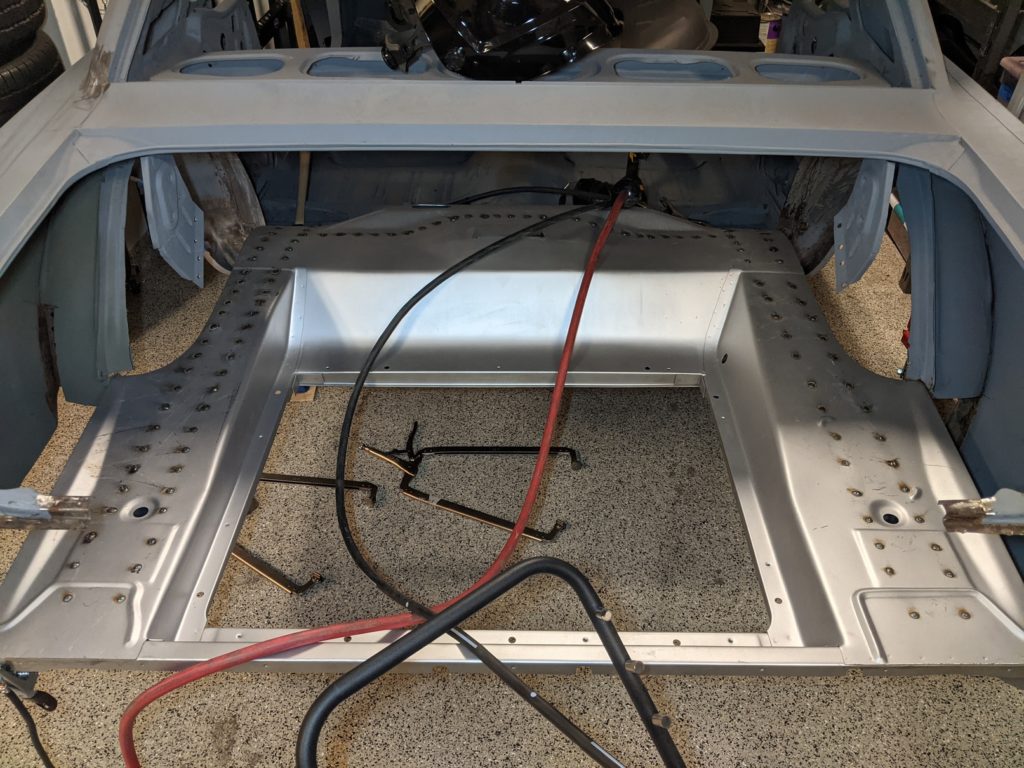
With the frame rails prepared and the alignment with the quarter panels looking good I slid the trunk floor into place one more time to mark out the layout of the frame rails onto the bottom of the trunk with a Sharpie.
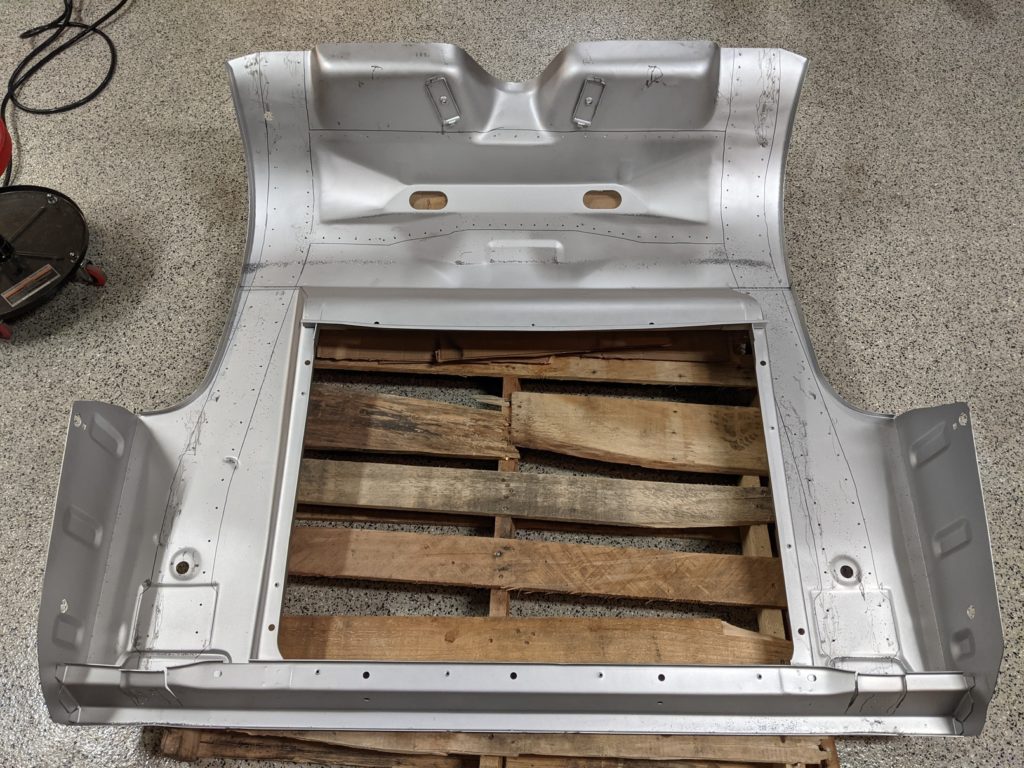
I wasn’t particularly worried about exactly matching the weld layout of the original trunk floor as it was amusingly inconsistent to begin with. If you look closely enough at the next picture you’ll find that my spacing varied quite a bit as well so perhaps I did a better job of replicating the original weld layout than I had intended.
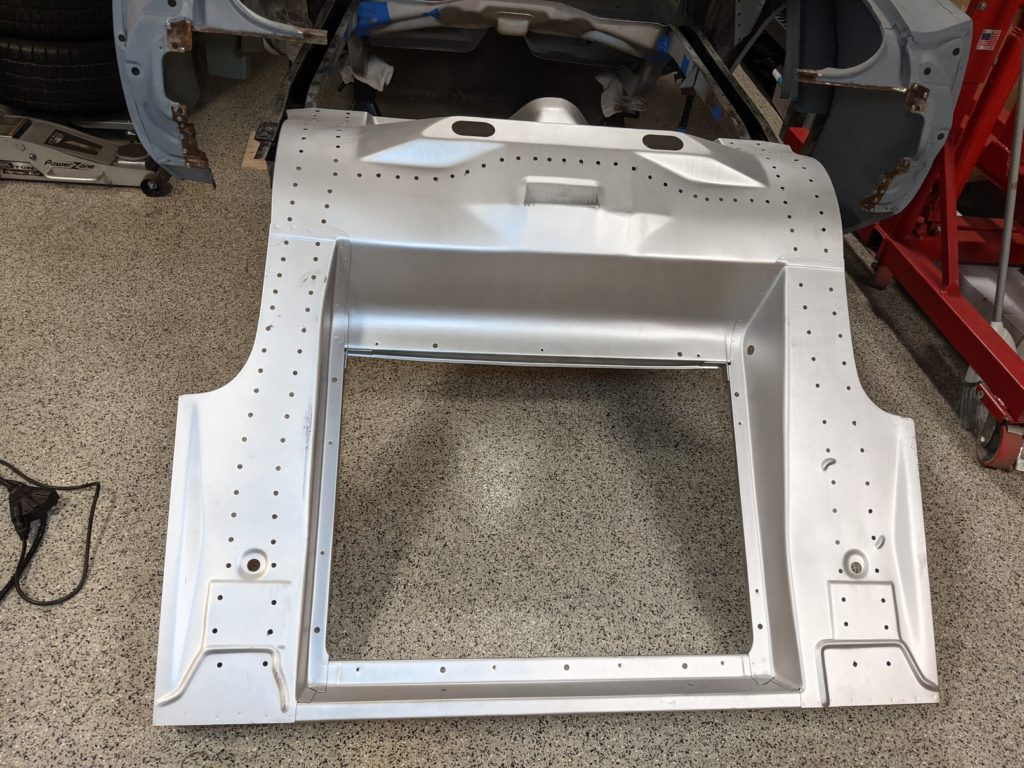
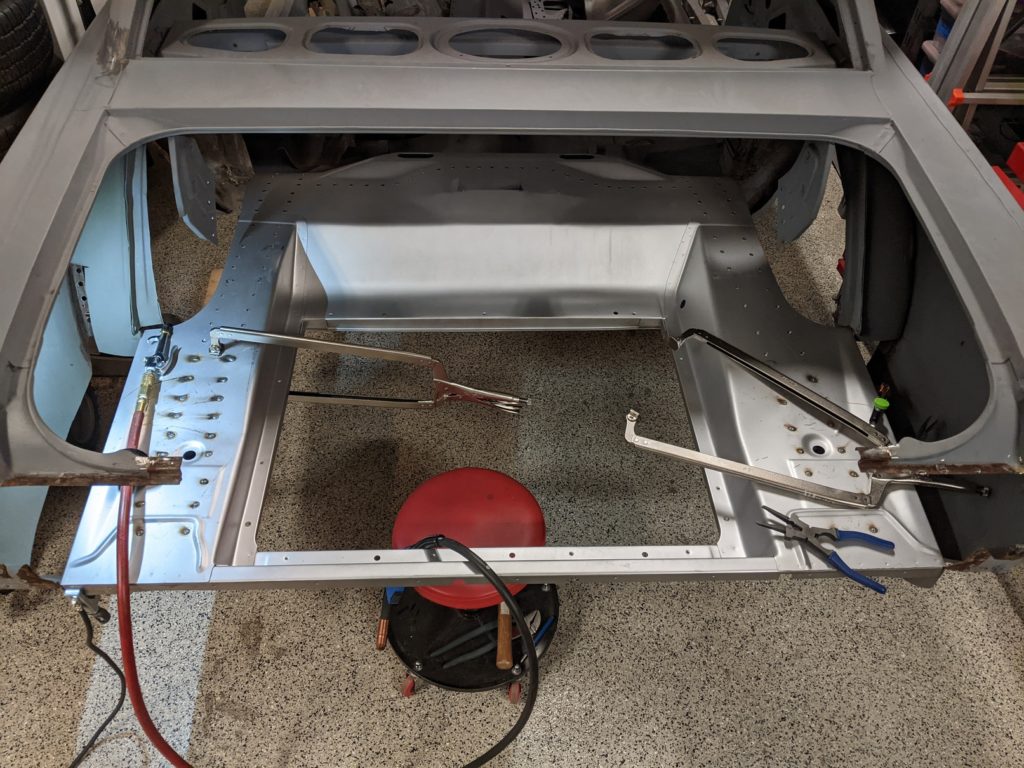
It turns out that it takes a good while to drill nearly 200 holes. An hour or two later I slid the trunk back onto the frame rails to validate that all of the holes lined up with the intended flanges and thankfully they did.
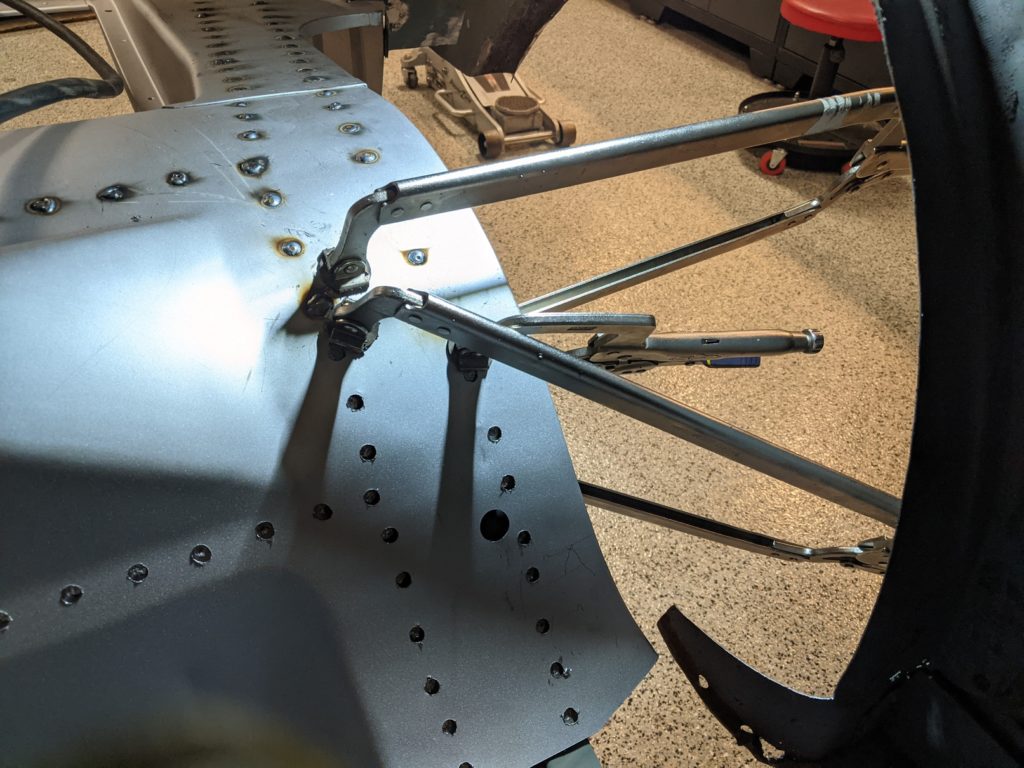
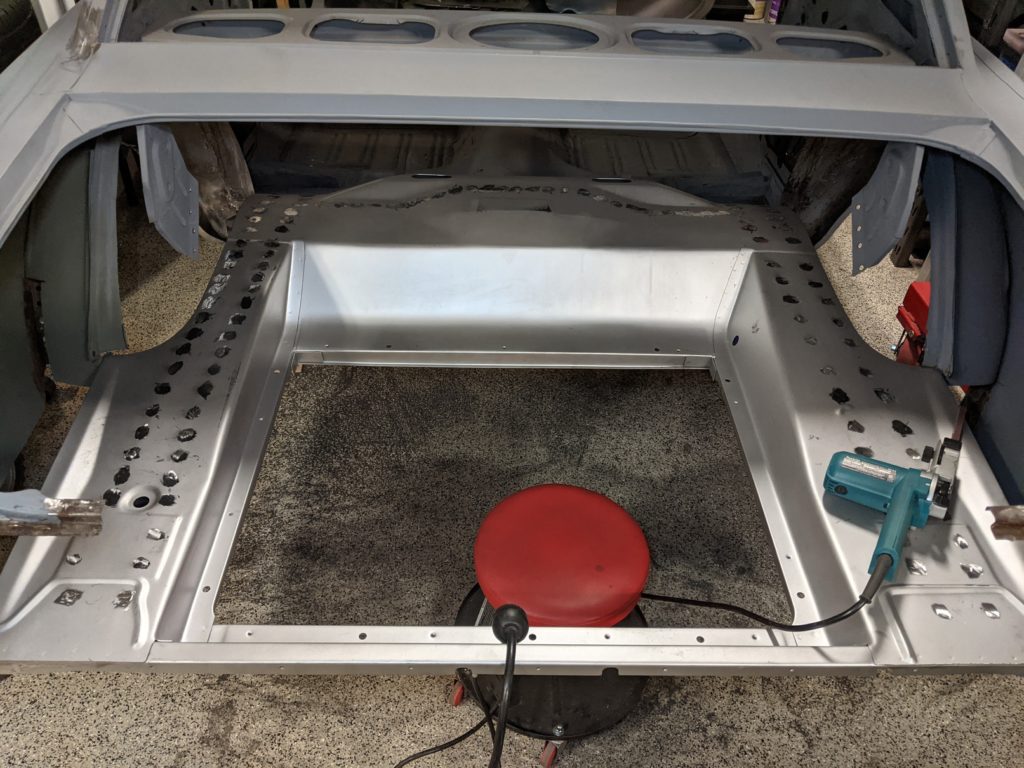
Starting from the back of the car to guarantee that the alignment with the quarter panels would land where I wanted I started welding in the trunk floor, swapping between the left and right side every few holes to keep the progress somewhat balanced.
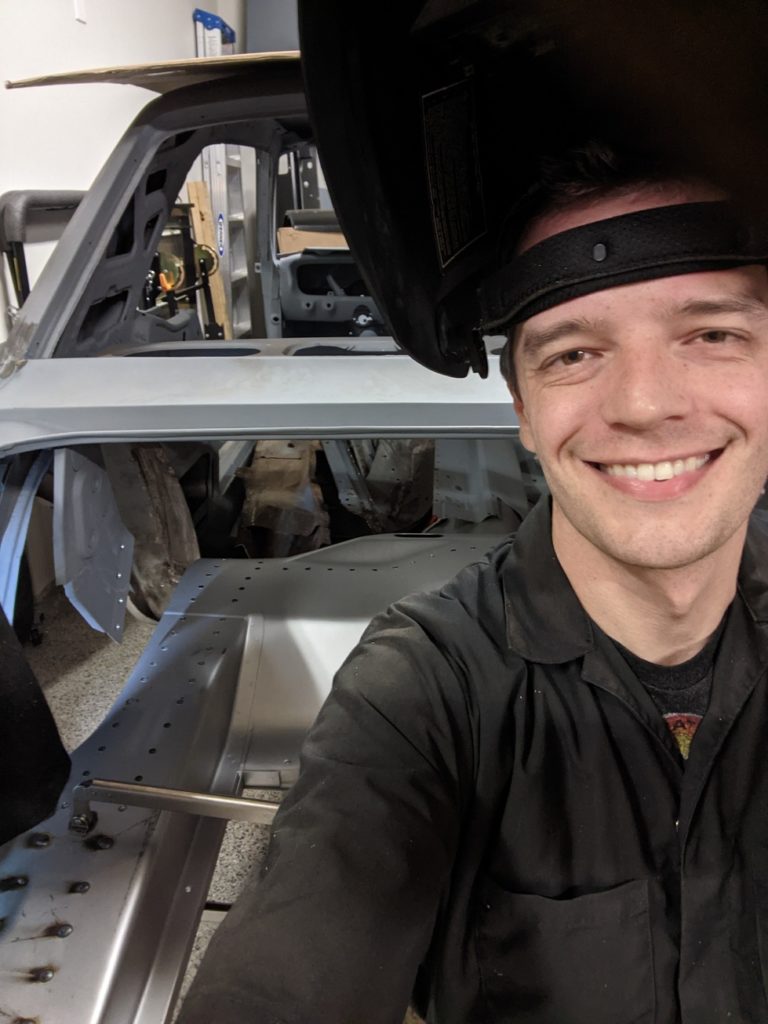
The time required to drill all the holes turned out to be trivial in comparison to the task of welding them all up. By far the most time consuming aspect of the process was having to move several clamps after every weld or two in order to make sure that the flanges were mating as tightly as possible with the new trunk floor before securing them in place. It took about 8 hours to finish up the initial welding pass but it felt great to finally be putting a non-trivial piece of the car back together a full year after I started tearing the car apart.
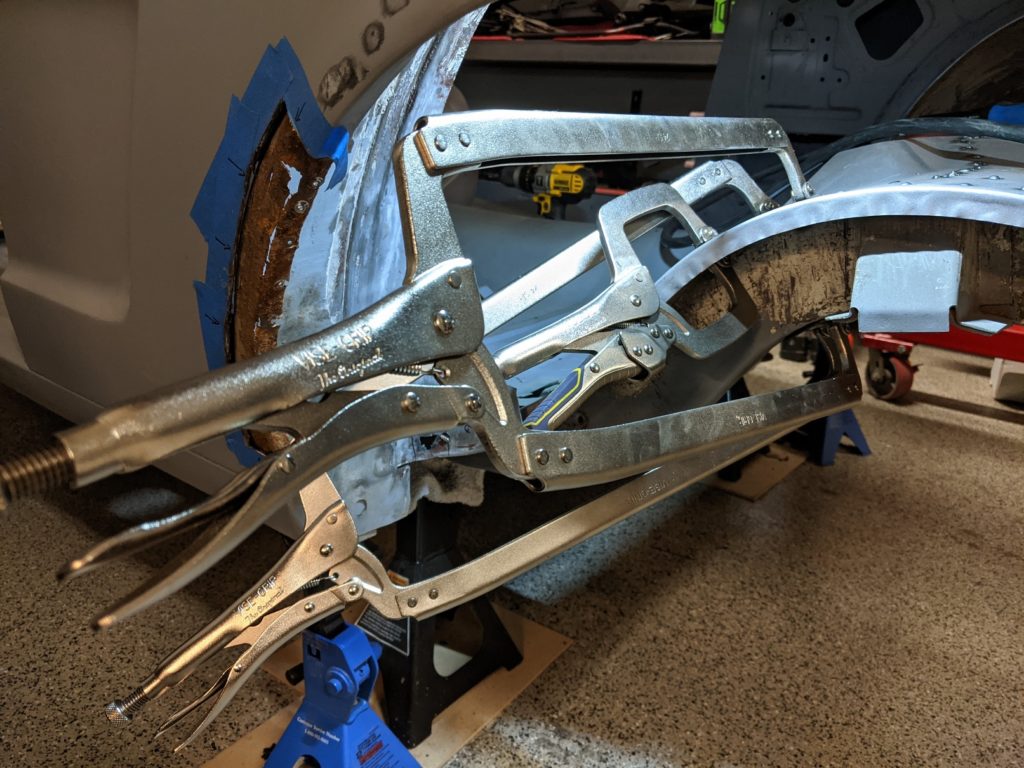
As with any reproduction piece the new trunk floor didn’t fit perfectly, hence the need for plenty of clamps and some “gentle persuasion” in a few spots.
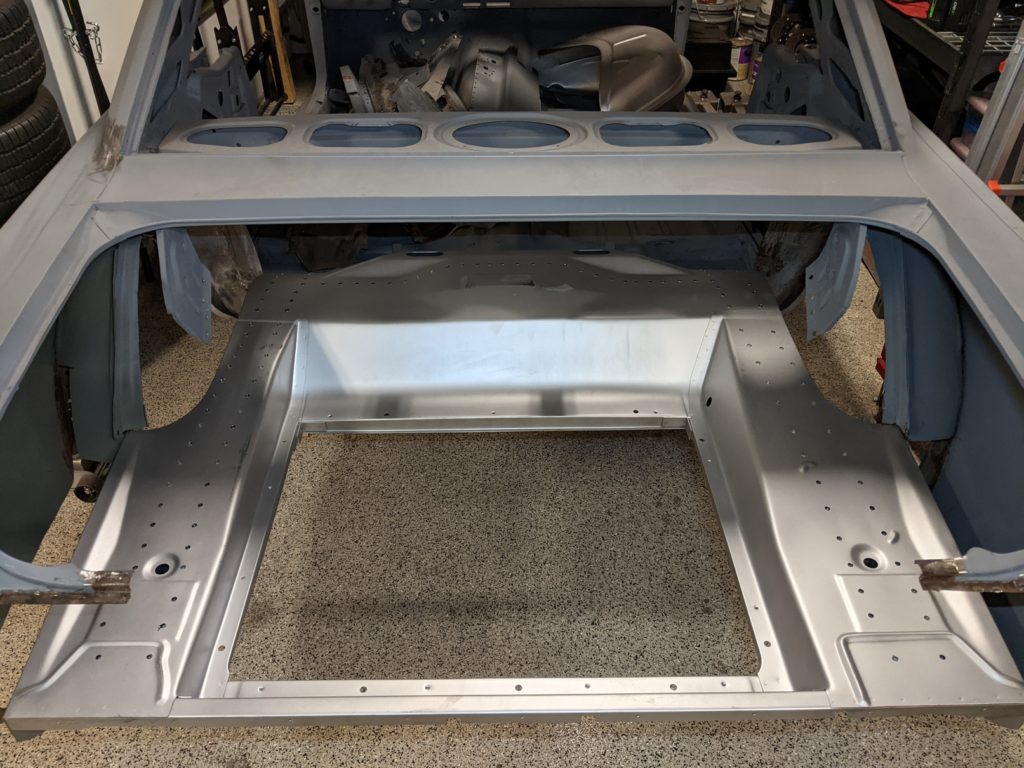
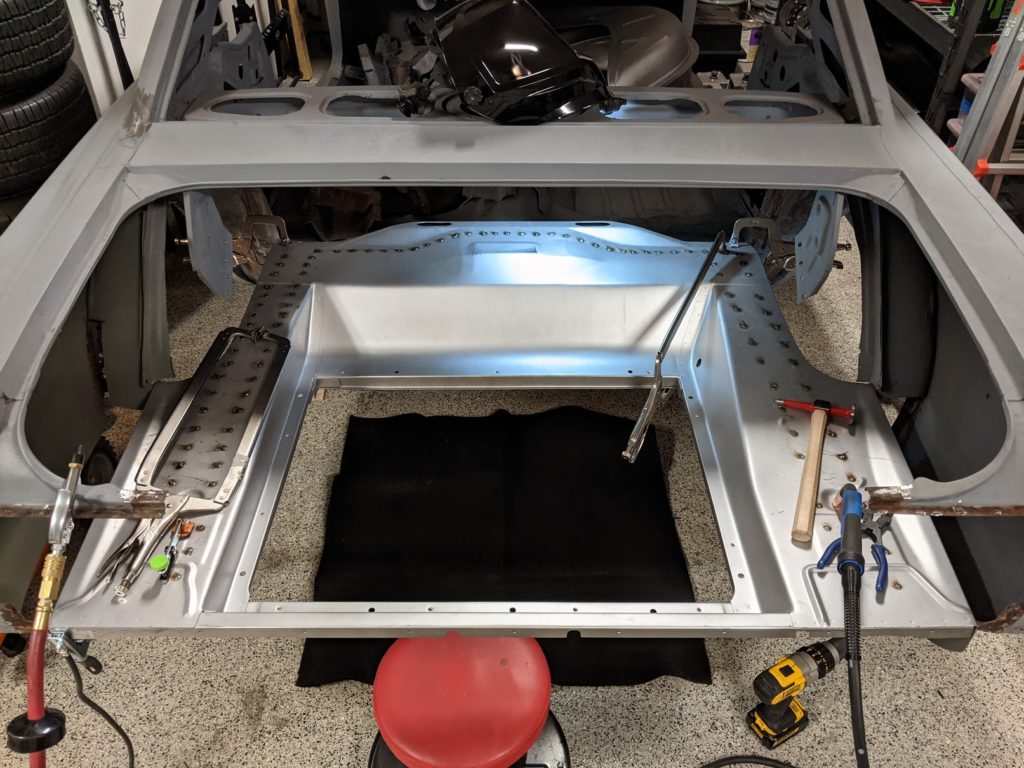
The front-most driver side portion gave me the hardest time when it came to tightly mating the new floor with the frame rail flanges, a problem that I may have exacerbated by welding the remainder of the passenger side before moving across (as visible in the next picture) rather than starting from the middle and working outwards. Perhaps I should have looked into making a few relief cuts to allow the metal to bend more easily in the ways I was attempting to guide it.
Working on the most problematic section I was having to move 3-4 clamps after each individual weld. This slowed my progress to a glacial pace.
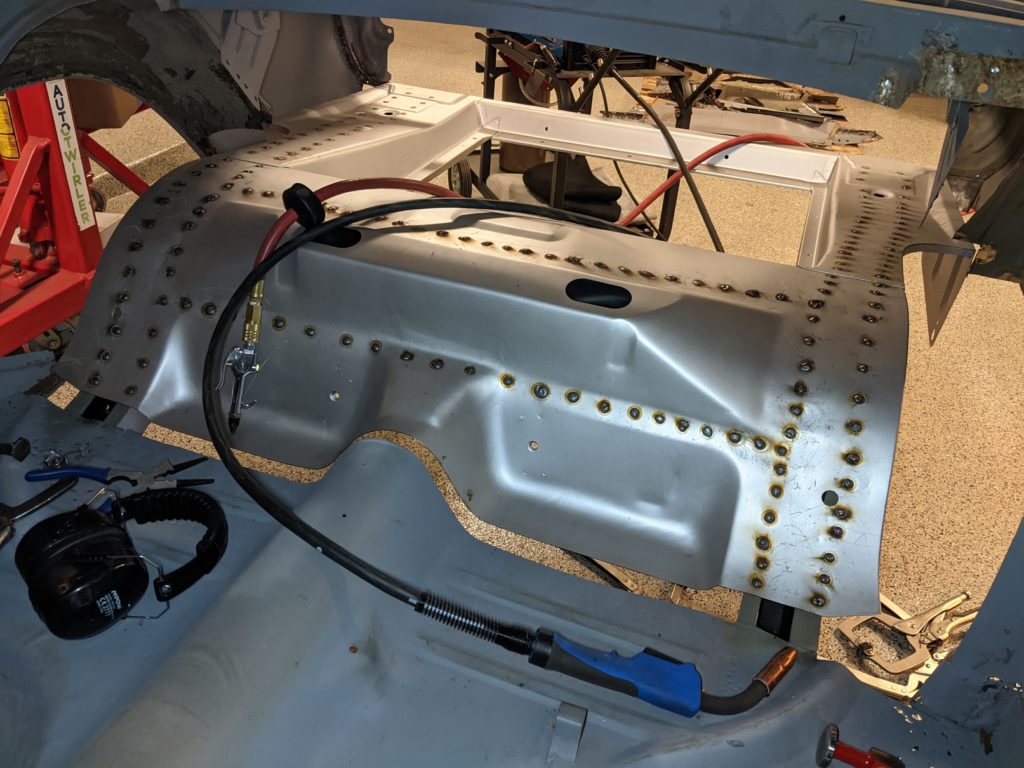
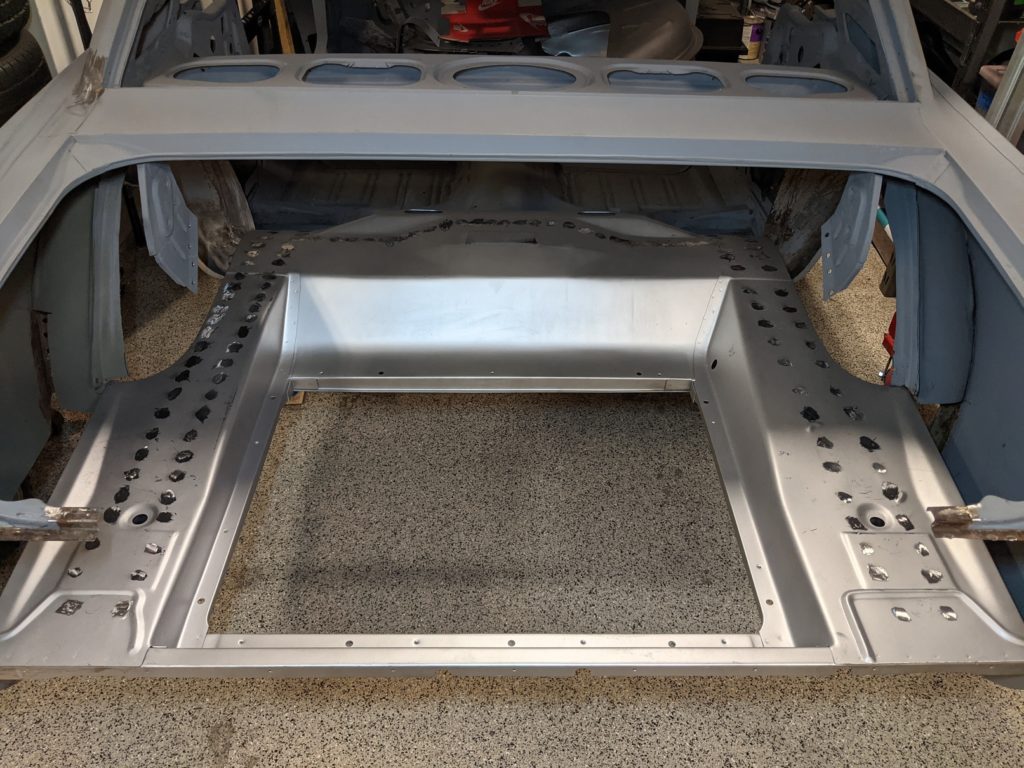
Eventually I was able to finish off the first welding pass and the new trunk floor was attached! If you look closely at some of the welds in the bottom right of the following picture you can see that the metal is lightly puckered surrounding the welds due to the forces I had to apply to get the metal surfaces to sit flush. It’s nothing too severe and it will be hidden well due to sitting directly behind the rear seats but I will probably still hit the area with some filler to help smooth it out before final paint. Looking back I probably should have paused and come up with a plan that involved less muscle before plowing through to the end.
What else could you ask for after 8 hours of welding if not 8 hours of grinding, touch-up welding, and more grinding?
New trunk floor installation officially complete!
Though I failed to take further pictures I followed up by chemically cleaning each of the weld sites and spraying a couple coats of primer over all of them to seal the metal.
The next big step will be removing the complete quarter panels and wheel houses, but before I do that I want to get the doors re-mounted in order to have reference points for the body lines when installing the new quarter panels. Before re-mounting the doors I need to determine whether they’re salvageable or not as both have rust in at least the leading corners…