After getting the old quarter panels and wheel houses removed the first order of business was getting the new wheel houses to fit properly.
I was able to get the wheel houses up and into the car without too much trouble, but despite being produced by the same manufacturer that made the new trunk floor the flanges that are intended to mate with the trunk floor didn’t fit particularly well.
They look like they fit fine from ten feet away so that’s probably good enough.
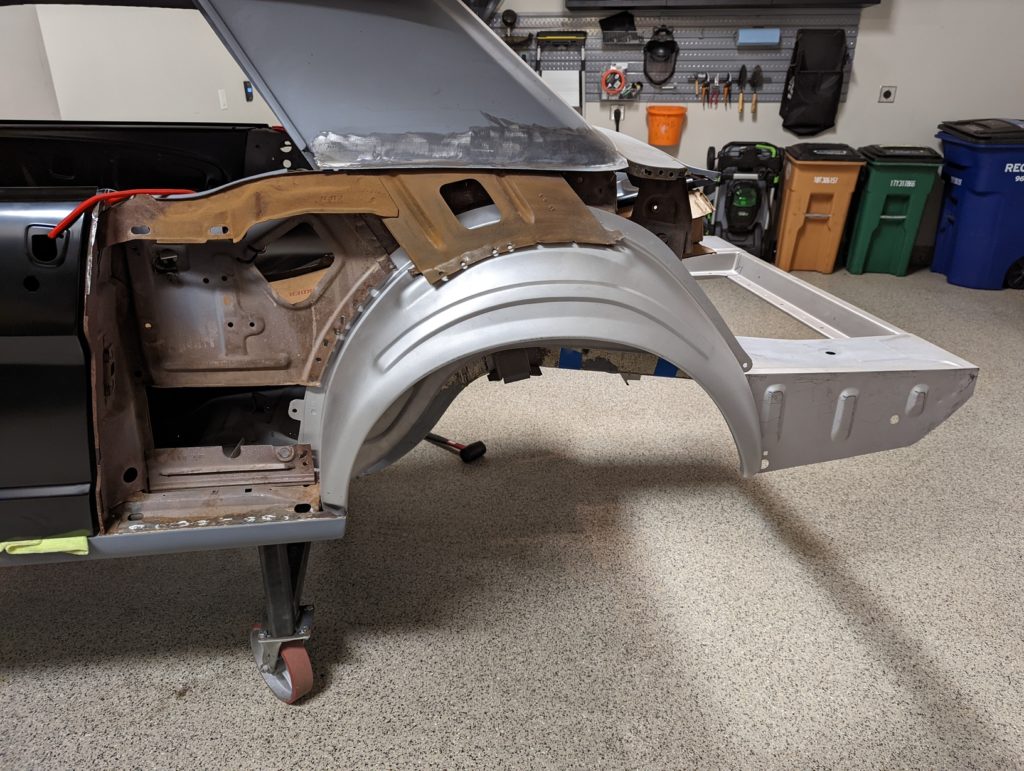
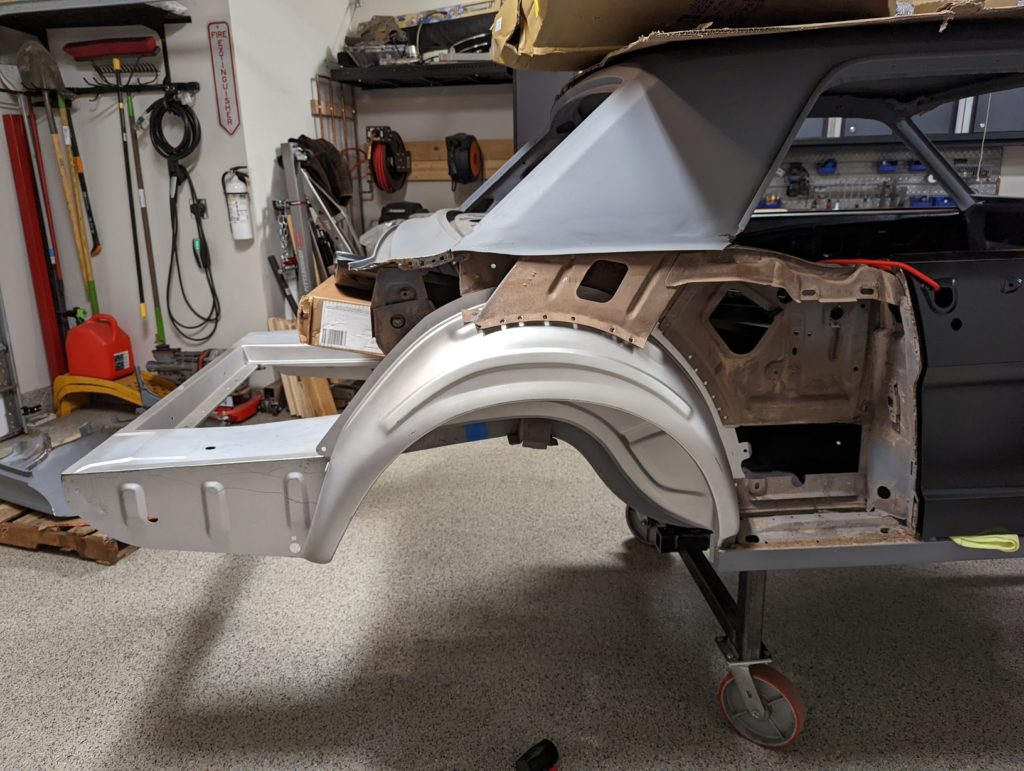
In the next two photos you can see the gap that existed between the outer half of the wheel houses and the trunk drop-offs.
In order to close that gap I had to cut out the rear portion of the trunk floor flanges so that the new wheel housings could sit in further.
Just because there’s only one photo of this modification doesn’t mean that I got it right on the first try. It took me at least a dozen repetitions of: put wheel house in place, mark where more room is needed, remove wheel house, grind/cut more clearance in the indicated locations, repeat. Pictures of all that would be super boring, so here we are.
Eventually the outer wheel house and the trunk drop-off were mating nicely with the help of a sheet metal clamp.
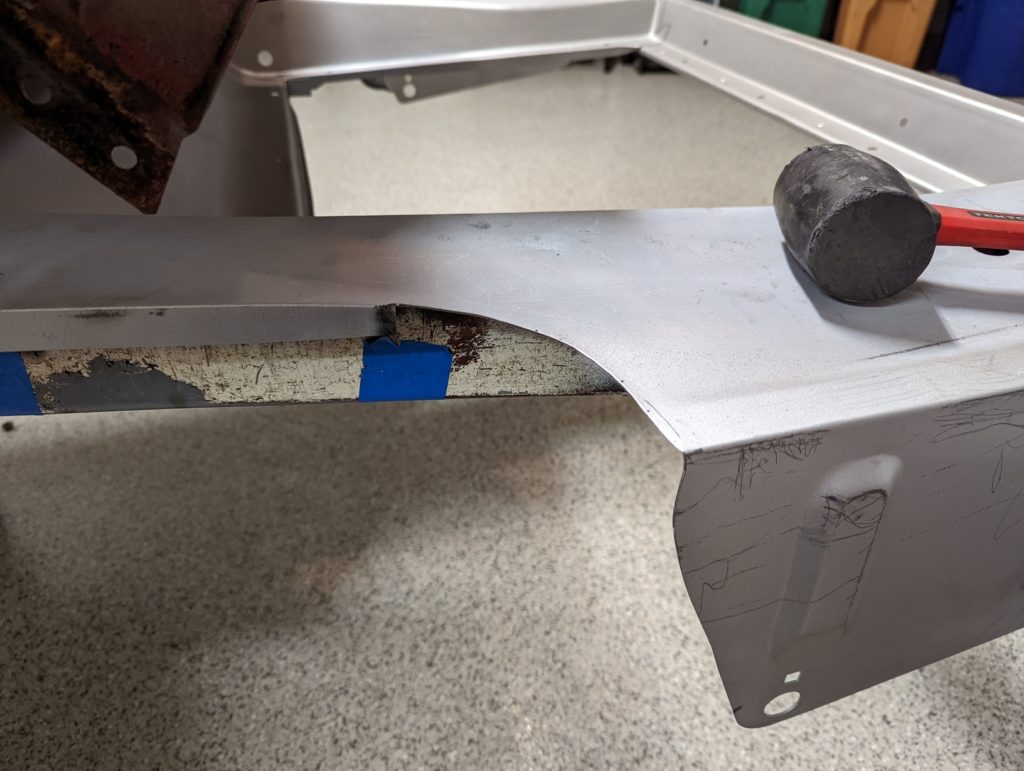
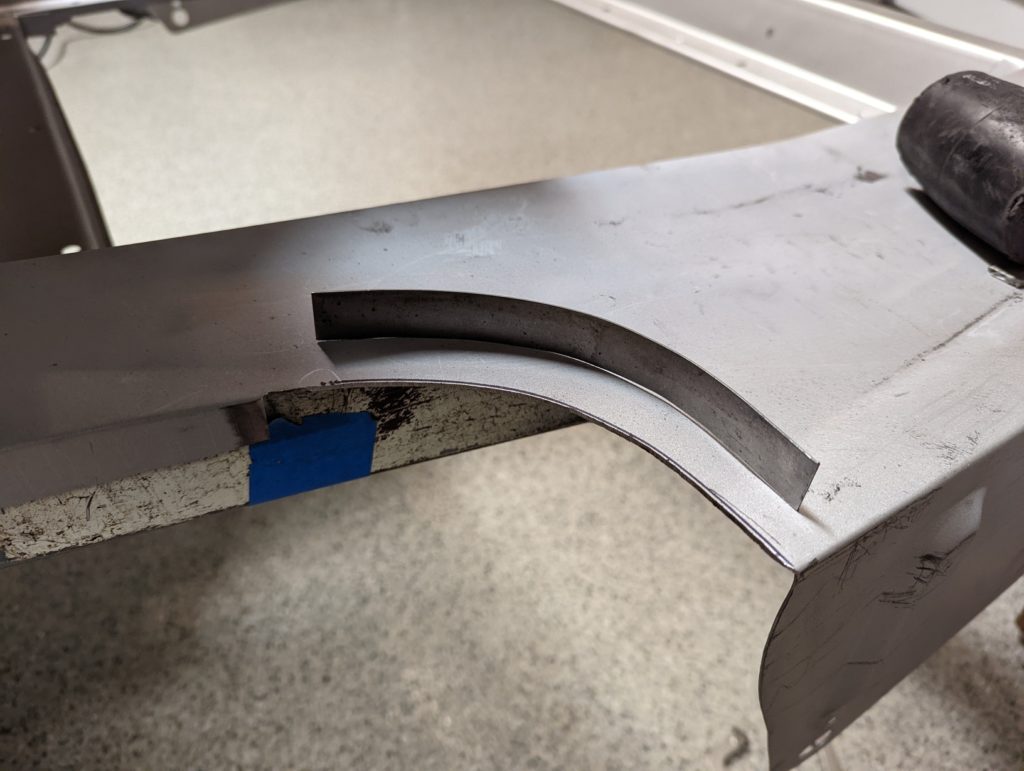
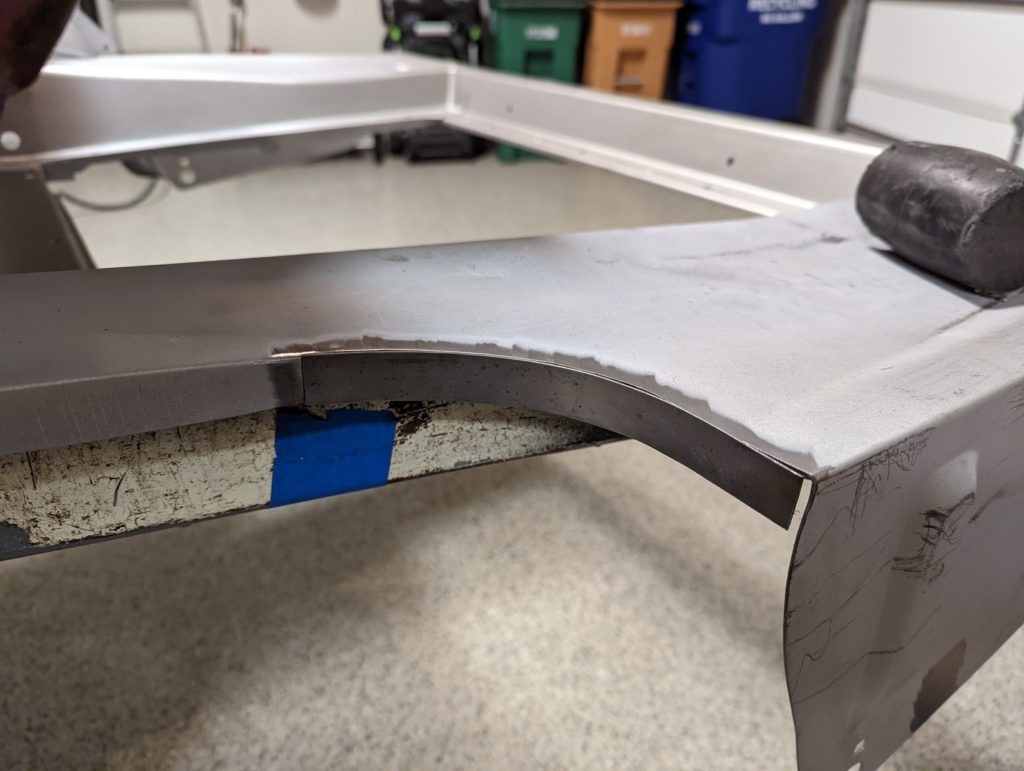
The front half of the driver’s side outer wheel house had the opposite problem – the trunk floor was set too far inward to meet the flange of the outer wheel housing. In order to extend the flange outward I made a cut along the trunk floor flange the length of the gap and then clamped the flange to the outer wheel housing so that I could see how much metal would need to be added.
With the gap opened up I took a piece of cardboard and taped it to the underside of the gap so that I could trace the shape from above.
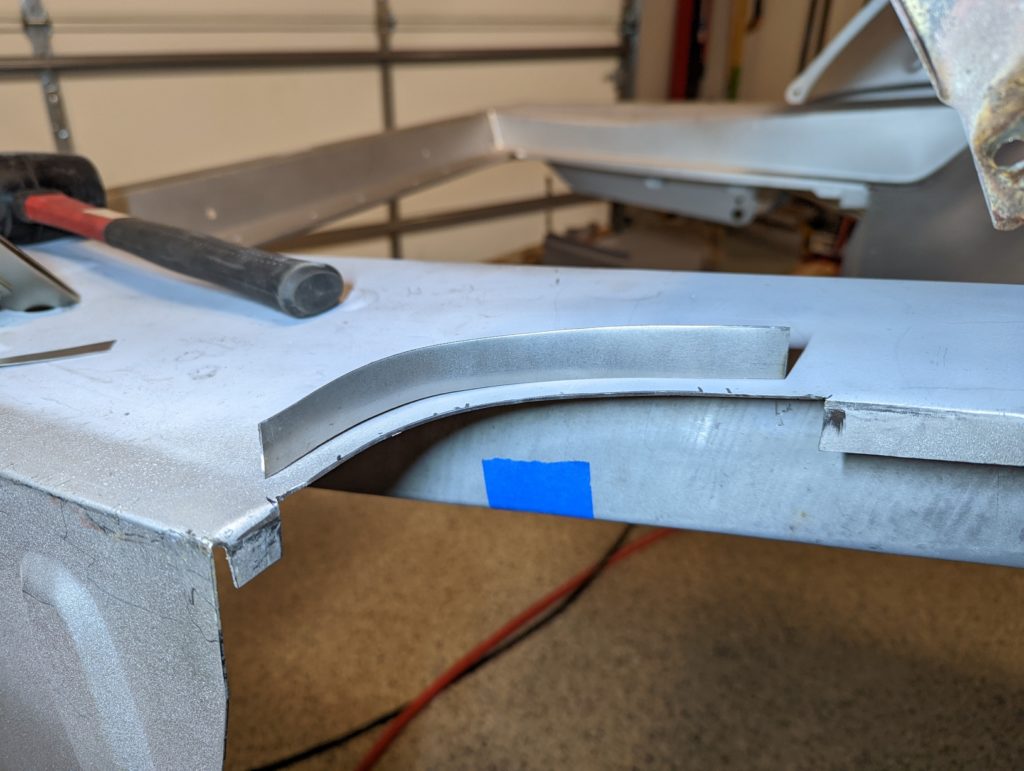
The section of metal I was going to need to fill the gap was both fairly long and would need to be bent to follow the contours of the trunk floor so I decided to fabricate it in two sections.

With the cardboard template shapes cut out I bent them into rough shape using the flange I had removed from the trunk floor as a guide.
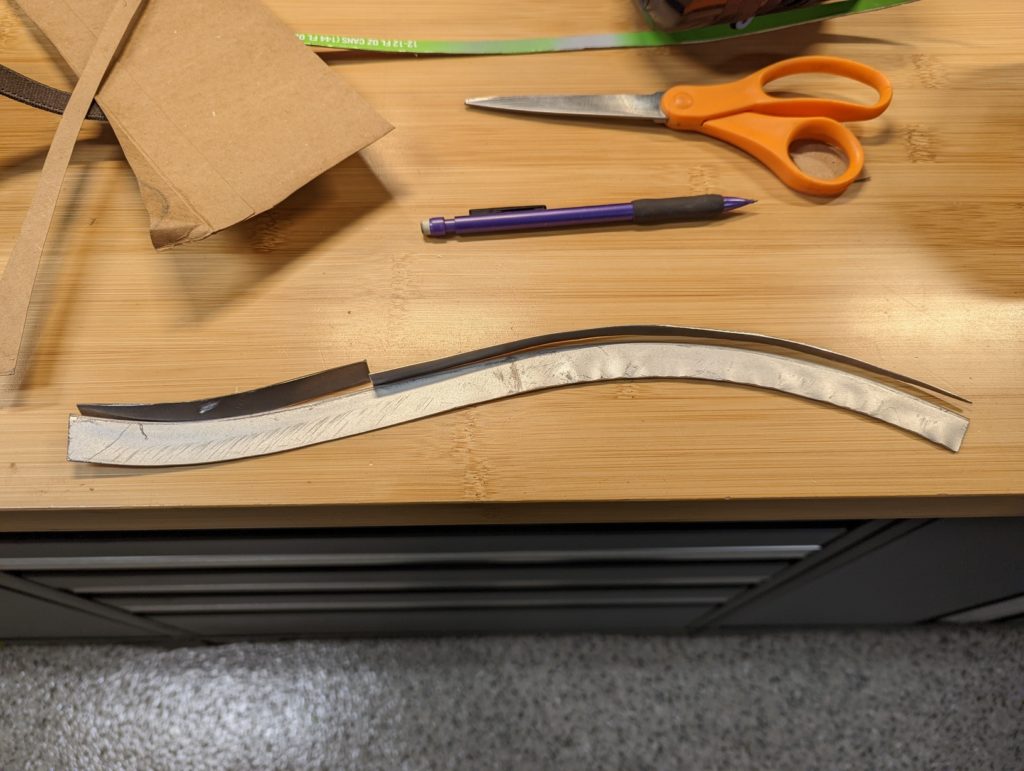
To keep the shape correct I welded the filler pieces to the trunk flange before worrying about final fitment.
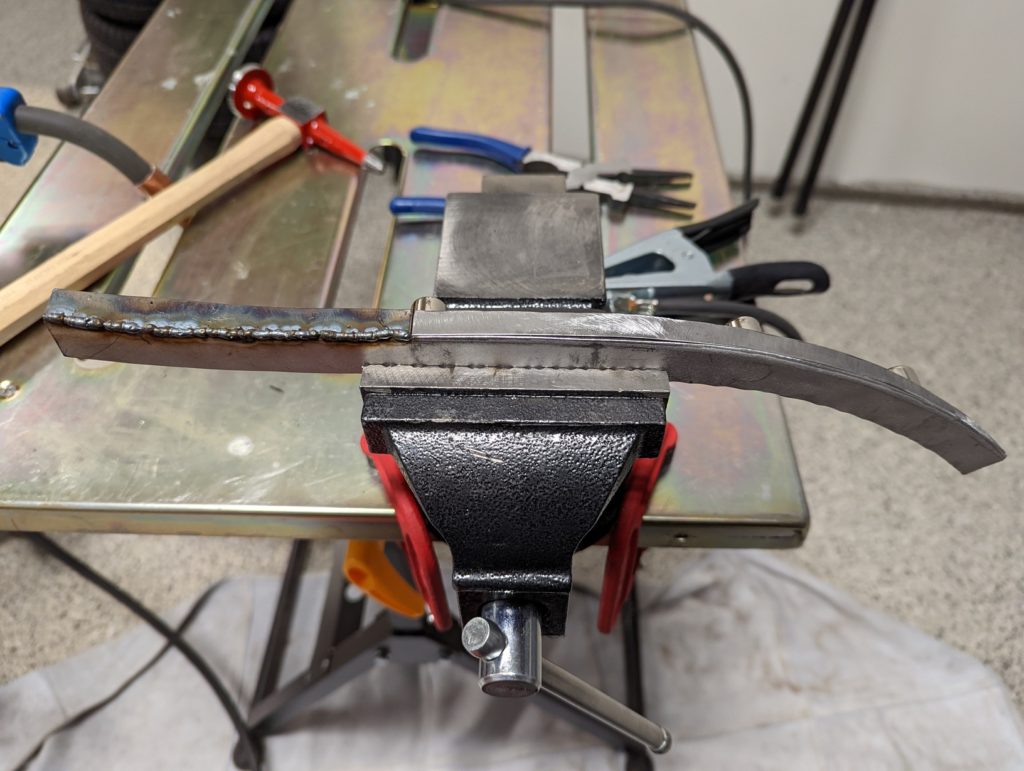
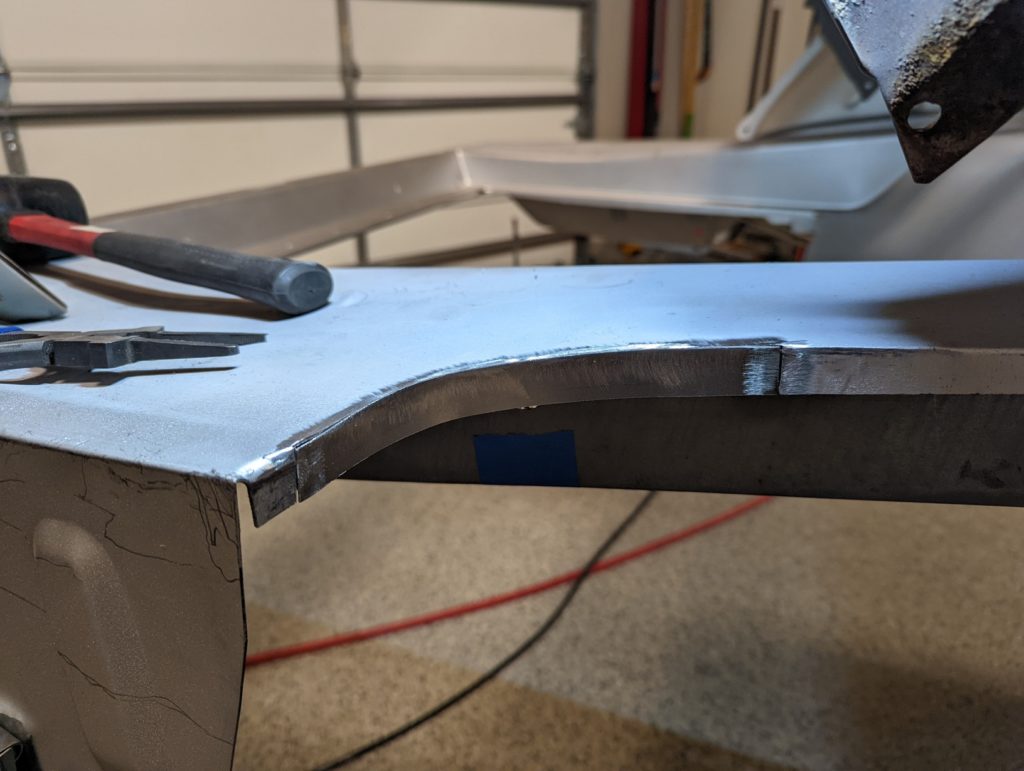
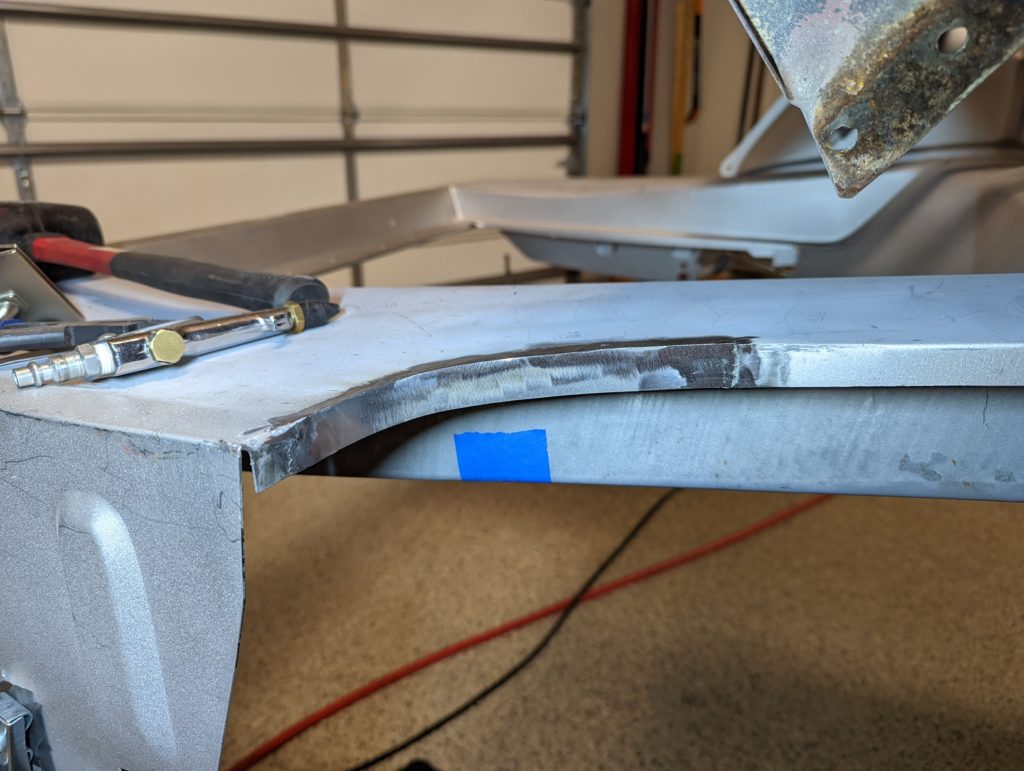
I took the resulting flange and laid it into the gap so that I could trace out how much I would need to trim back in order to get a nice butt weld fit with the trunk floor.
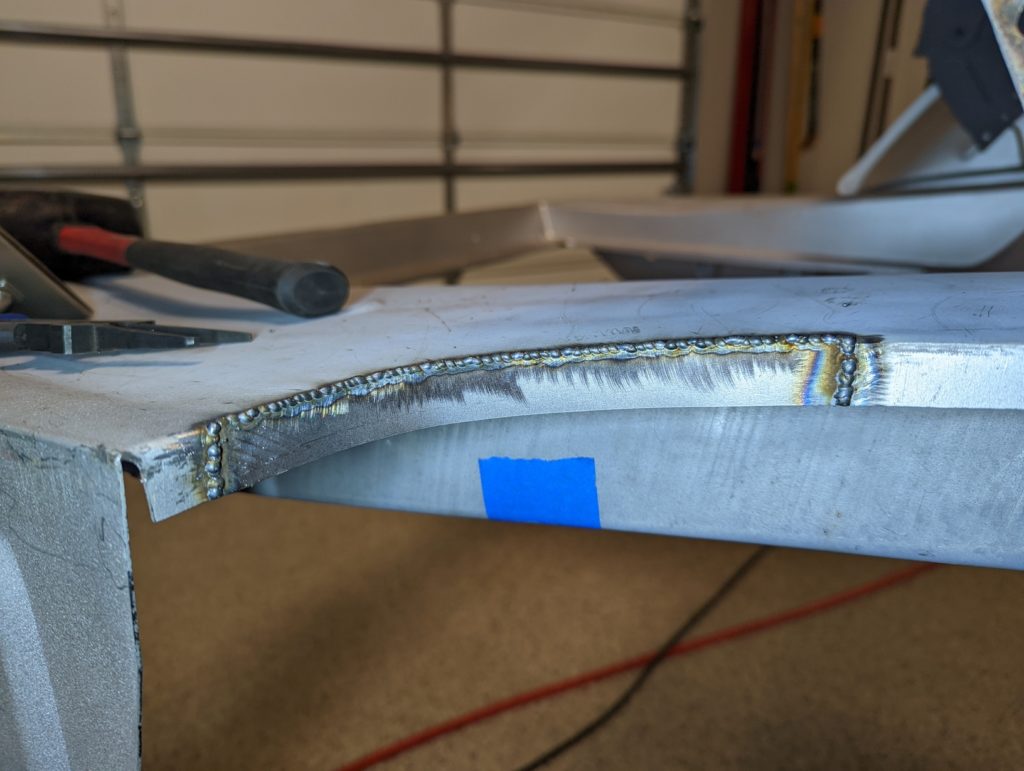
After some more trimming and fitting I clamped down the new flange welded it in.
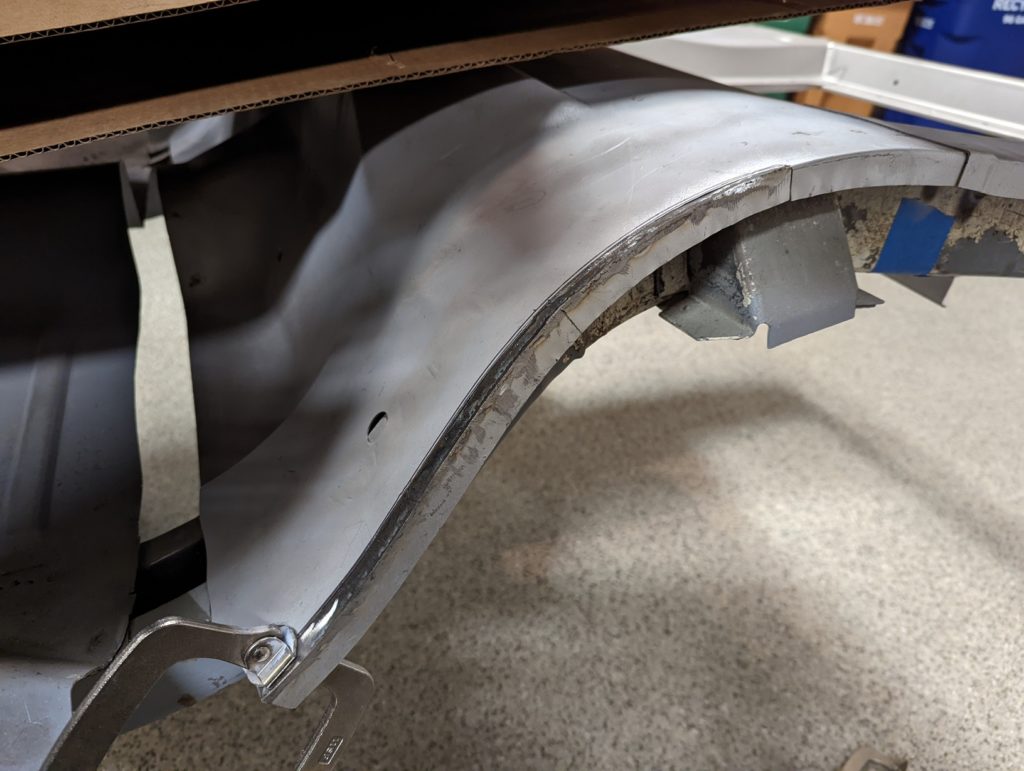
After grinding down the welds the fit with the new wheel house was much improved. Still not perfect, but close enough that welding clamps could easily compensate.
With the front half of the wheel house sorted I returned to the rear where I created a new flange to match the “massaged” portion of the trunk floor.
When that was all done and cleaned up the driver’s side wheel house was finally fitting nicely. On to the passenger side!
It was a similar story on the passenger side, though the gap from the front half of the outer wheel housing to the trunk floor wasn’t as large. I did a better job of taking pictures on the passenger side so I’ll let them tell the abbreviated story.

Just like that the wheel houses are fitting much better now. It continues to amaze me that parts from the same manufacturer that are meant to fit together require so much modification to actually fit properly. Maybe I’m just being overly picky since I have virtually no idea what I’m doing.