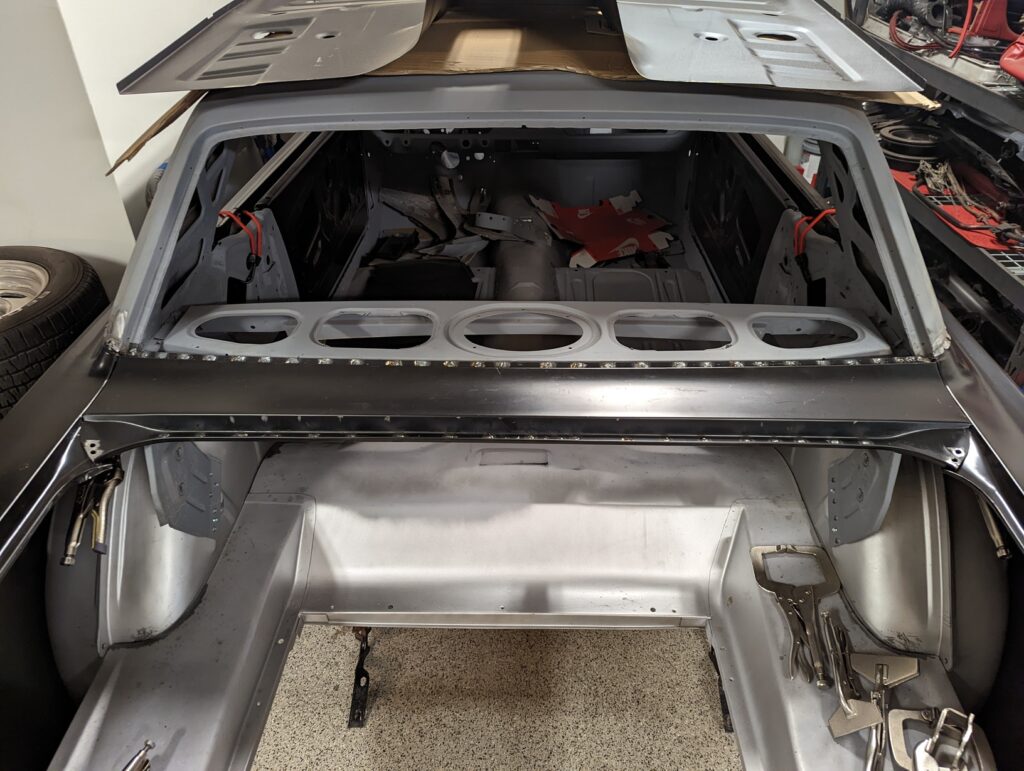
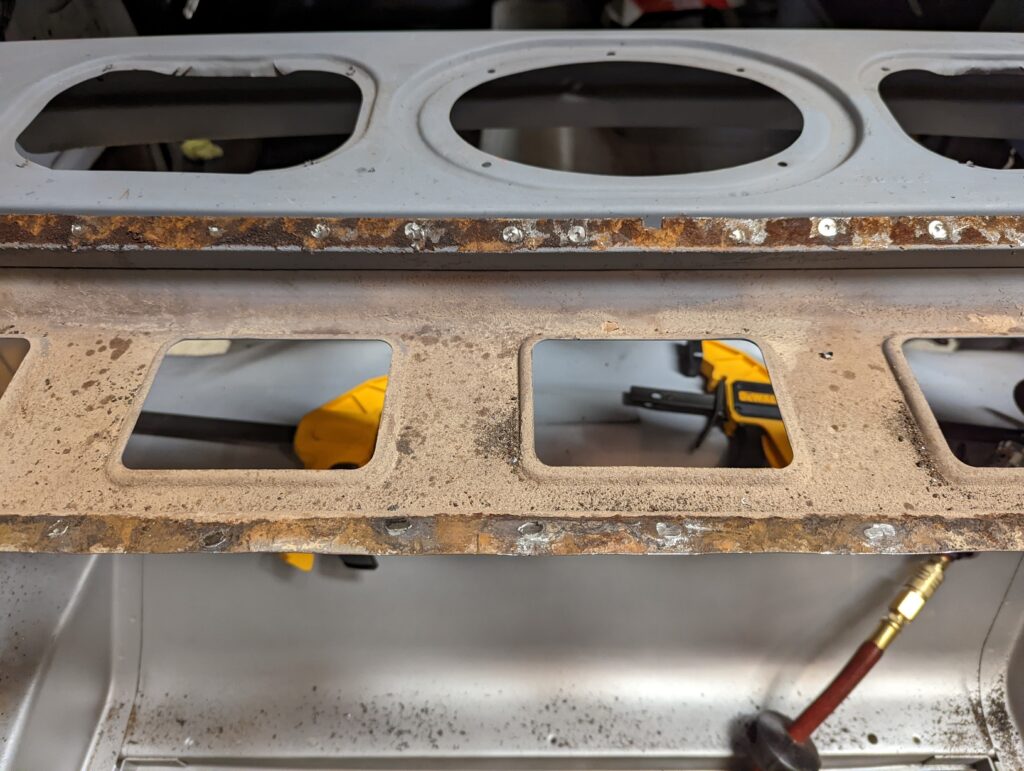
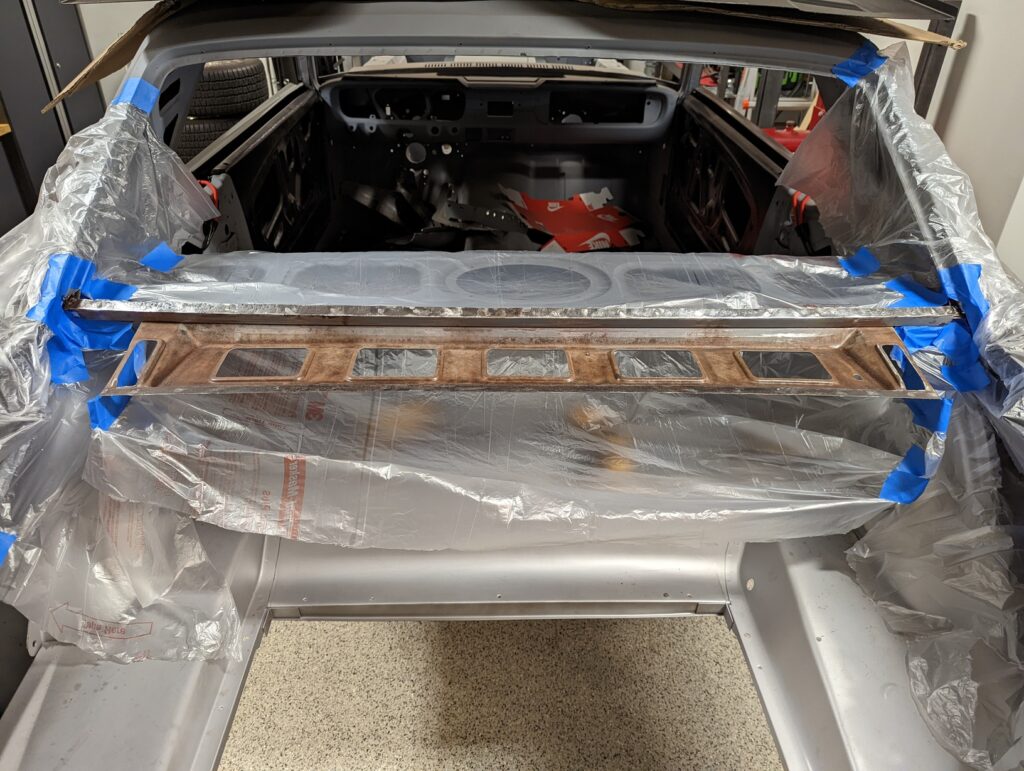
During the work I had been doing on the back half of the car I got to spend a lot of time looking at the rust damage lining the bottom of the rear window channel. Unfortunately it spread almost the entire length of the channel and was severe enough to result in occasional pin holes.
The top of the filler panel was fine but I didn’t have a good plan for how to replace the full 4 feet or so of the channel portion without making a mess of things. I decided to roll the dice on a $70 reproduction panel hoping that I’d at least be able to use the channel portion.
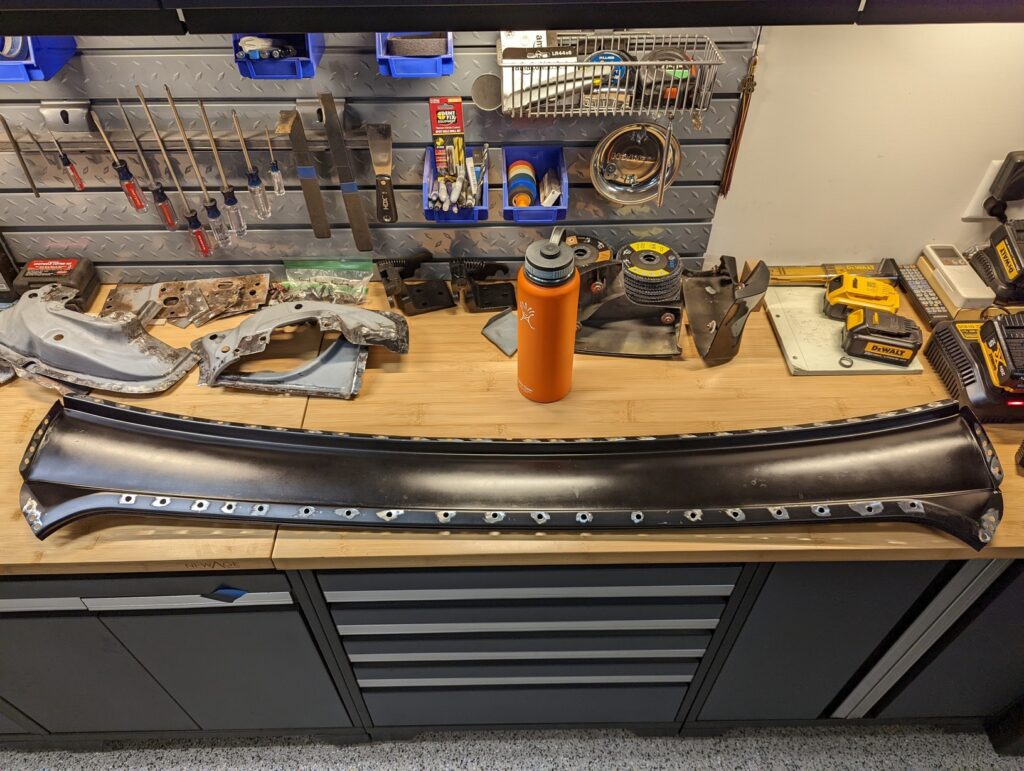
Thankfully I got lucky and the aftermarket panel was an excellent reproduction, enough so that I decided to use the entire thing without any significant modifications. But first I had to remove the original one, starting by grinding down all of the spot welds.
With all of the spot welds ground out and broken free the panel pulled free.
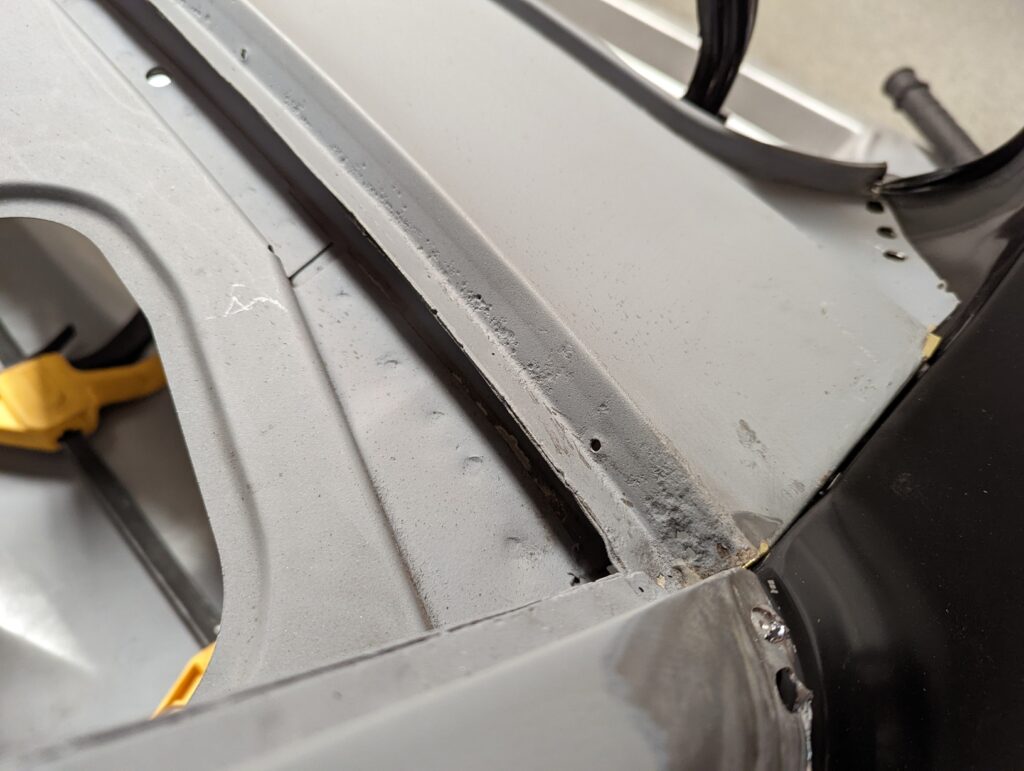
There was a seemingly typical amount of surface rust on each of the flanges where it had been welded in place but the inner structure wasn’t bad at all.
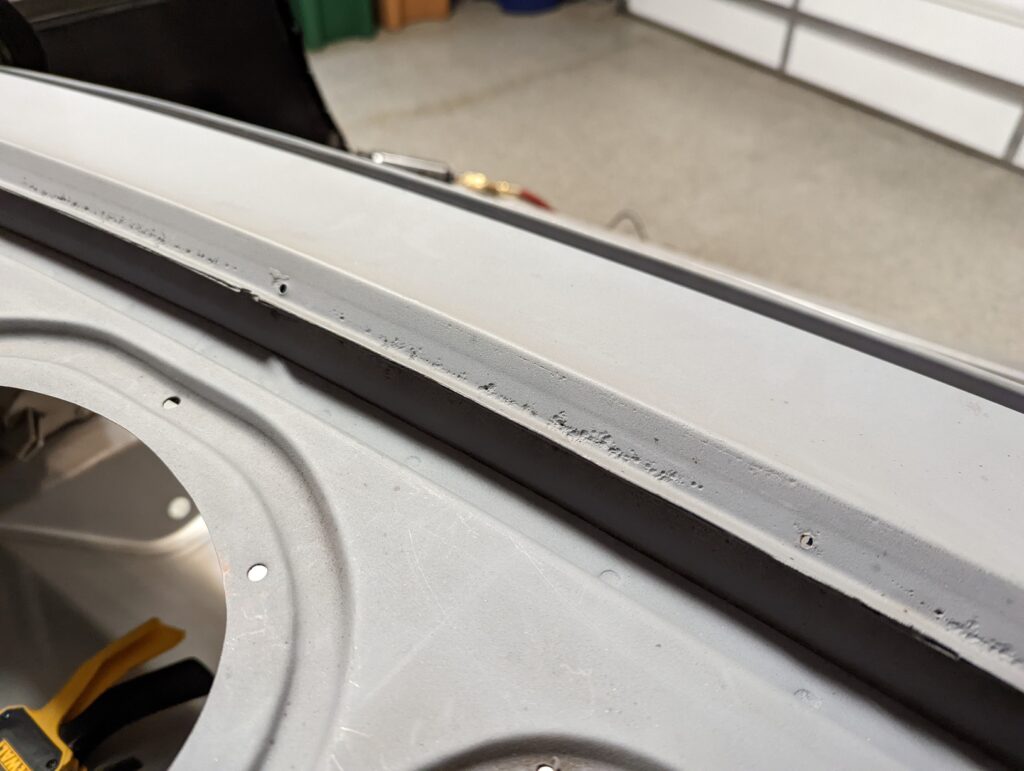
The only areas where the reproduction panel didn’t line up particularly well were at the top corner edges where it sat slightly lower that the edges of the quarters where they met.
With some slight adjustments I was able to mock up a fit that I was happy with.
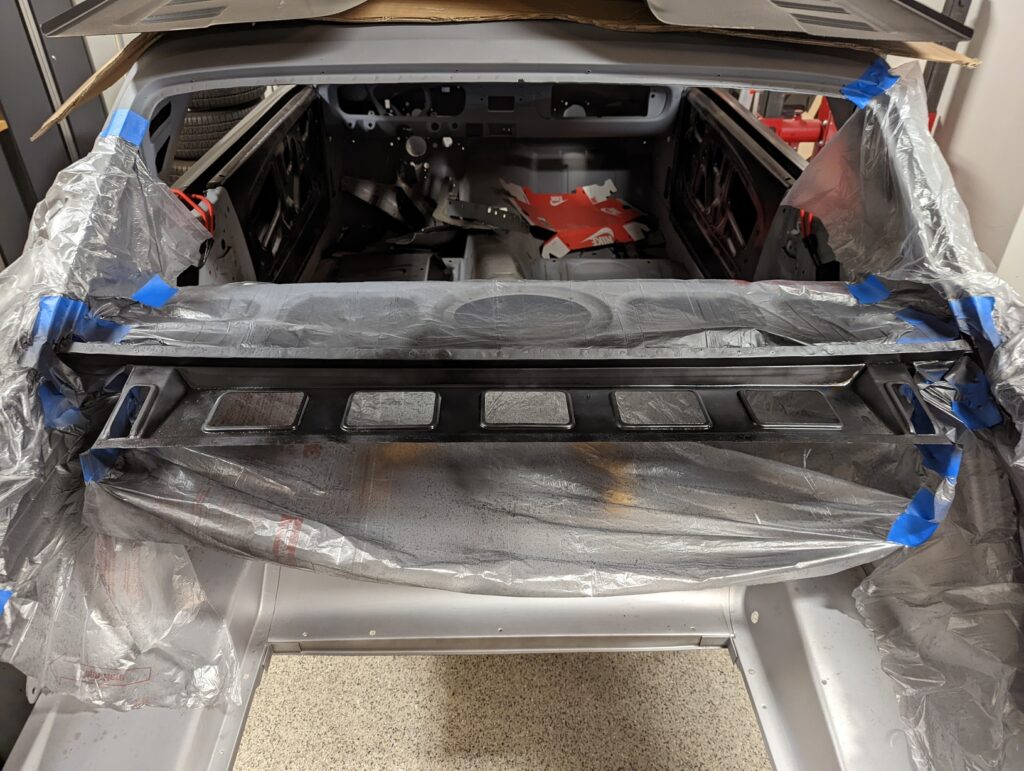
While I had the filler panel off I decided to paint the inner structure to help preserve it for another 60 years so I started by getting it all nice and clean.
First coat over everything was Eastwood rust encapsulator.
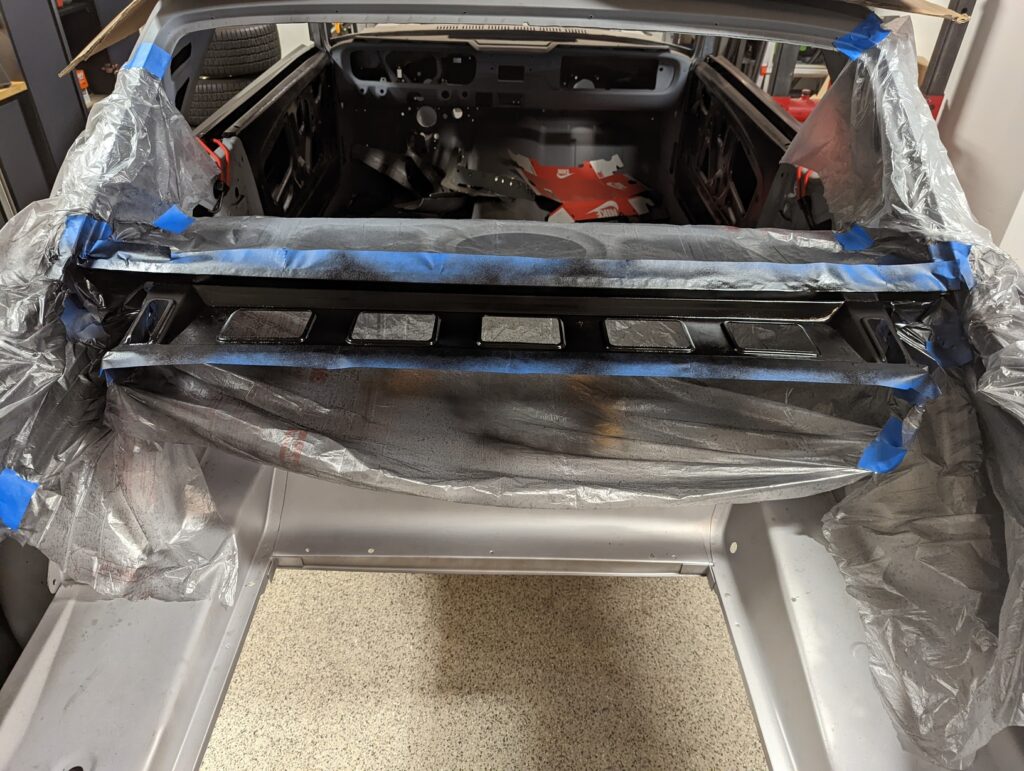
After taping off the flanges that I would be welding to I sprayed the inner structure with chassis black as well.
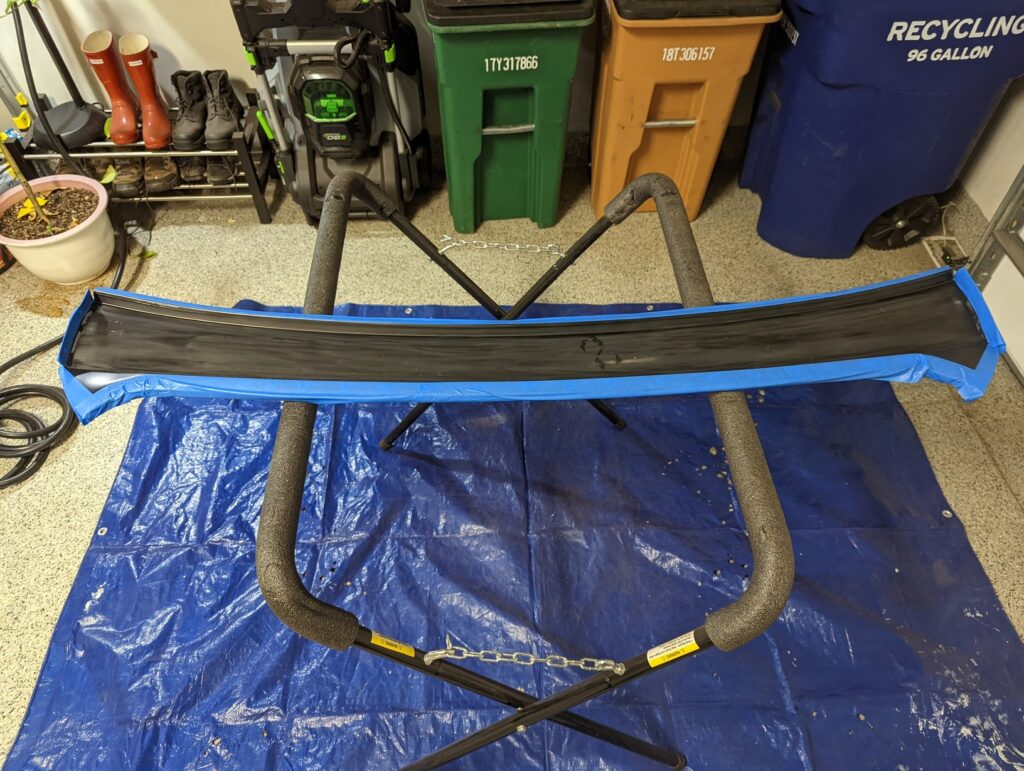
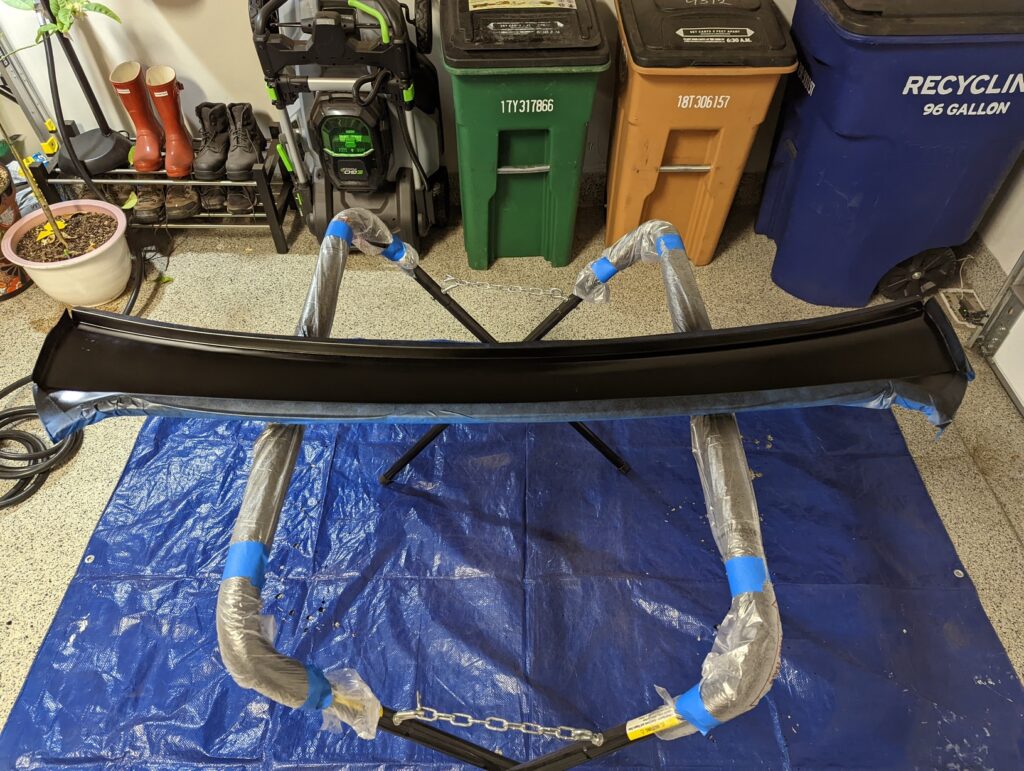
Figured I might as well paint the underside of the new filler panel to match.
asdf
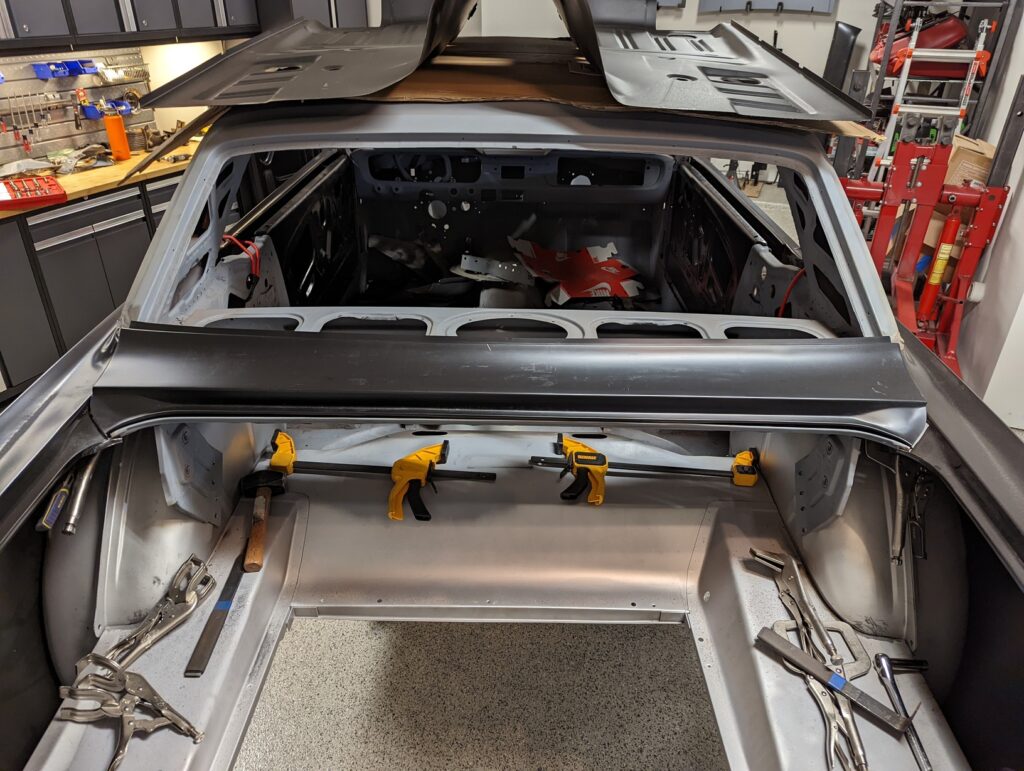
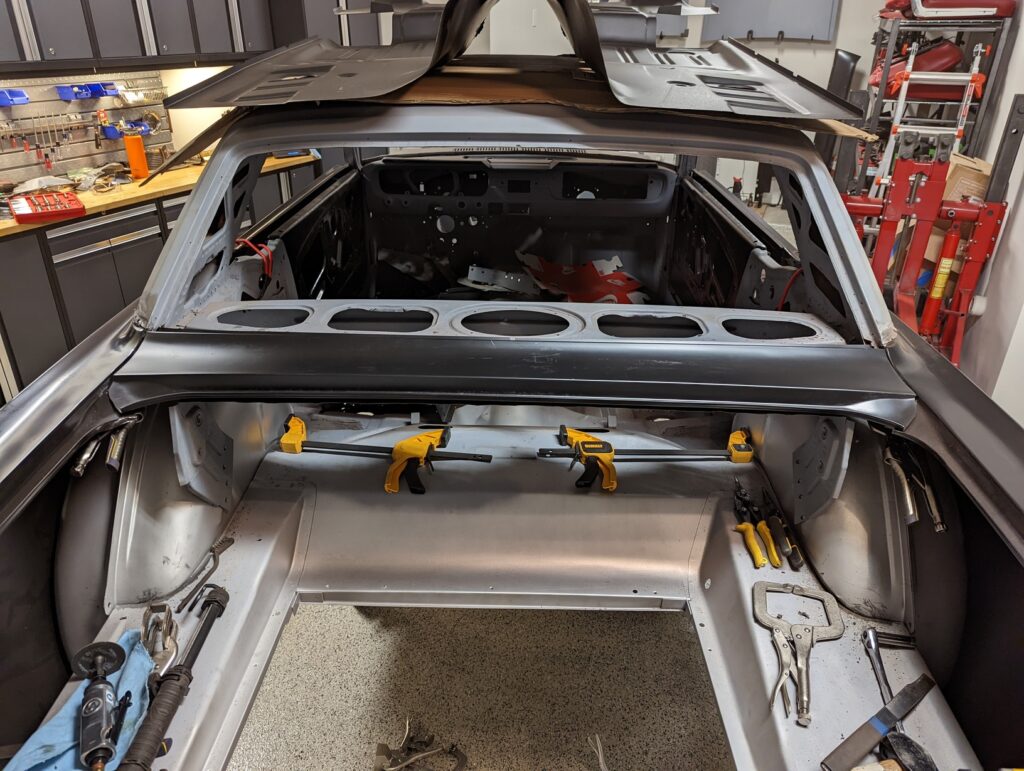
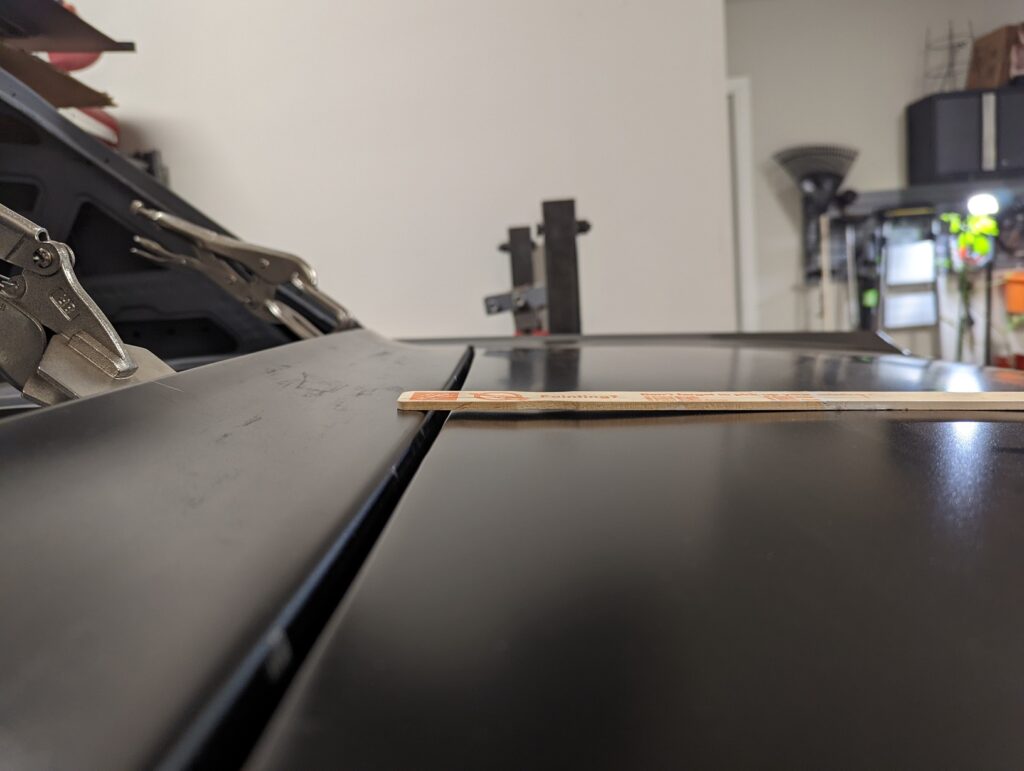
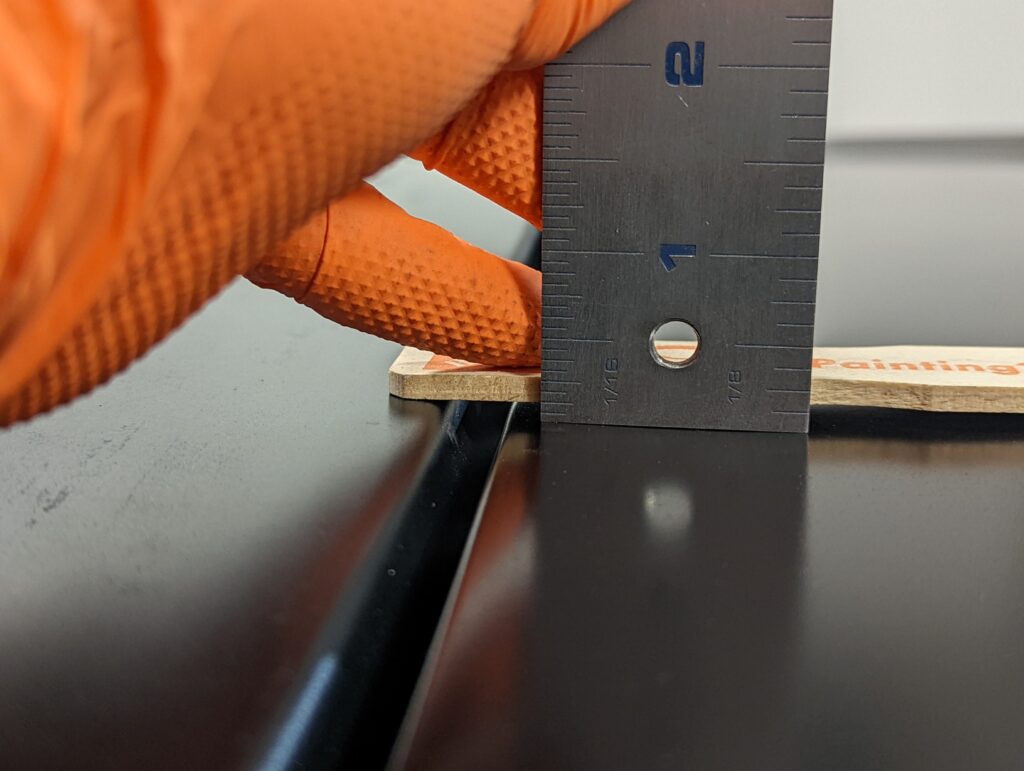
Before I welded the panel in place I re-installed the deck lid to verify the fit.
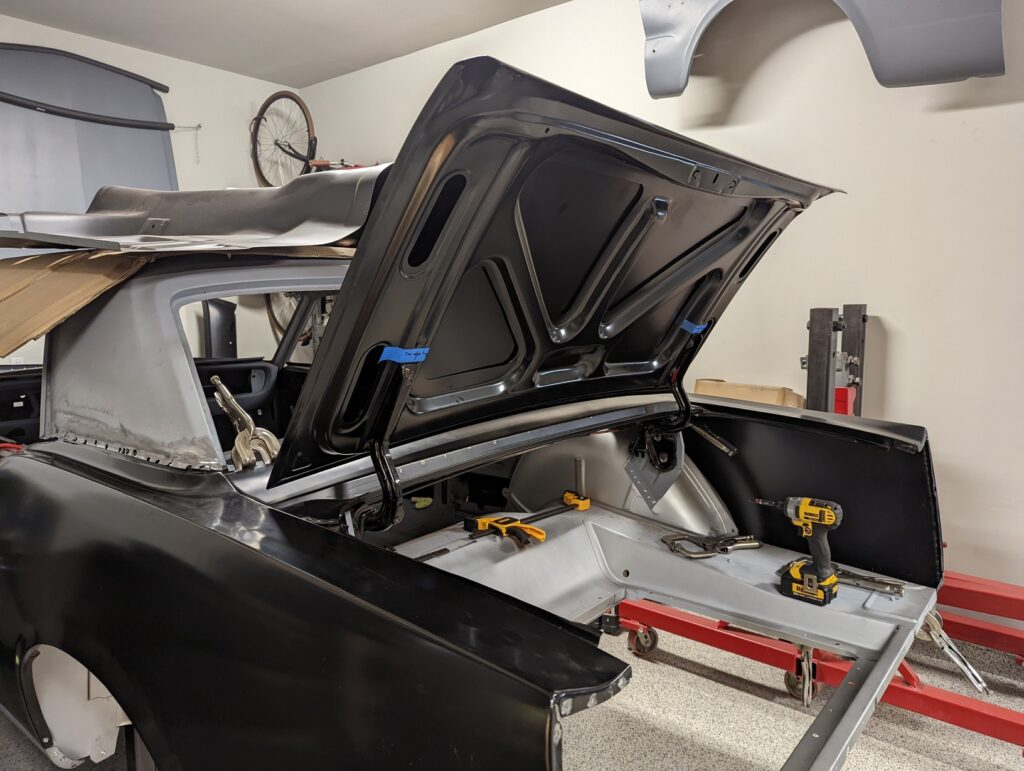
What I found was that though the deck lid was level with the filler panel and quarters at the top corners it was sitting about 1/8″ lower than the filler panel at the center.
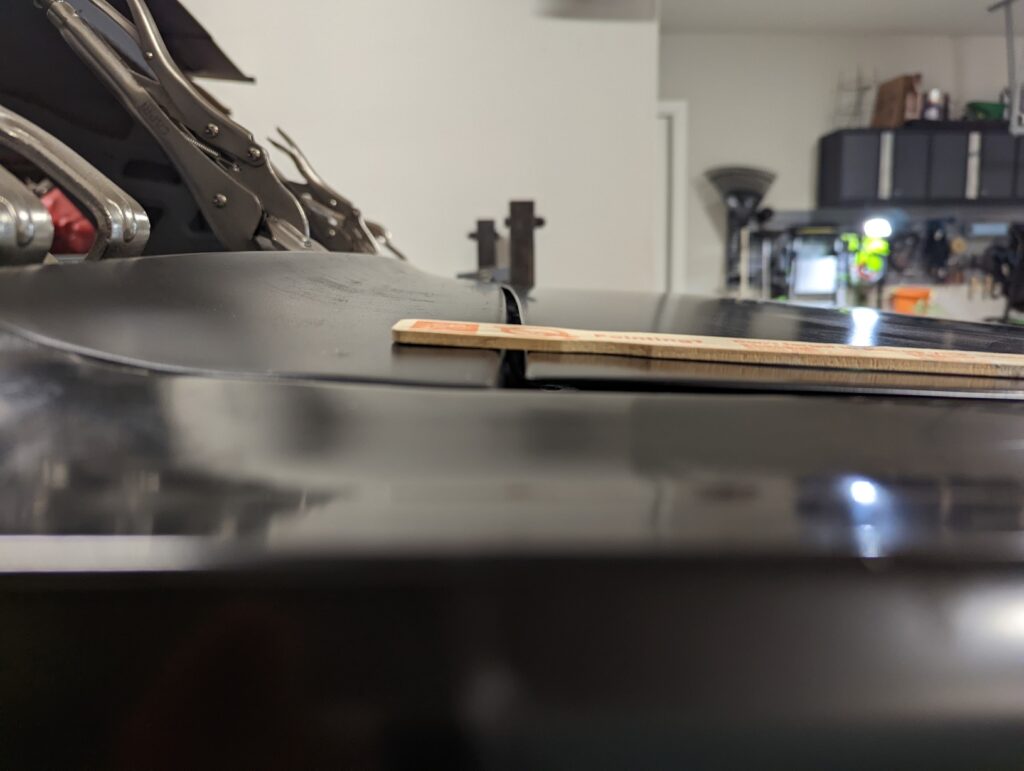
In an effort to compensate for the misalignment I used clamps to pull the filler panel down in the center while I welded it to the inner structure, forcing it to flatten out a bit in the middle to better match the curvature of the deck lid.
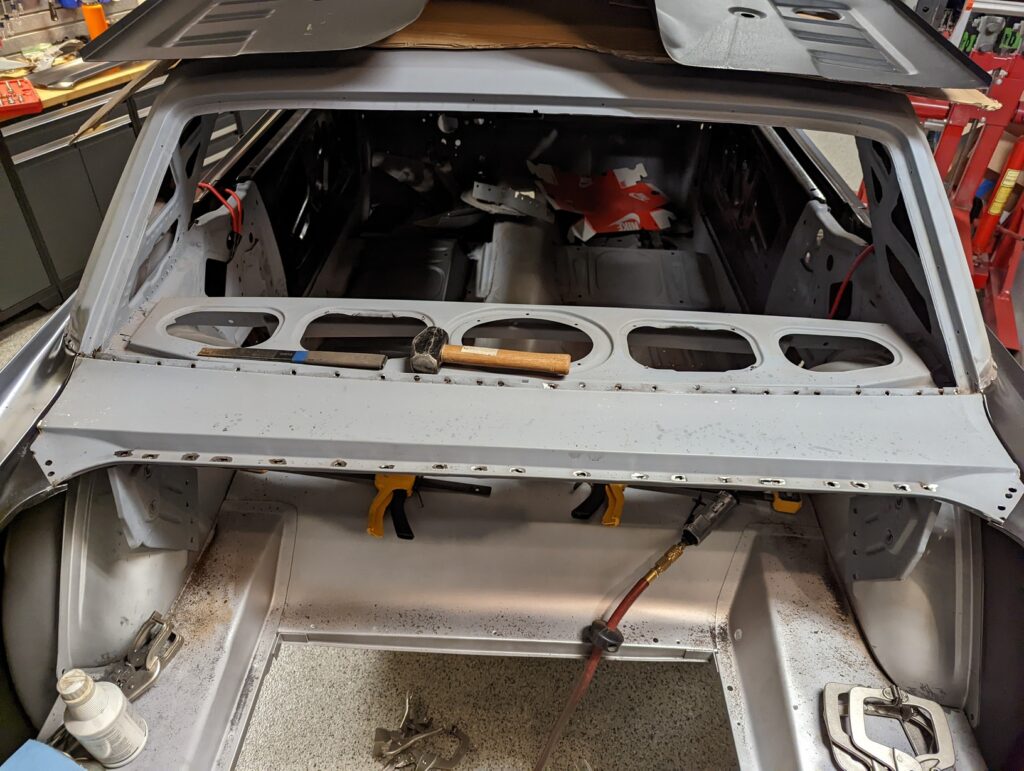
While the filler panel was staged I used a silver Sharpie to mark out each of the plug weld locations so I could clean the paint off of them.
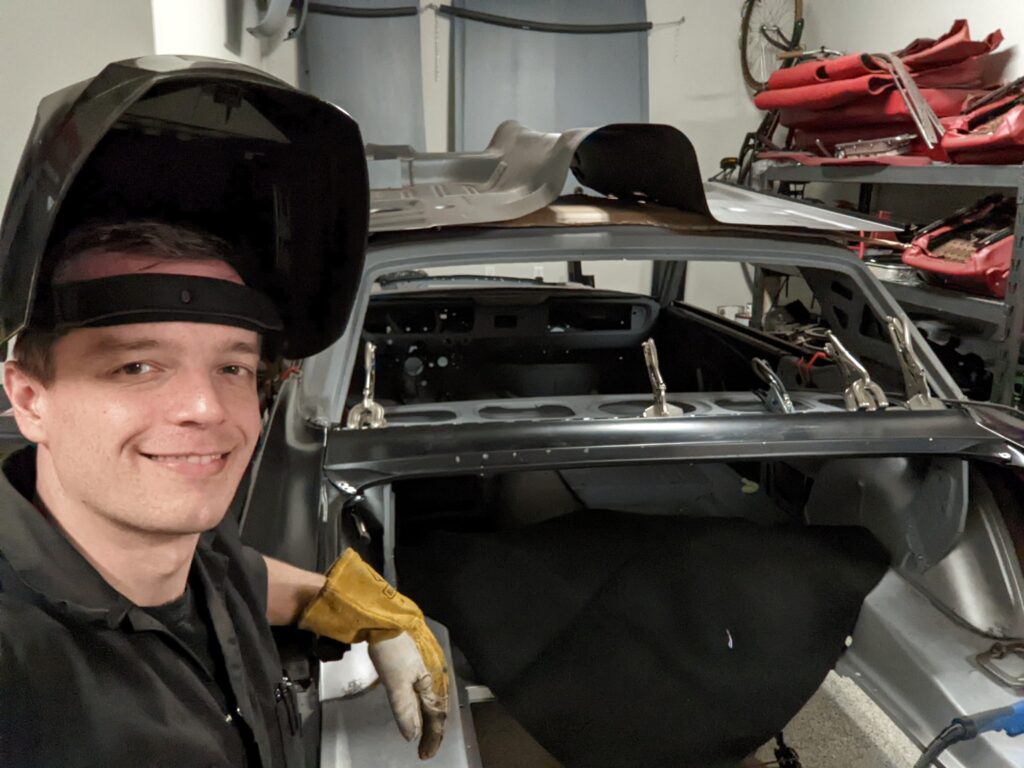
With the plug weld locations prepped it was just a matter of clamping, welding, grinding, and cheeky selfies.