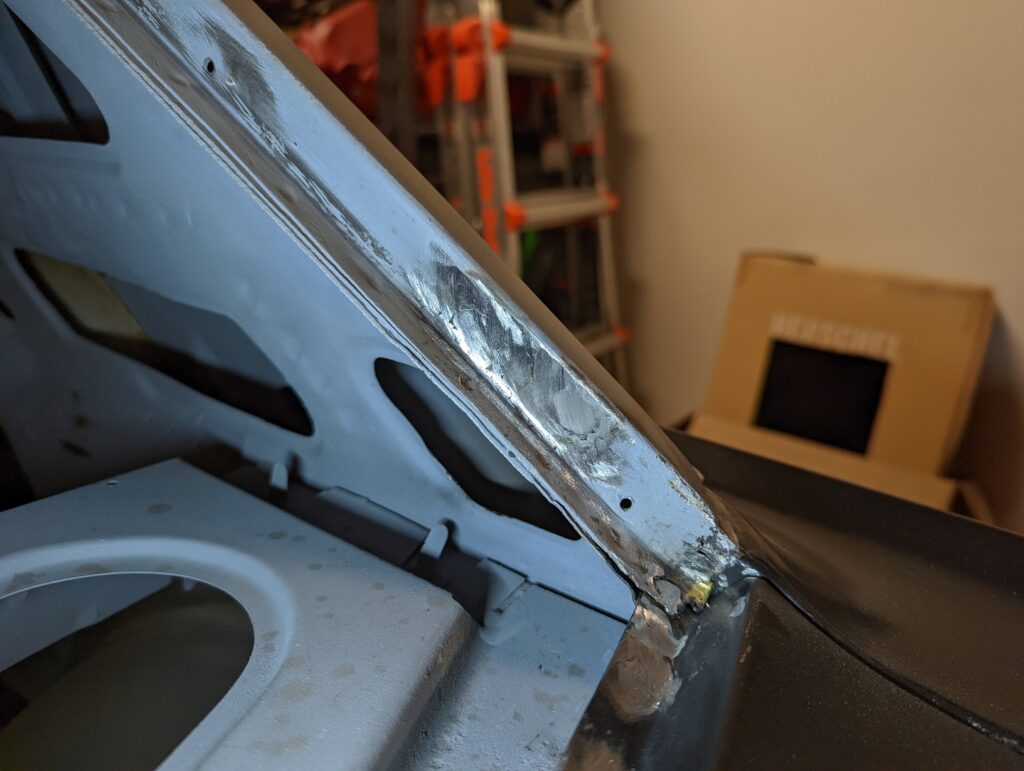
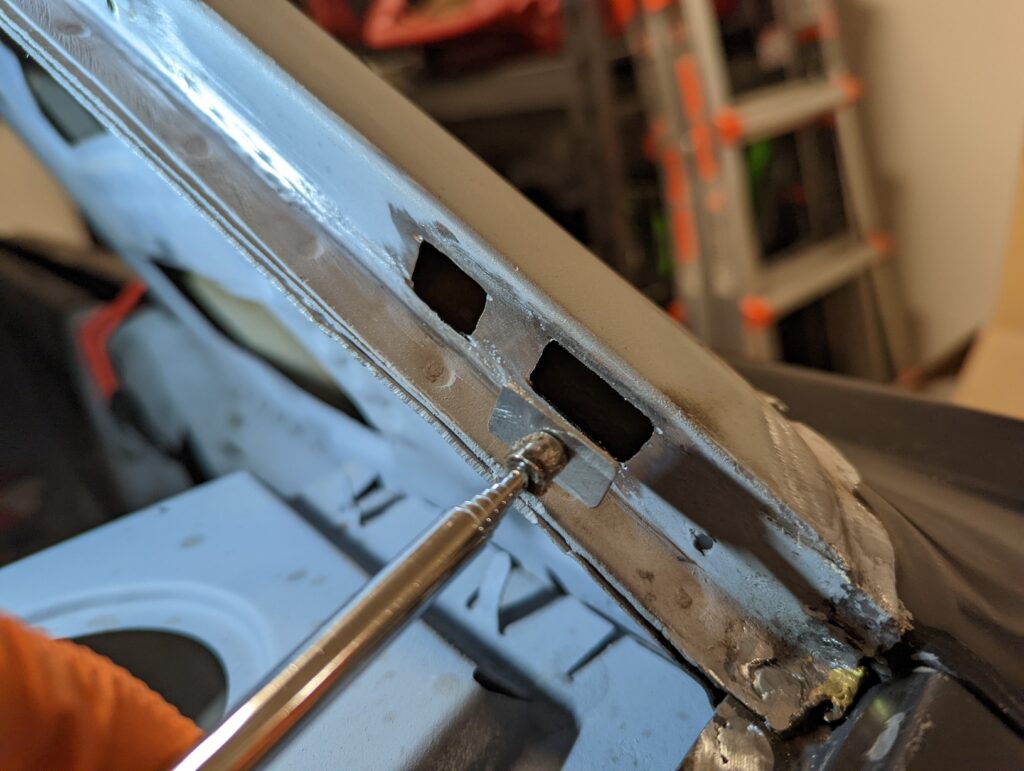
While I was working on replacing the filler panel I noticed that there was some rust damage along the passenger side of the rear window channel. I’m telling myself I hadn’t noticed it because the rust hole was a dead ringer for the size and shape of the screw-in trim clips. I started the surgery by drawing a nice little box around the hole with a Sharpie that then perfectly reflected the light back into the camera.
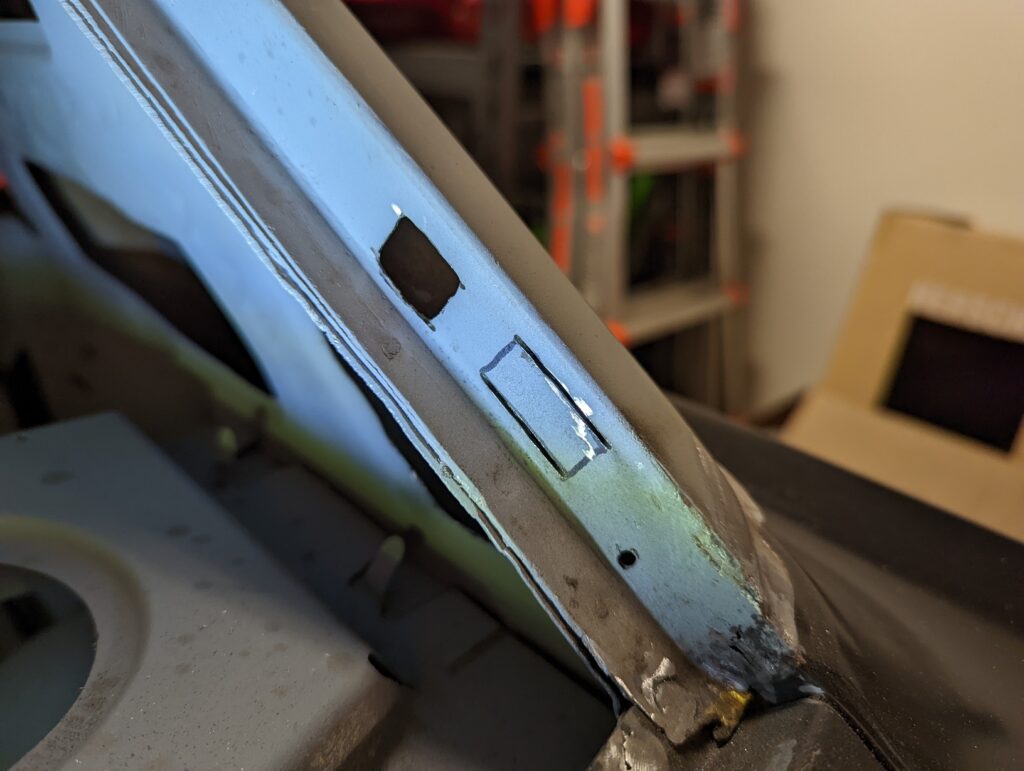
The space was pretty tight so I finally got to make use of the cut-off disks I picked up for the wife’s Dremel, to my surprise they exceeded my expectations and worked out great for the cuts that ran parallel to the channel. The perpendicular cuts were too tight for even the Dremel so I ended up using a die grinder to remove the rest of the metal.
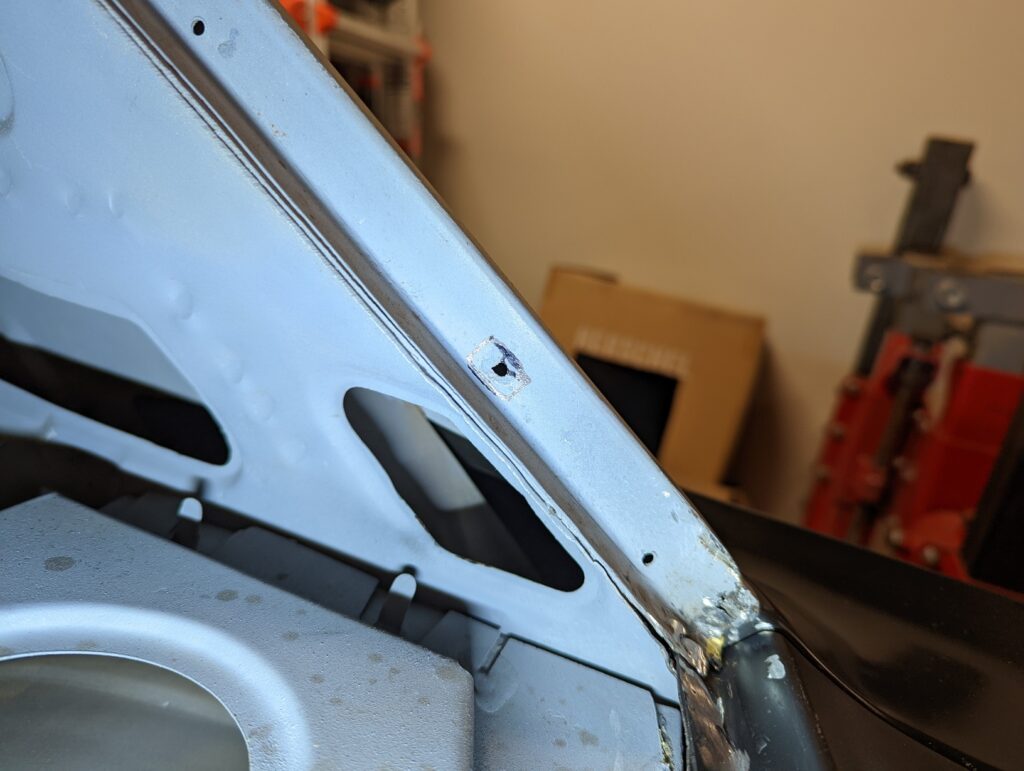
While I was cutting out the initial hole I was addressing I got a better look at some surface pitting under the epoxy primer that I wasn’t thrilled with so I decided to draw myself a second box to patch.
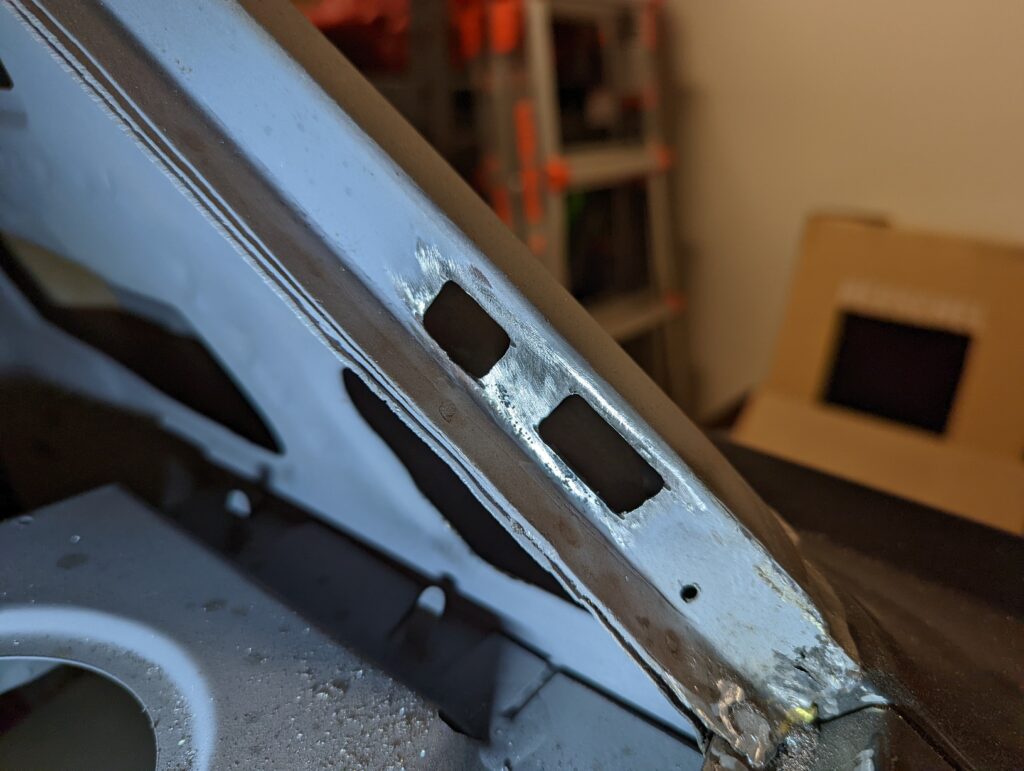
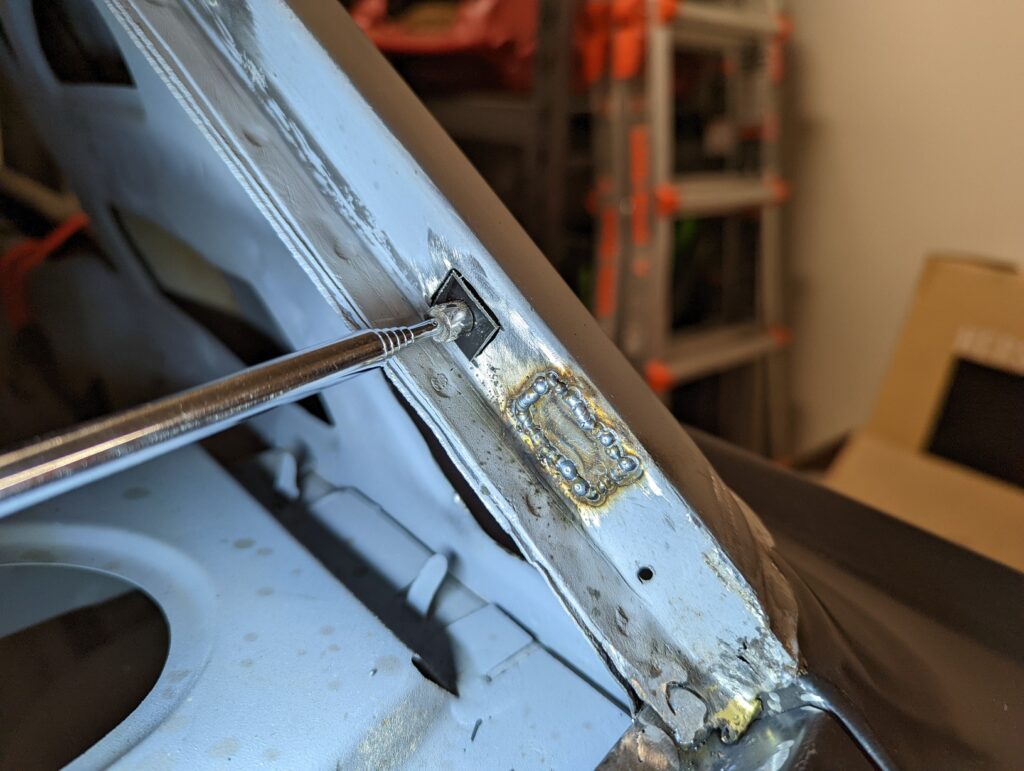
Using some scrap sheet metal I had laying around I used hand shears to cut out the rough shape and then stuck it on the end of a magnet wand for fitting. A little grinding later I held the patch in place with a magnet and tacked it in place.
I’ve found that welding such small pieces with magnets can be tricky because the magnets have an affinity for attracting all the steel filings in a 3 block radius which then serve admirably as weld contaminants. A combination of trying to get the area extra clean, welding as far away from the magnet as possible, and removing the magnet when not absolutely necessary seems to help.
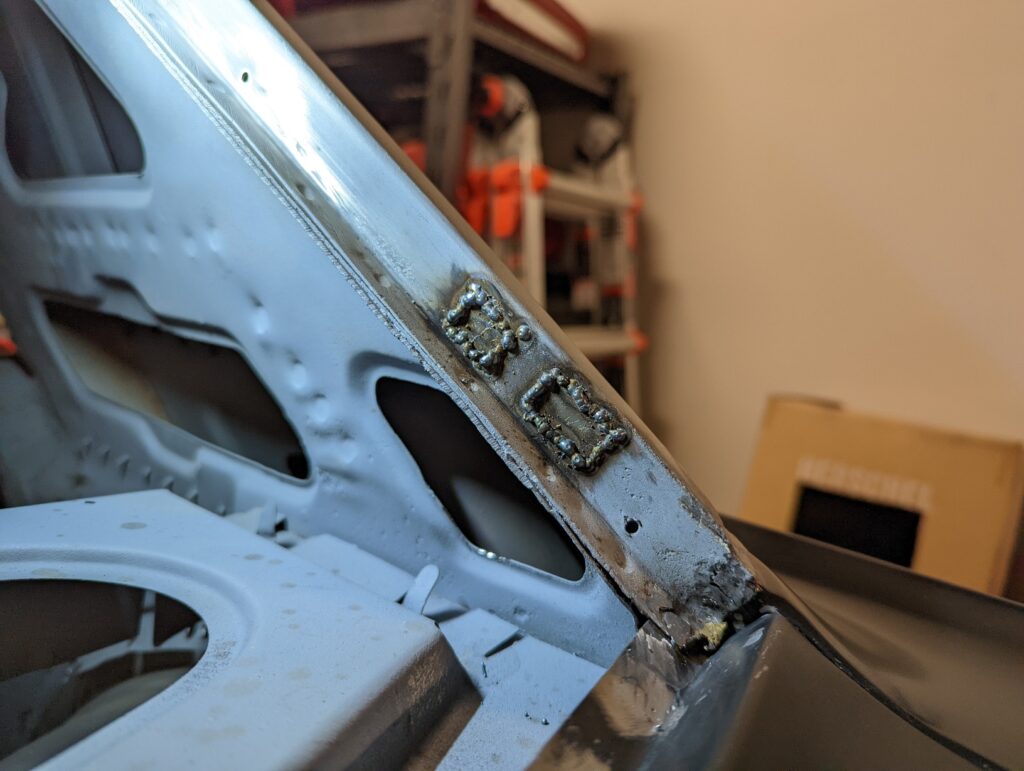
A few minutes of grinding later and that was a wrap on about one and a half square inches of rust.