I was pretty conflicted about what to do with the B pillars. While they appeared largely solid, each side showed rust pitting and damage on the outside flange where they met the quarter panel. Since the damage was isolated I didn’t want to replace the entire assembly and have to deal with making sure to get everything lined back up perfectly to maintain the proper gap and angles between the door and quarter panel. On the other hand the sections that were damaged were full of tight bends and contours that I was unlikely to be able to faithfully replicate myself in any reasonable amount of time. Ultimately I decided it was worth it to order full reproduction B pillars just to be able to cut off and use the outside flanges as replacements.
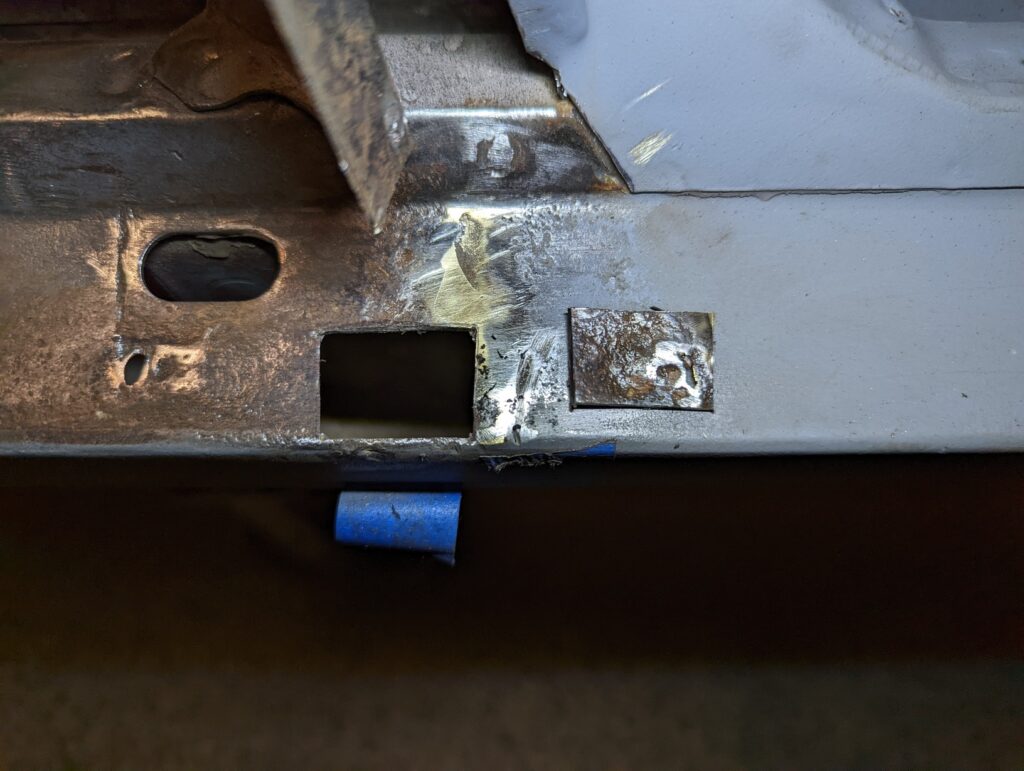
Before cutting anything I put tape on the underside of the rocker panel to indicate where the original flange had lined up to increase the odds that I’d be able to get the replacement back in the same spot.
I started the removal process by tracing out my cut line in Sharpie. The B pillar is sort of a clam shell consisting of two formed pieces of metal so when planning and executing the cutting I had to be careful not to cut through the sheet metal that forms the rear side of the pillar.
Cutting along the scribed line was a cautious exercise in patience with an angle grinder and a Dremel with a cut off wheel for the tighter sections.
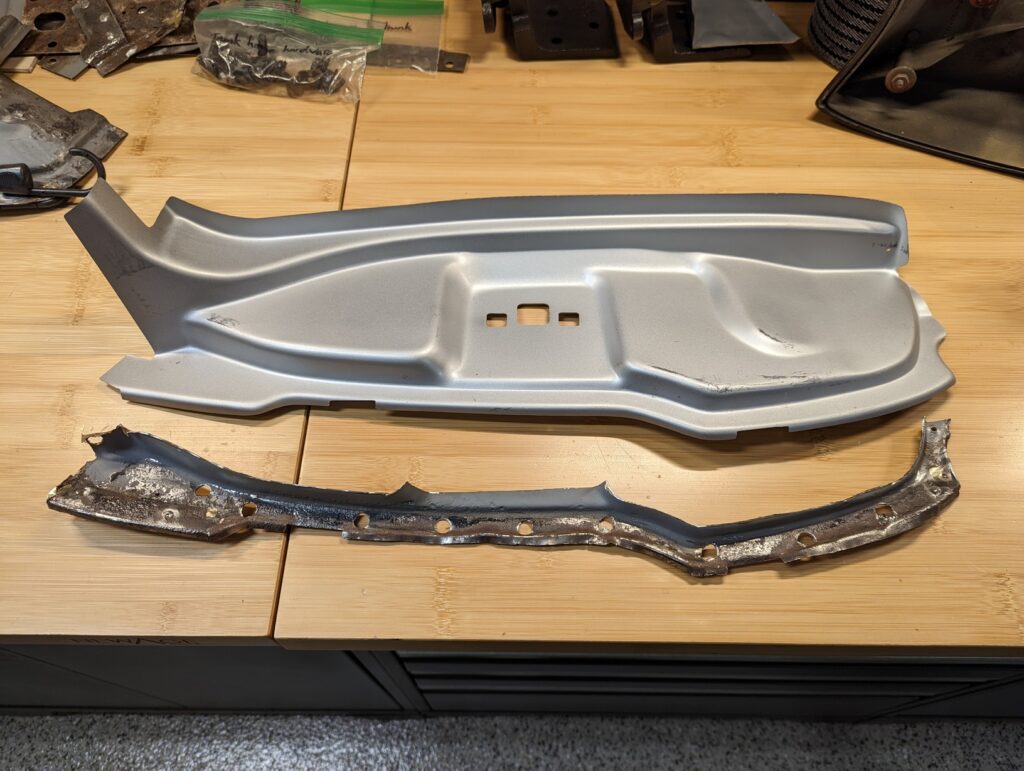
The interior of the B pillar looks pretty bad in these pictures, thankfully it was all surface rust so I decided that I would clean it up the best I could with wire brushes and spray it with rust encapsulator before welding in the replacement flange.
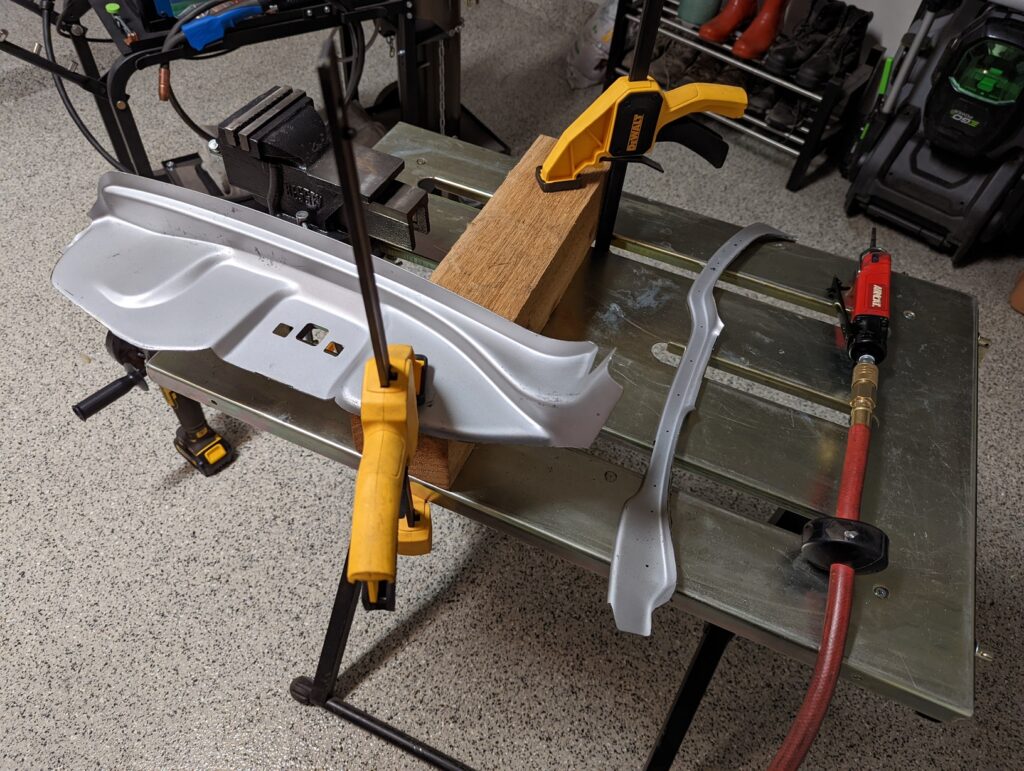
Using the removed section as a template I traced out and cut the replacement piece from the reproduction B pillar sheet metal.
After a couple hours of grinding to get the replacement fitting perfectly I used magnets to hold it in place while I verified the fit with the reproduction quarter panel.
Satisfied with the fit I did a mediocre job of taping off the surrounding metal and sprayed rust encapsulator into the typically inaccessible interior of the B pillar.
After letting the rust encapsulator dry overnight I set about welding the replacement flange in place.
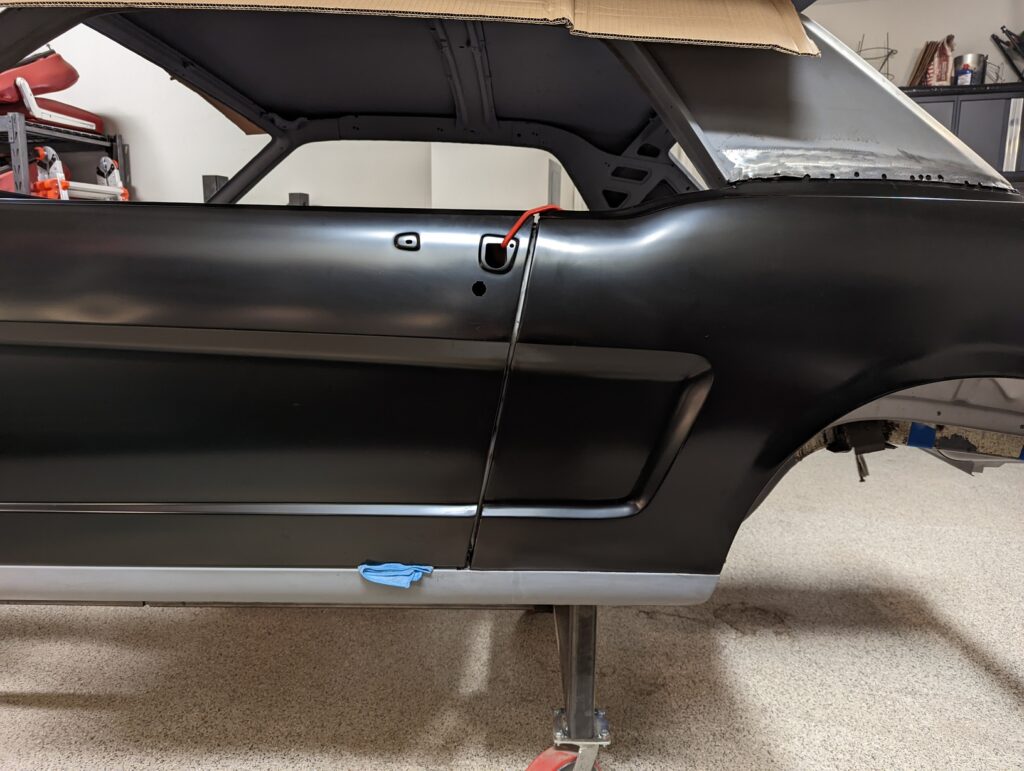
After grinding down the welds I was happy with how it turned out.
A final check with the door and the quarter panel looked fine.
With the driver’s side sorted it was on to the passenger side. The damage was nearly identical, as was the process for repairing it.
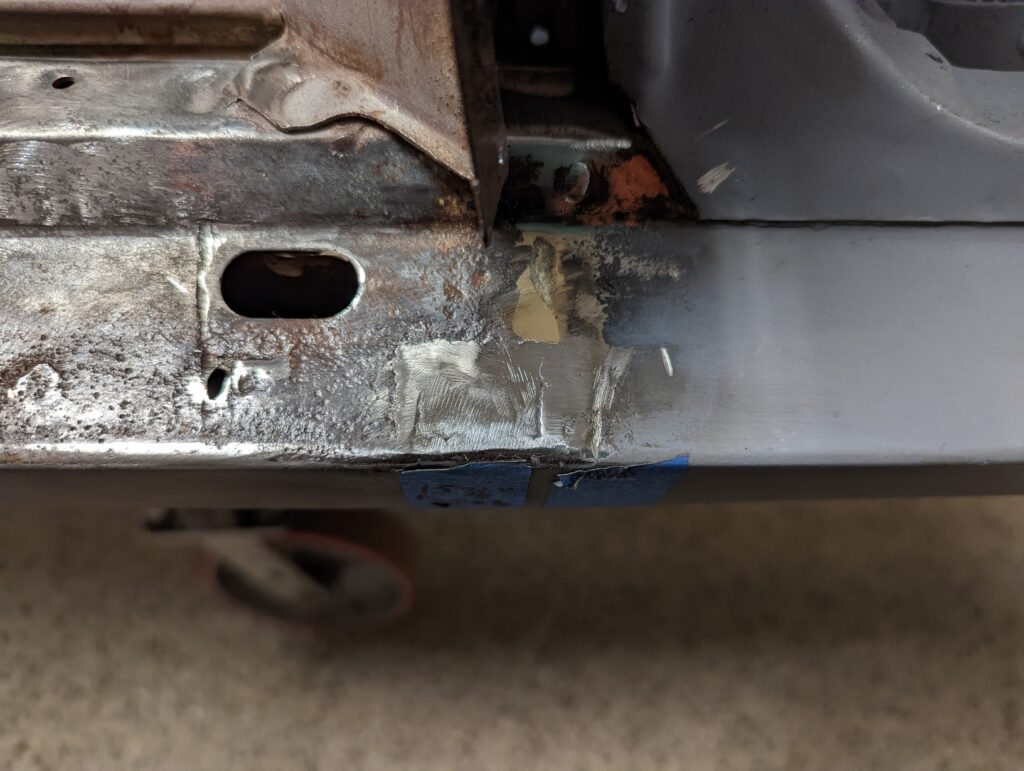
One difference on the passenger side was that there was a small section of significant rust damage where the B pillar met the top of the rocker. Using a Dremel I excised the offending area and welded in a small patch.
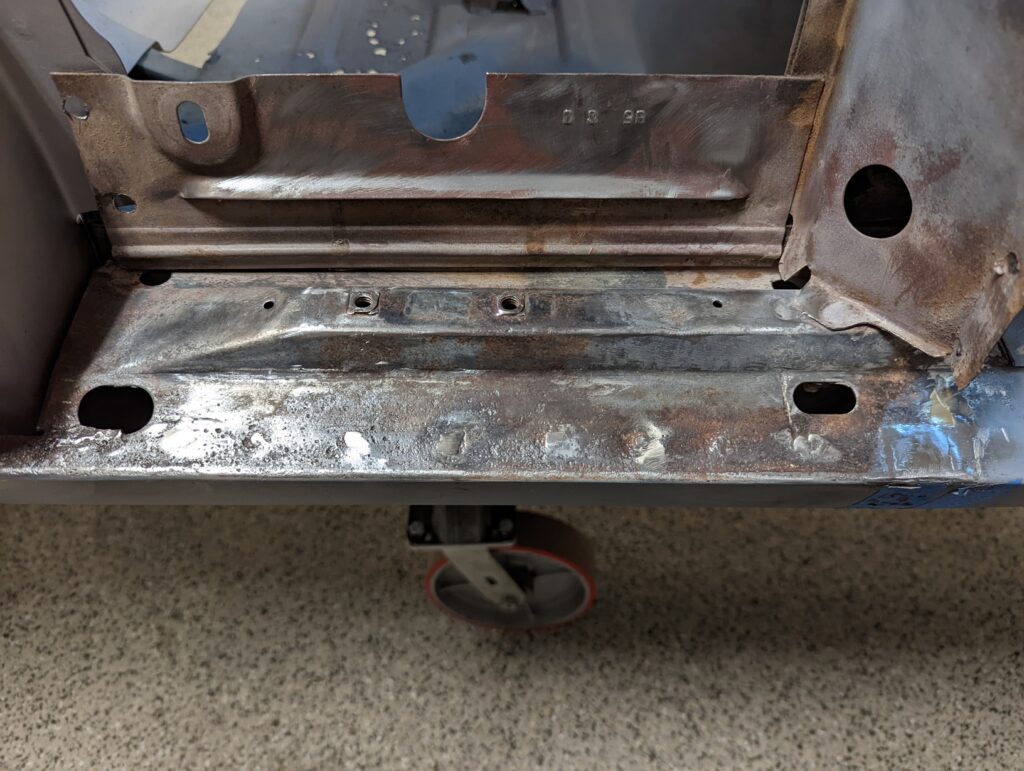
The passenger quarter panel had been re-skinned at some point in the car’s life and whoever did the work tore the bottom side of the quarter panel off the rocker rather than cutting it, leaving holes in the rocker where the welds were. I took the opportunity to weld up all of those holes.
I decided to tape up the passenger side in slightly more competent fashion.
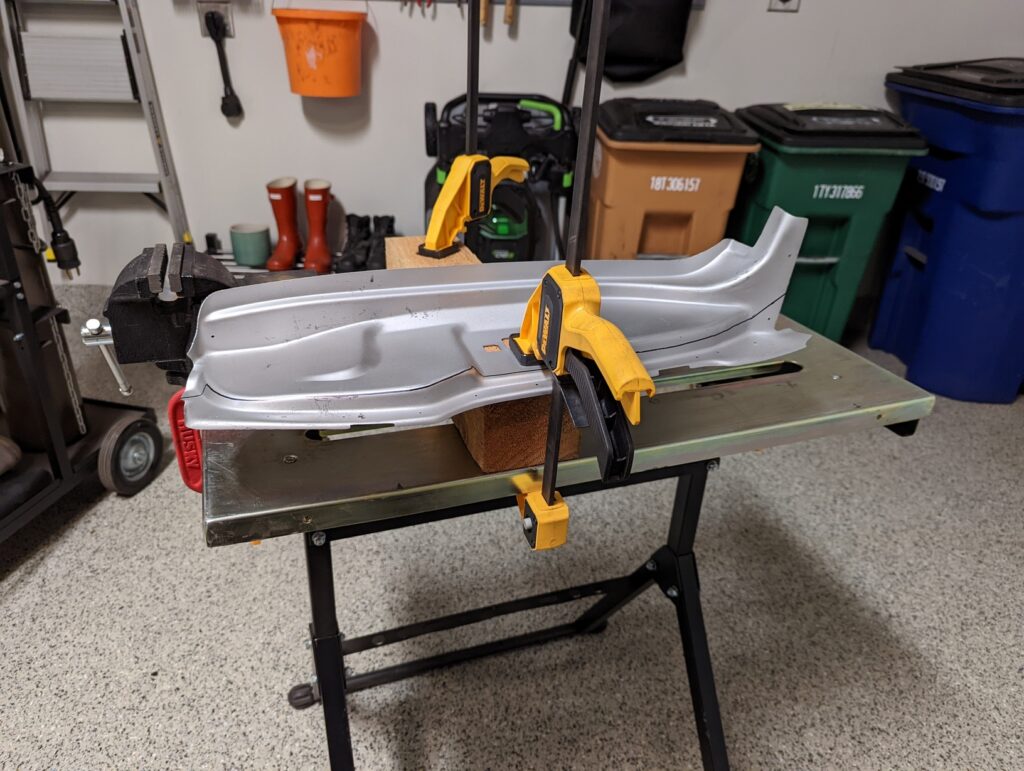
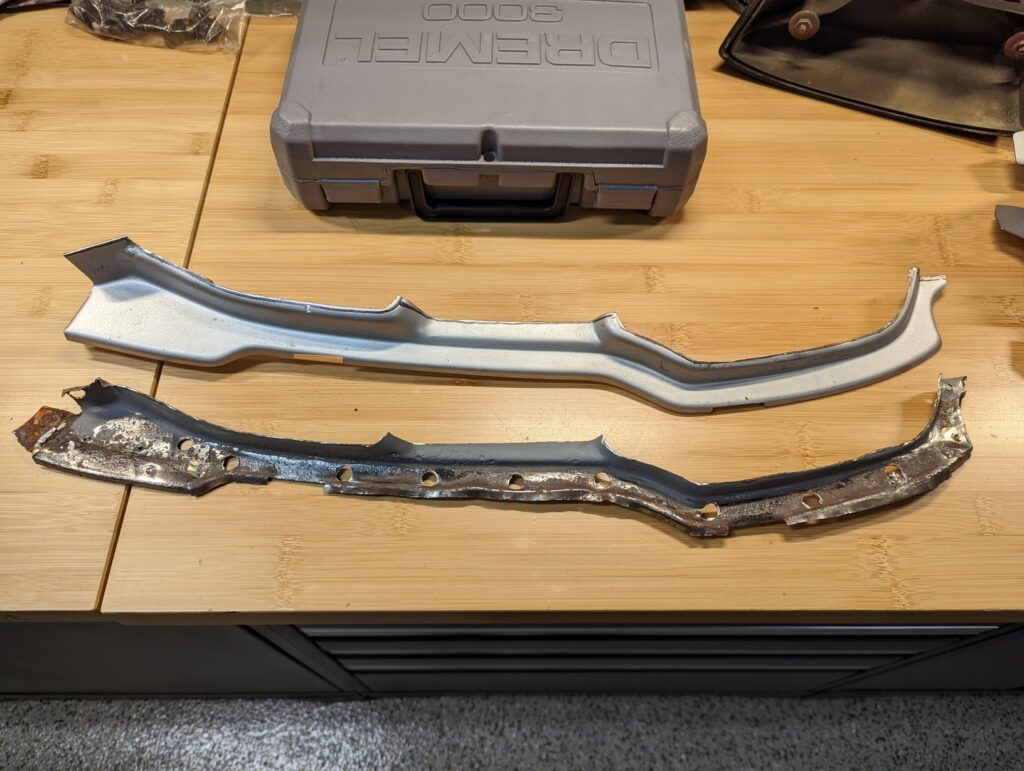
After cutting out the replacement flange from the reproduction sheet metal I found that the original flange had a tighter bend in the top half than the reproduction, see the gap between the top of the pieces in the next photos.
To address this I added a relief cut in the outside edge of the replacement flange just above where the door latch sits. This allowed the top section to bend inwards a hair and align properly.
This was my first opportunity to use the sheet metal punch I picked up recently and it was awesome. Once I had the tool adjusted properly it proved much easier than drilling out the holes.
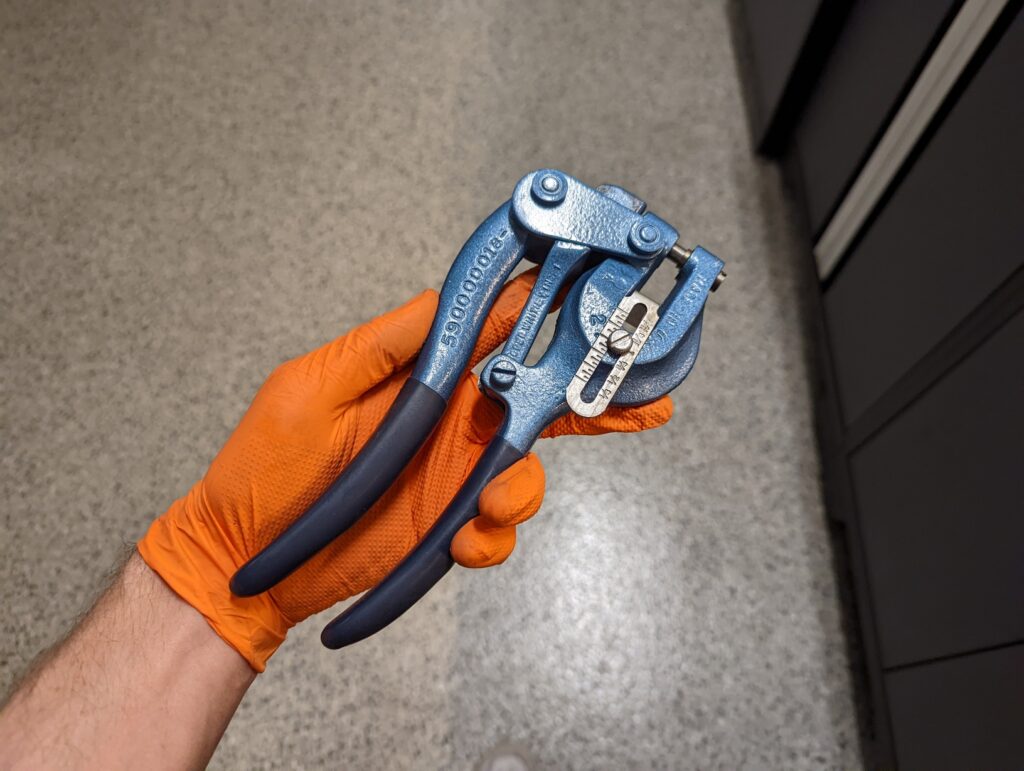
It took me less than a minute to punch out all of the necessary holes for the plug welds, copying the locations from the original piece. First use and I’m already a big fan.
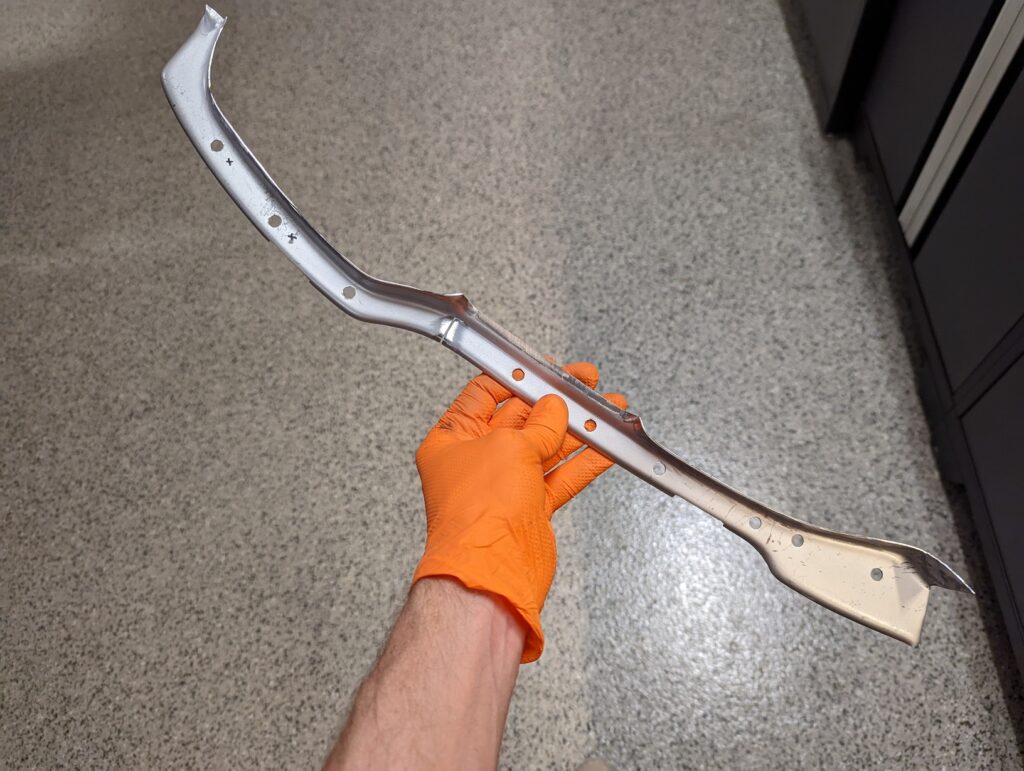
B pillar repairs complete!