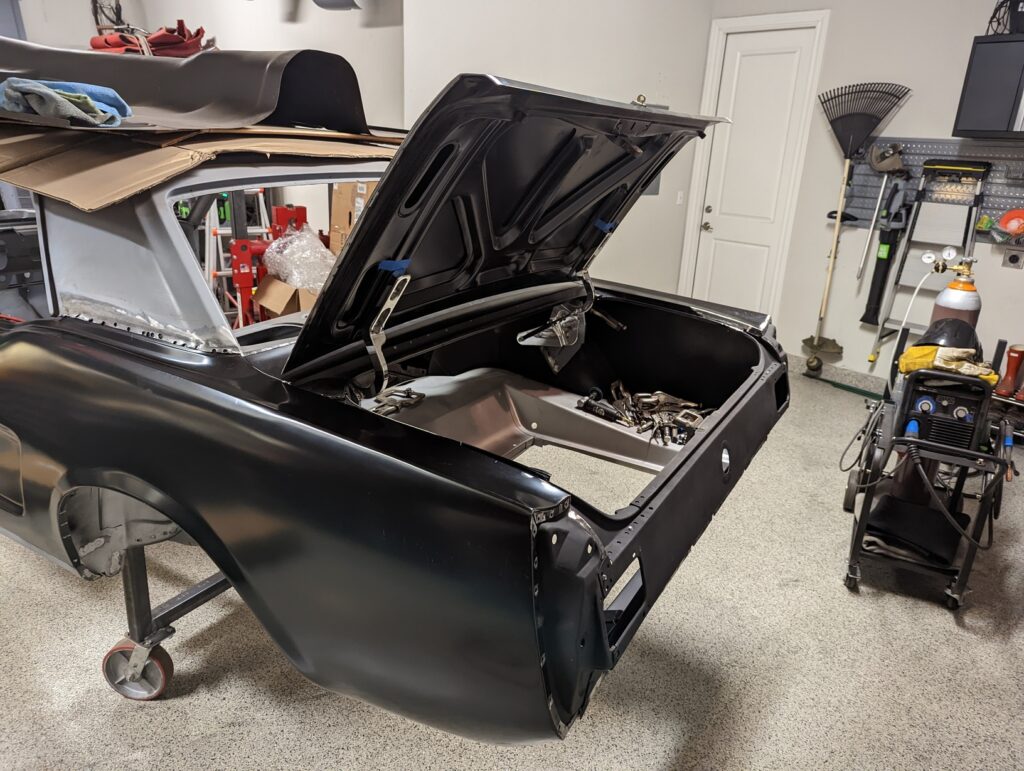
With the tail panel firmly attached it was finally time to start final preparations for welding in the quarter panels, starting with the passenger side.
Pulling the quarter panel off for (hopefully) the last time, I sprayed paint over all the bare metal that would be nearly impossible to access with the quarter panel on, then ground it back off in small strips on the rocker below the quarter window so the bottom of the quarter panel could be welded there.
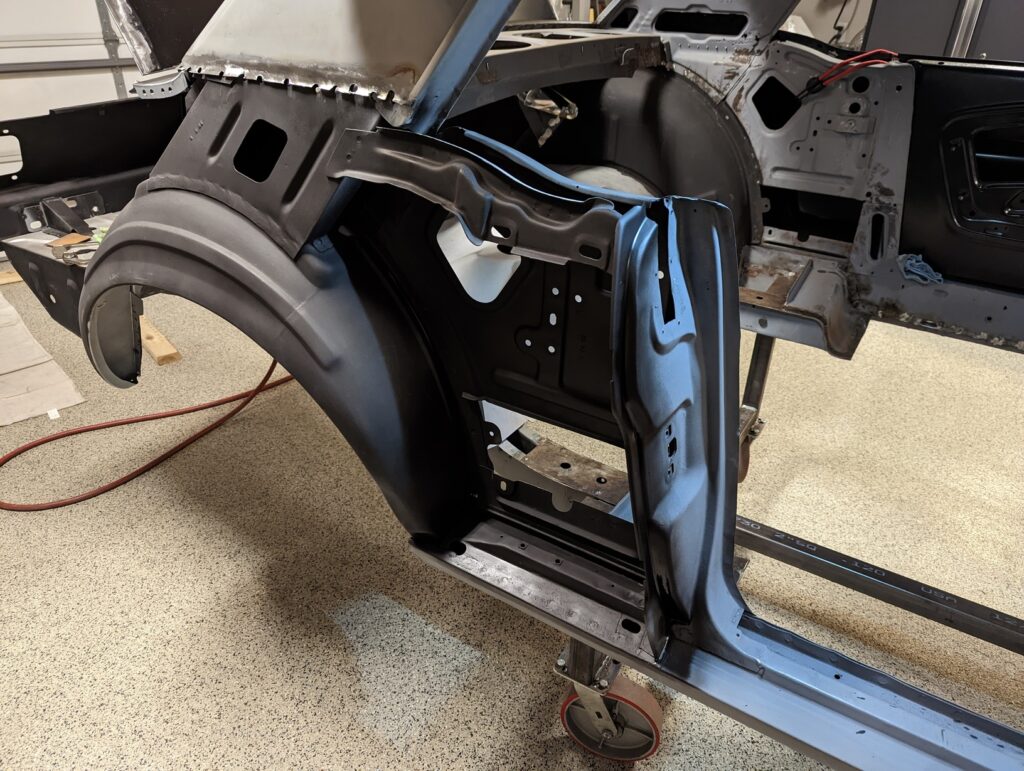
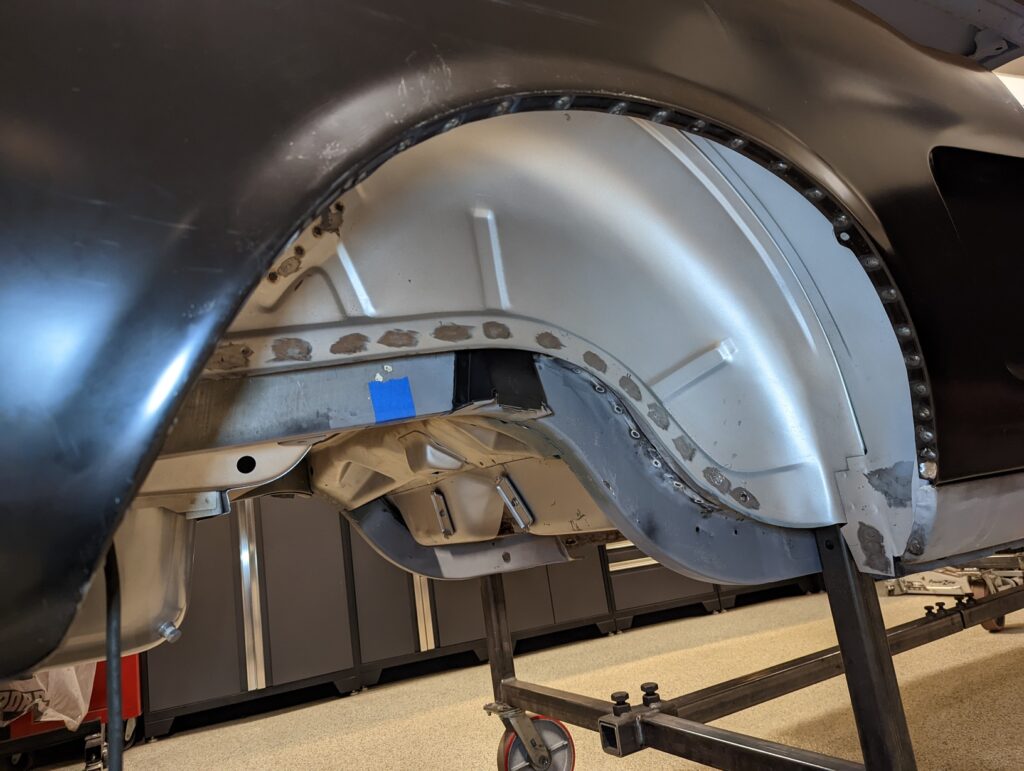
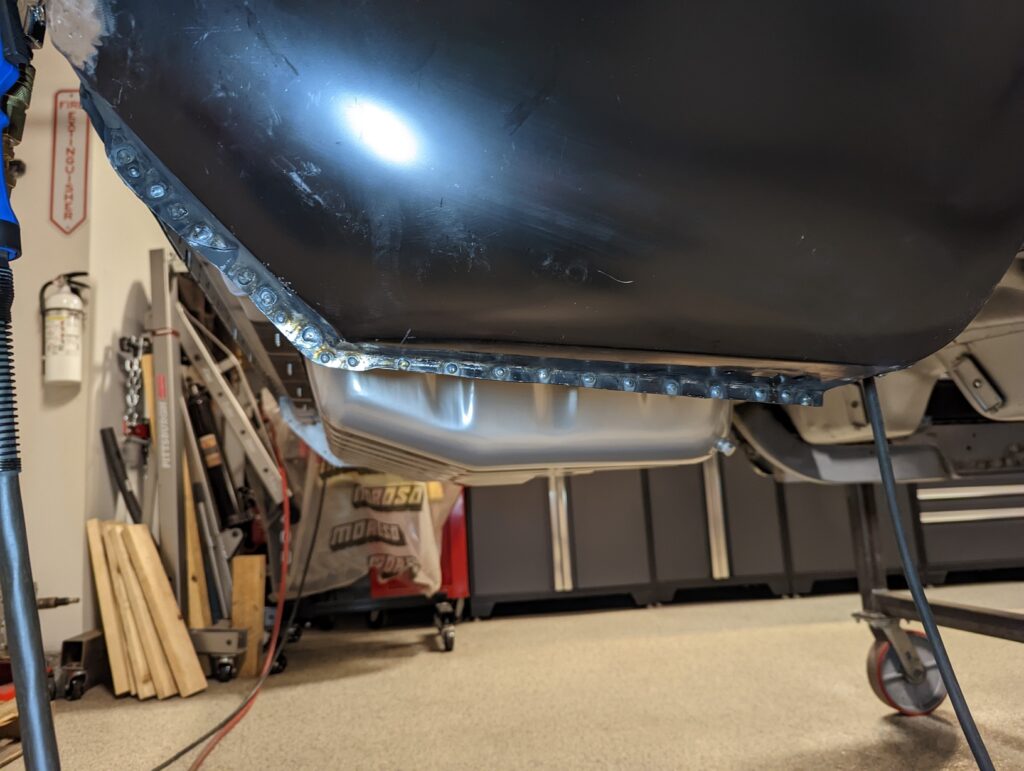
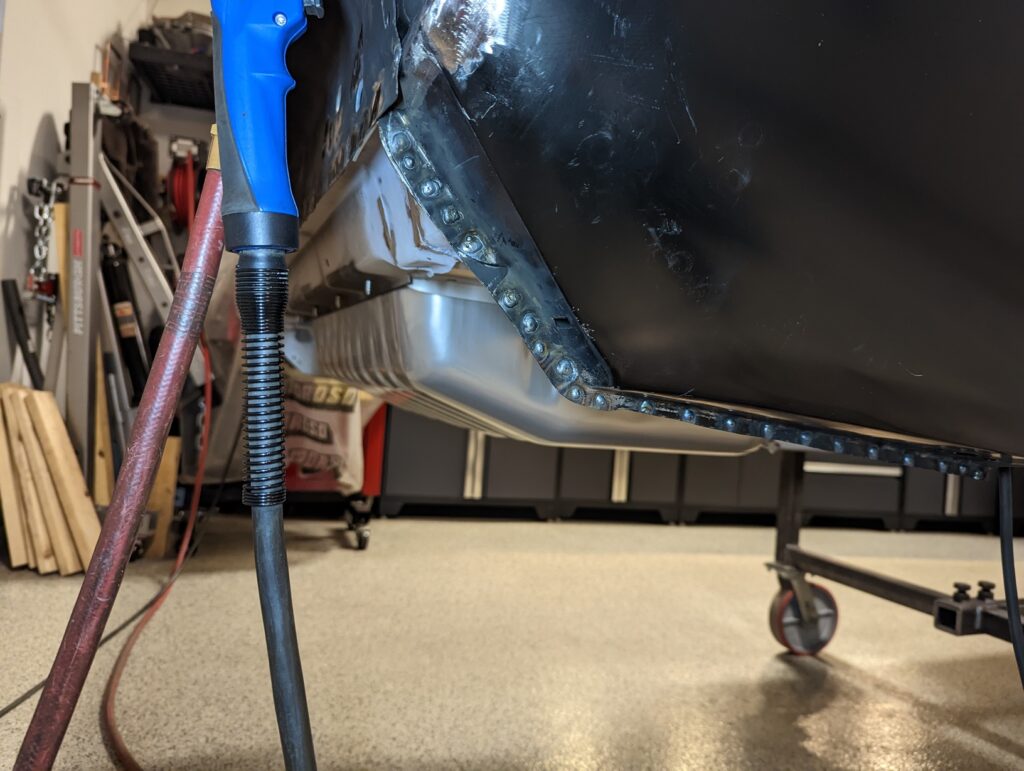
I started in the wheel well, welding outwards from the middle in both directions before working along the bottom flange towards the rear of the car.
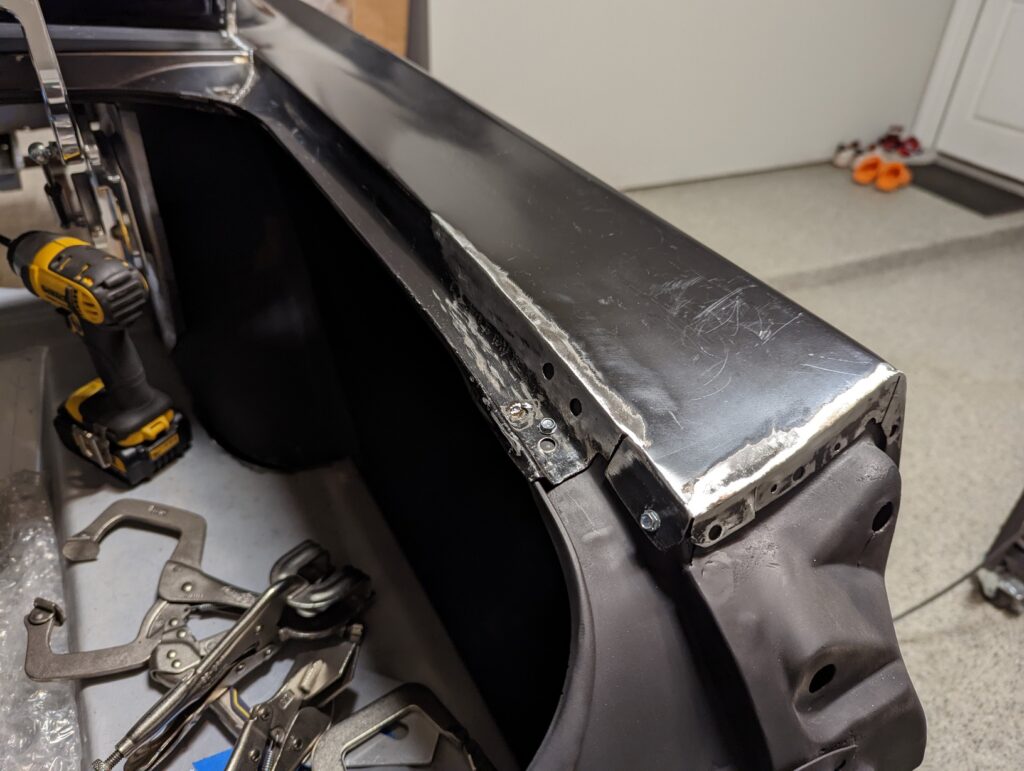
The passenger quarter and trunk drop off didn’t have a ton of flange overlap, just enough for me to get them welded together. I considered welding extensions to each piece, ultimately deciding it wasn’t worth the effort.
Months ago I made relief cuts in the flange that meets the B pillar, knowing that I was going to need to be able to flex the quarter panel as freely as possible in order to get the leading shape to align with that of the new door.
I created a template of the door edge shape using a cereal box and a Sharpie, cutting out the traced shape. That allowed be to hold the template against the quarter panel and adjust the clamps in order to mimic the shape as closely as possible.
The pictures below show the fit of the template against the quarter panel before any of the welding was done.
Compared to the follow picture from after the welding was complete. It’s not perfect, but I’m happy with how close I was able to get.
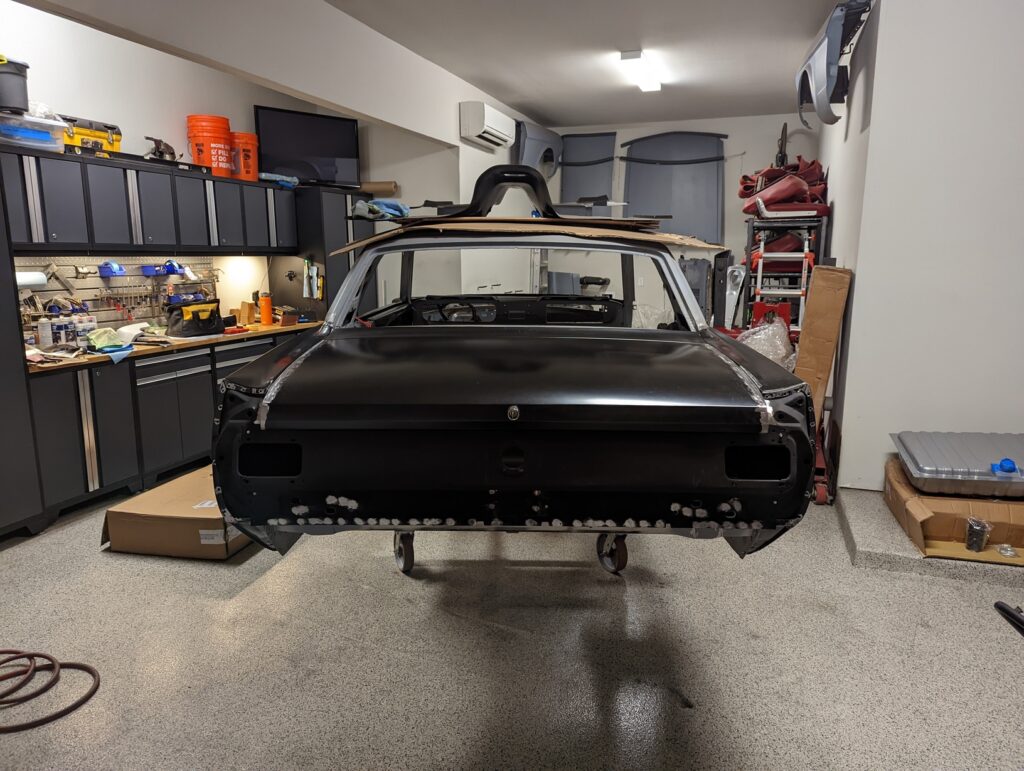
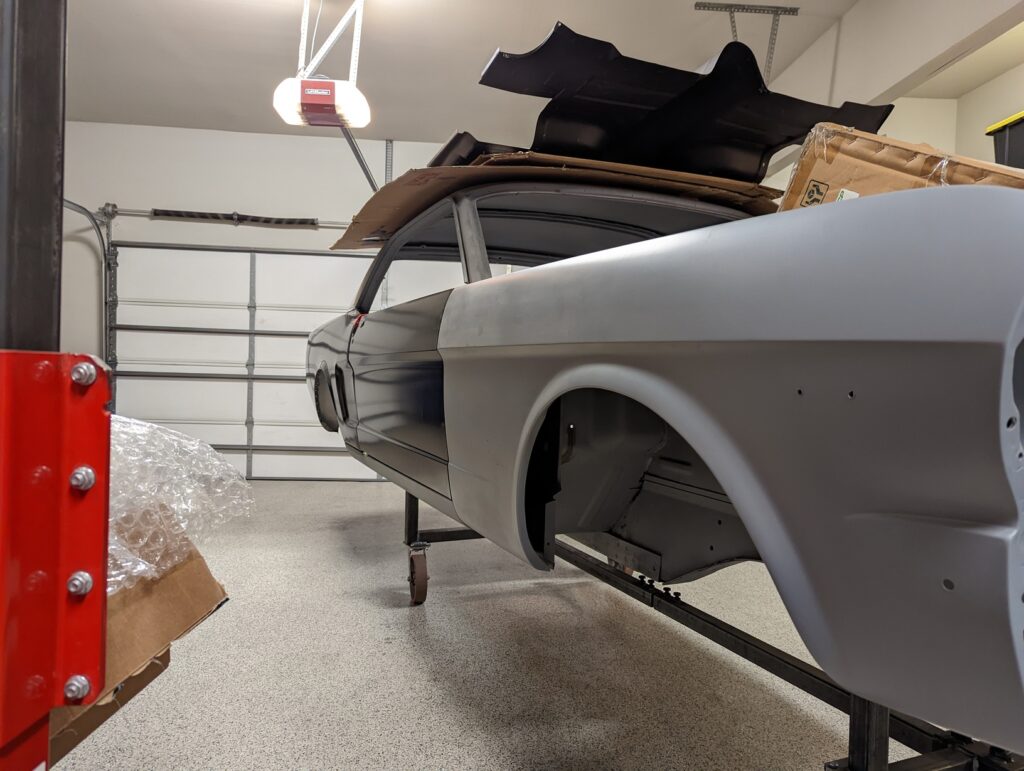
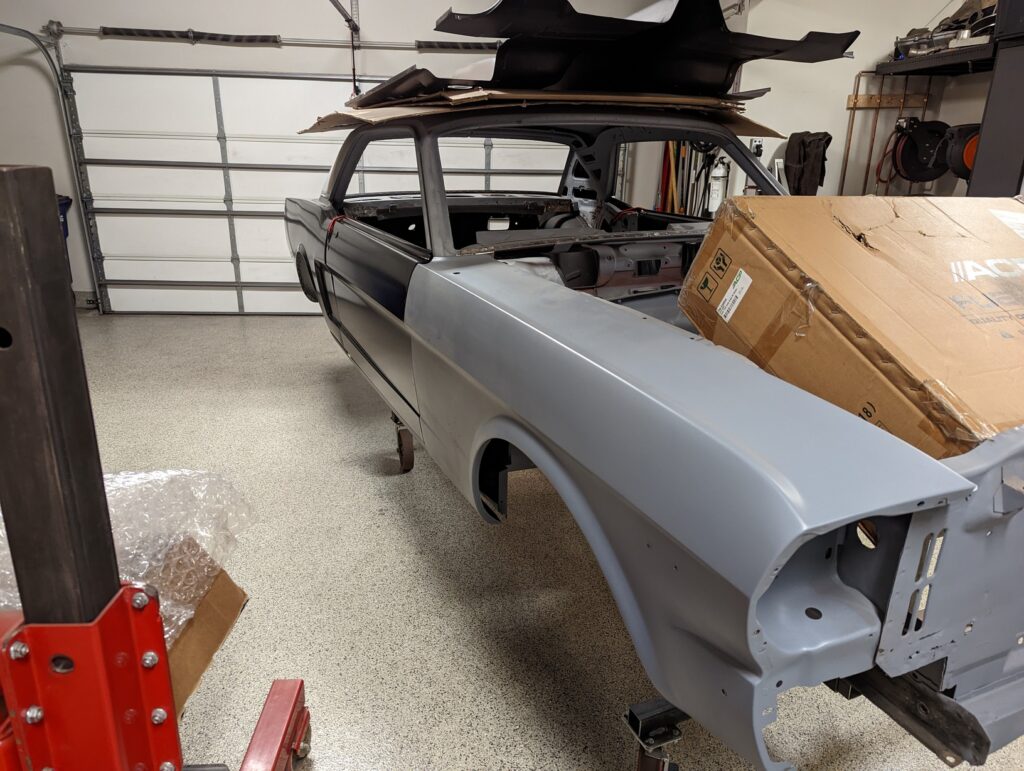
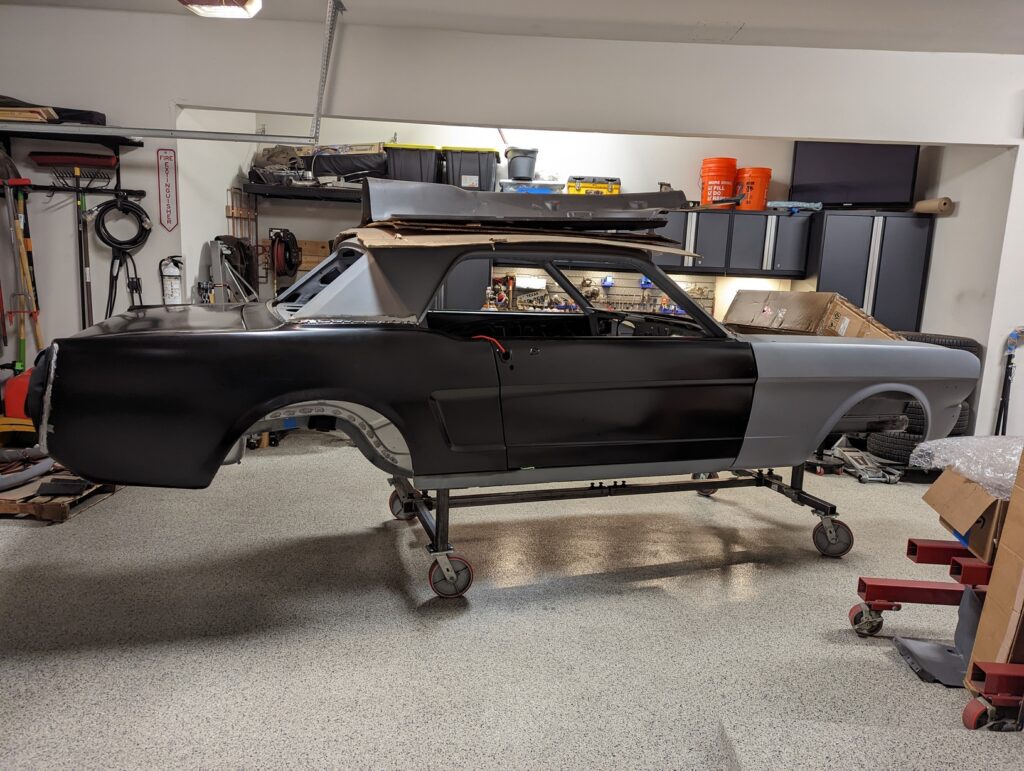
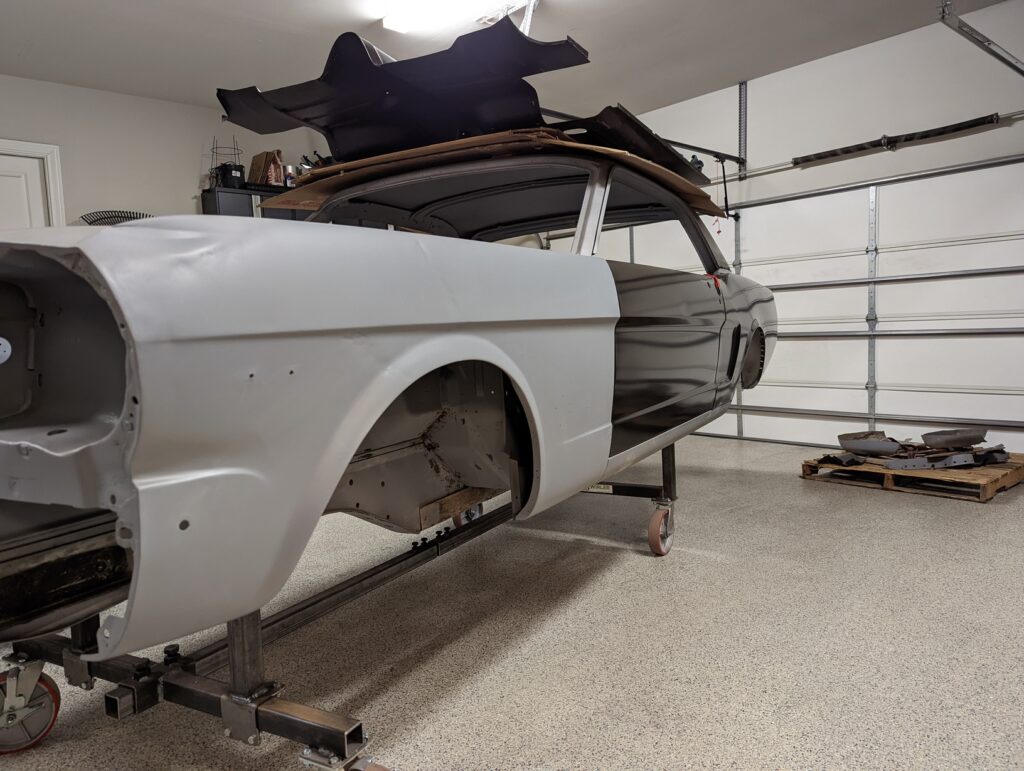
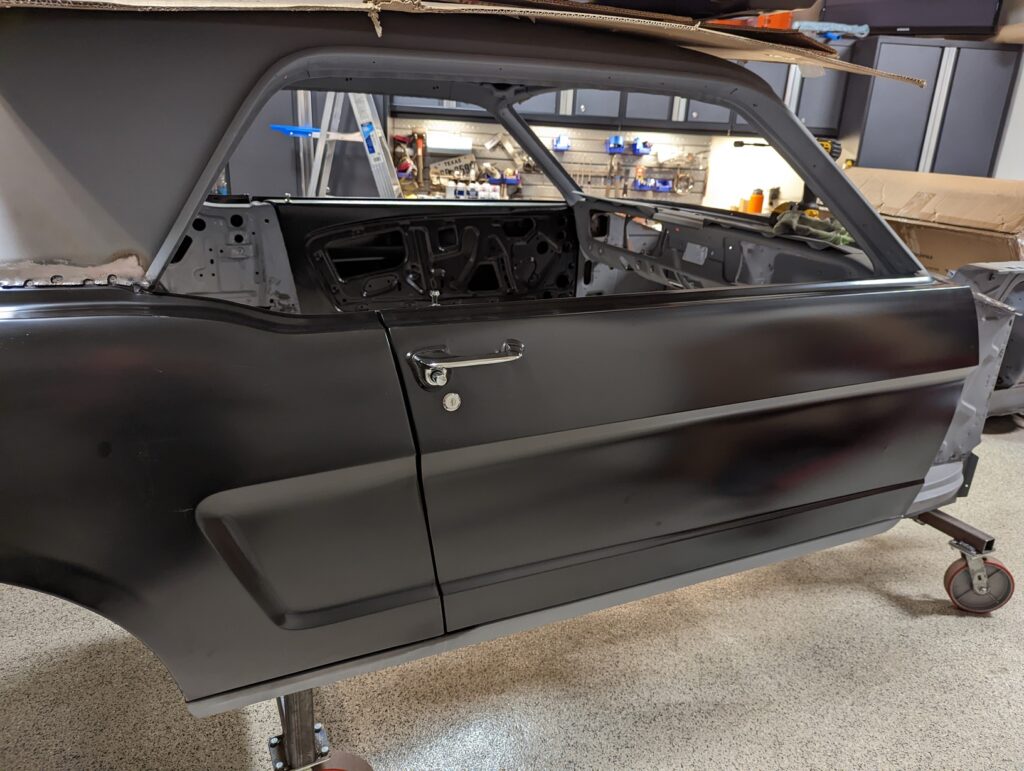
With the quarter and door aligned I was curious to see how the lines down the entire car were going to look, so I pulled the fenders off the wall and set them in place. I was pleasantly surprised to find that it looks like both sides are going to fit together quite nicely in the end.
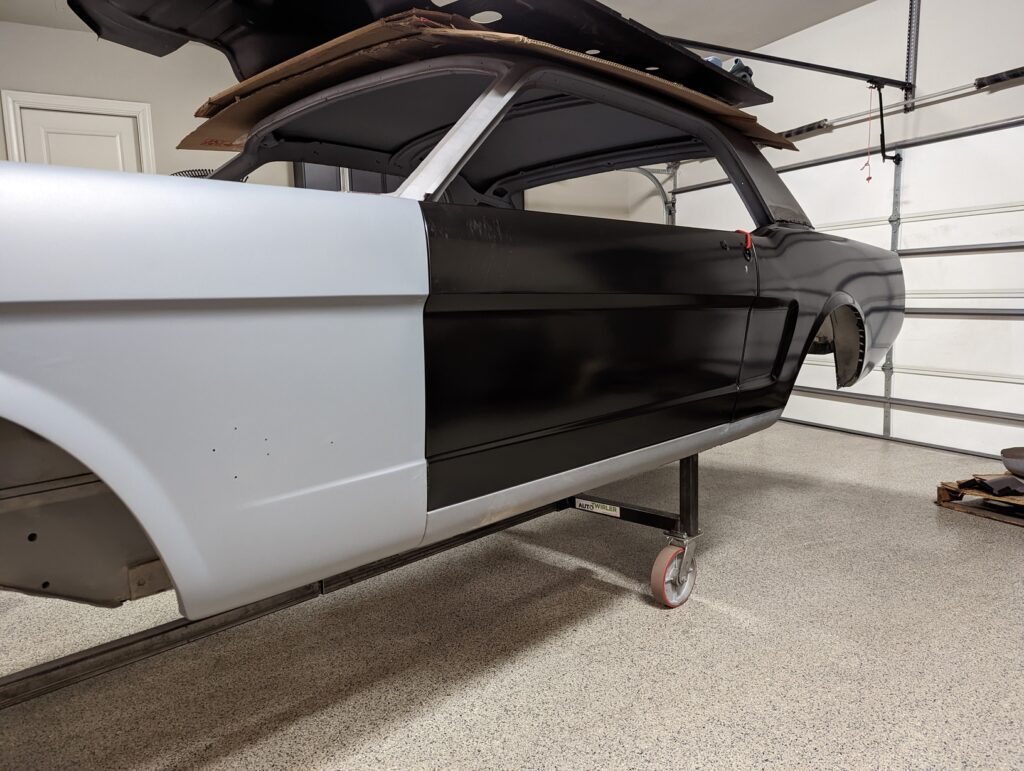
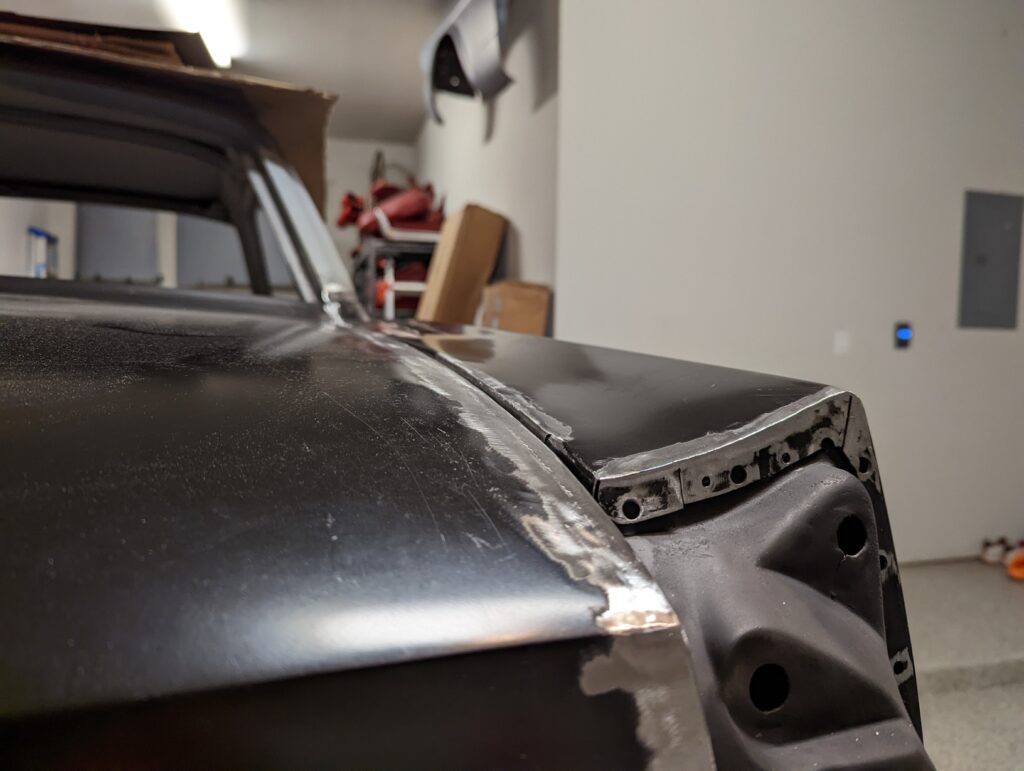
A couple close ups of the finished shape between the door and the welded-in passenger quarter panel.
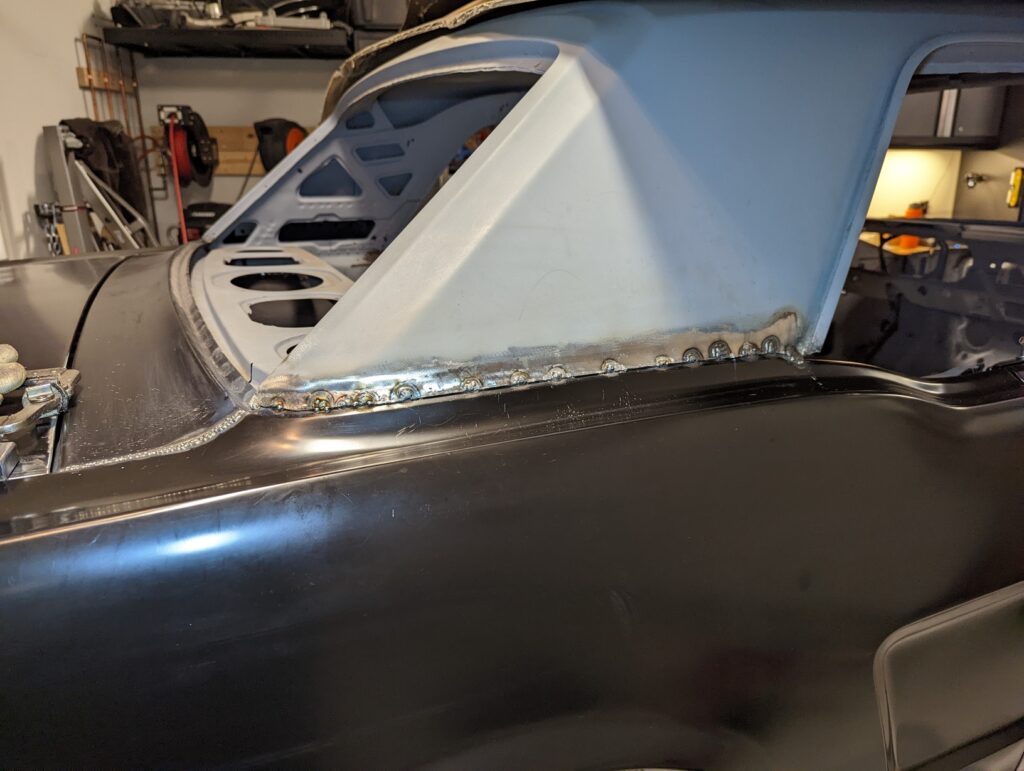
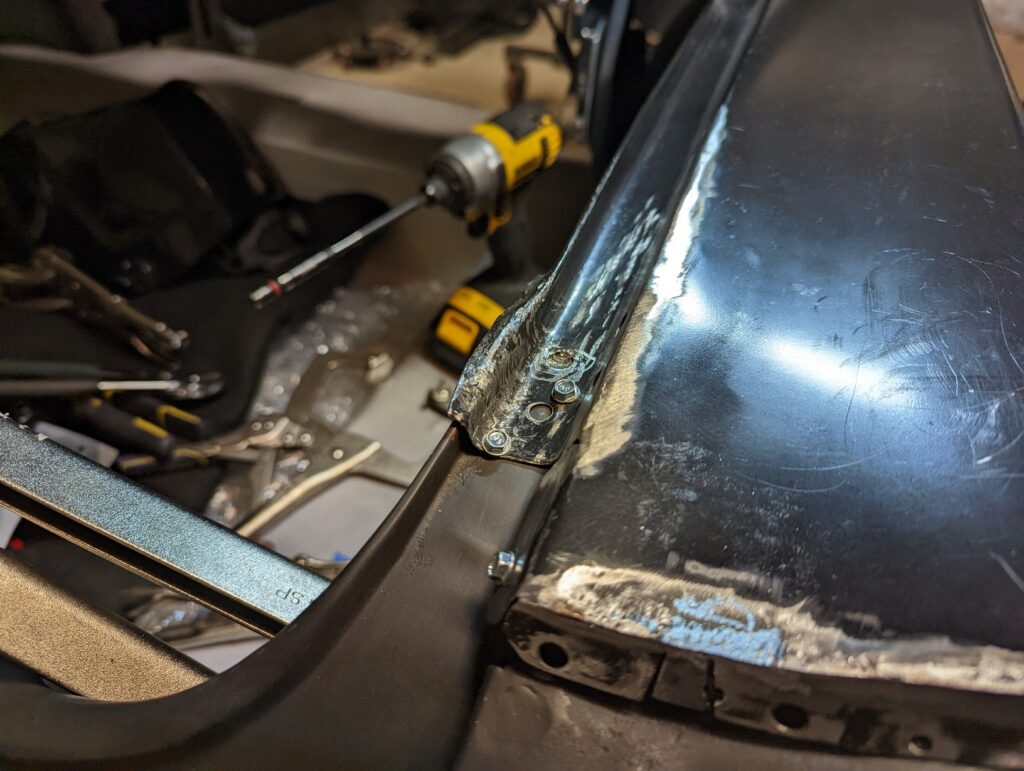
Welding the quarter to the sail panel turned out to be a bit of a pain. I had to create a small shim from some boxed steel in order for the clamp to be able to pinch the inset overlap.
I think I made a bit of a mistake when I started welding the quarter to the sail panel as I pushed the quarter panel down a fraction of an inch in order to better align with the filler panel. Looking back I think the better move would have been to leave the quarter panel where it sat, as I predict that the sail panel junction is now going to require more bodywork than the slight issue at the filler panel would have.
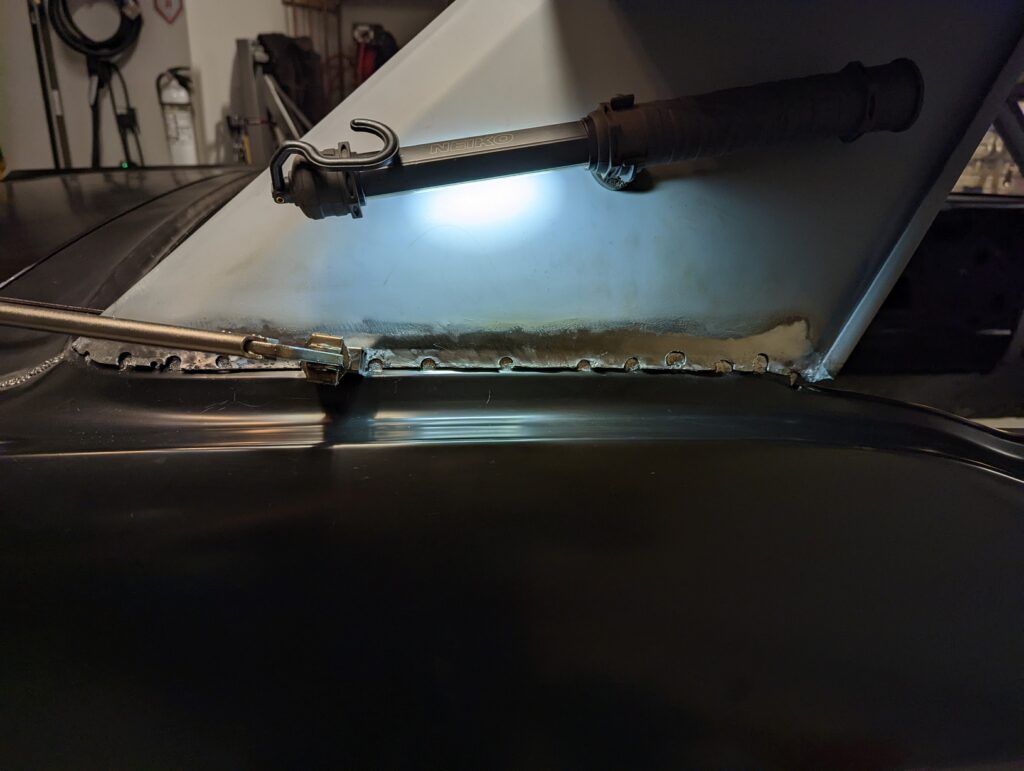
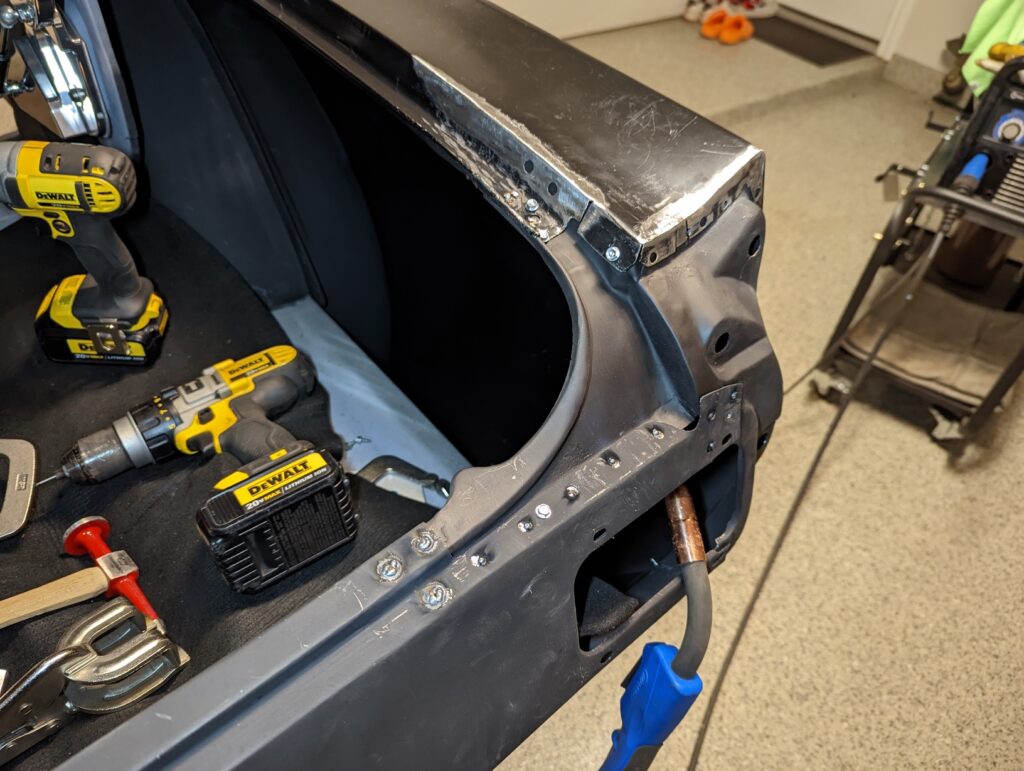
While attempting to weld the quarter panel flange to the inside of the quarter window channel support I found that I could squeeze a clamp through the lower window track opening and had just enough room to get it into position. Still not a fun set of plug welds but it would have been significantly worse without the aid of the clamp.
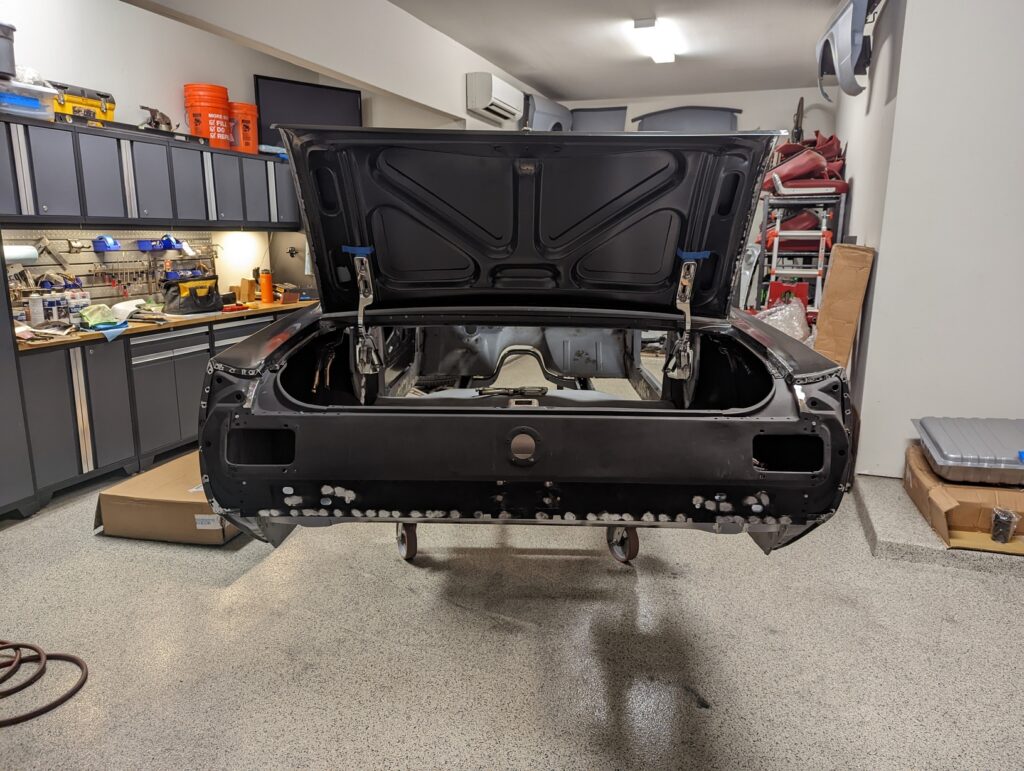
With all the issues I’ve encountered with the fit of the trunk and tail panel with the quarters I left the rear of the quarter for last.
After some more “final” adjustments and eventually convincing myself that it was as good as I was going to be able to get it, the welding began.
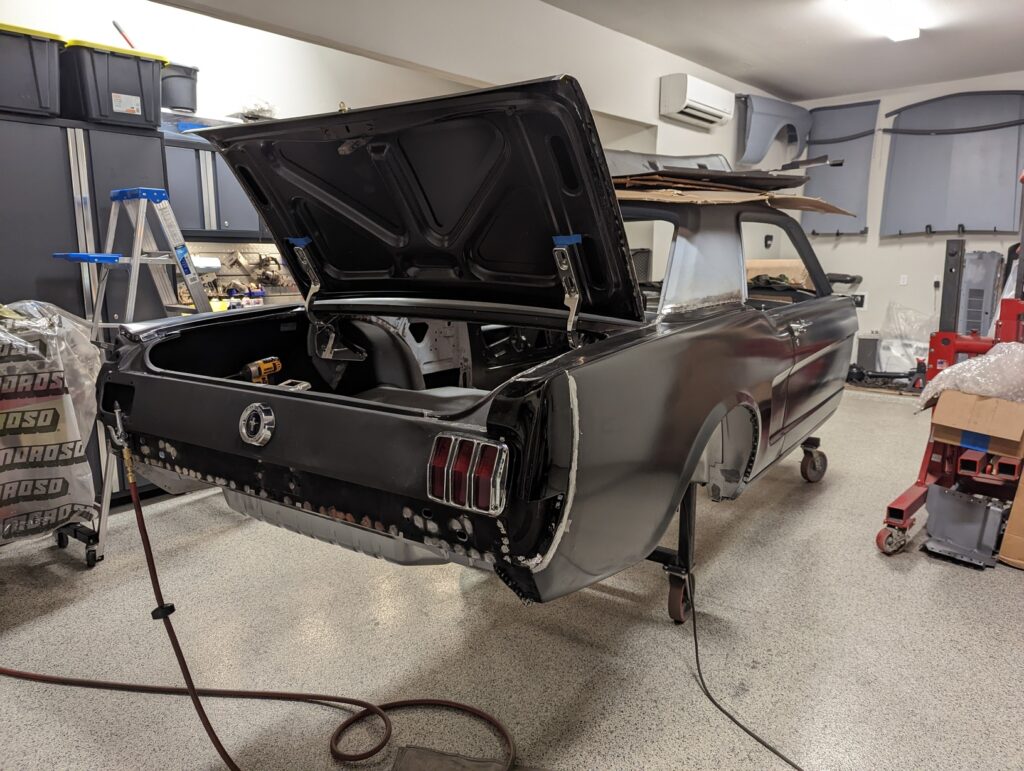
Just like that the passenger quarter panel was fully welded in place, nearly a year after buying the quarters and starting the seemingly endless cycle of mount, mark, unmount, modify, and mount again.
To celebrate the occasion I dug out the passenger brake light and stuck it on. The housing is in desperate need of cleaning but it was fun to see it on the car again.
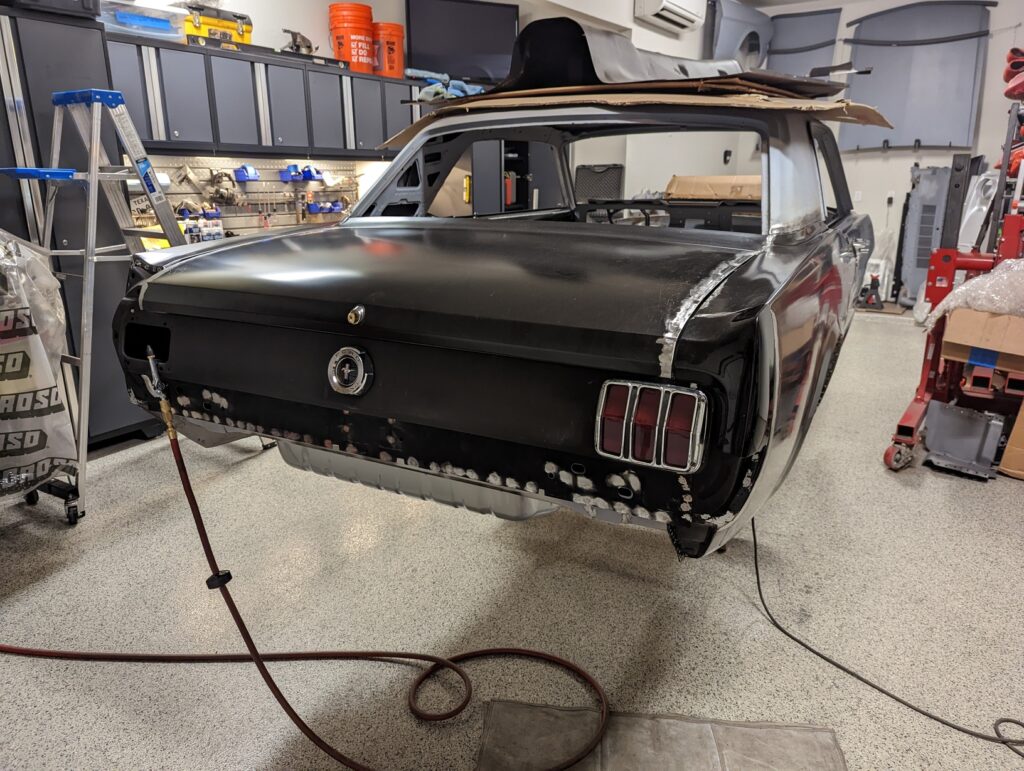
One down, one to go.