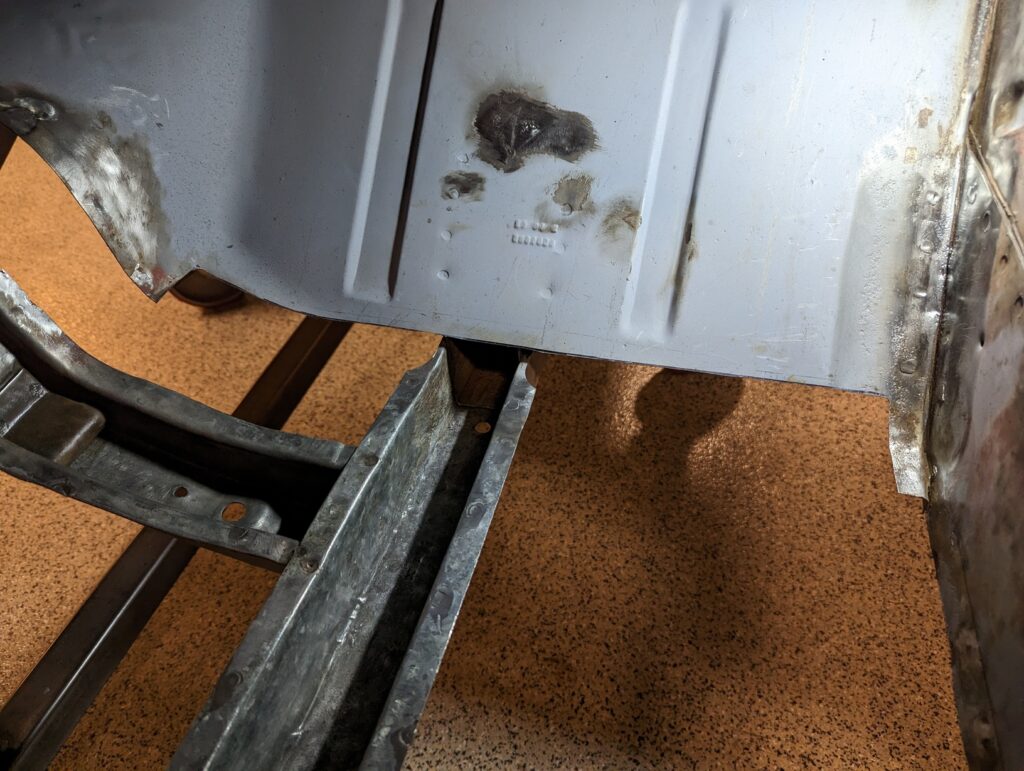
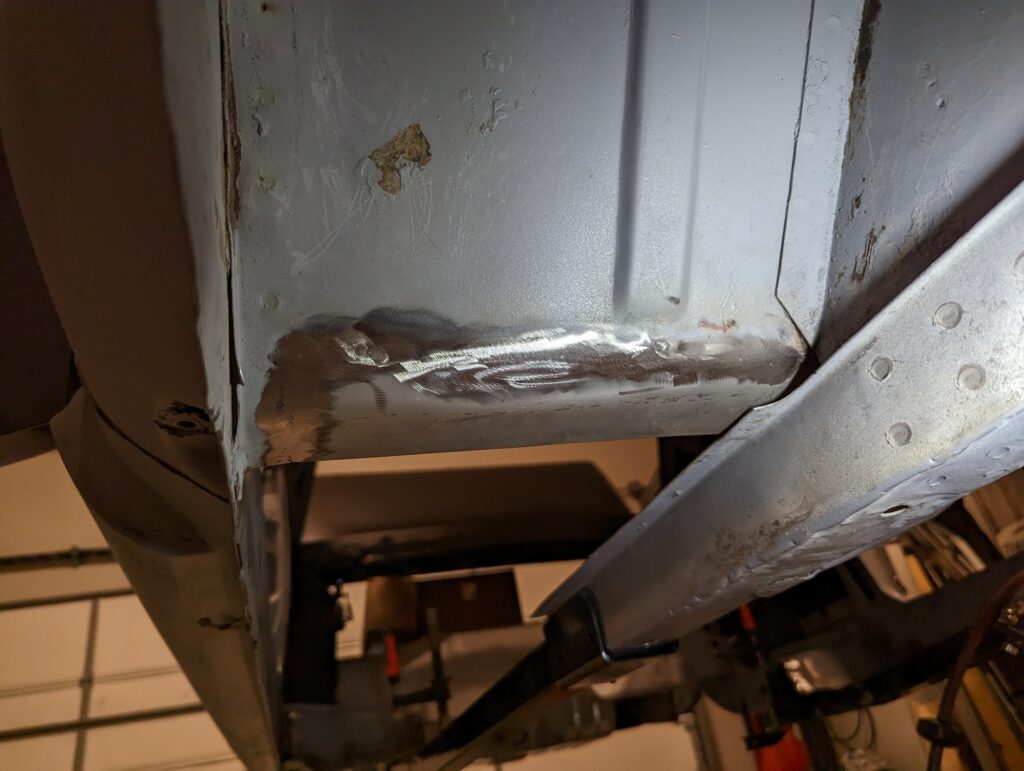
Since the leading edge of the floor pan lays on top of the firewall I needed to address the rust damage at the bottom of the toe boards on each side of the firewall before attempting to install the new floor.
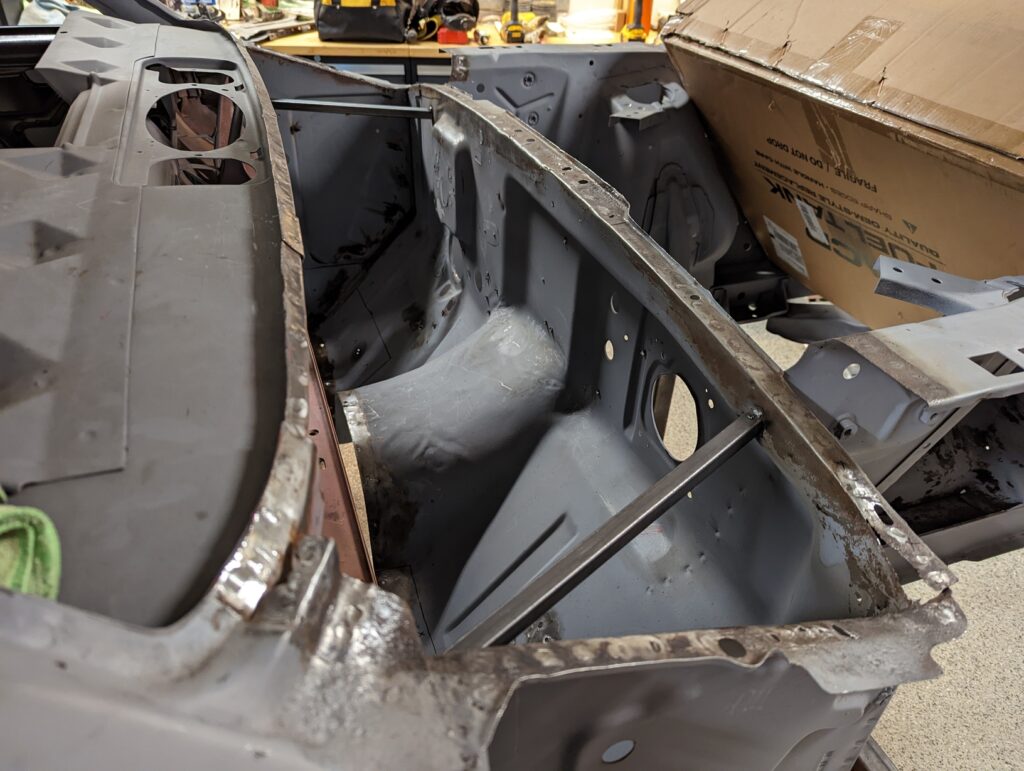
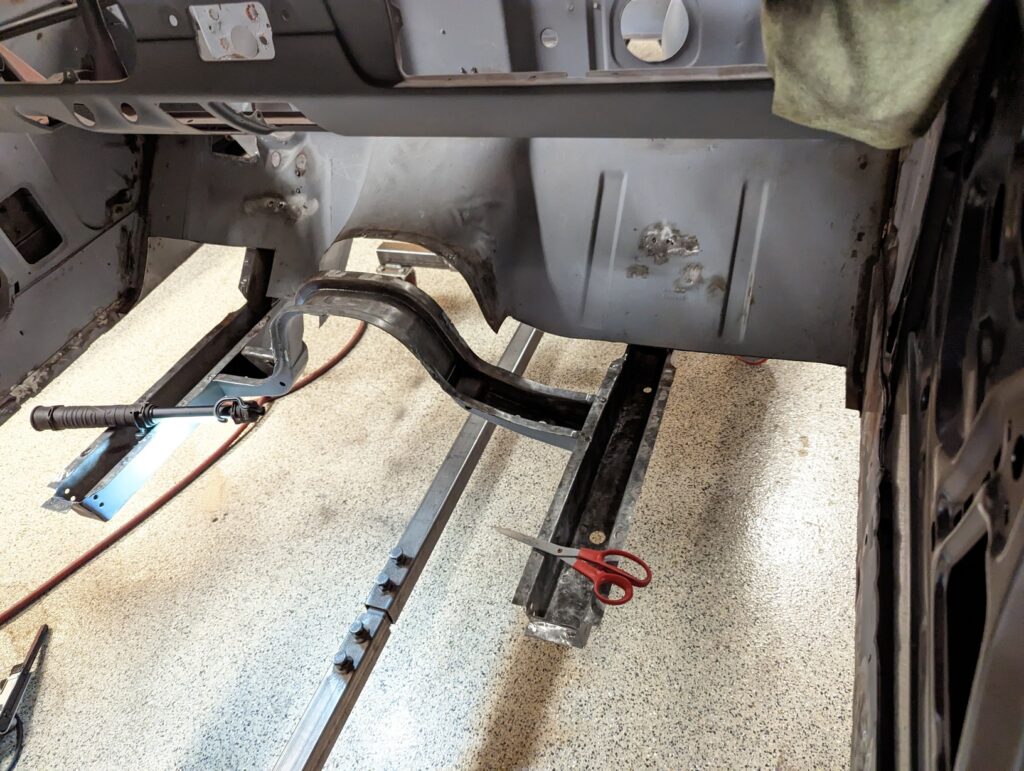
With the cowl and floor removed I was already in a position where I had less structural integrity than I probably should have allowed. In an effort prevent it from getting any worse while I patched sections of the firewall I cut some square tubing and braced the firewall back to the inside of the A pillars on both sides.
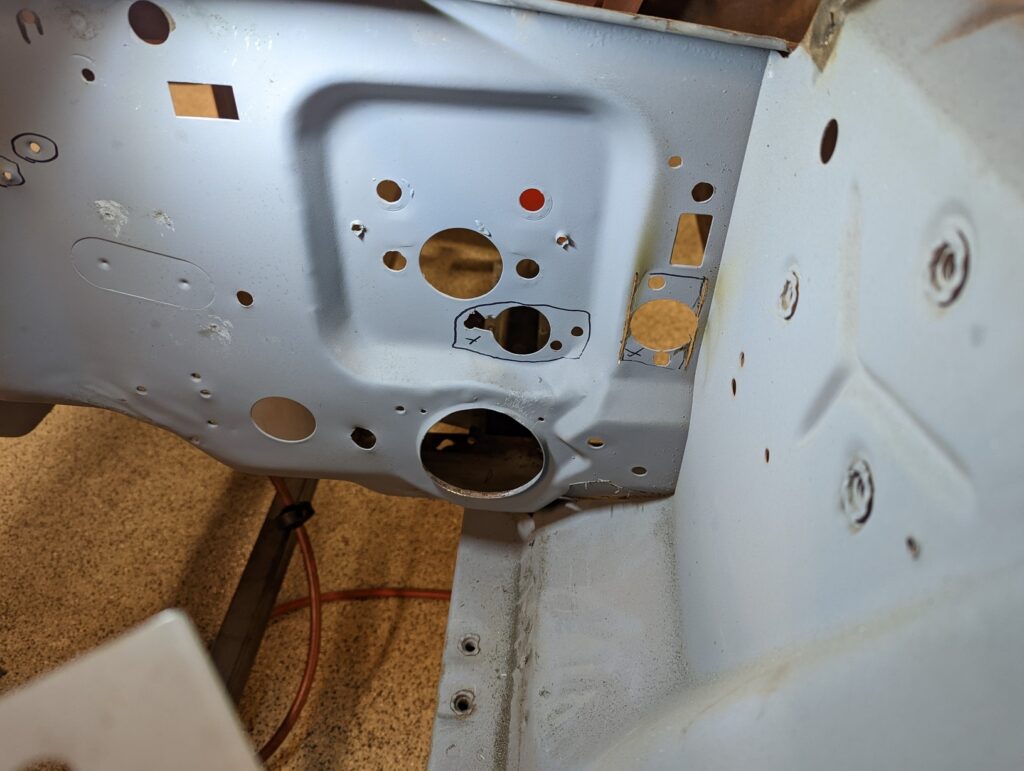
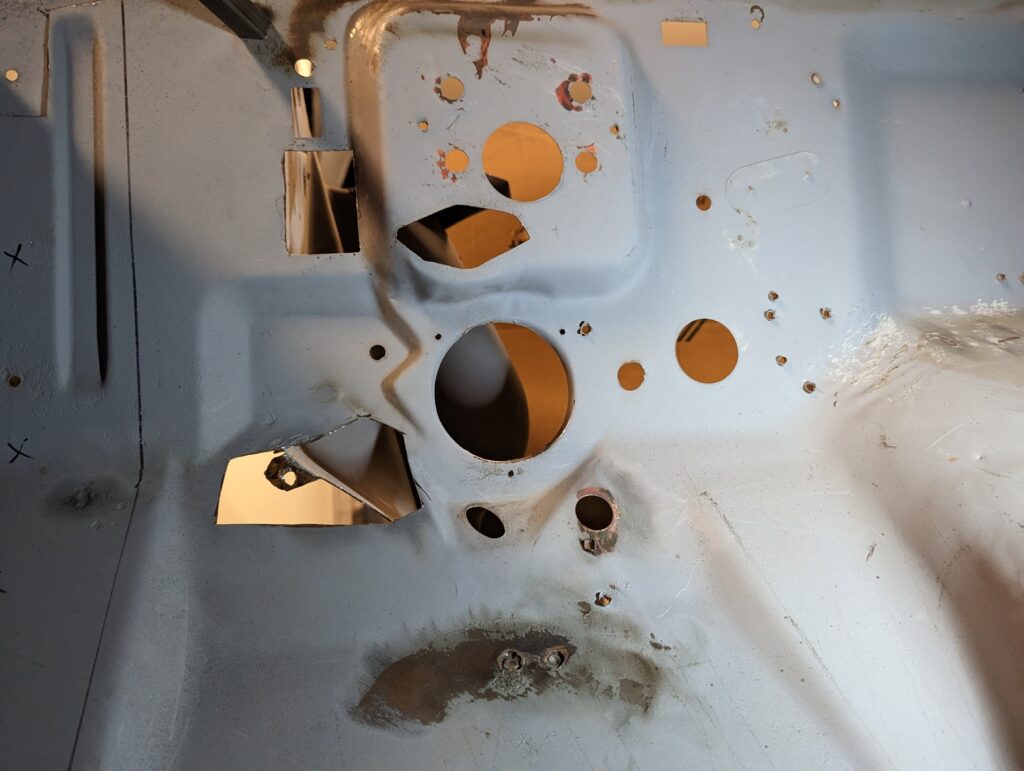
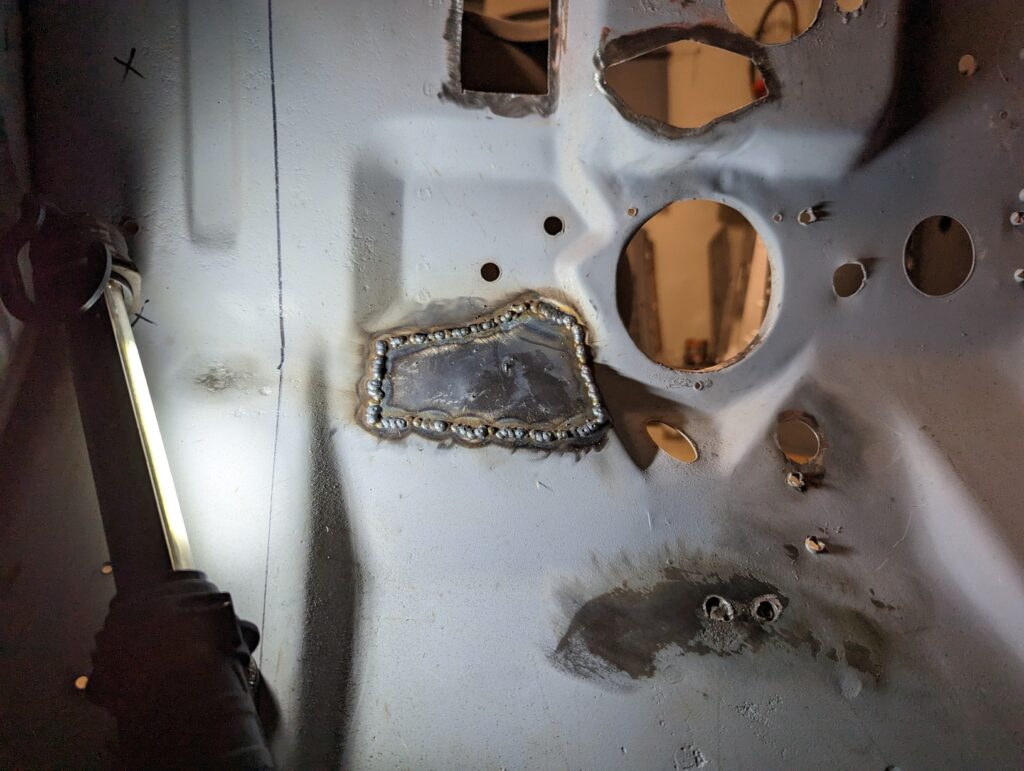
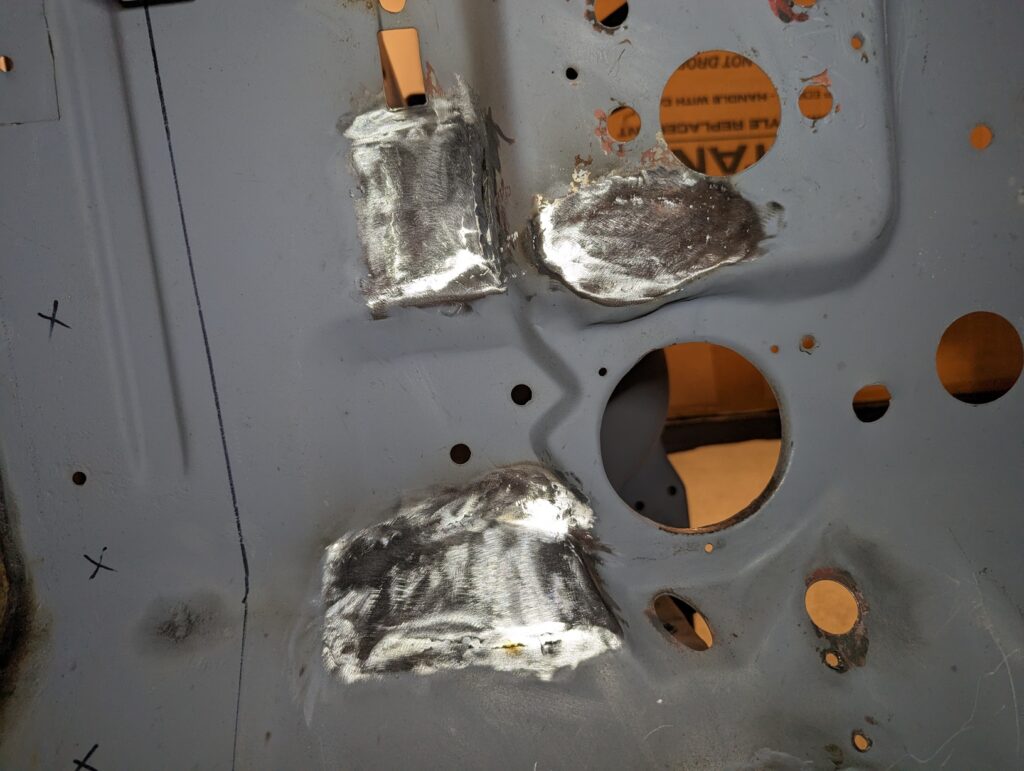
In the past I used Modern Driveline’s hydraulic clutch master setup installed in two different locations on the firewall. I was never completely happy with the setup and I’m planning to go with a MalWood clutch pedal with an integrated clutch master at the end of this restoration. Knowing that, I went ahead and took the opportunity to patch out the holes for the Modern Driveline installations while I was in there.

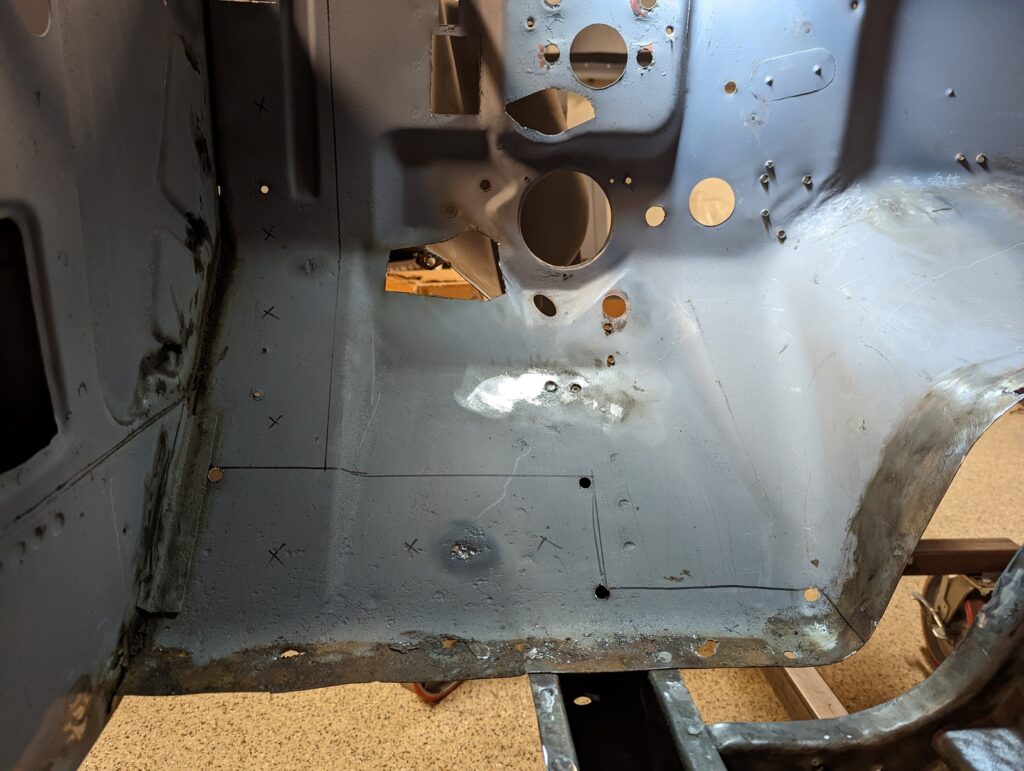
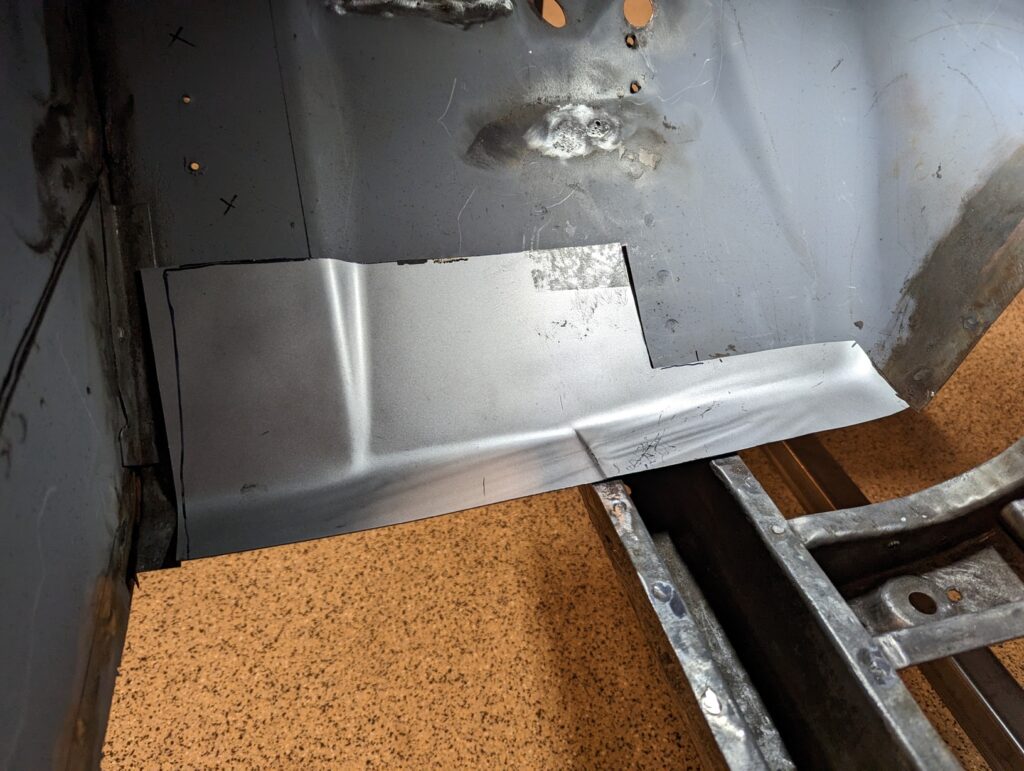
The Sharpie lines indicate the sections that I intended to replace. While there was some amount of rust damage up the entire left side, I dared not cut too much of that out because that was all that was left holding the front clip to the rest of the car on the driver’s side. I opted to limit the immediate scope of repair to the section of the toe board that would be required to install the floor.
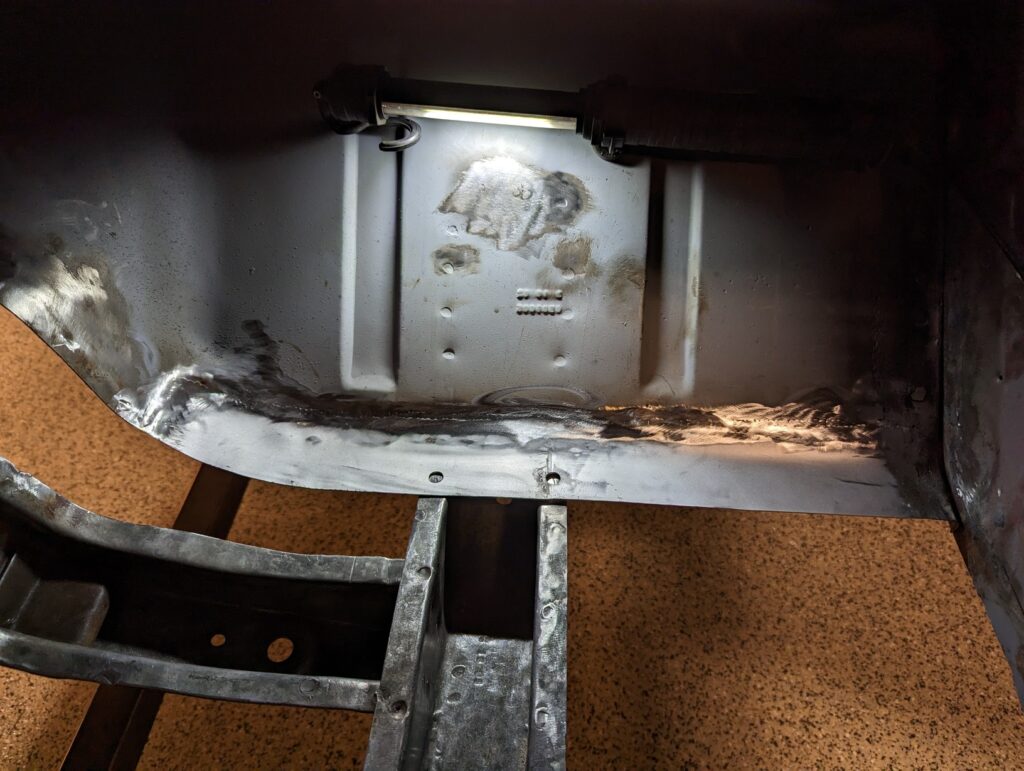
I didn’t get a picture of it but the same process followed on the passenger side. The damage there was less extensive, only necessitating the replacement of two inches or so across the bottom of the toe board.
To create the upper firewall patches I held a Cheerios box up against the openings and traced out the shapes before cutting them out and transferring them onto sheet metal.
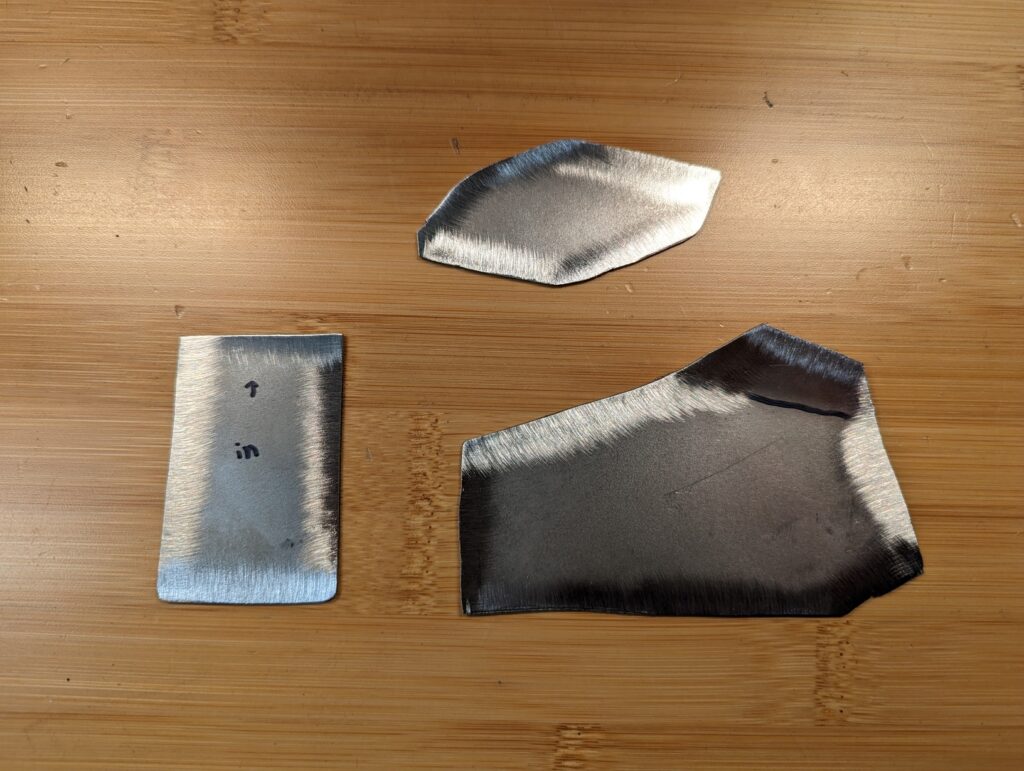
The toe board sections were larger and required a withdrawal from my ever-expanding stash of cardboard. With the templates cut to rough shape I used them to trace out the patches onto the reproduction firewall.
I waffled for a while on whether to install the full firewall as a complete replacement but ultimately decided to use it for patch panels instead. My experience so far has taught me that saving as much original metal as possible makes life easier in the end, even if it’s annoying to deal with hours of stitch welding. The reproduction firewall also didn’t have all the holes in the correct place for a ’65, so some modification would have been necessary even if the rest of it fit perfectly. The final straw was knowing that the firewall was all that held the cab and the front clip together, completely divorcing the car into two distinct halves didn’t sound particularly appealing to me unless I absolutely had to.
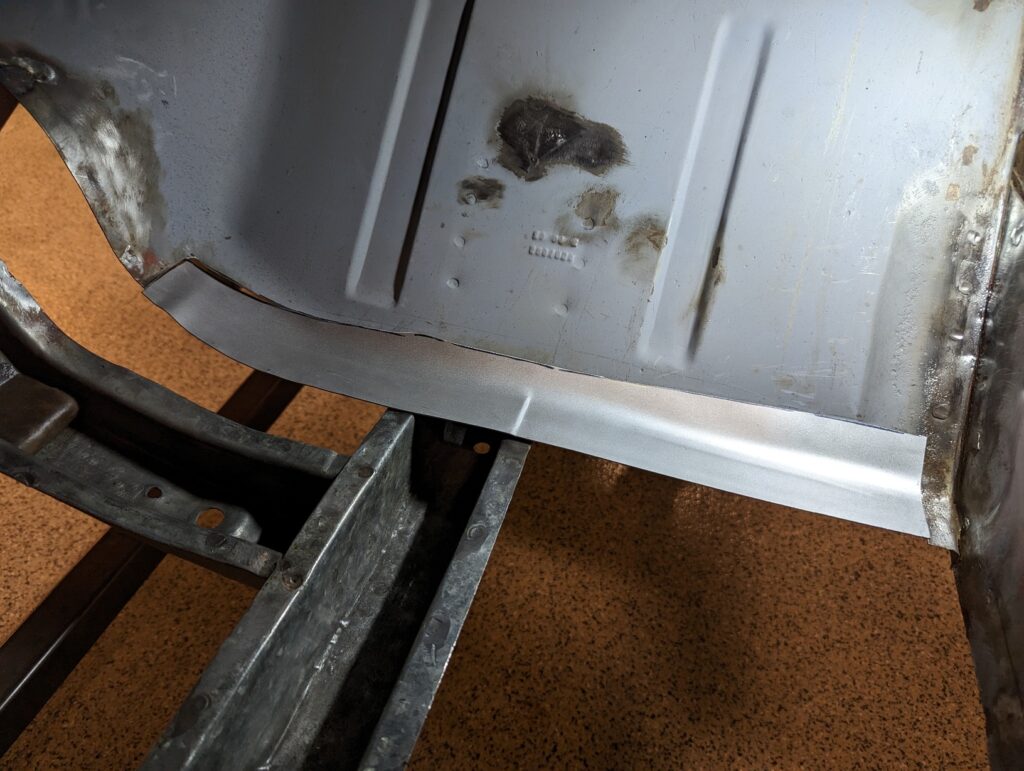
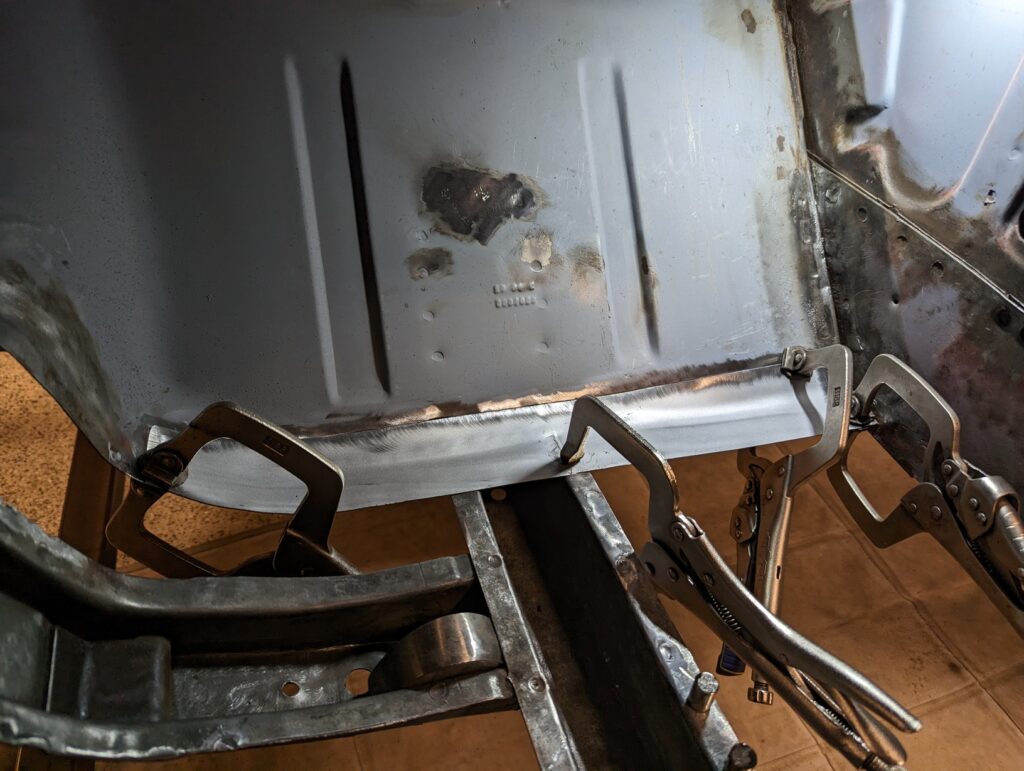
While test fitting the driver’s side toe board patch I found that I had cut it too wide in the front. A few days ago I received a plasma cutter and thought that trimming the patch would be a fun first use case to test it out.
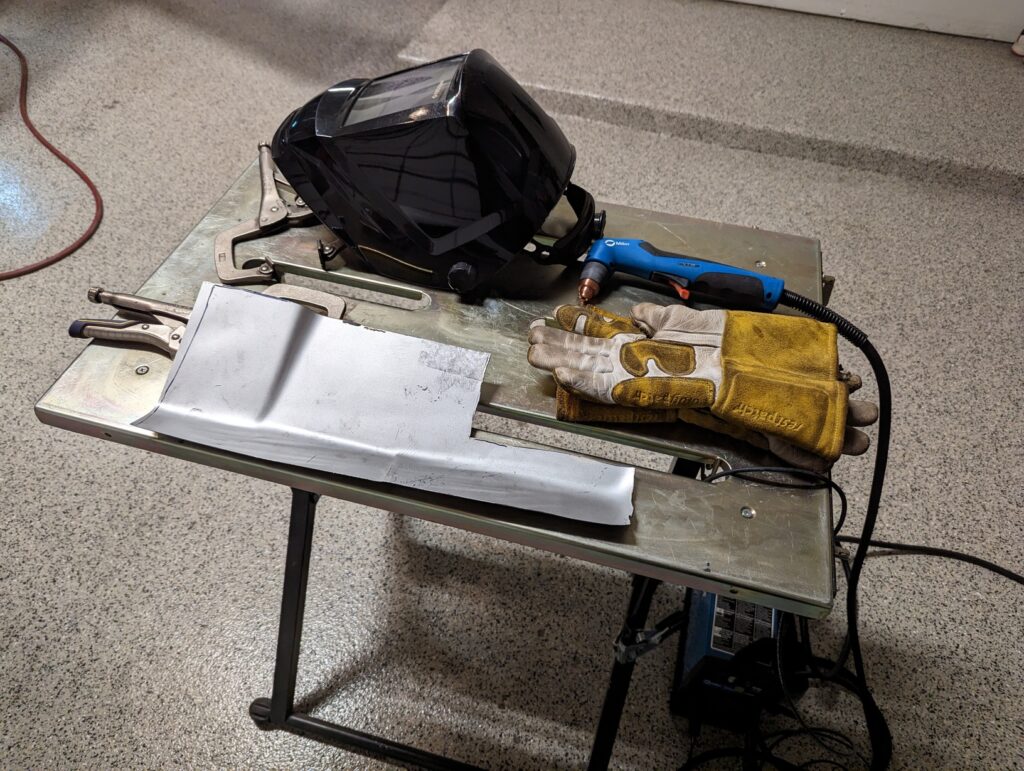
Turns out that free-handing plasma cuts is not something that I have an innate talent for. I think I’ll use some sort of straight edge as a guide next time.
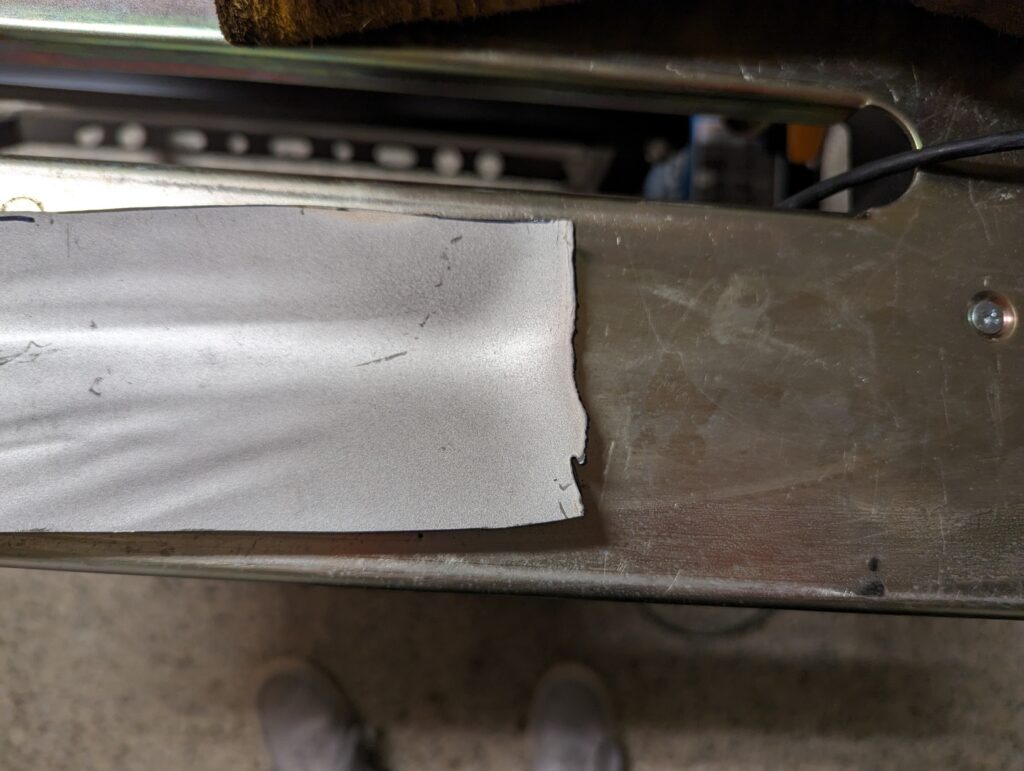
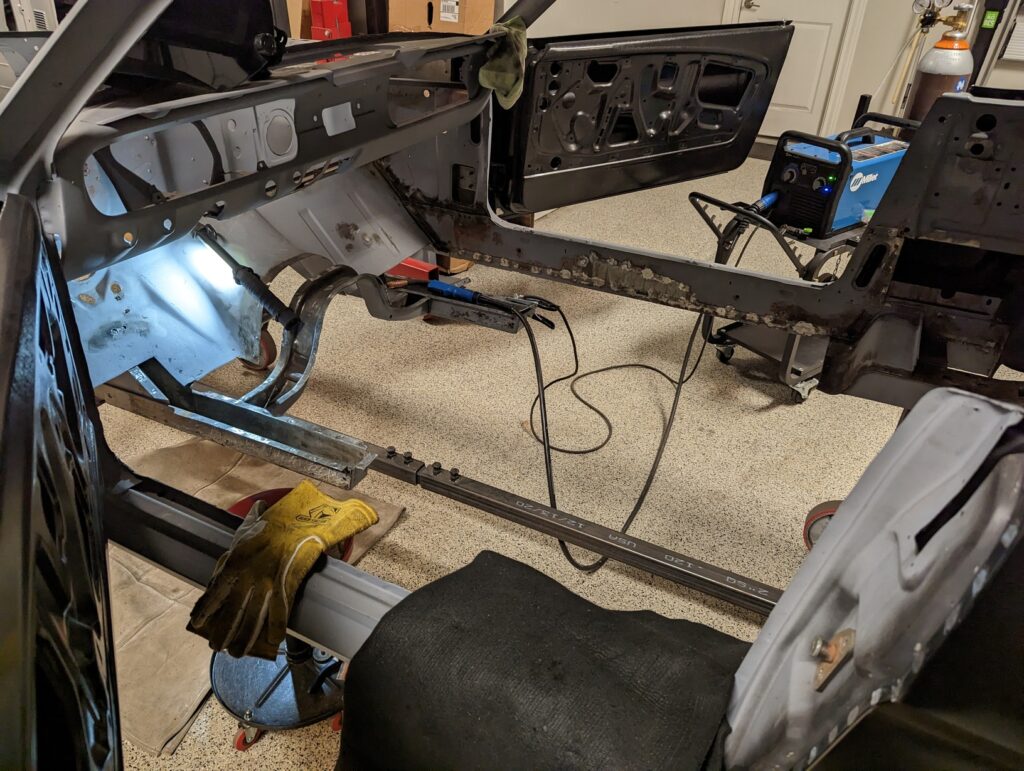
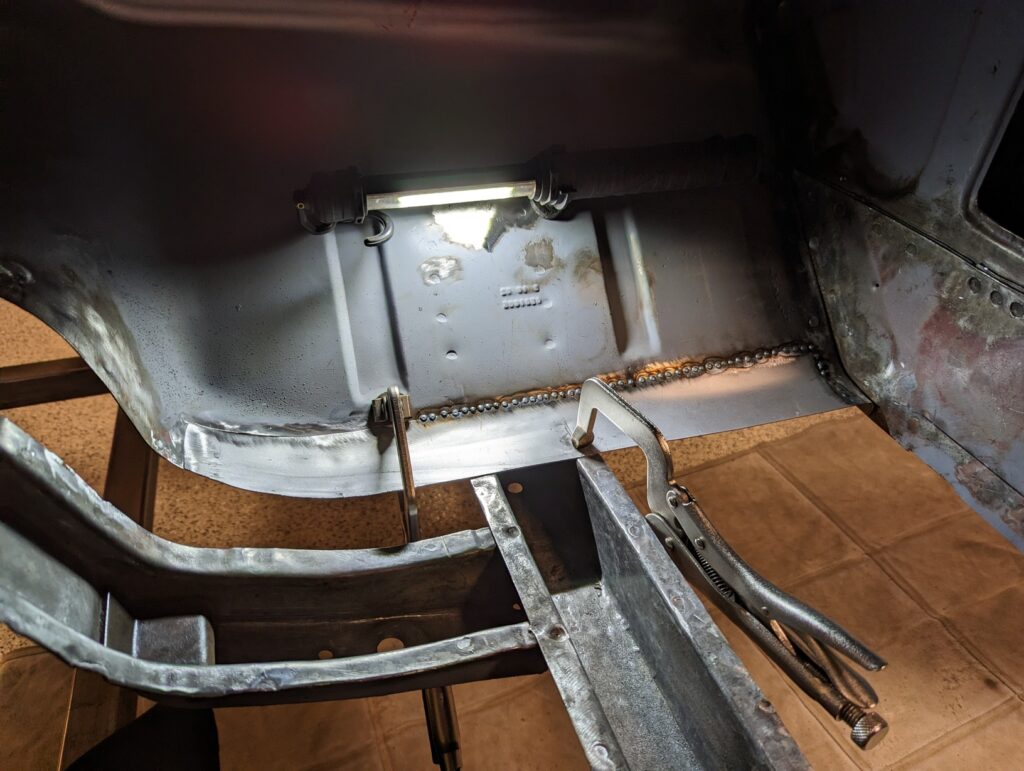
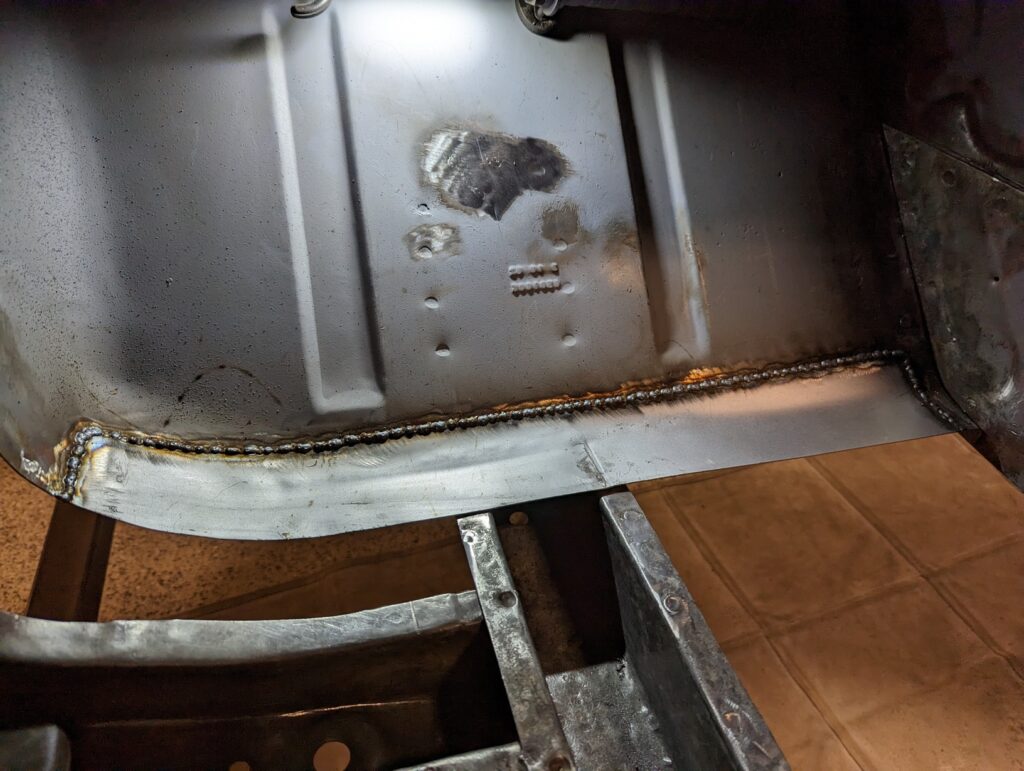
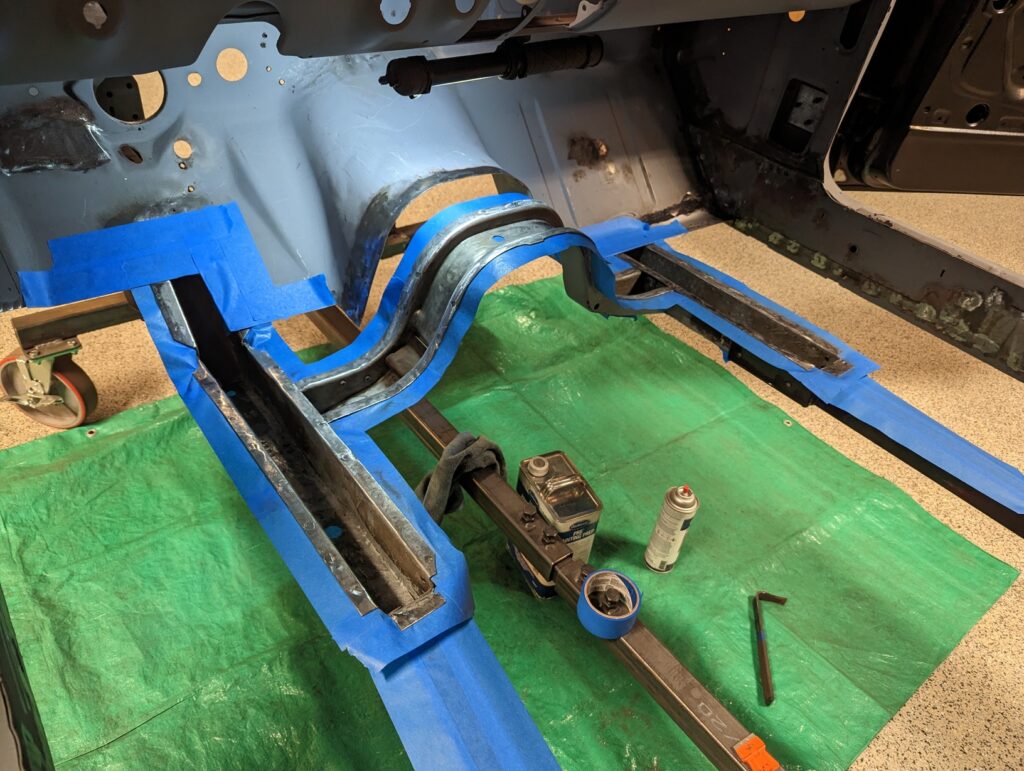
Before welding the driver side patch in place I decided to paint the inside of the frame rails and the cross brace due to having access further up the frame rail before the patch was installed. I would have had an inch or two of additional access on the passenger side if I had painted before installing the patch on that side.
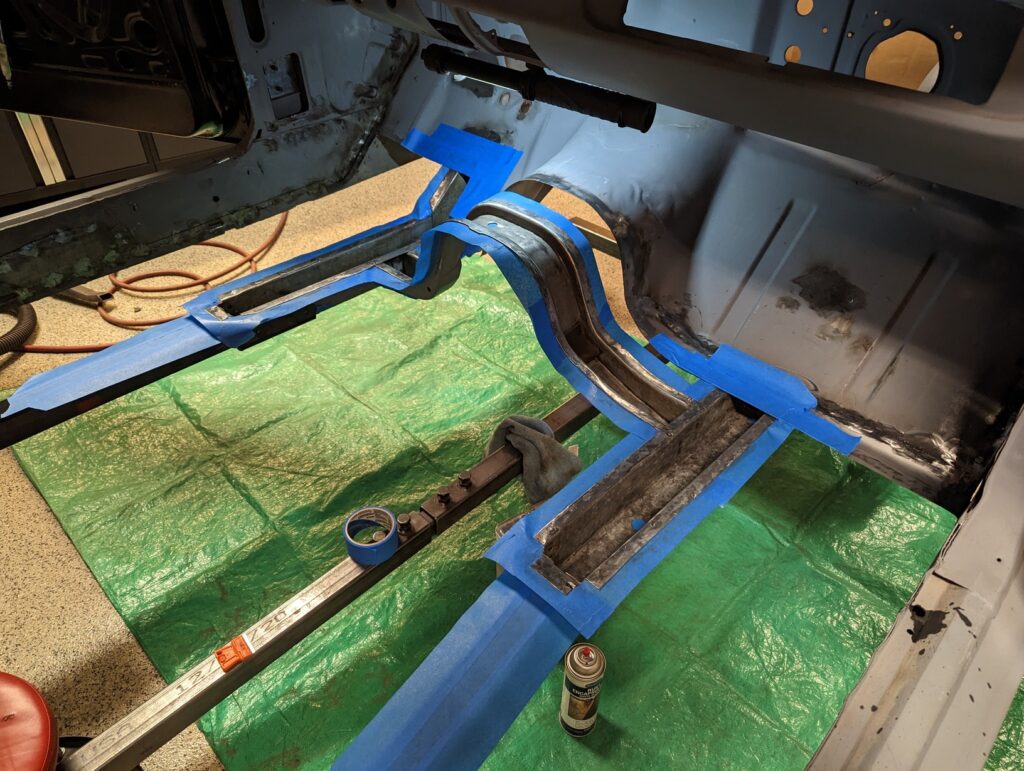
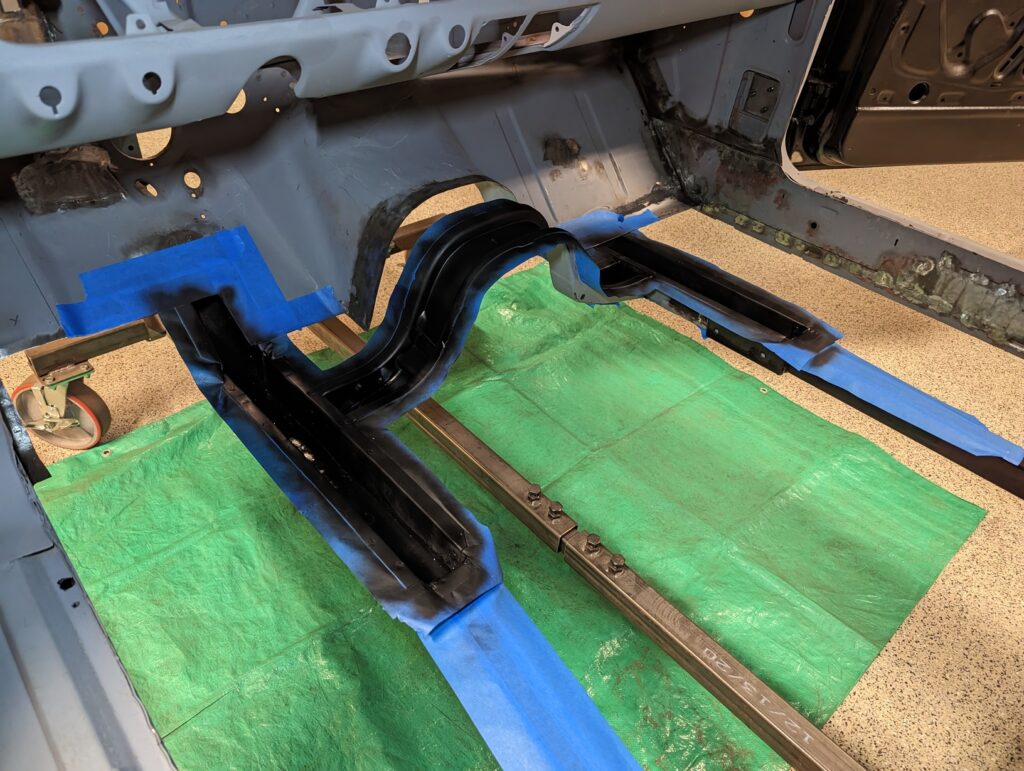


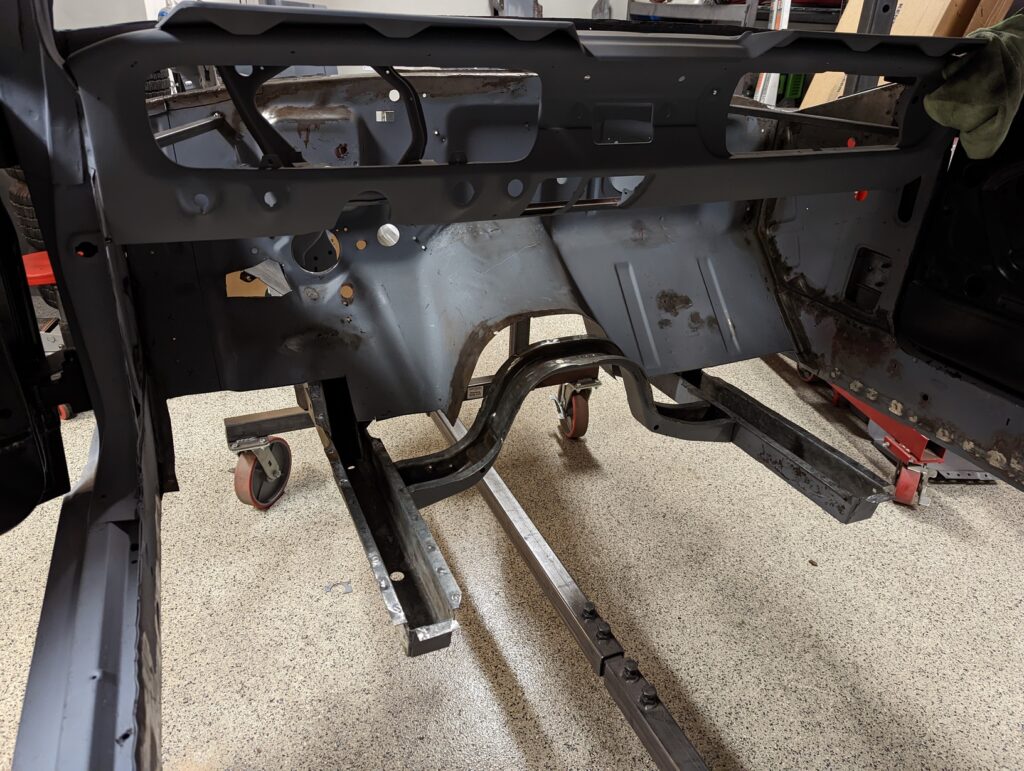
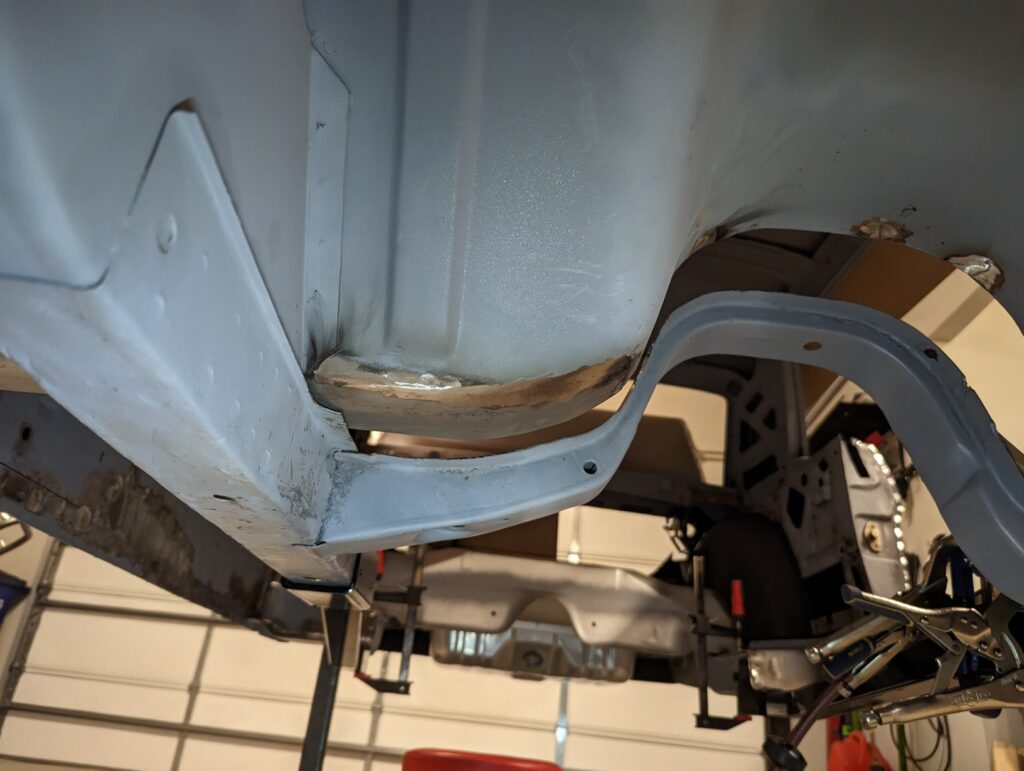
With the toe boards repaired the firewall was in good enough shape to start working on installing the floor. There will be more firewall work in the future, specifically up around where it meets the cowl, but that can come after the floor and subframe connectors are installed to further stiffen the chassis.