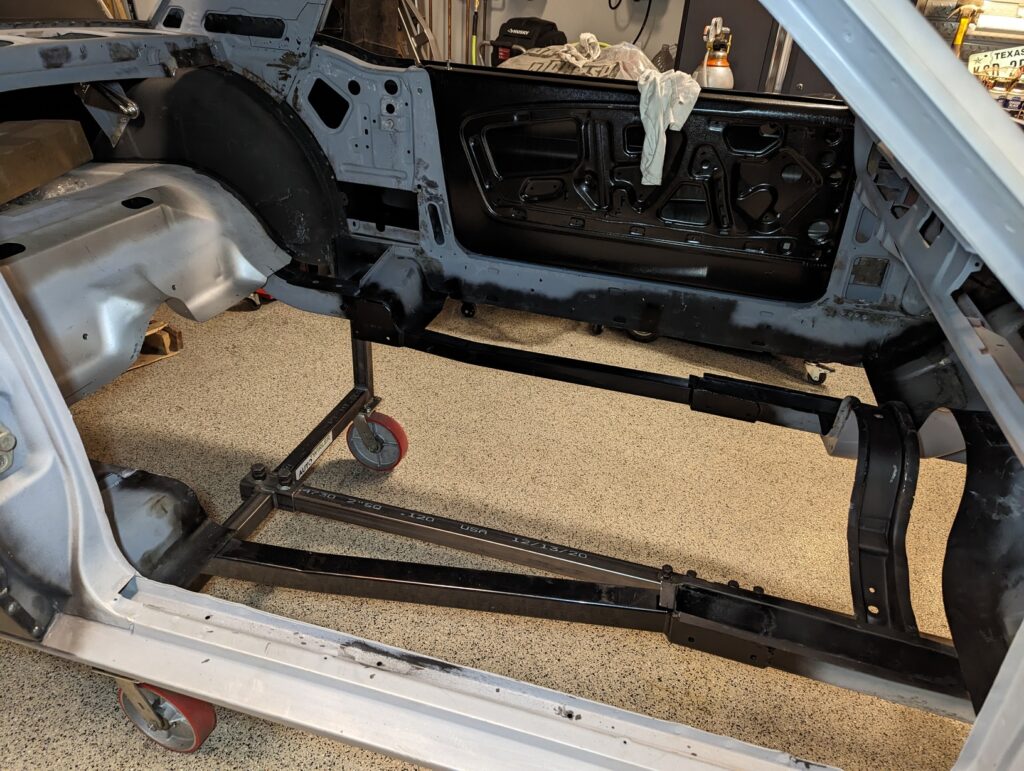
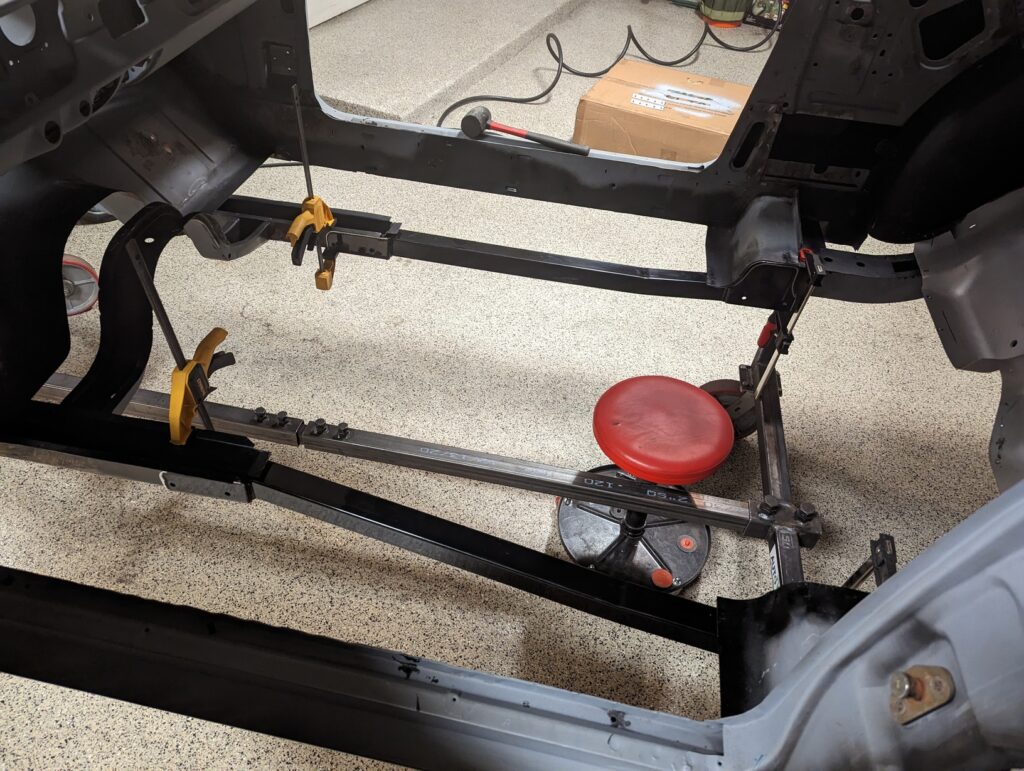
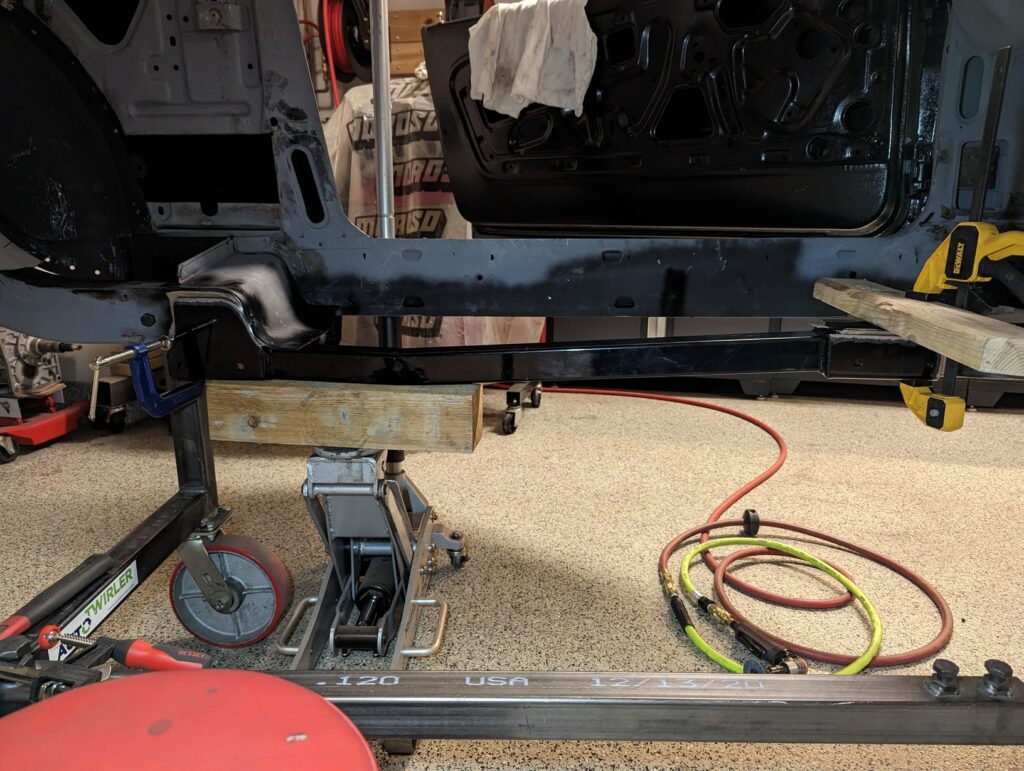
Time to get the subframe connectors installed! I started by mocking them up with clamps again to make sure that everything lined up the way I expected.

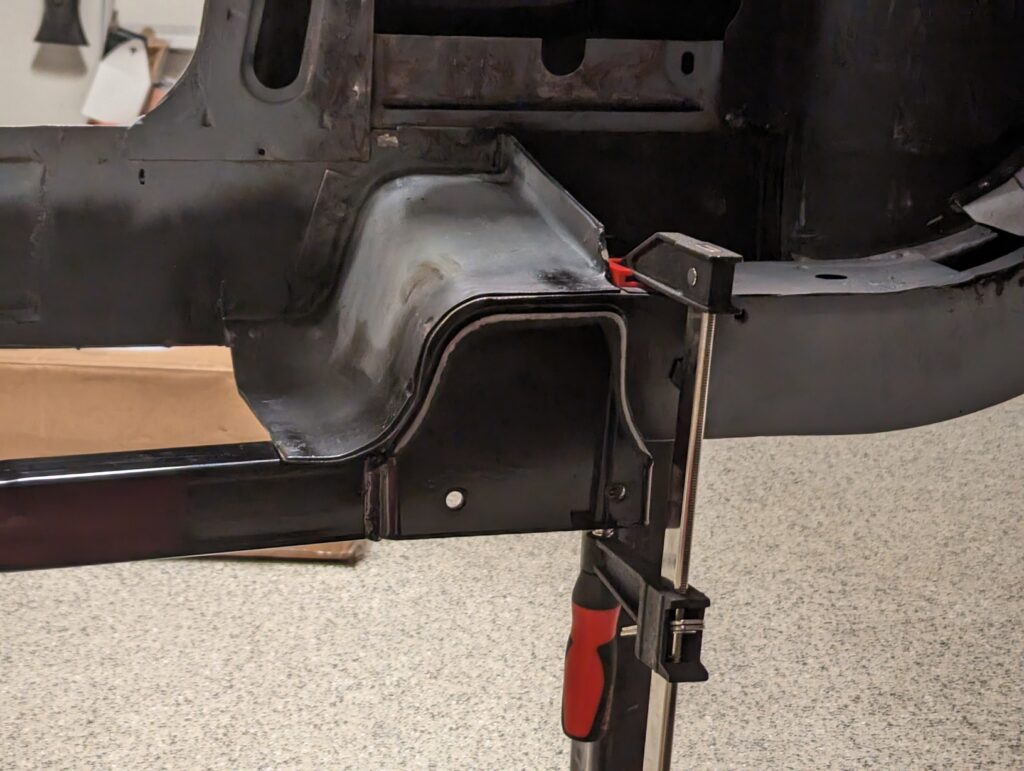
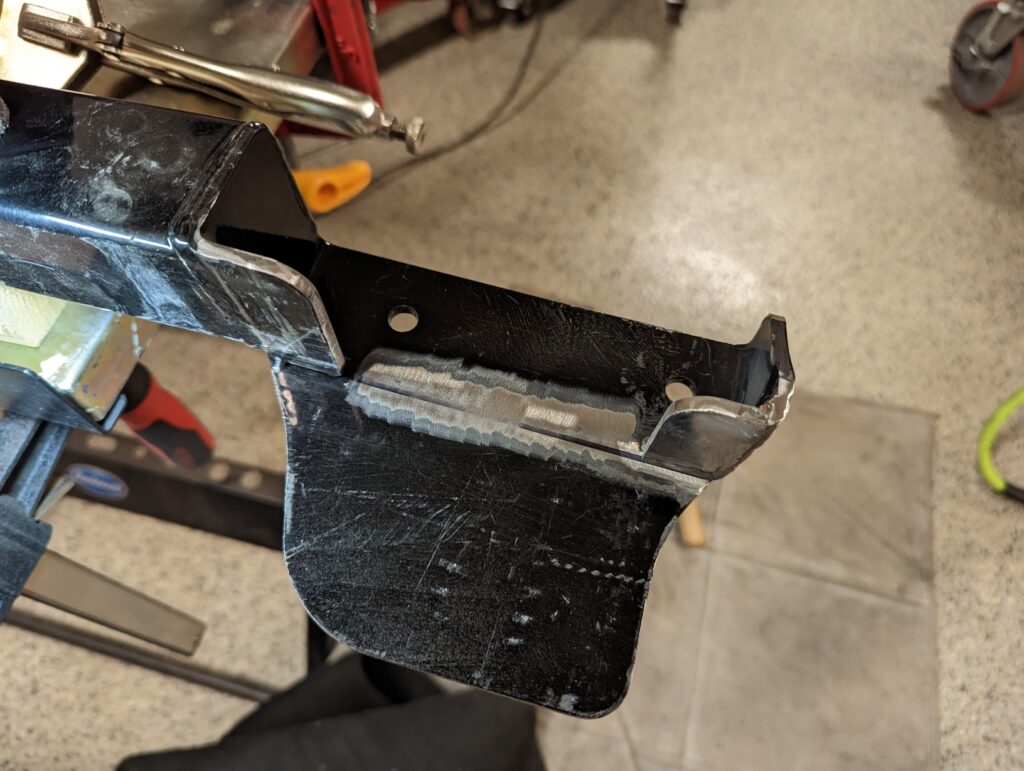
While checking the dry-fit I found that the rearmost flange wasn’t fully flush with the torque box on either side of the car.
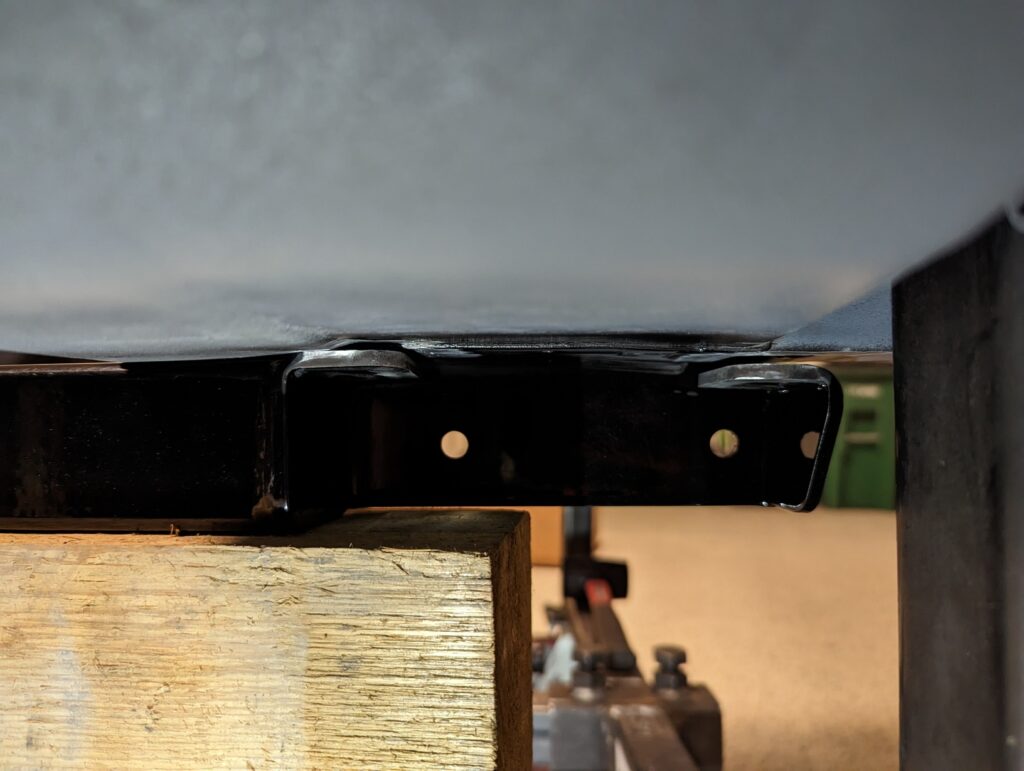
To improve the fit of the flange flush I removed the subframe connector from the car and cut off the top portion of the flange with an angle grinder before relocating and tack welding it in place.
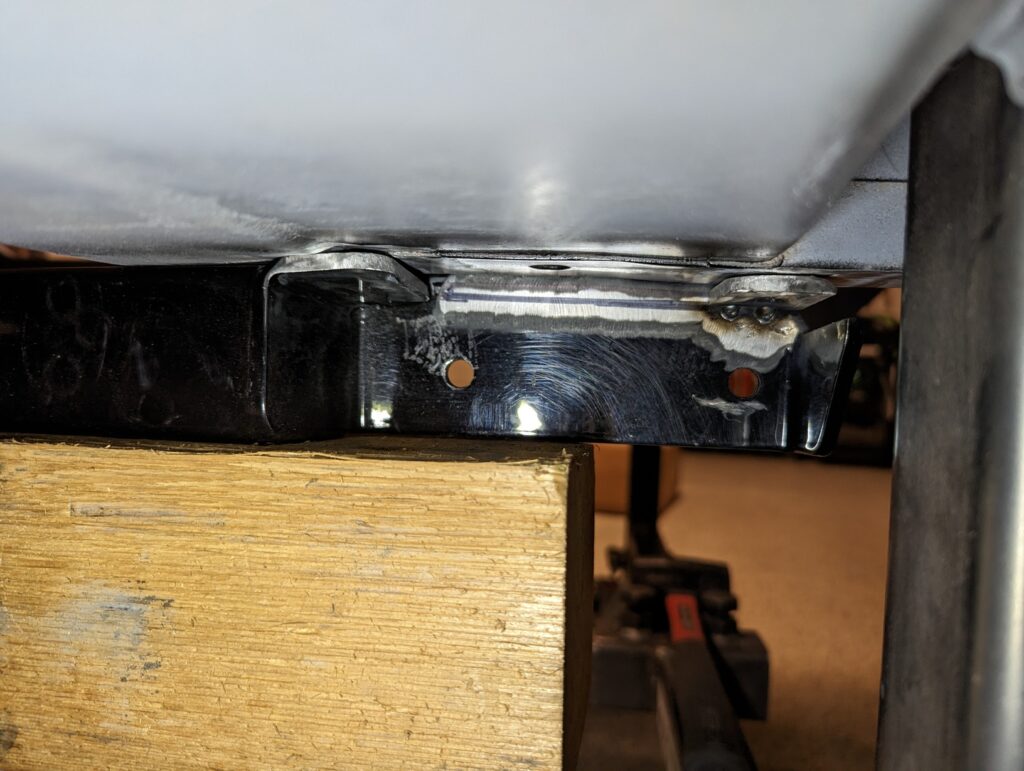
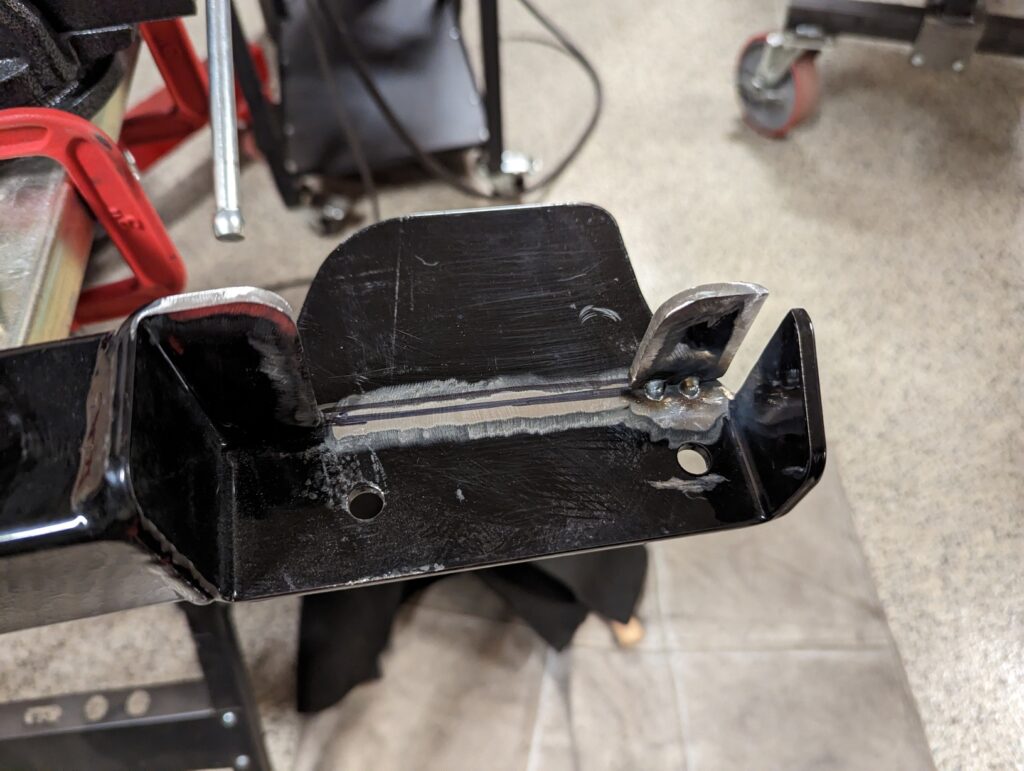
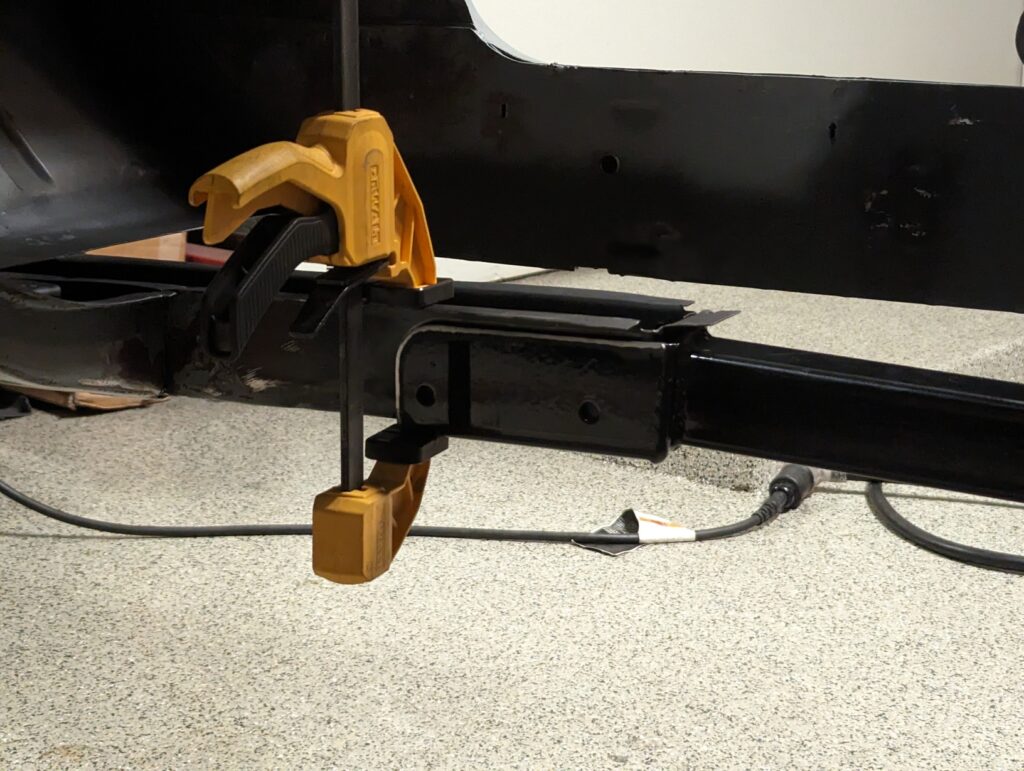
After verifying the fit I welded up the gap in the modified flange.
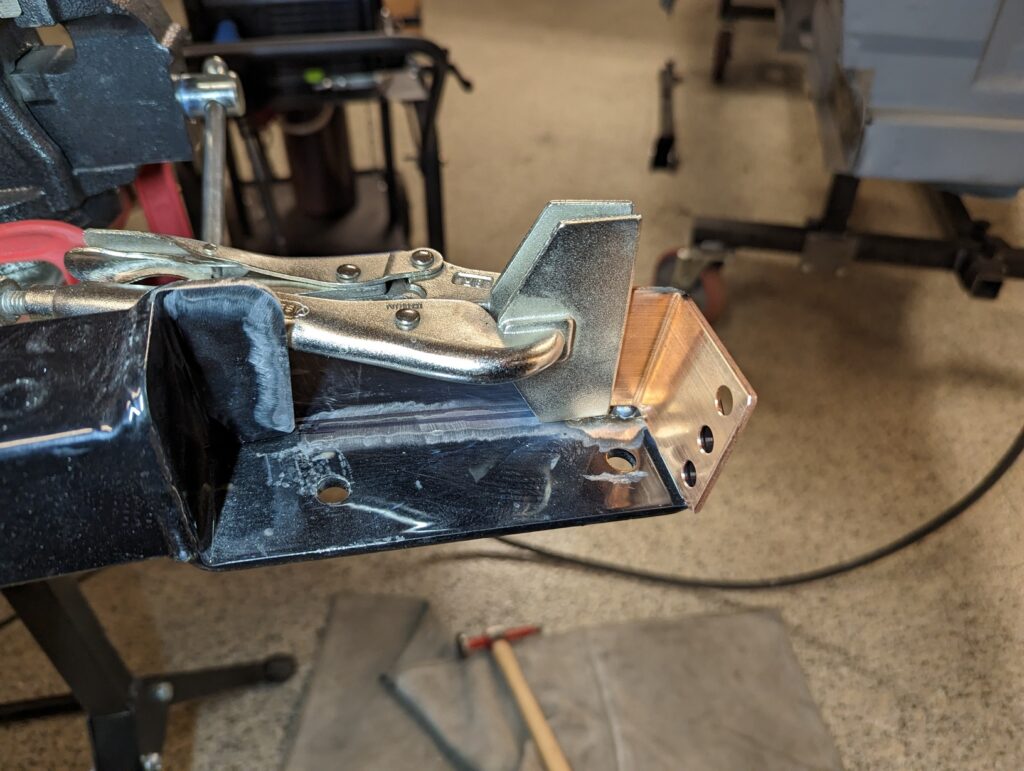
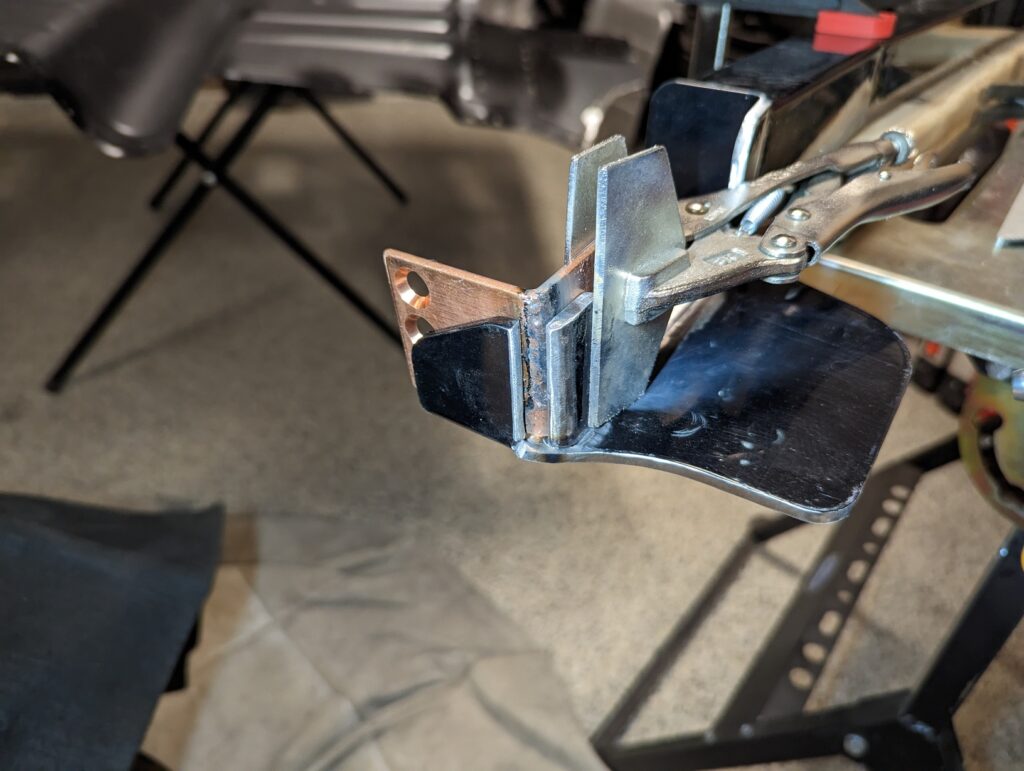
After a little grinding of the powder coat around the edges targeted for welding the first subframe connector was ready for welding into the car.
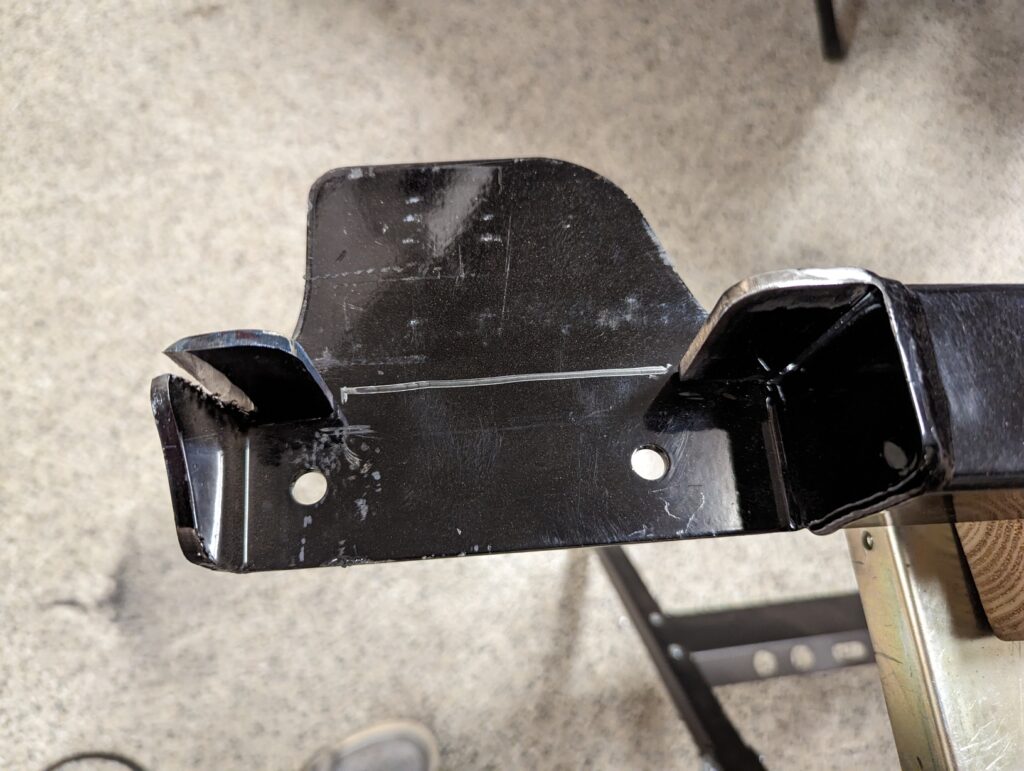
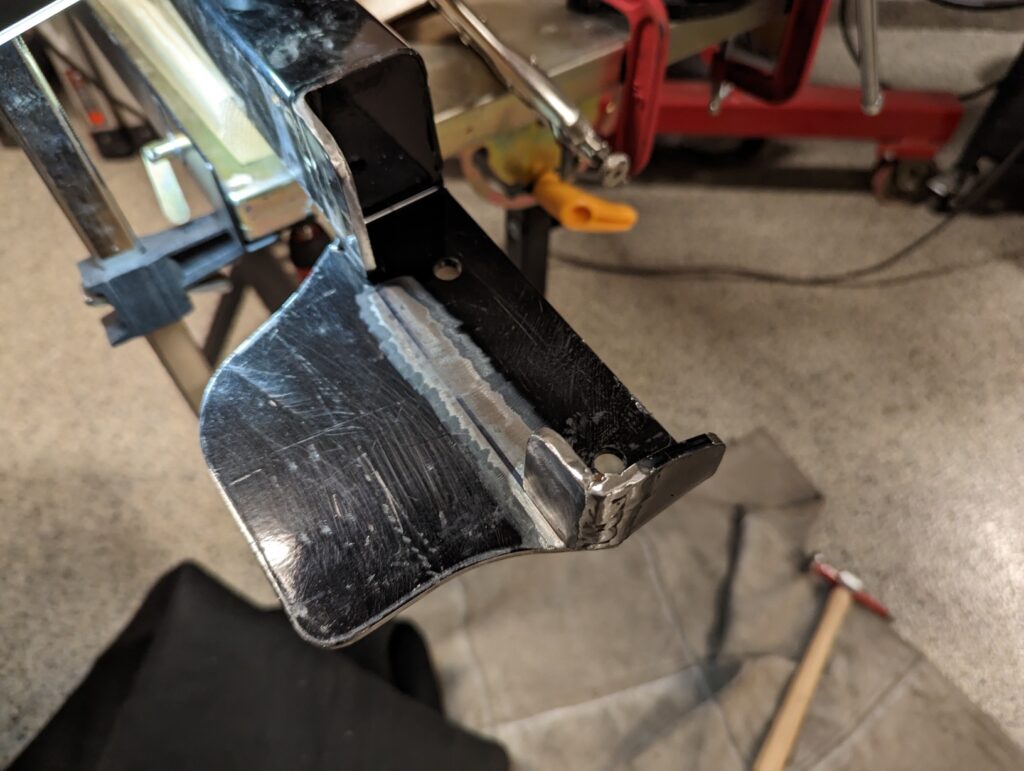
The passenger side connector required an almost identical modification for the rear flange before final installation.
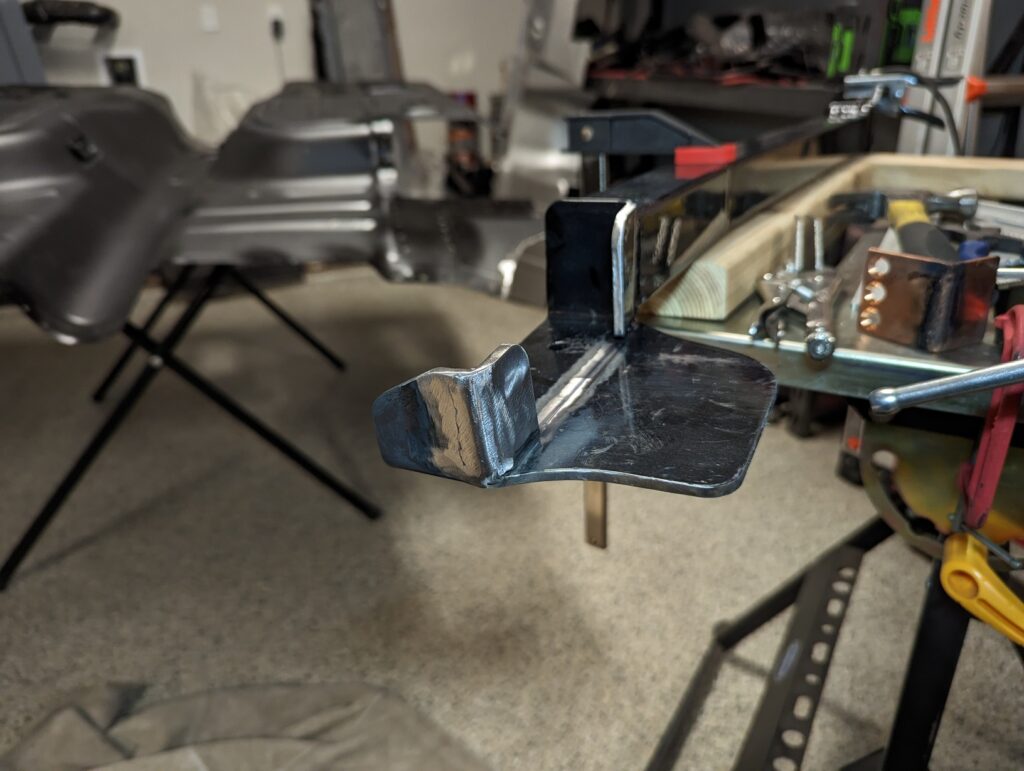
Just like that, both subframe connectors welded in!
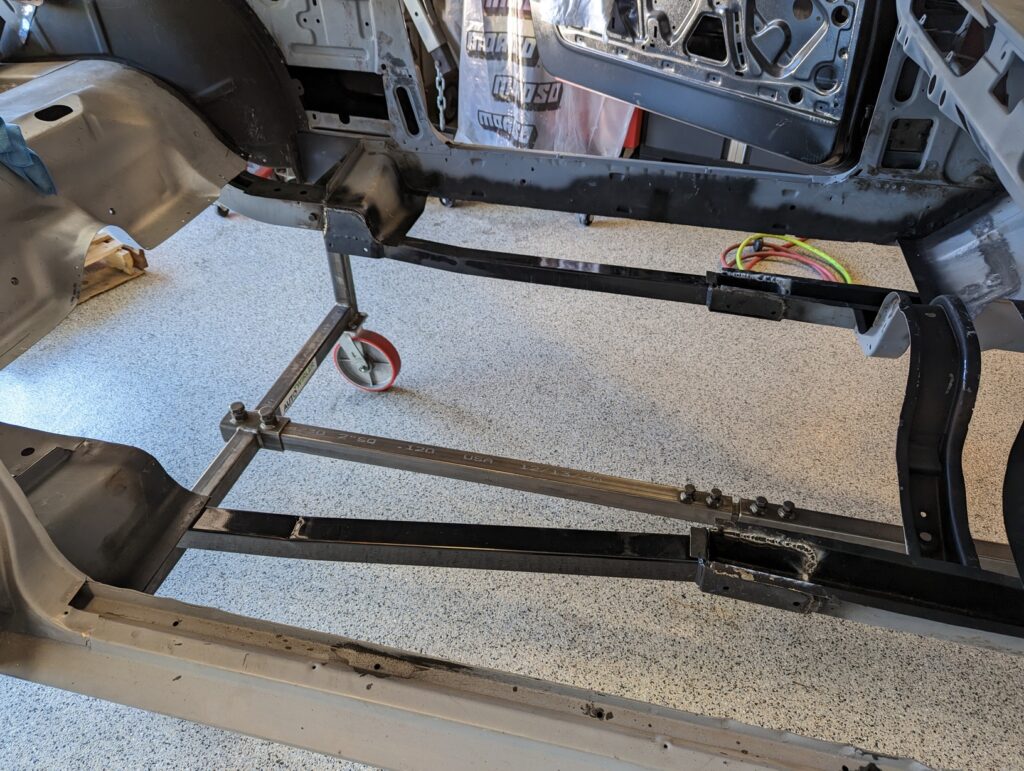
Before calling it a day I threw a quick coat of paint over the welds due to some of them being in locations that will be awkward to get to once the floor is in.