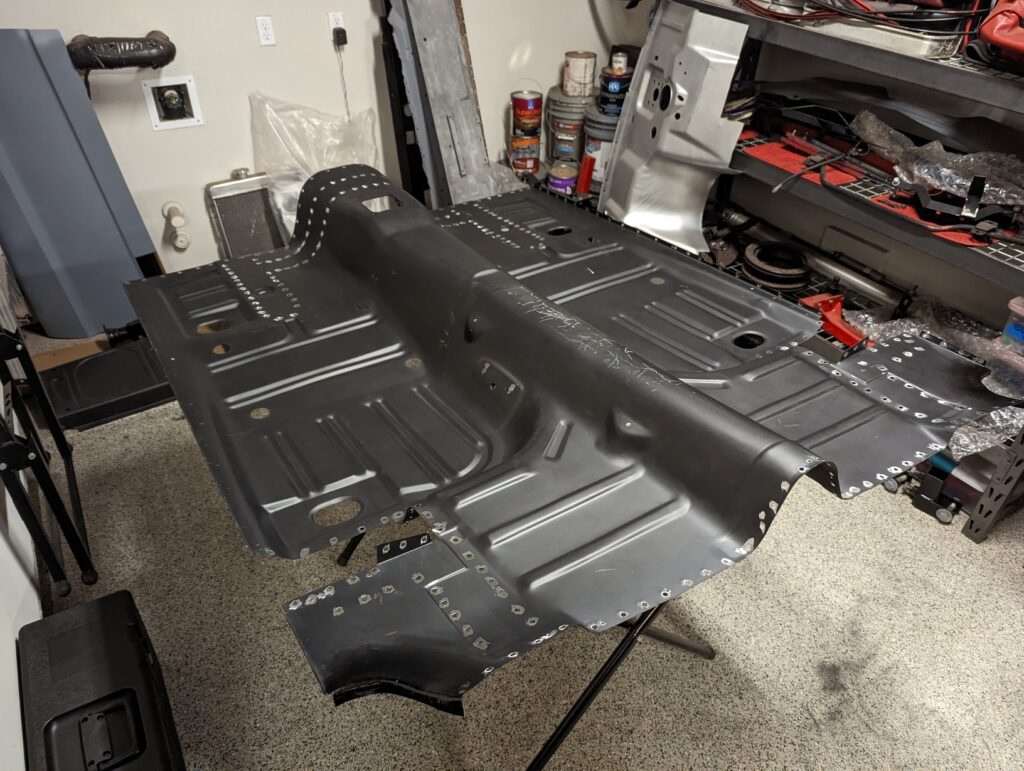
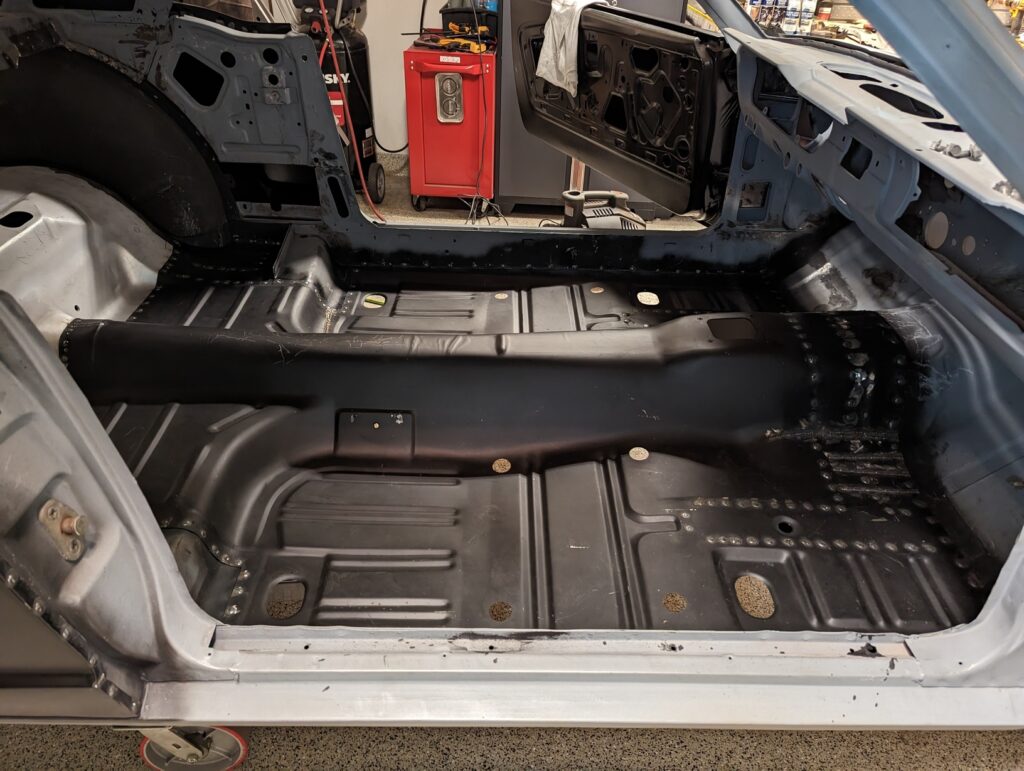
With the subframe connectors installed it was finally the floor’s turn. Getting the floor in and out of the car wasn’t particularly easy. If you angle it right you can lead the front of the pan in through the door gap, rotating it into place once the back left corner clears the quarter window. The rub is that the floor pan is big, awkward, and has a bunch of edges that like to catch on everything. Good thing I only had to pull it in and out a couple dozen times.
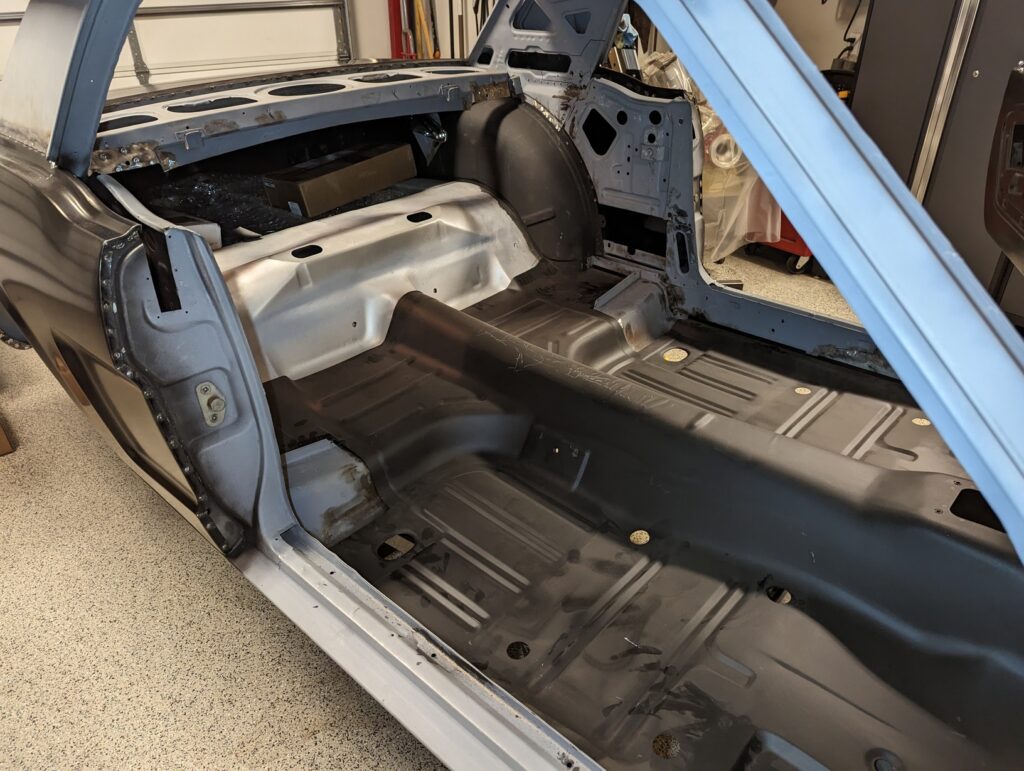
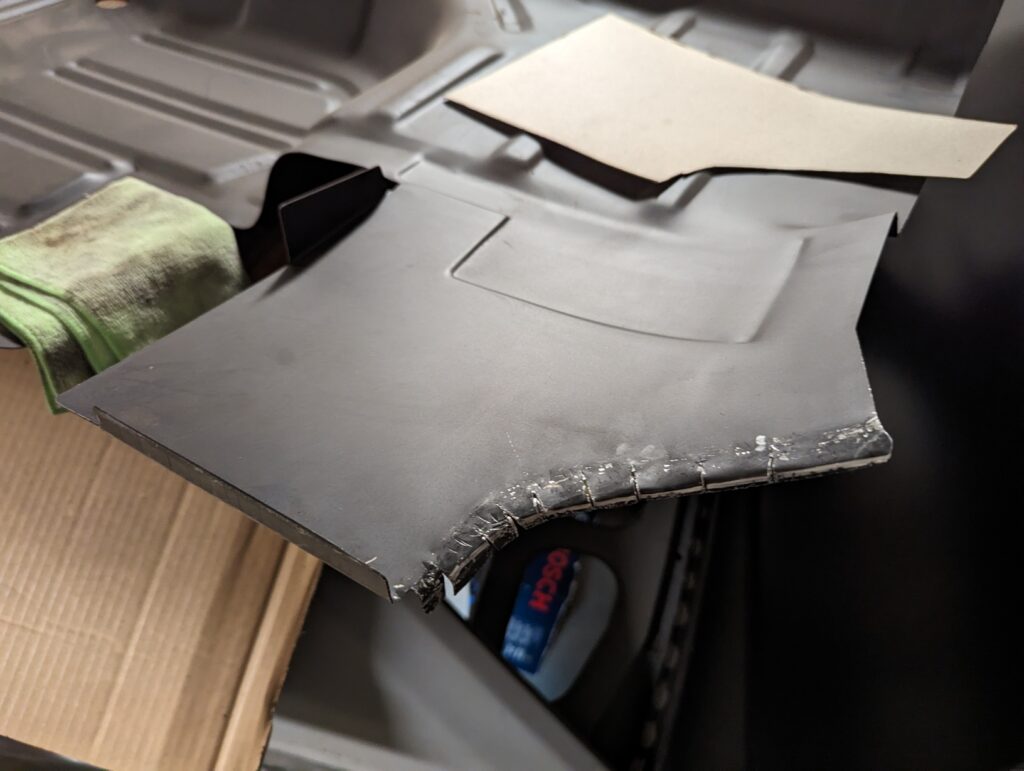
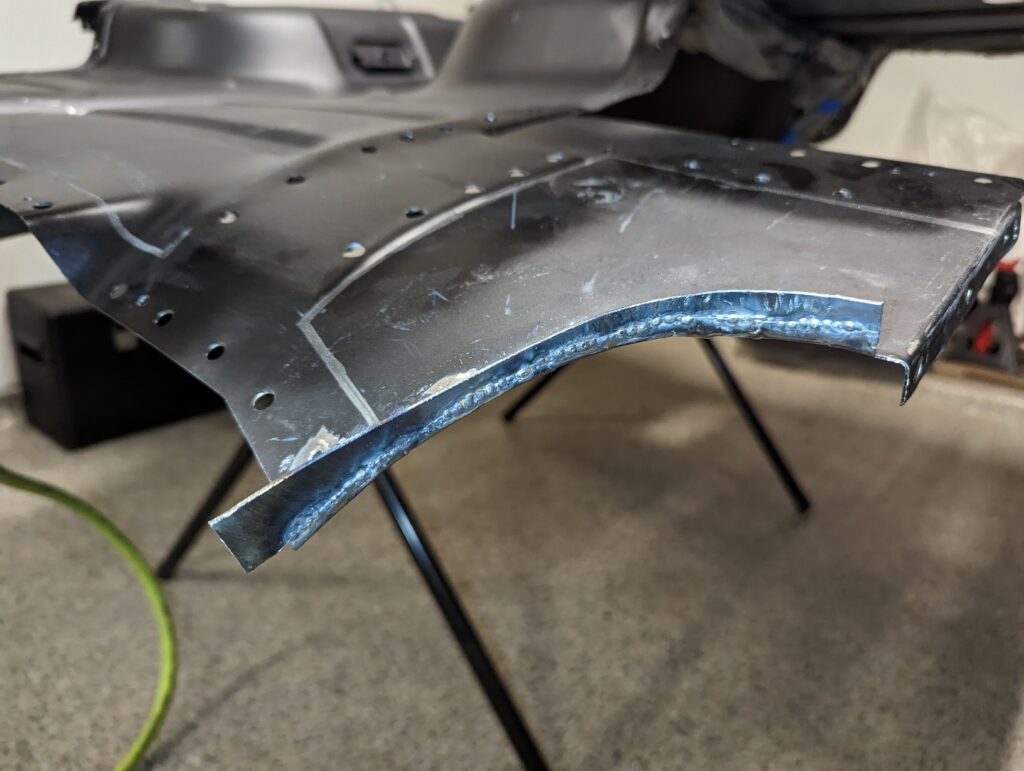
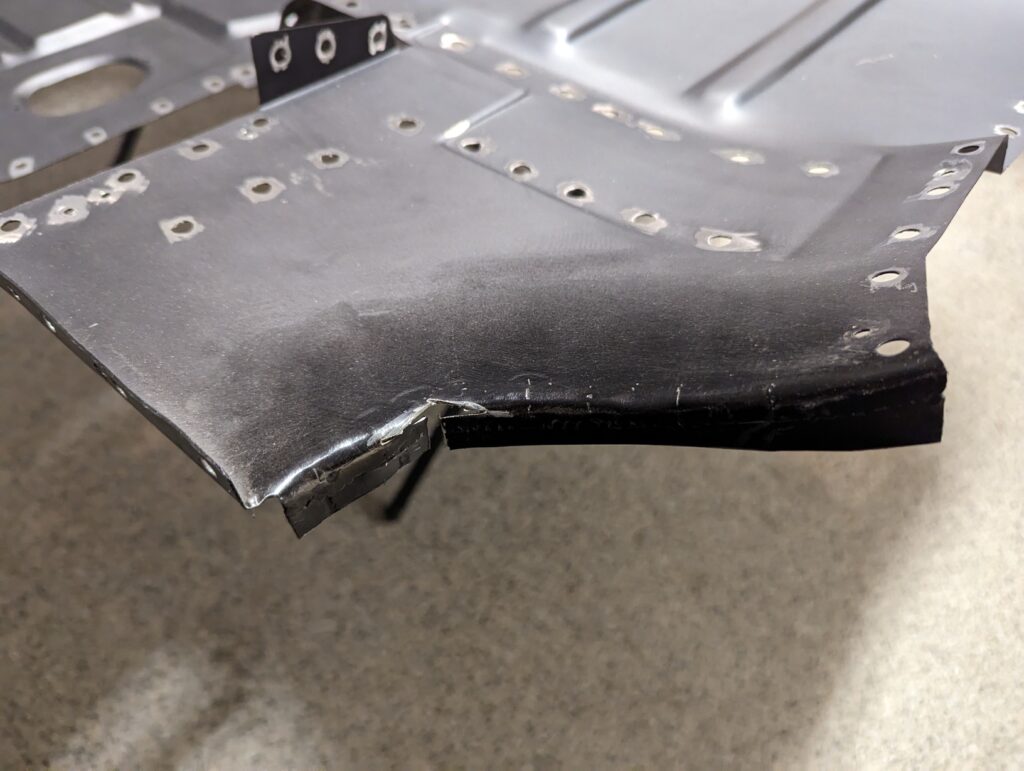
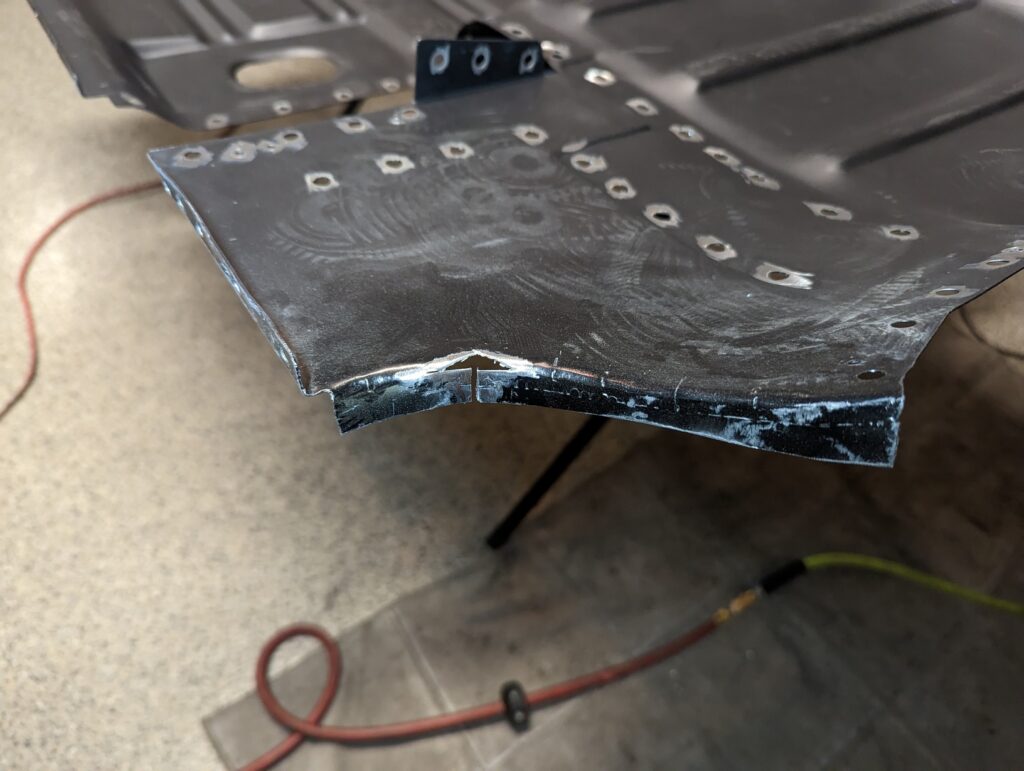
The first fitment issue I tackled was the flange that is supposed to mate with the new rear wheel houses on either side of the car. On both sides there was more of a gap than I was happy with.
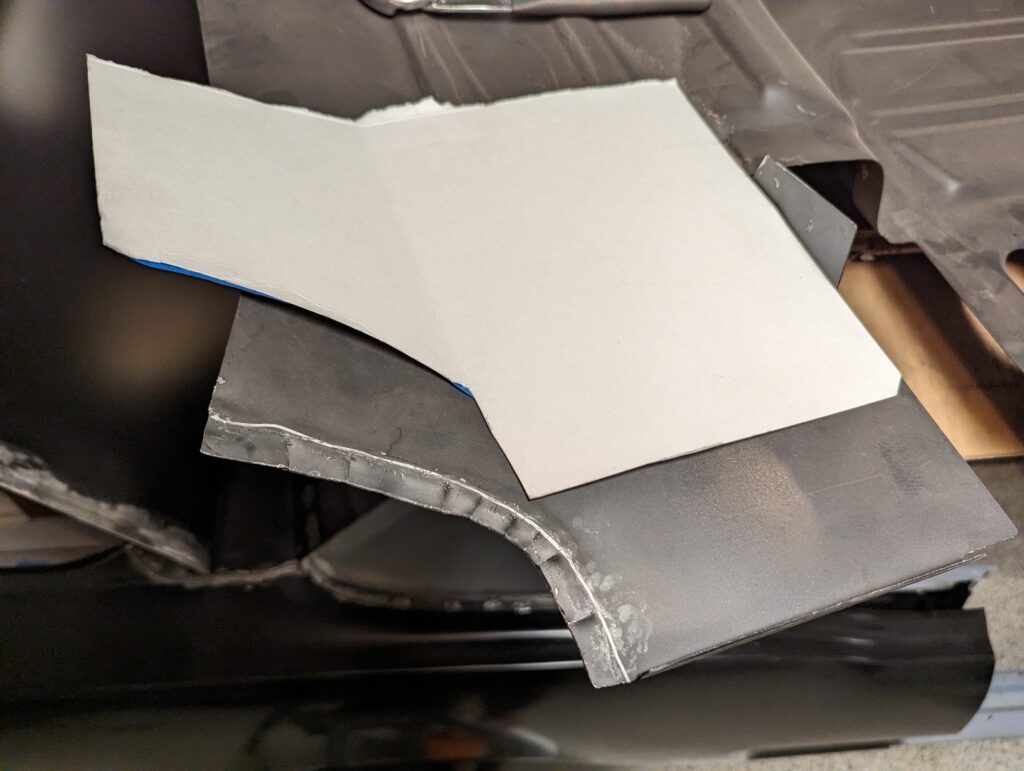
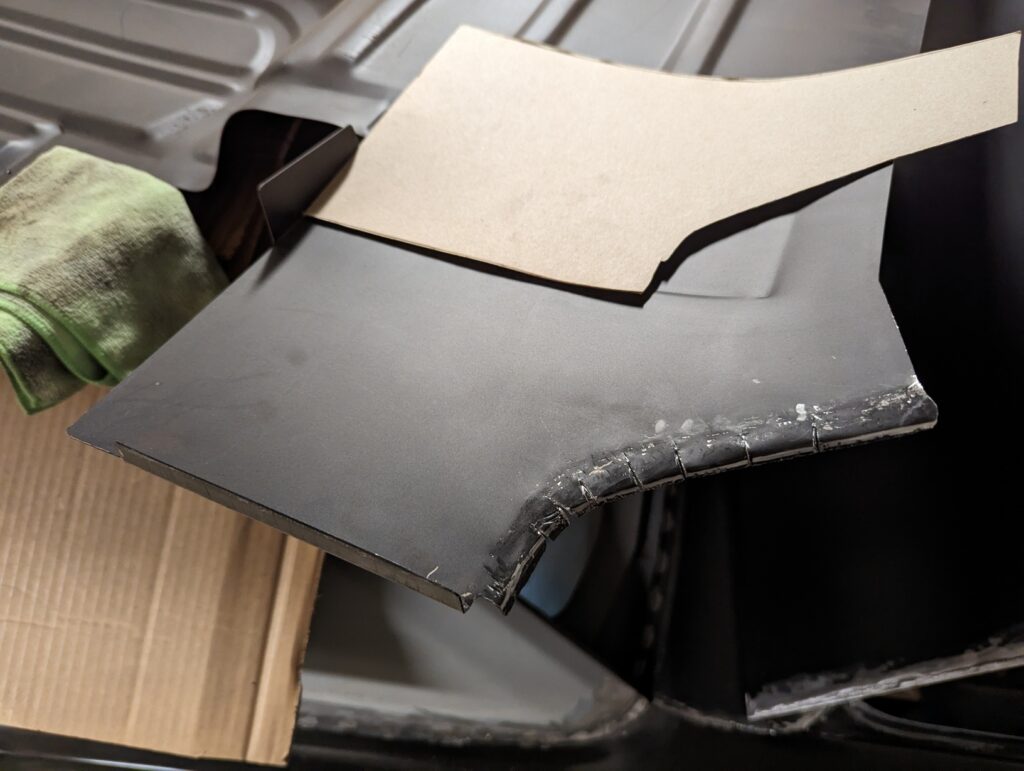
I started by using cardboard to cut a rough outline of the shape that the flanges should have, unfolding the existing flanges and making relief cuts to allow the metal to be flattened out to close the gap.
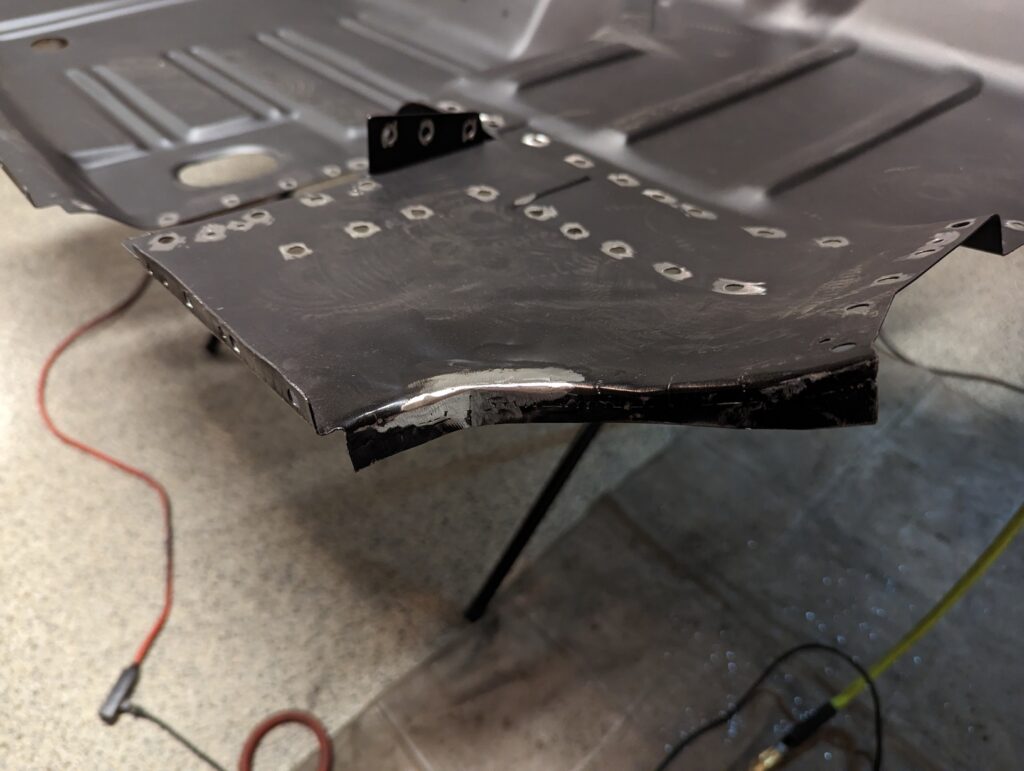
After following that process on both sides I tossed the floor back in to check the fit. Much better, but still not perfect. I got underneath the car and used a hammer and dolly to further improve the shape, enough so that I was happy with the end result.
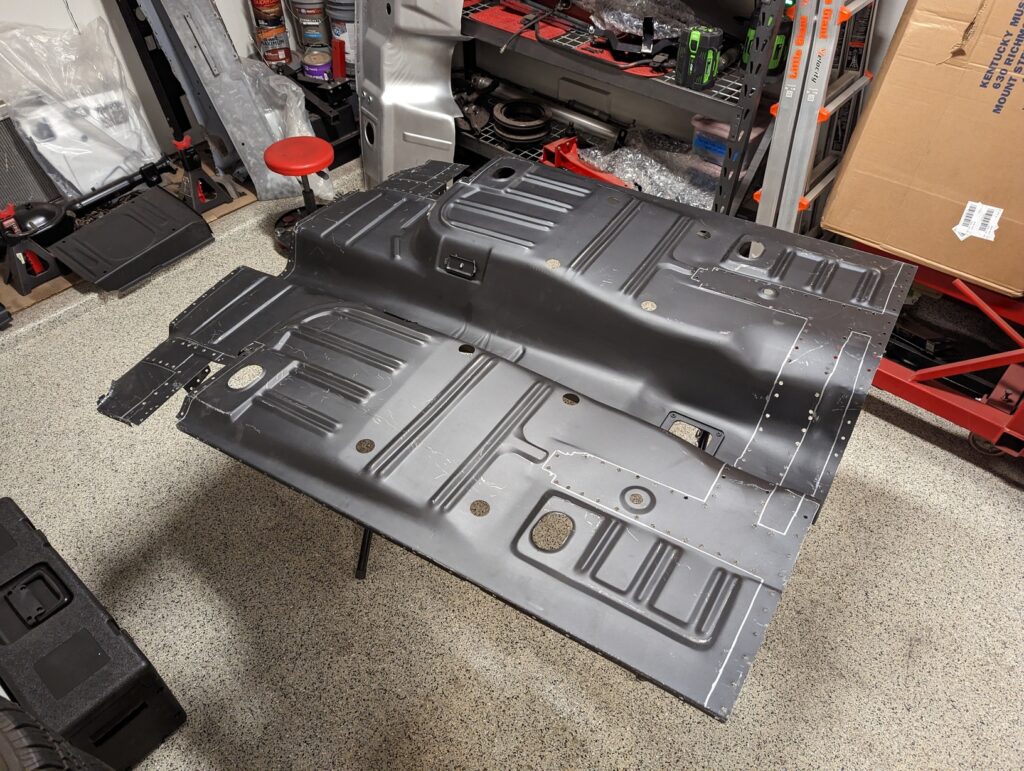
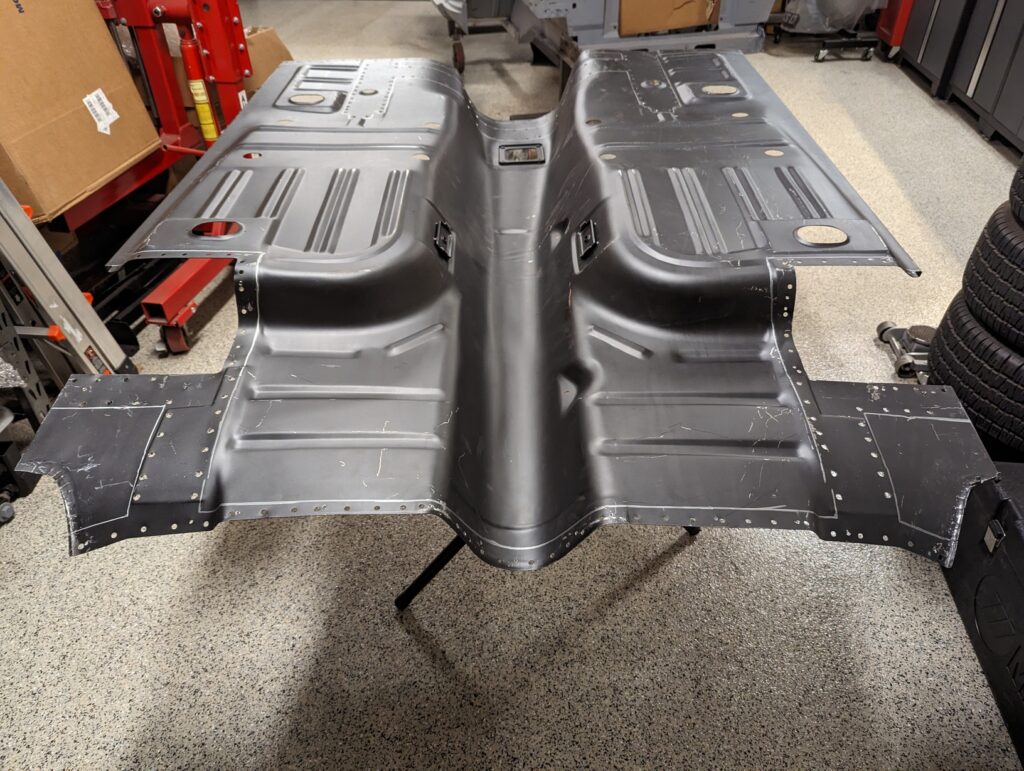
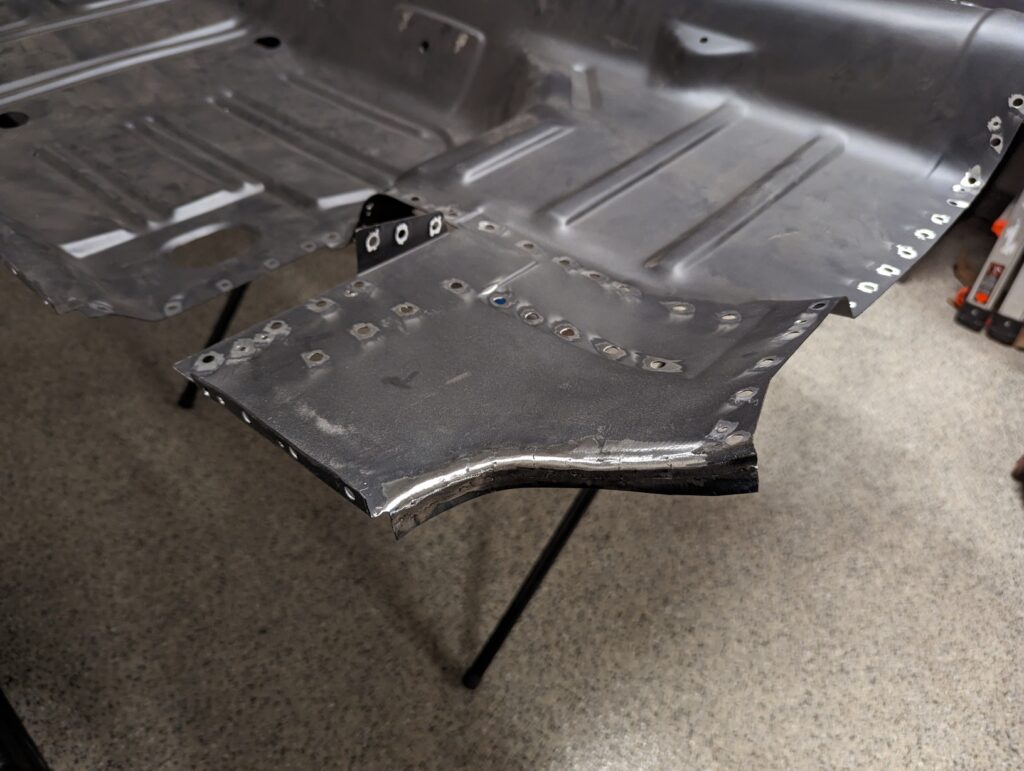
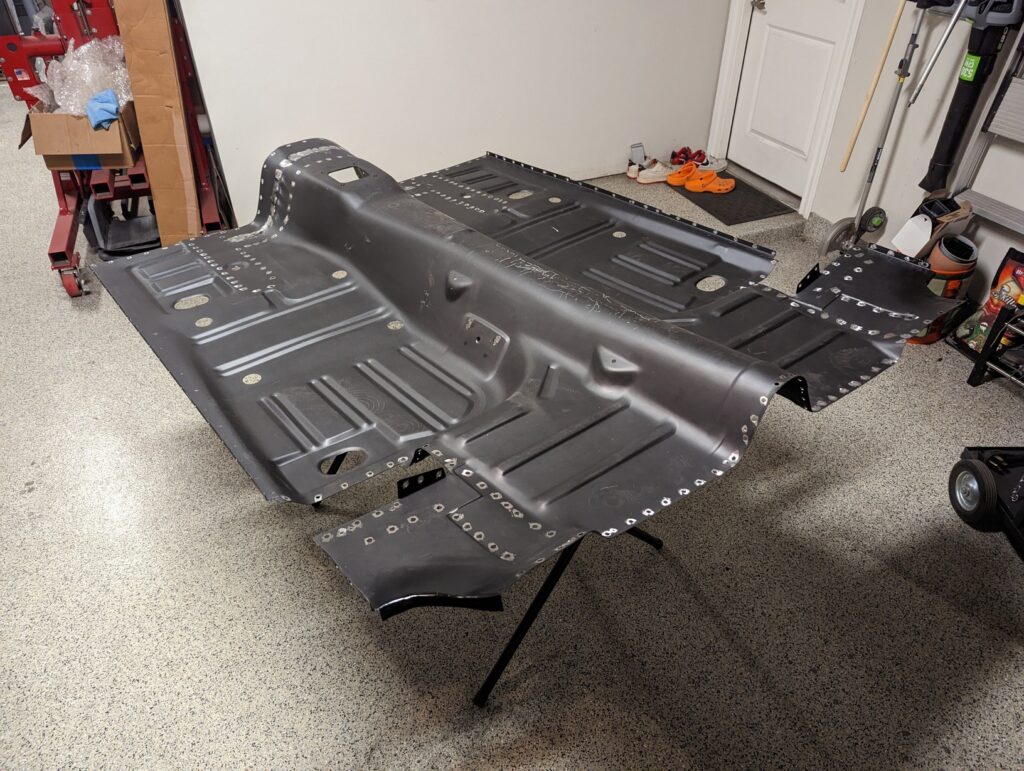
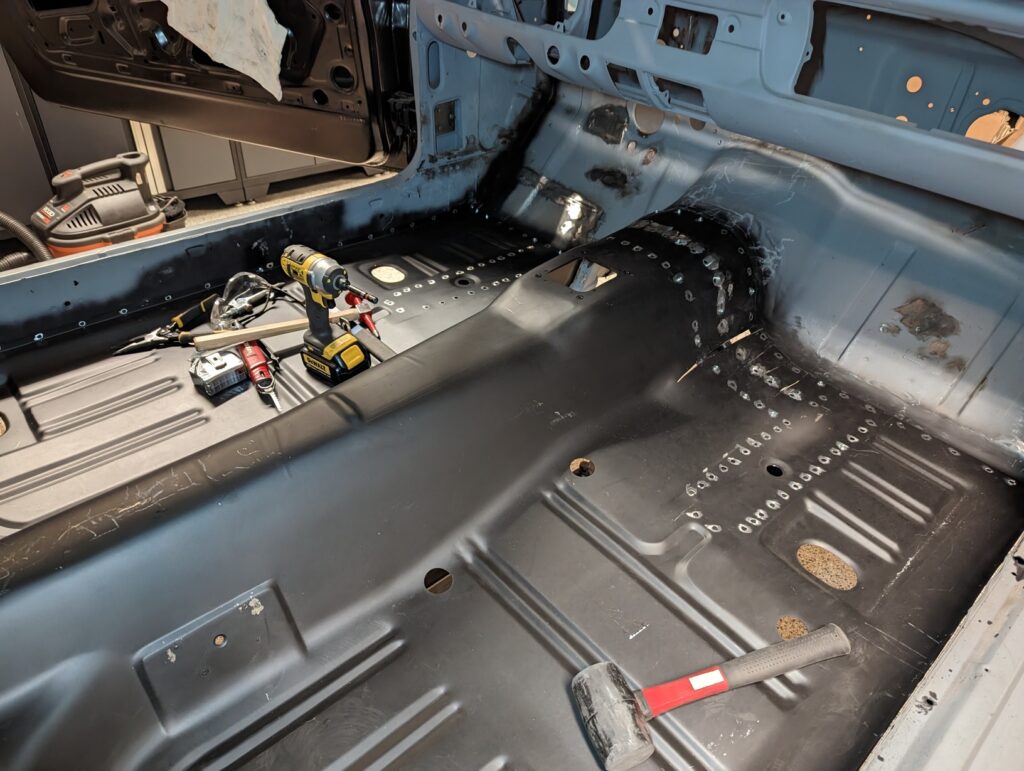
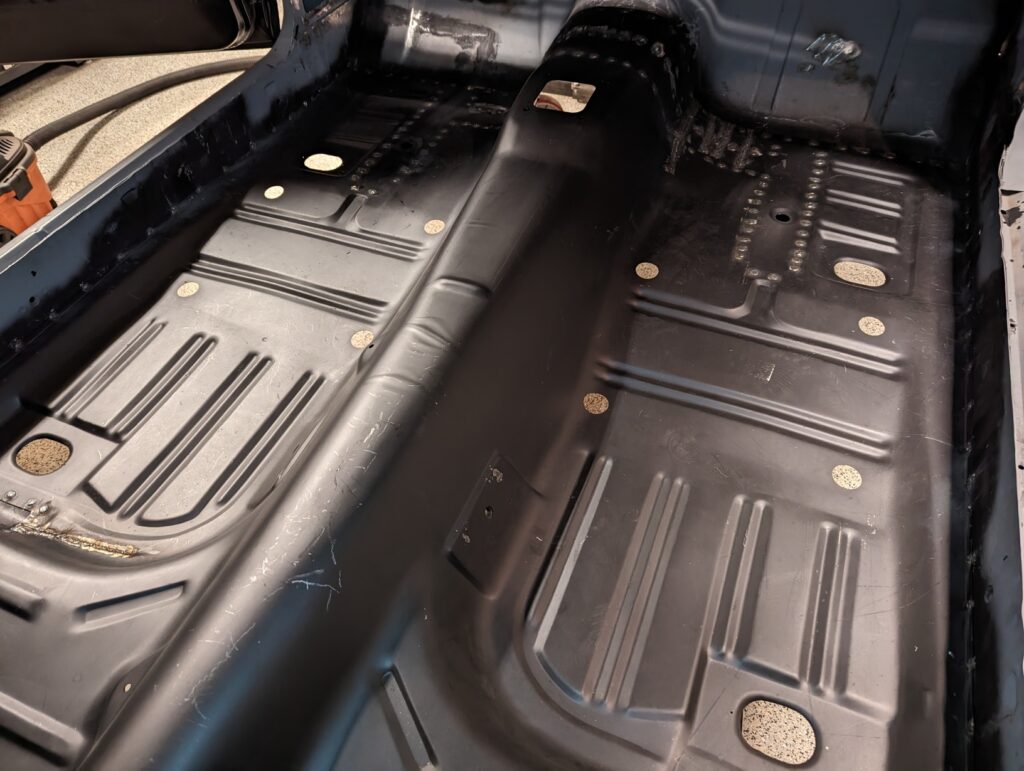
I moved on to the next step of tracing out the braces and flanges on the underside of the floor before pulling the floor out and flipping it upside down onto a stand so that I could map out and drill the several hundred spot weld holes.
After sanding down the burrs around the interior holes that weren’t able to be punched out I covered them in a quick coat of paint to limit the bare metal that would be sandwiched between the floor and the flanges underneath that it would eventually be welded to.


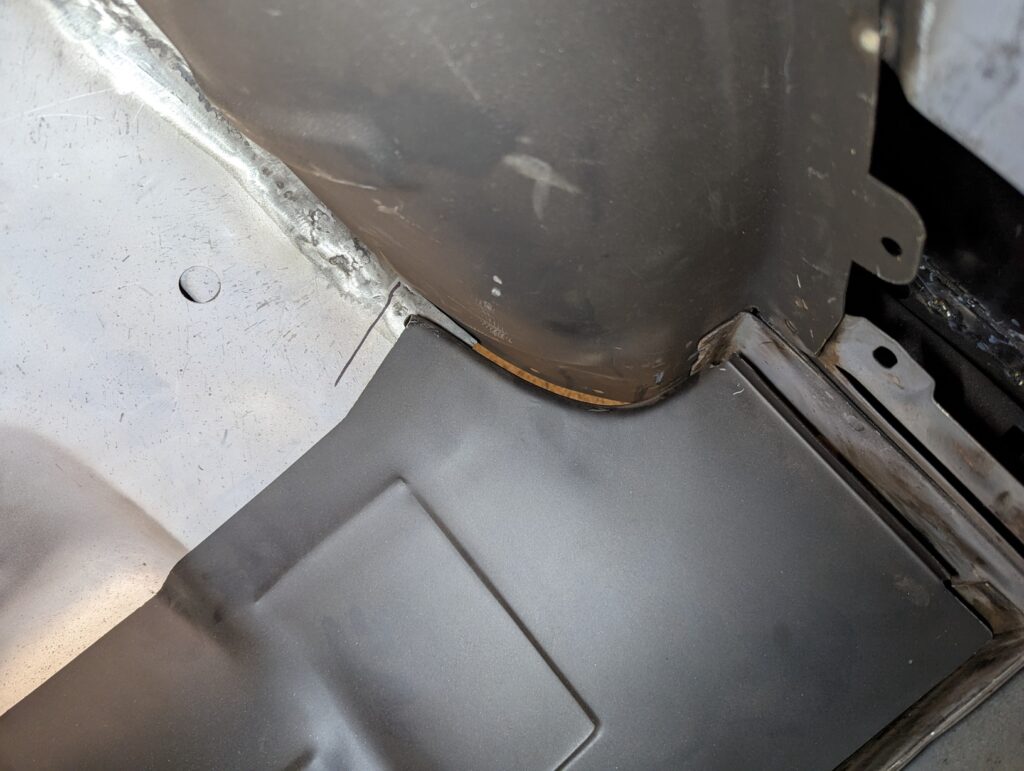
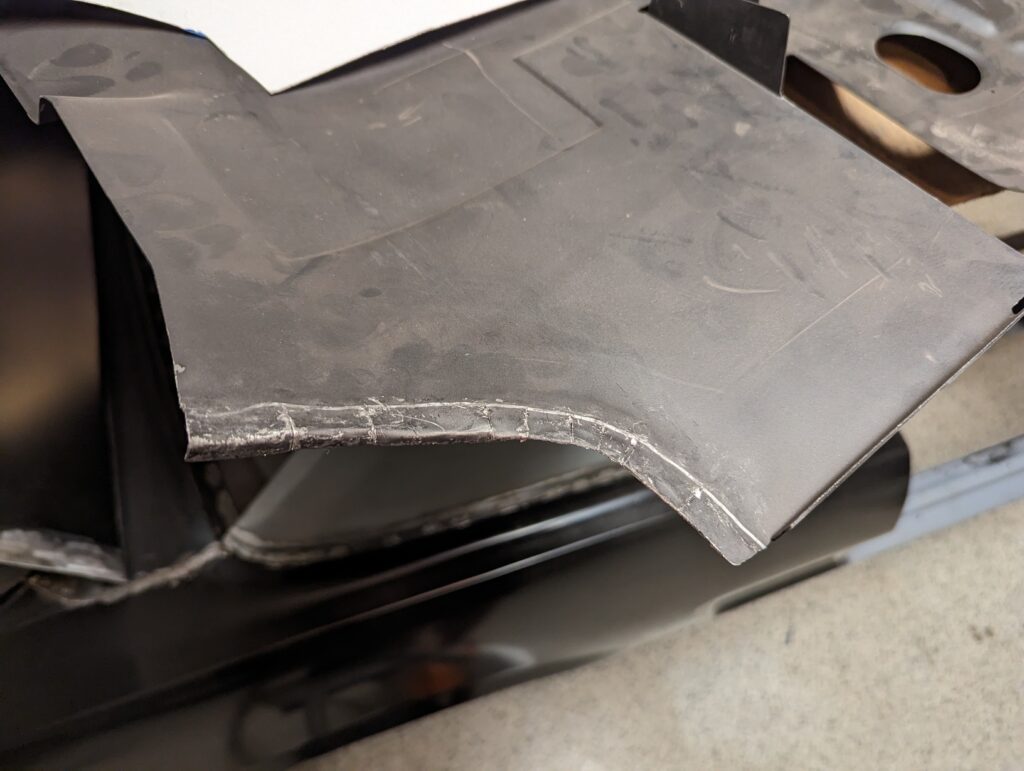
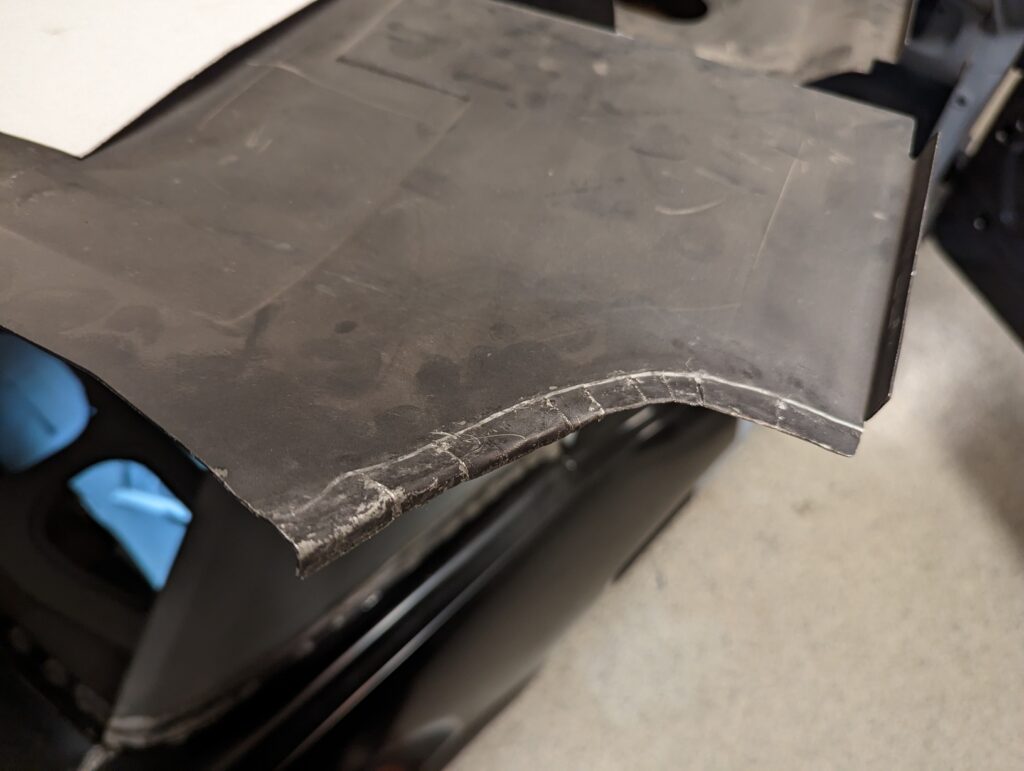
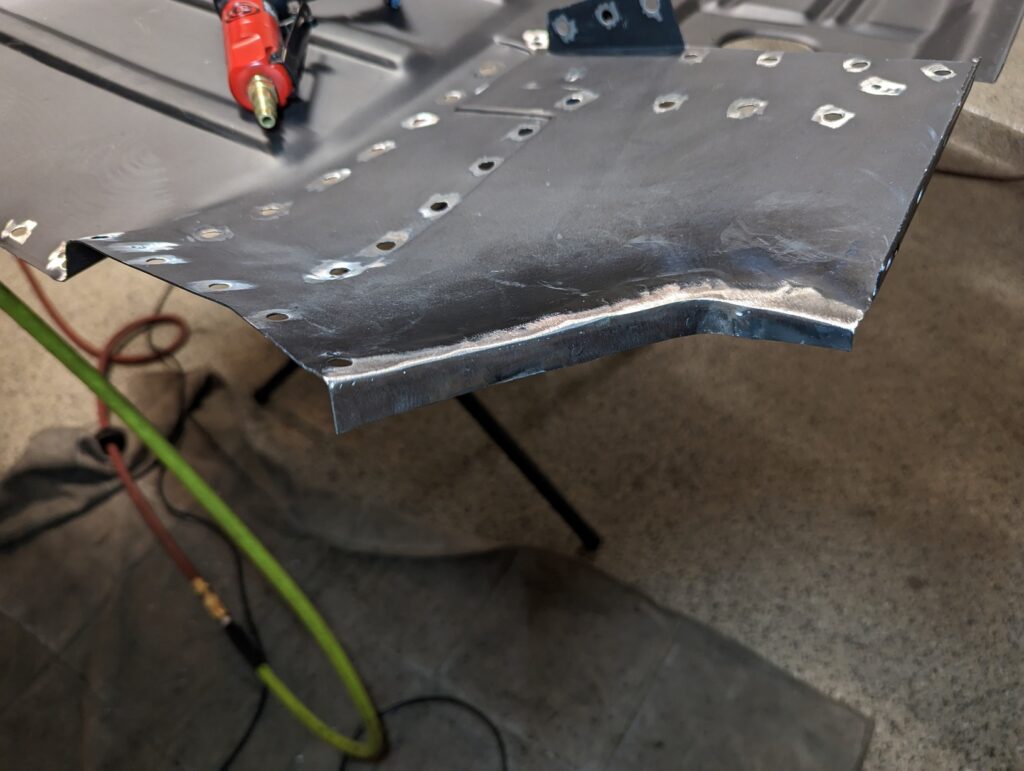
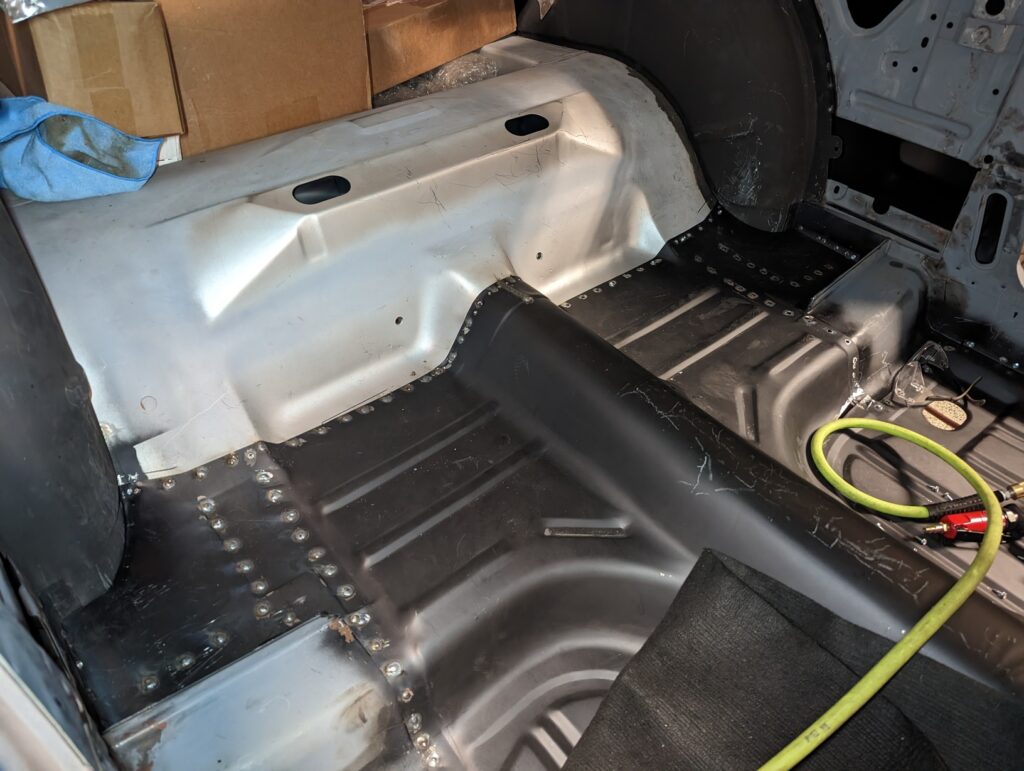
The modifications I made to the floor around the rear wheel houses resulted in most of the flange being flattened out to fill the gap, leaving an insufficient flange for welding to the wheel house. I cut some strips out of scrap metal and welded them on to recreate the flange surface before trimming it down and sanding it smooth.
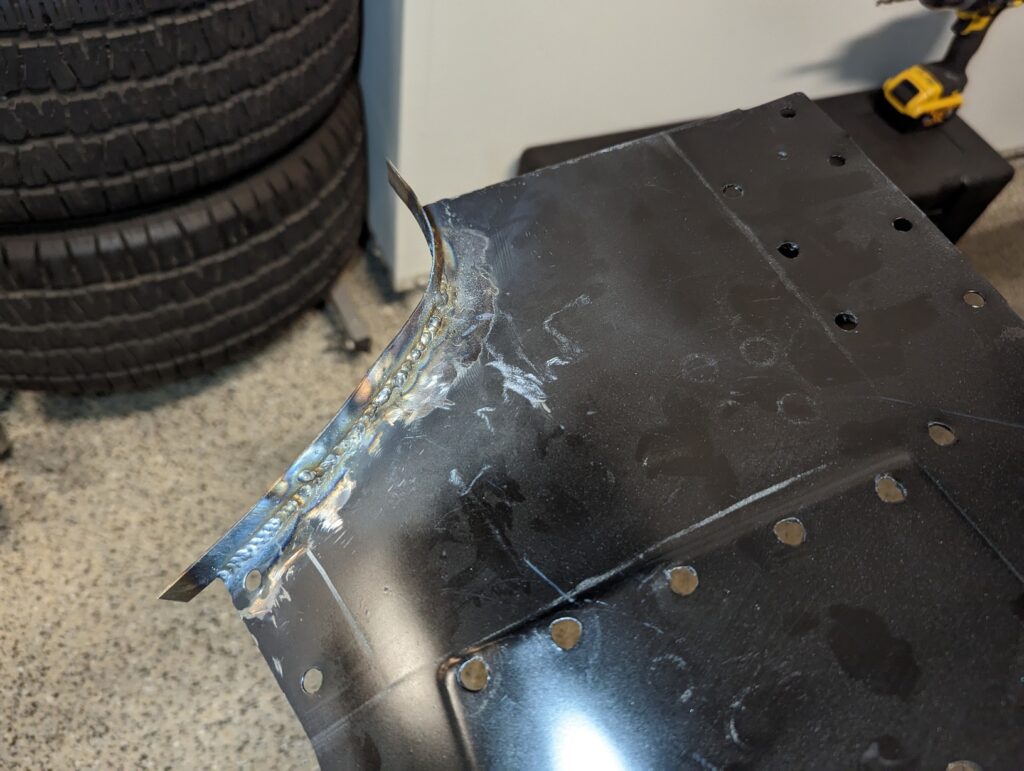
After another pass of test fitting I found that there were still tweaks needed around the wheel houses. Never feels good having to cut back into a portion that you thought you were done with.

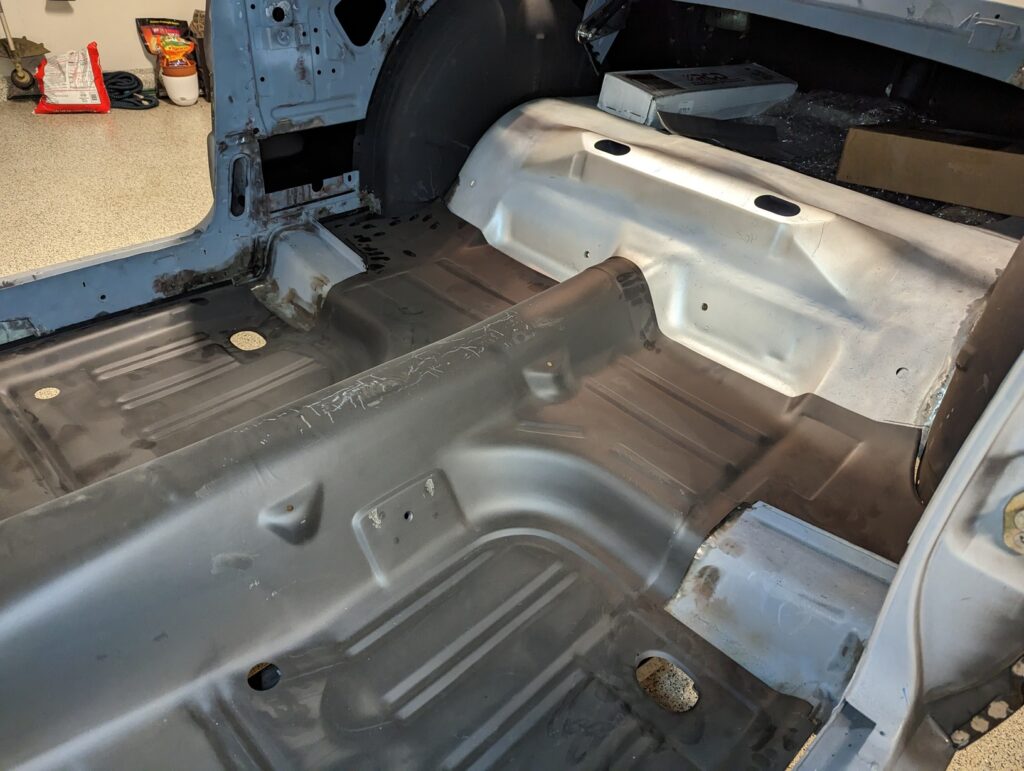
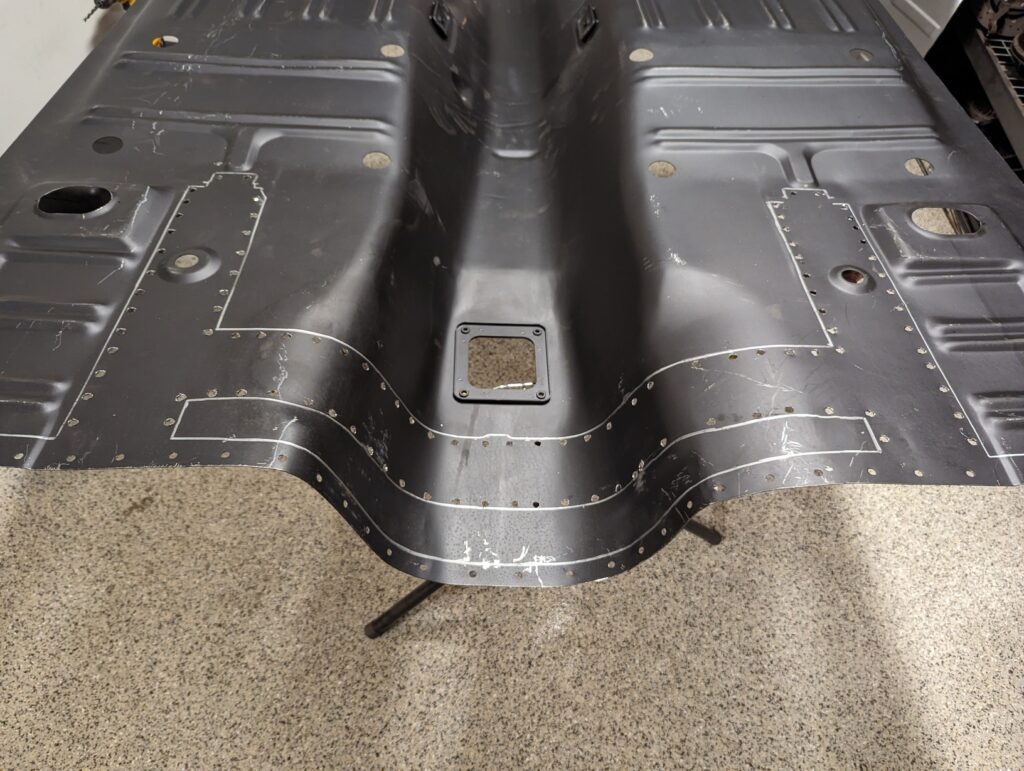
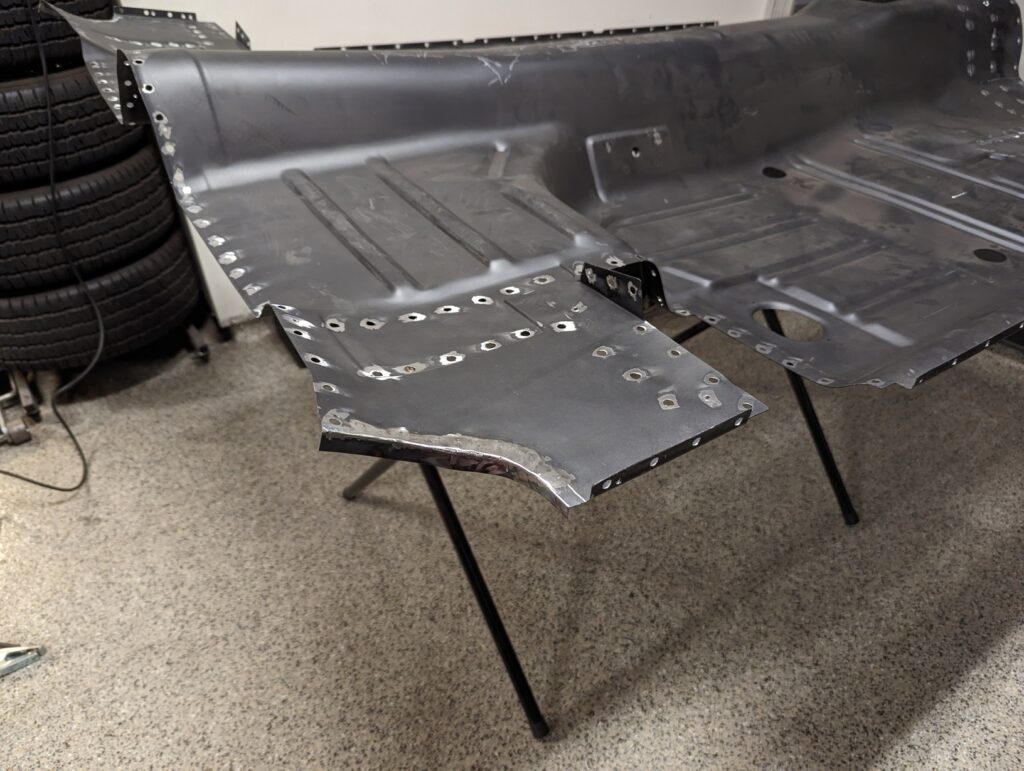
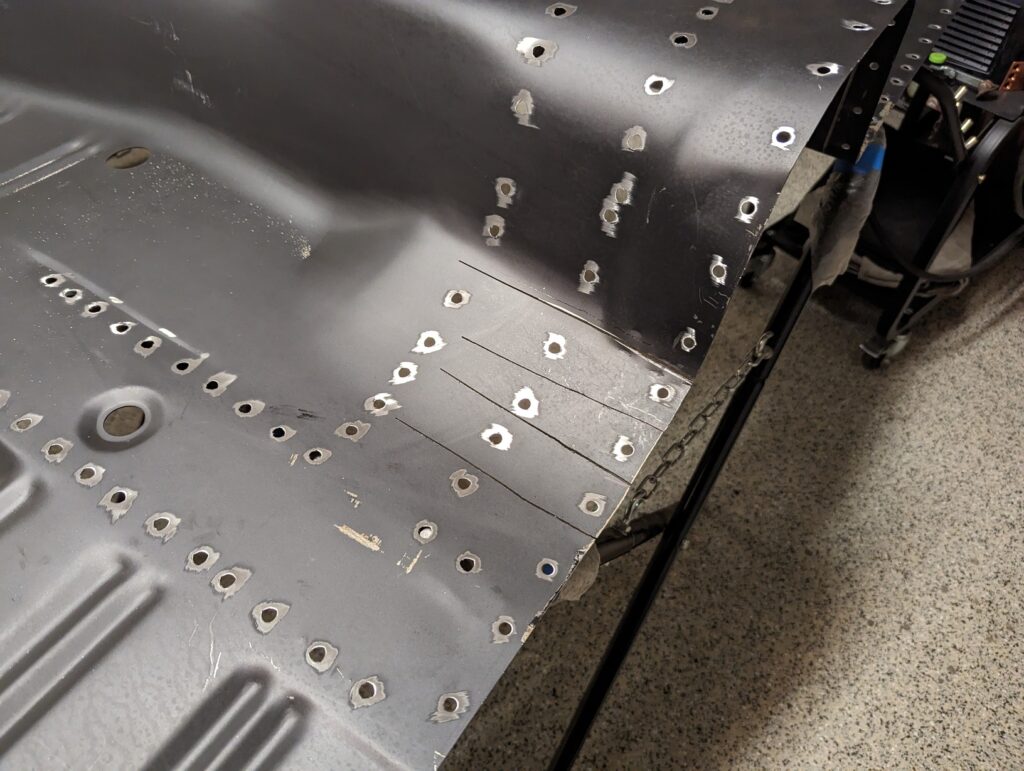
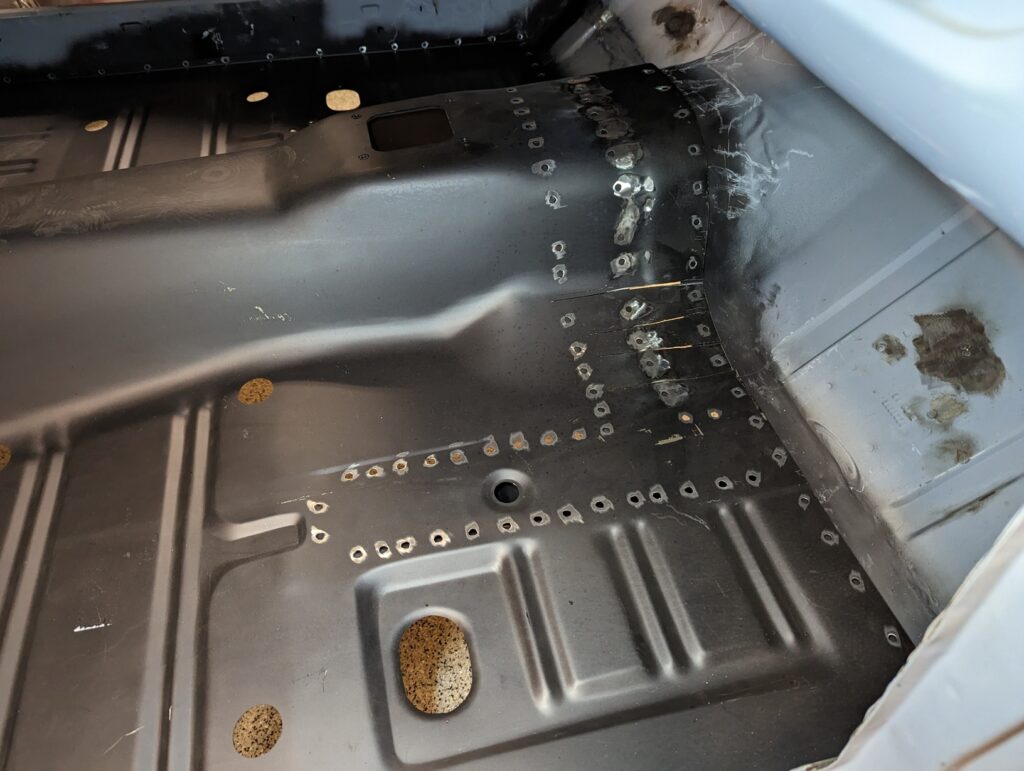
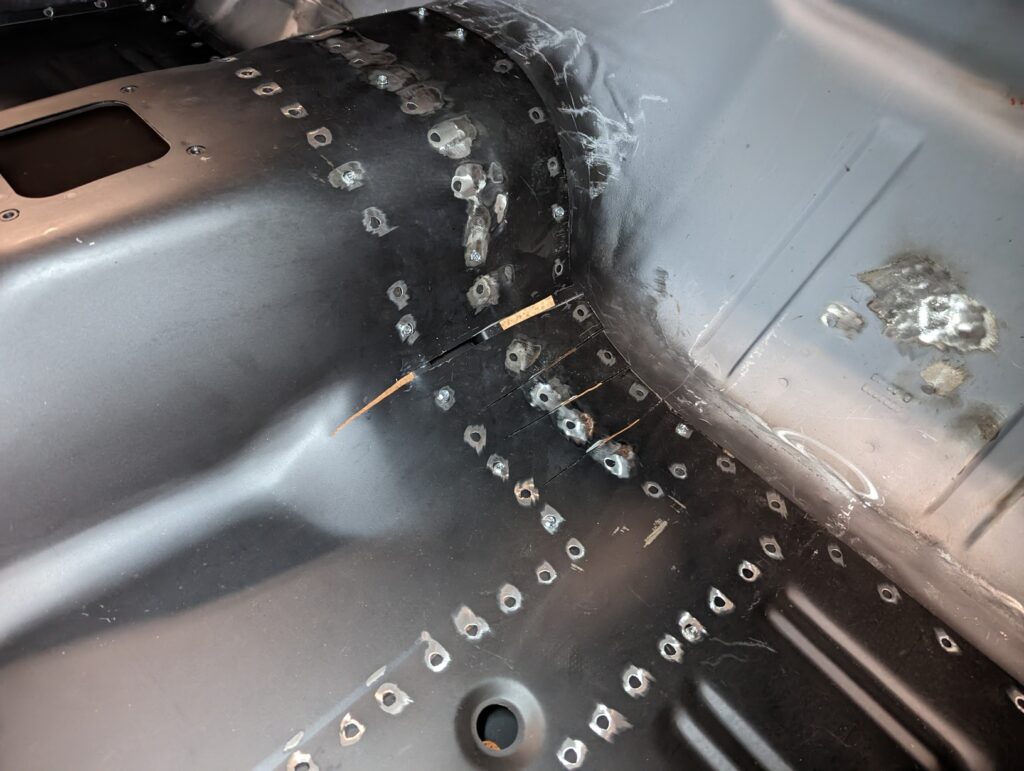
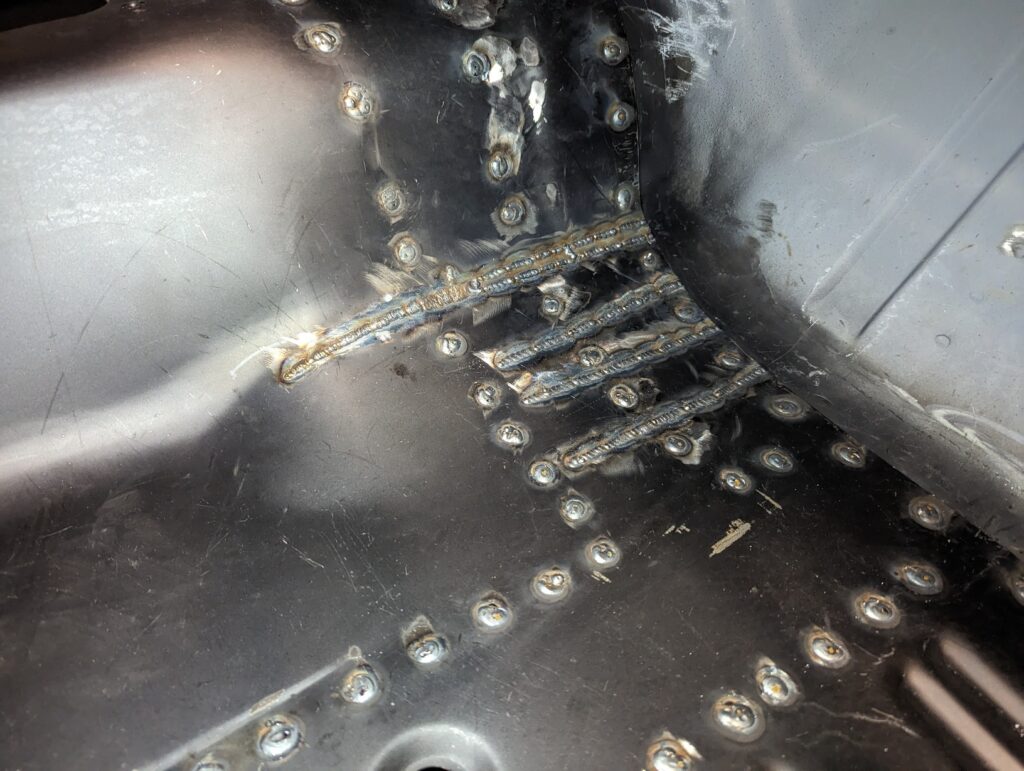
In the next few pictures you can see that the middle row of holes that I drilled over the transmission tunnel ended up about half an in too far towards the front of the car, leaving majority of each hole over empty space rather than the crossbrace flange. I ended up having to weld the entire row of holes shut and then re-drill them all half an inch rearward.
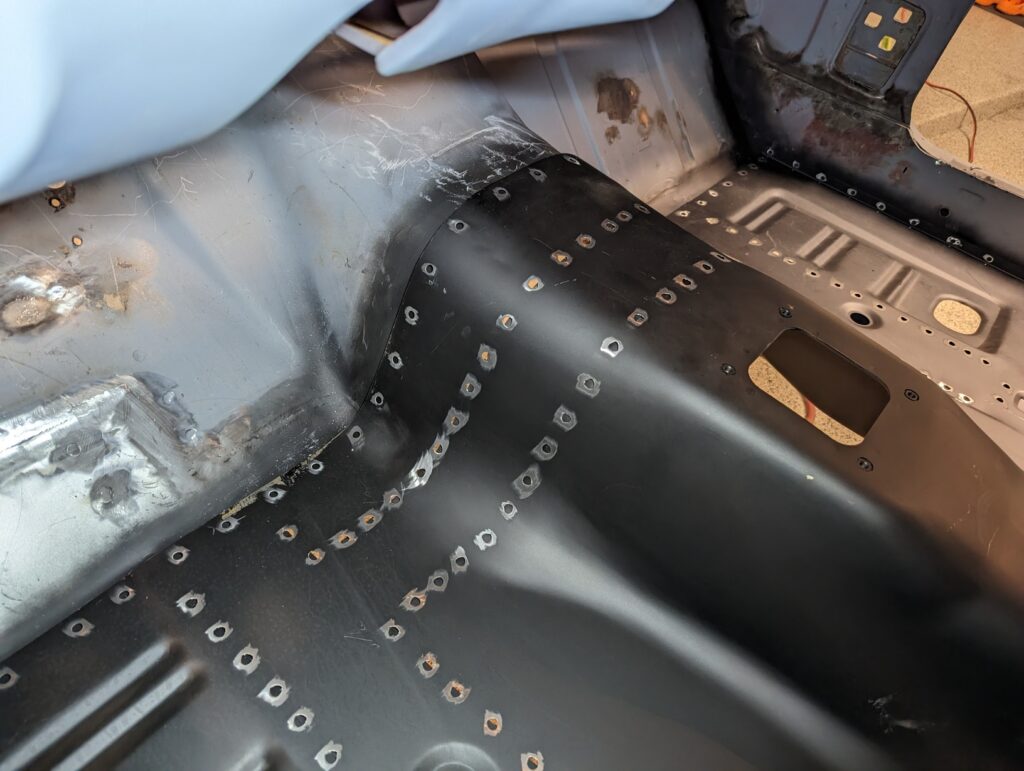
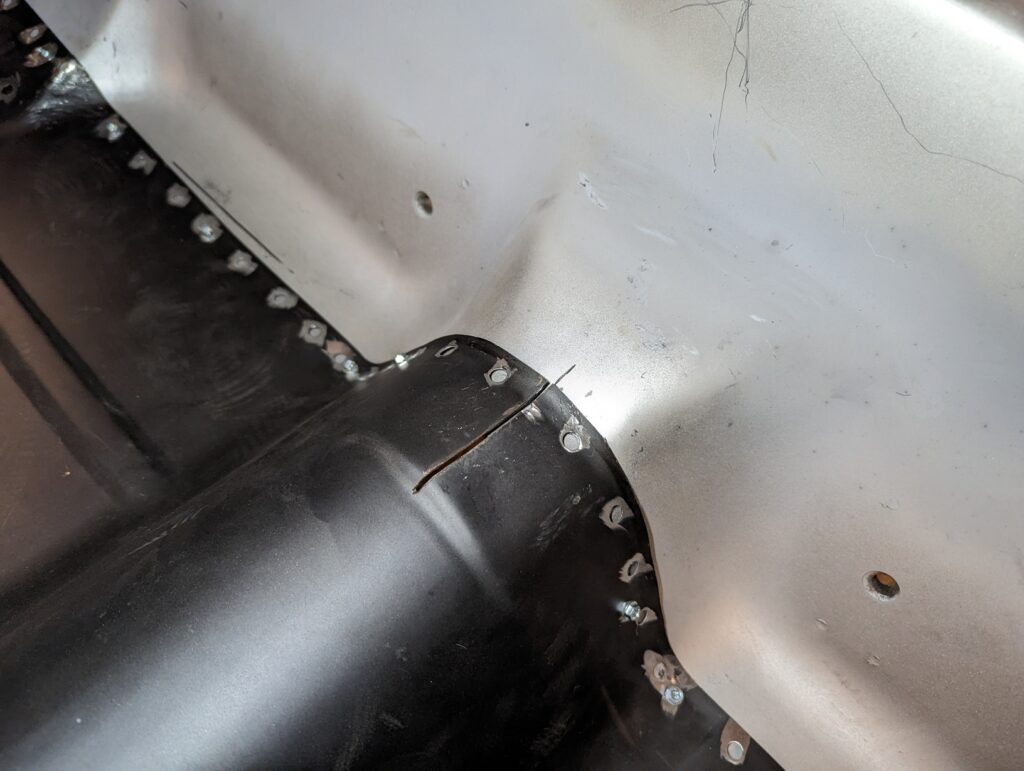
The floor didn’t match the contours of the original firewall transmission tunnel particularly well, not wanting to sit deep enough into the bottom curves to mate flush to the firewall. I ended up making relief cuts on both sides of the tunnel to allow me to force the floor fully down into the curves.
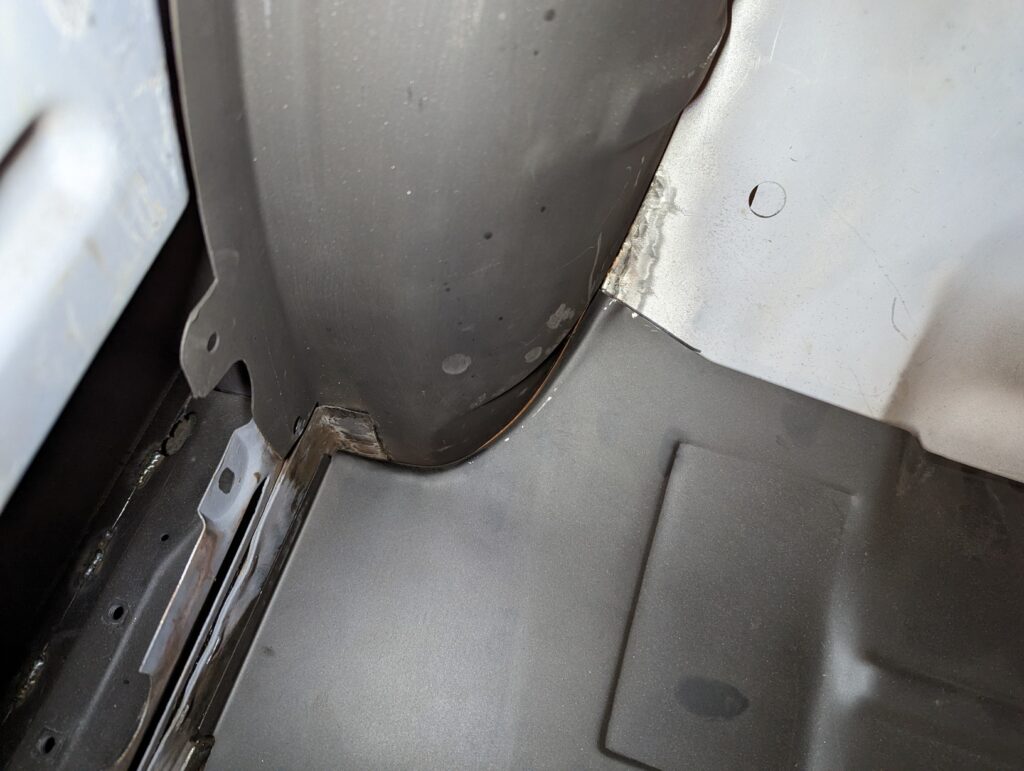
More tweaks to the wheel housing mating flanges on both sides. Surely the last time, right? Right?


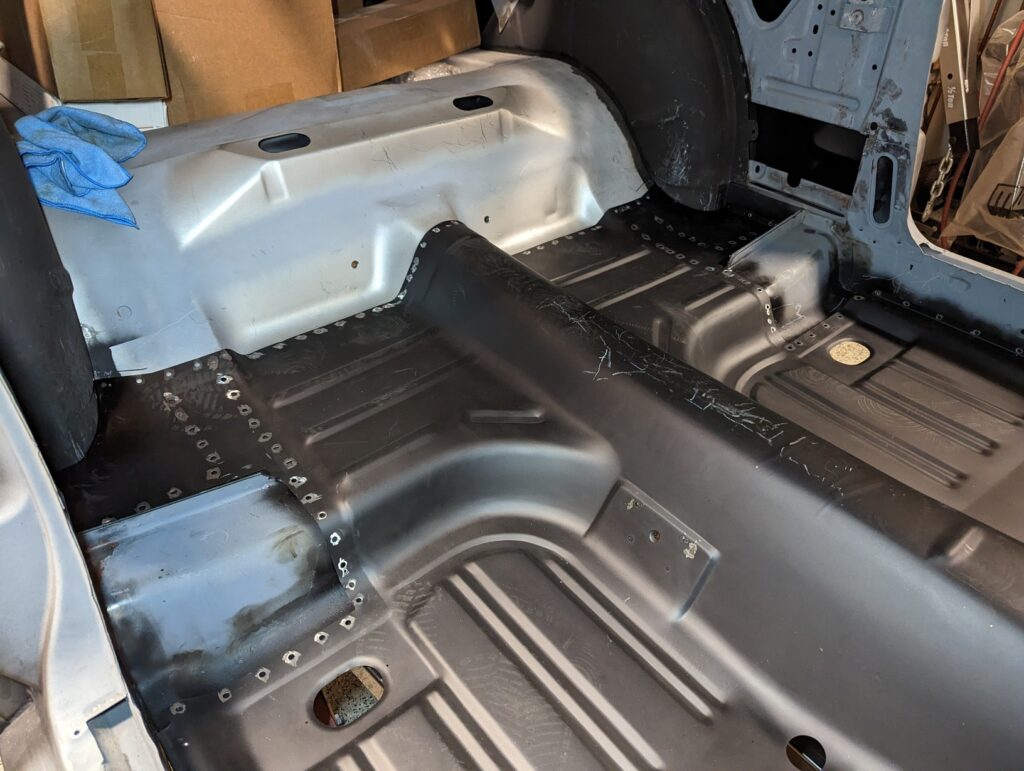
As I started using sheet metal screws to secure the floor the need for the relief cuts around the transmission tunnel at the firewall became even more apparent.
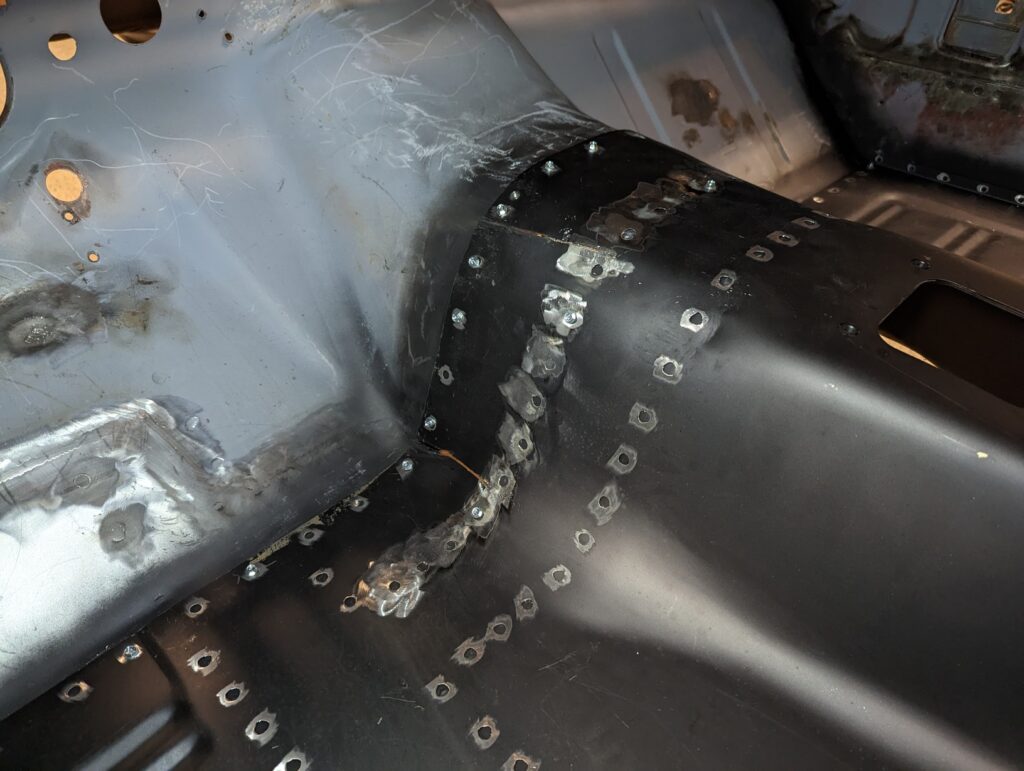
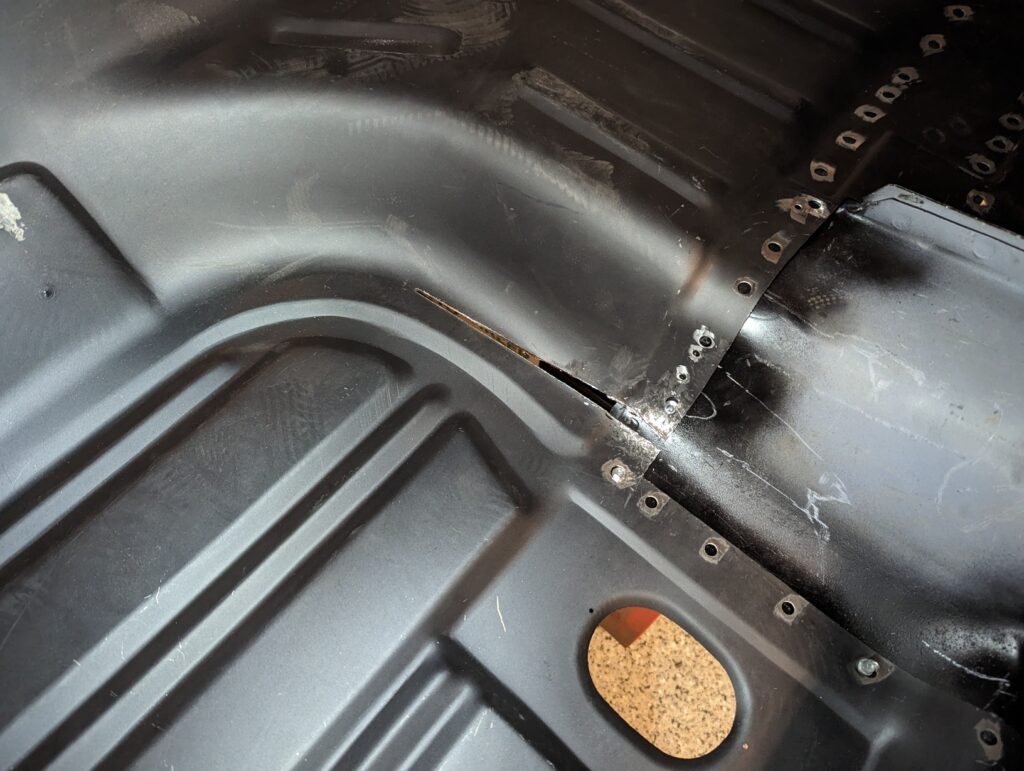
A couple other relief cuts were necessary around the floor – one at the driver’s rear torque box and another at the top of the tunnel where the floor meets the trunk floor. The latter had the opposite problem of all the others – the curve was too severe to match that of the trunk floor.
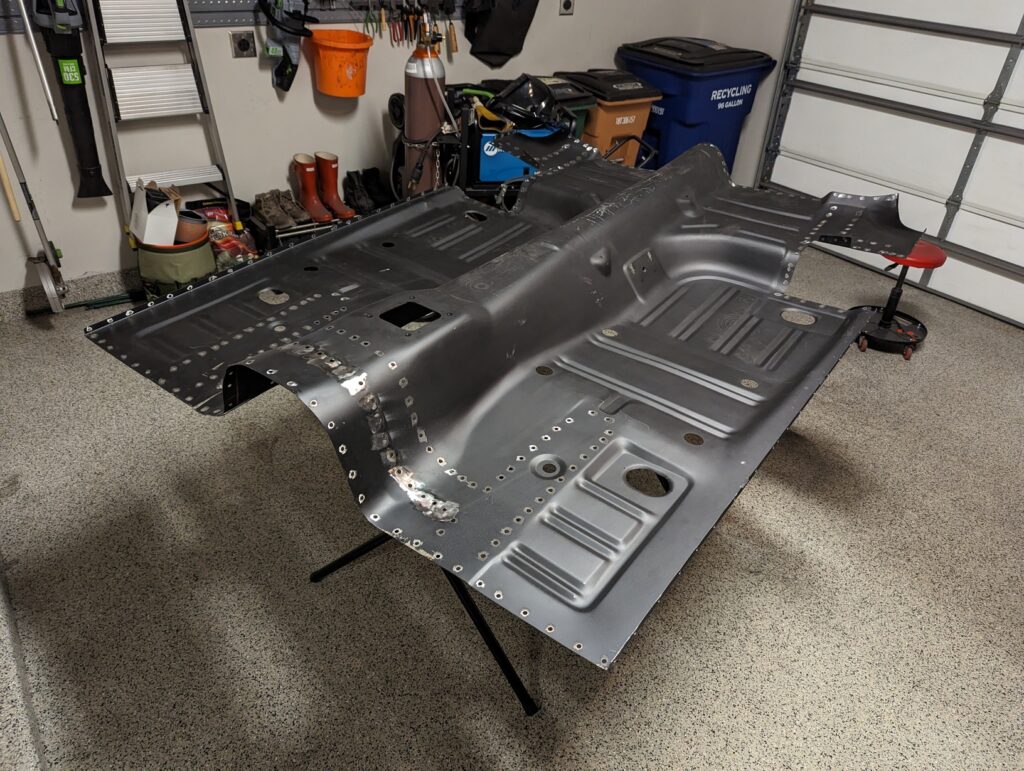
With all the screws in place the welding finally began.
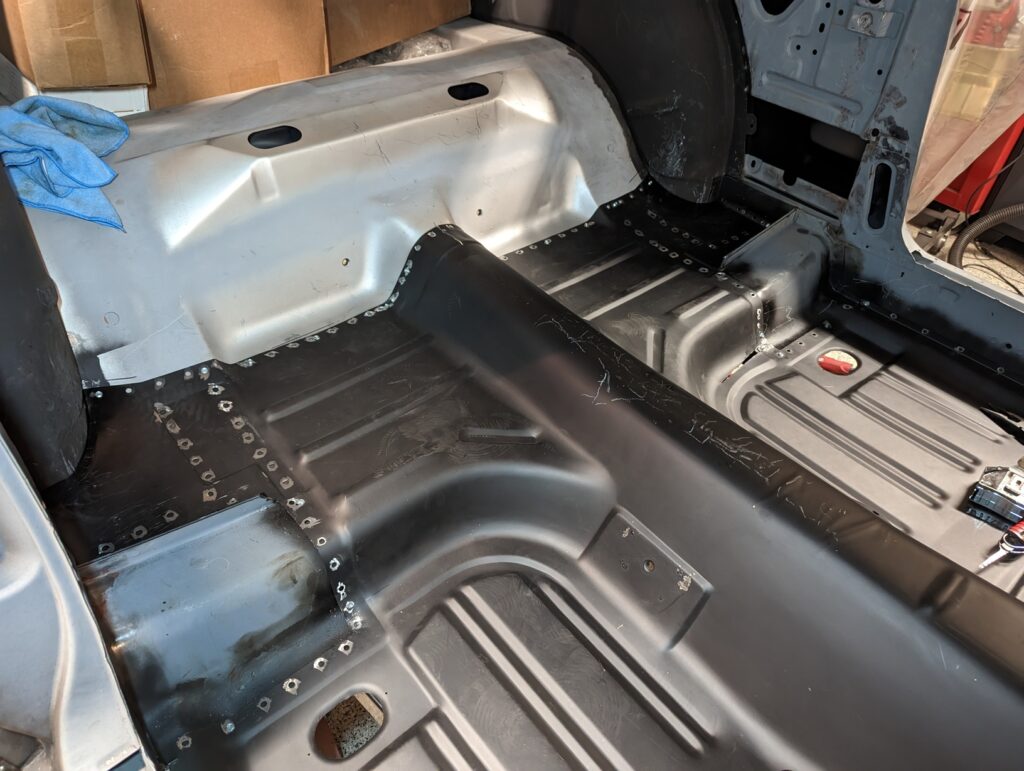
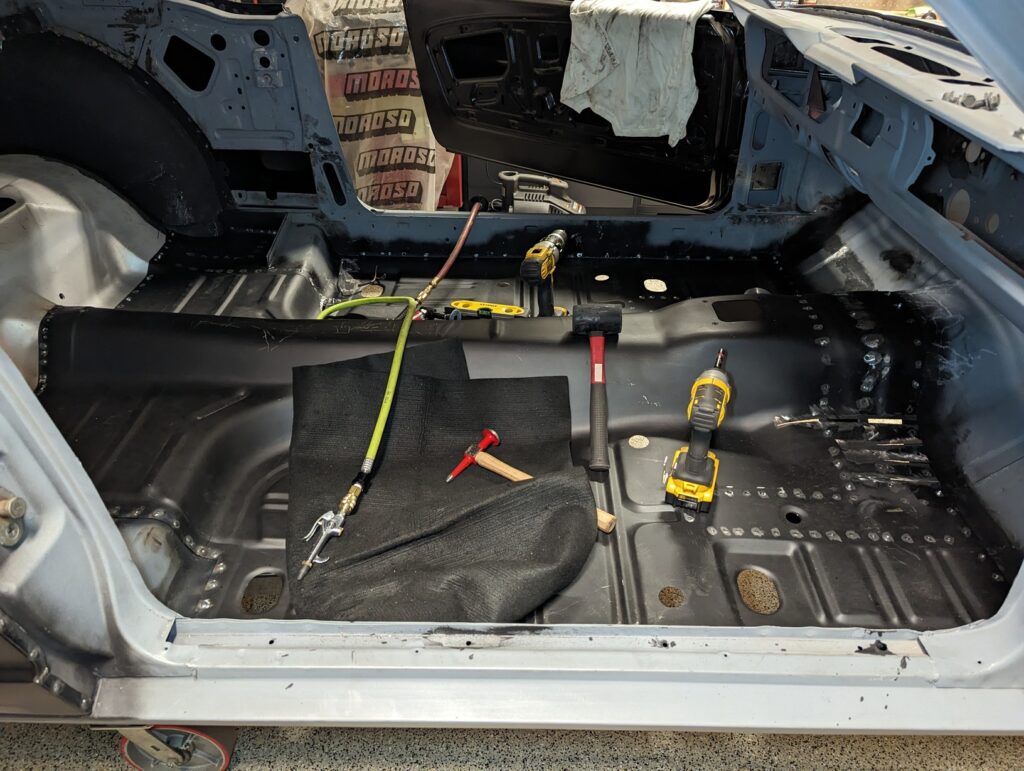
A full day of spot welding later and the floor was in!
Grinding down all of those welds is a problem for future JJ.