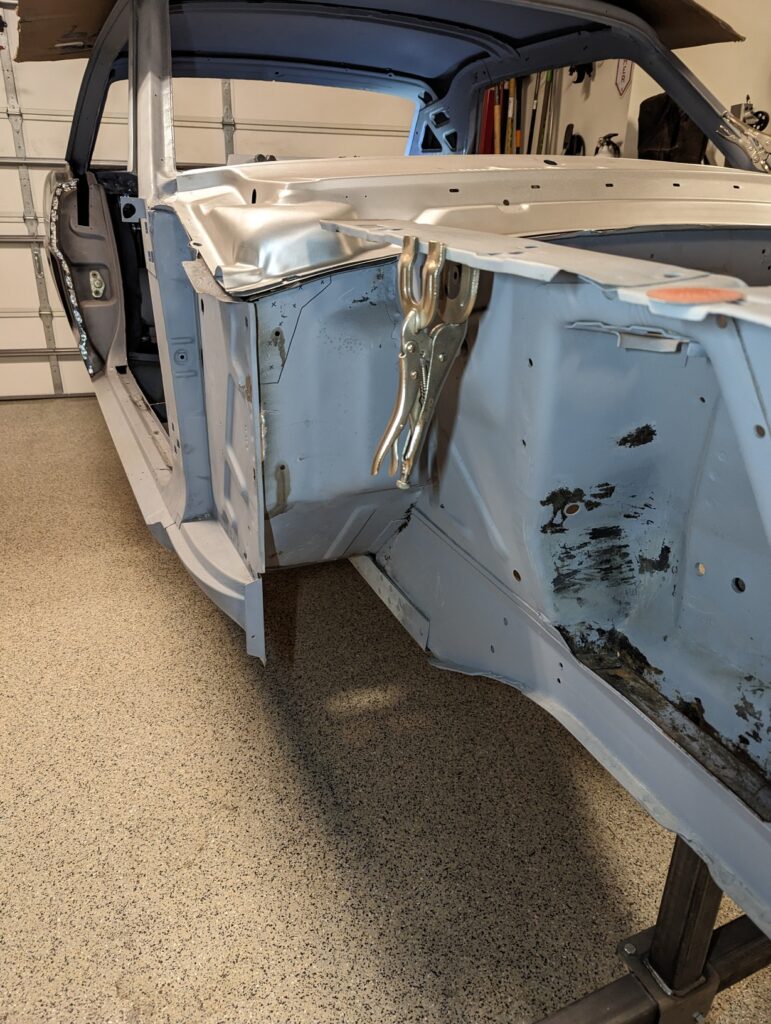
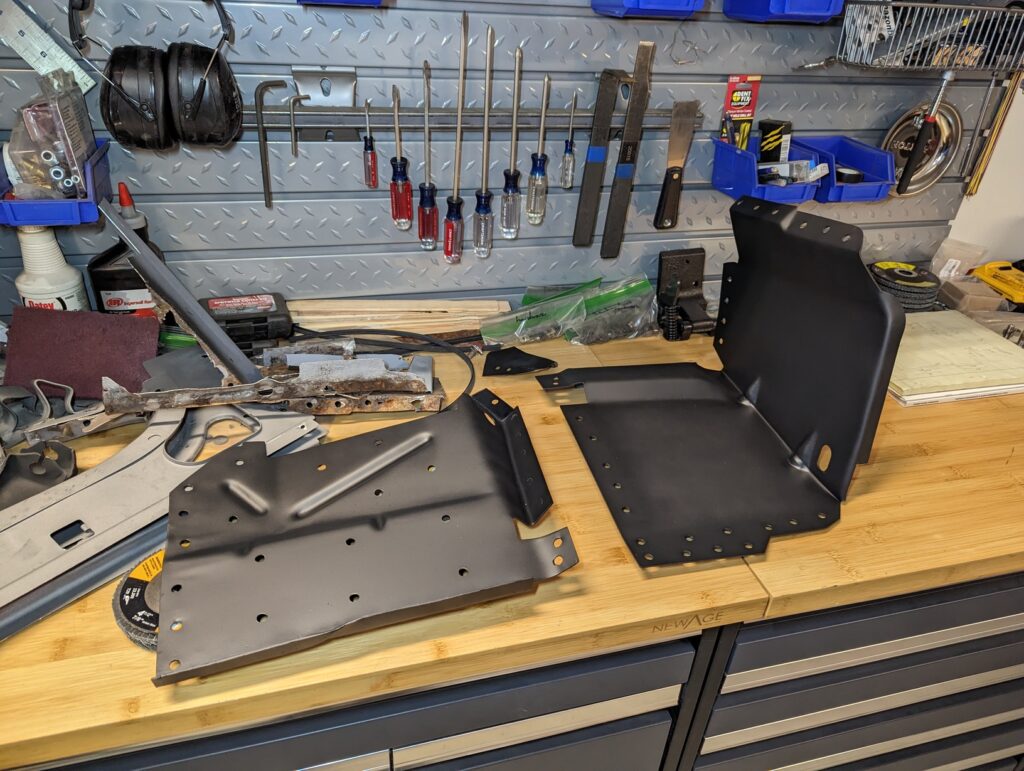
At the recommendation of seemingly everyone online I decided to add front torque boxes while I was in there. I ordered one piece boxes but immediately realized I was going to need to separate the pieces to have any chance at a successful install.
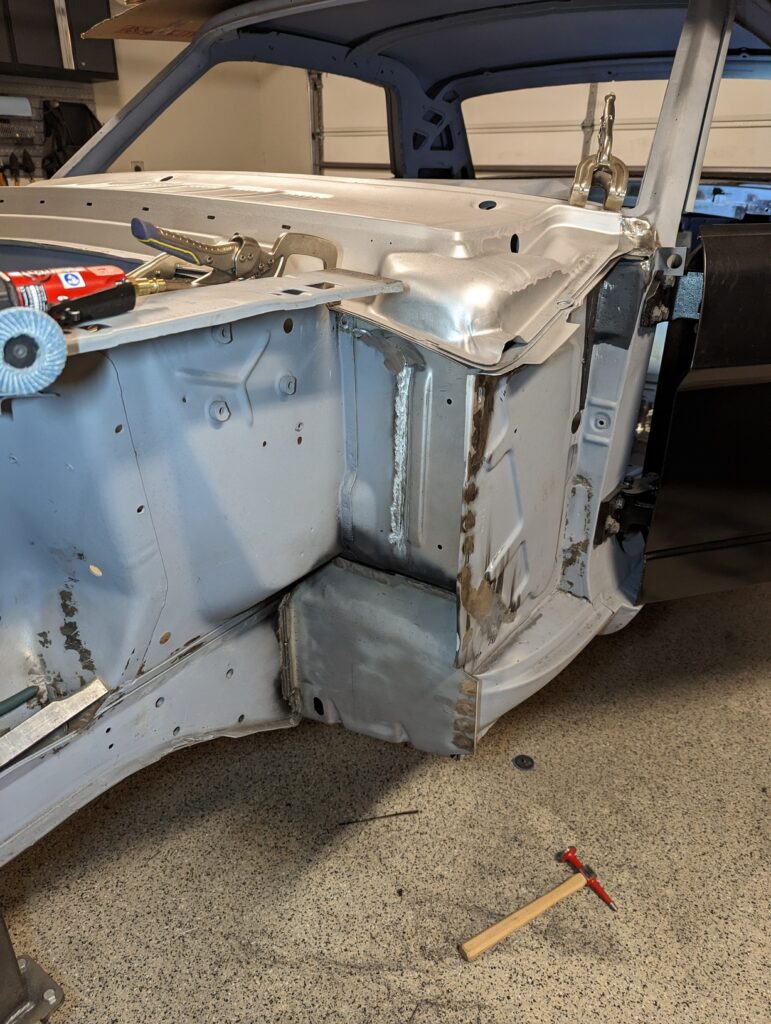
While working on patching the driver’s side of the firewall I started mocking up the torque box. It took quite a bit of trimming to even get to the point where I could force each piece into place. The pictures skip over the dozens of iterations of trying to get them to fit, grinding or cutting away a small amount for clearance, and repeat.
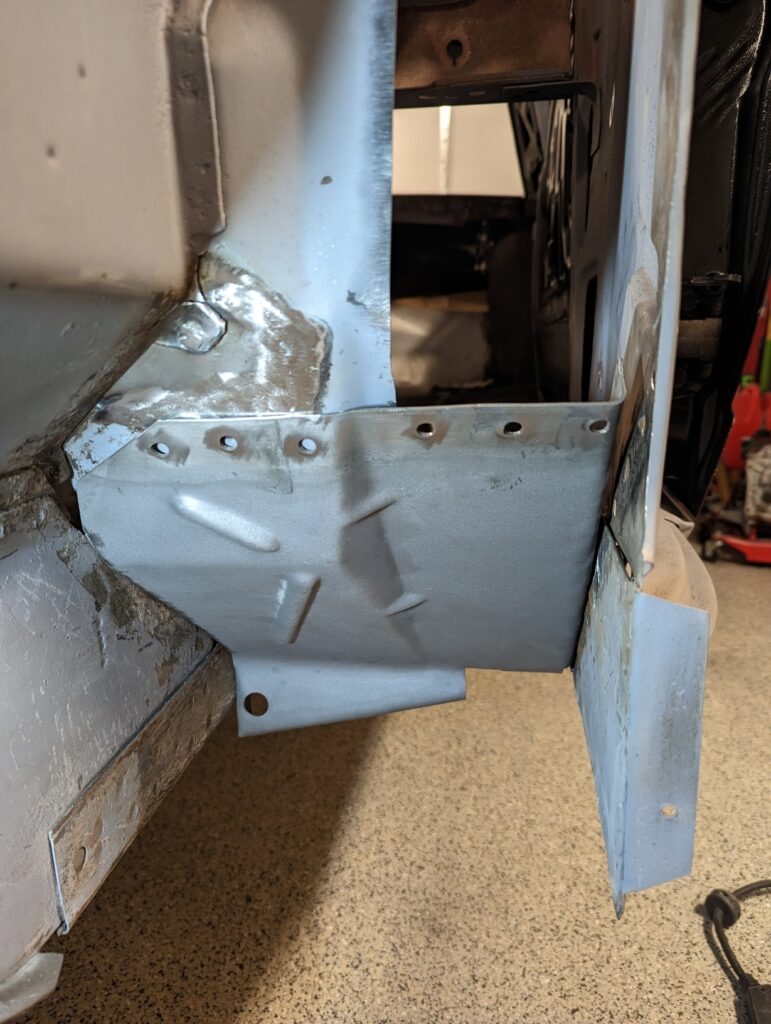
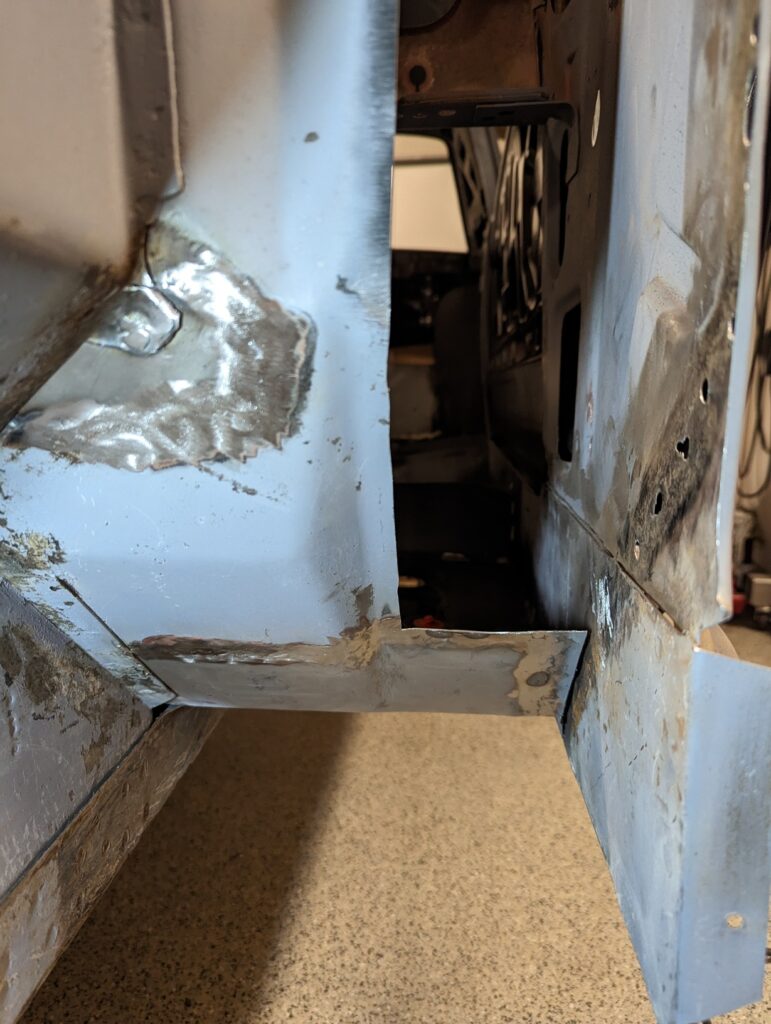
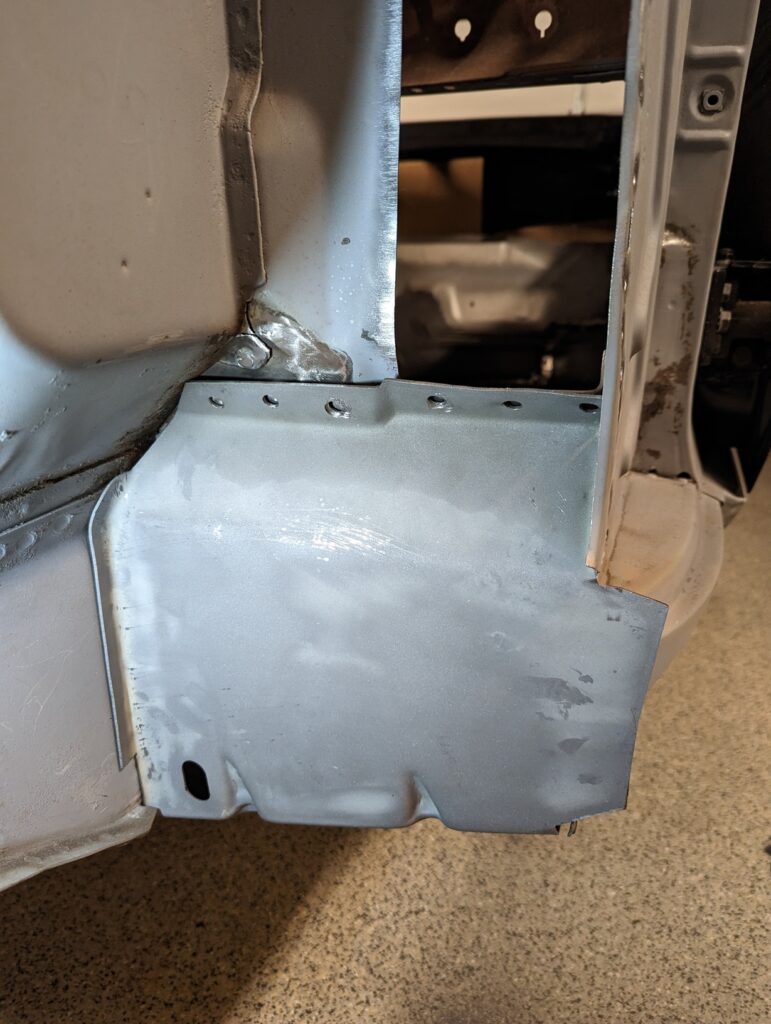
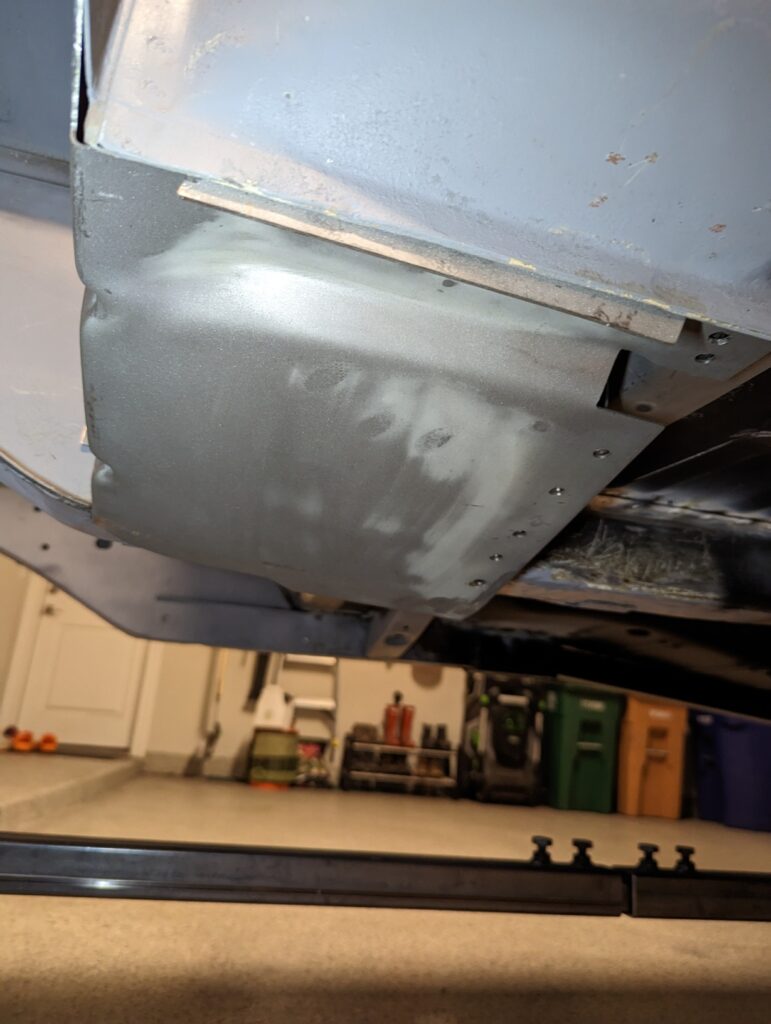
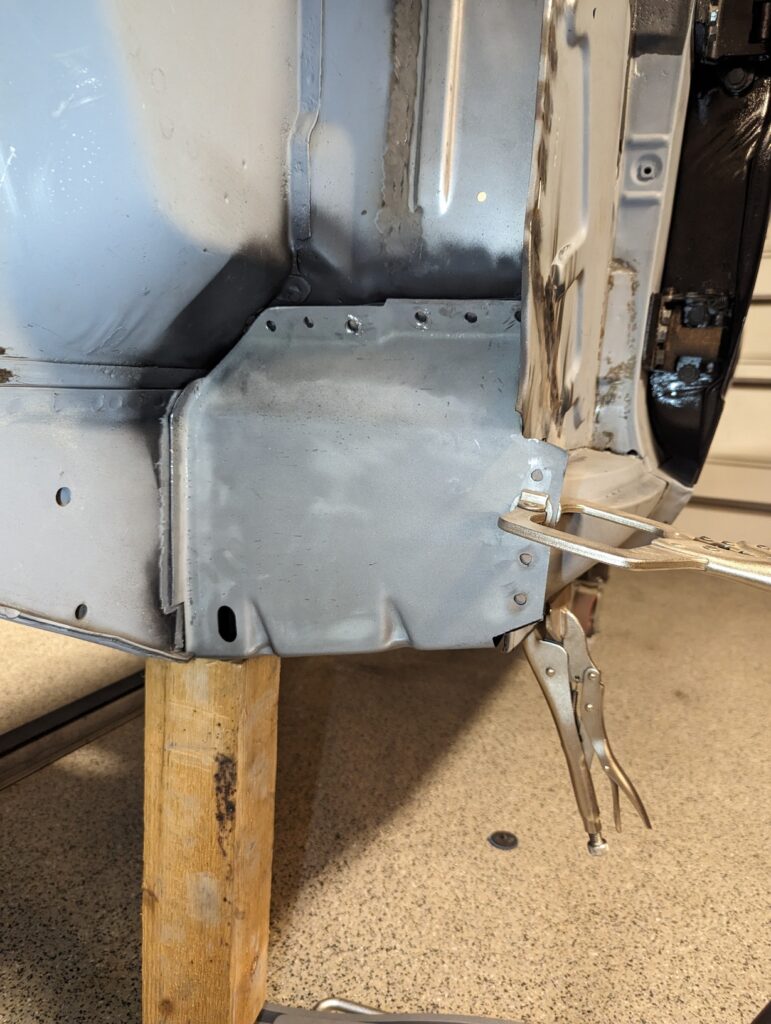
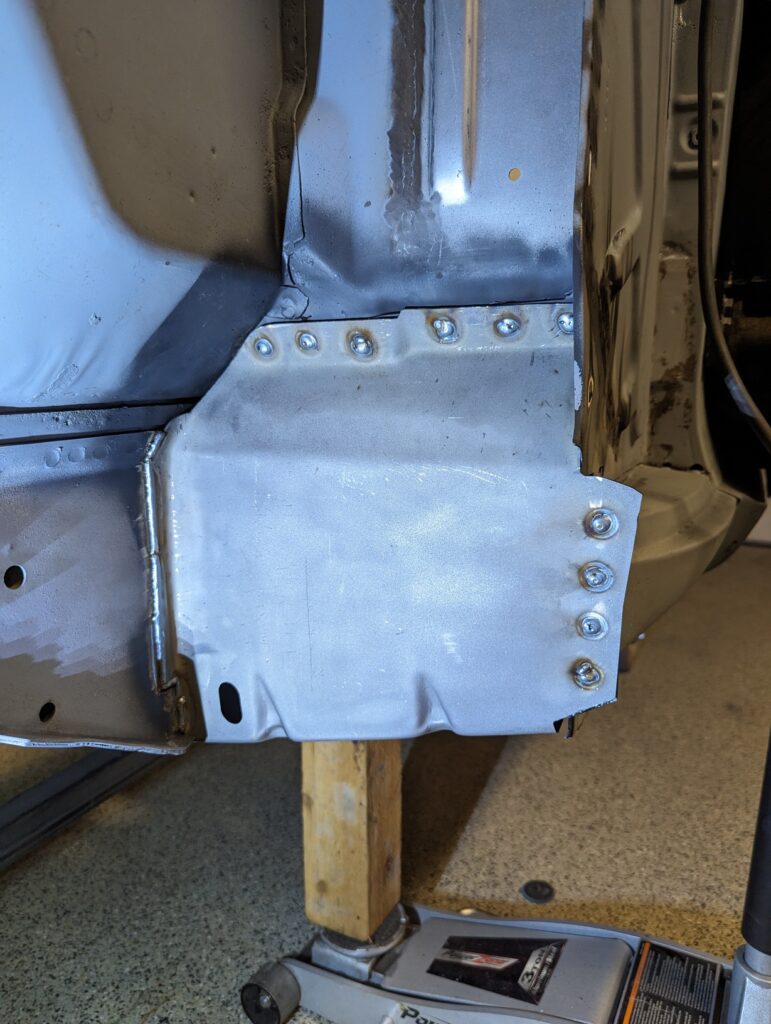
The bottom flange of the torque box that mates to the bottom of the frame rail was angled too far down but I found that I was able to easily bend it up into place with a floor jack and a chunk of wood.
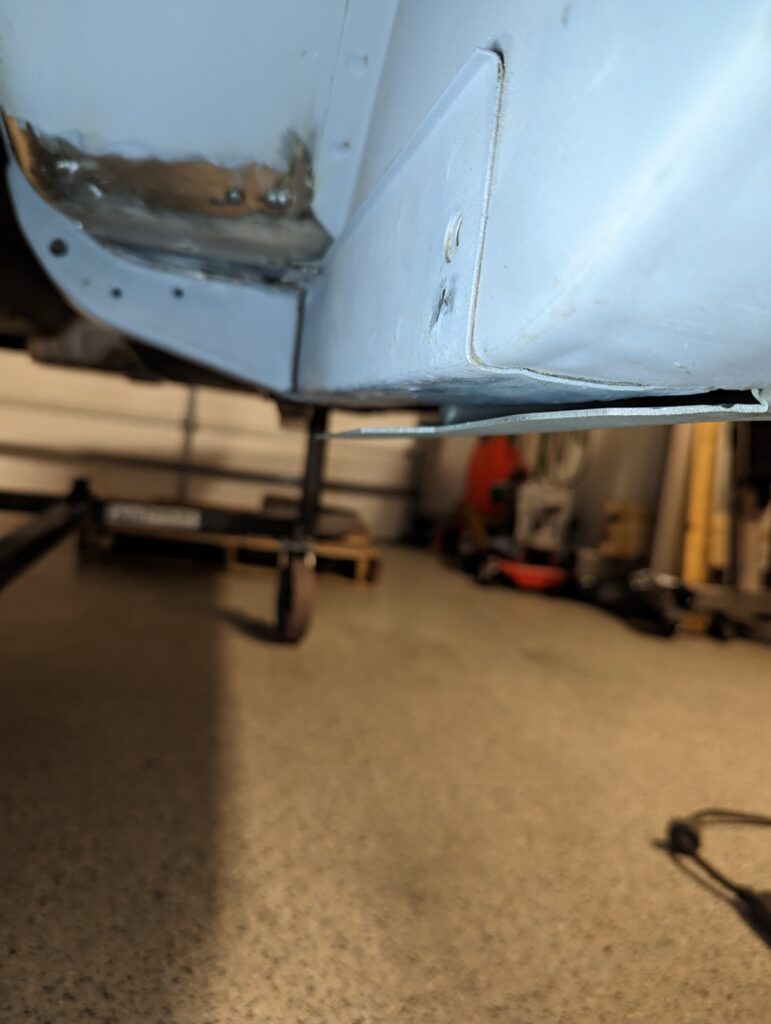
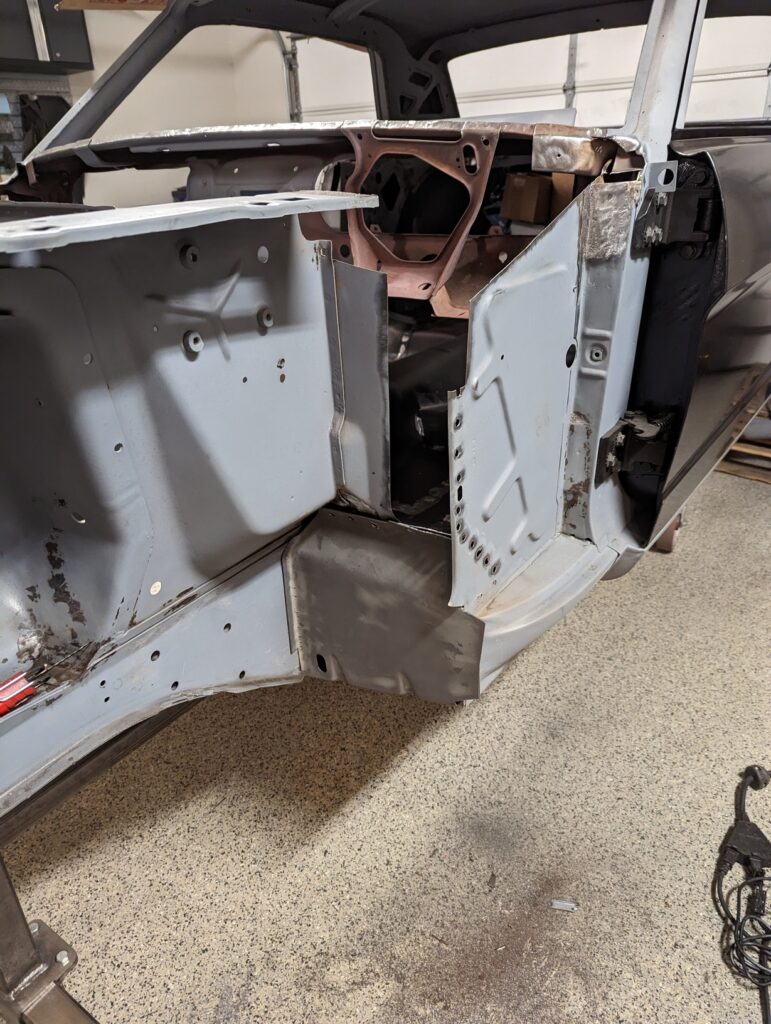
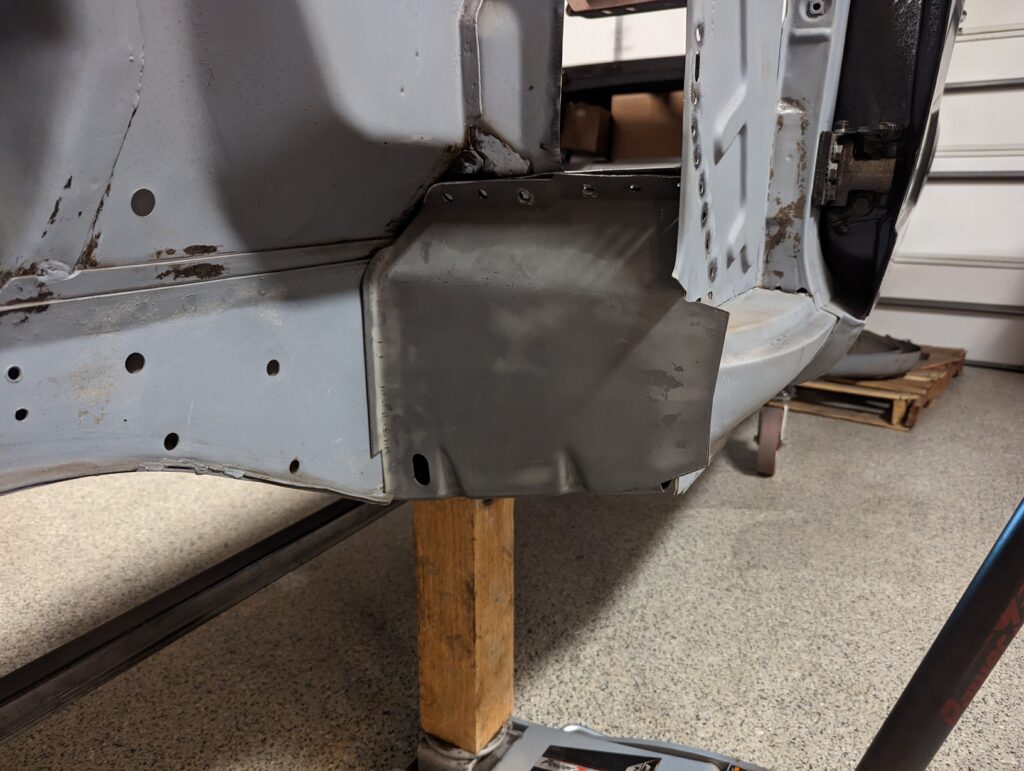
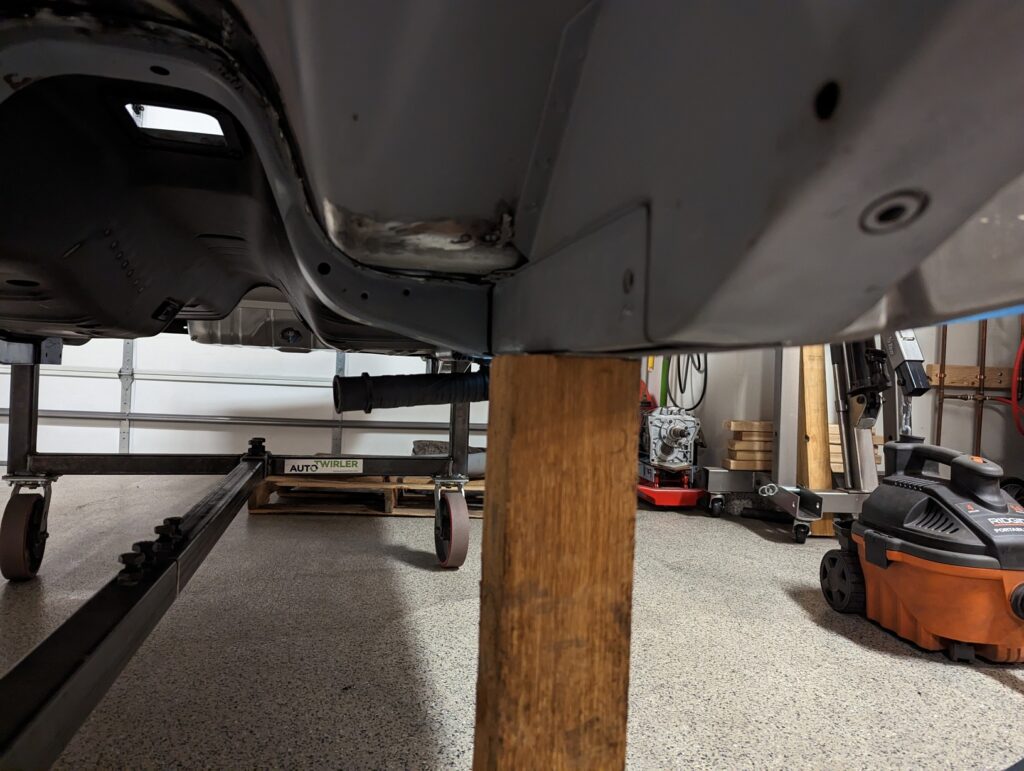
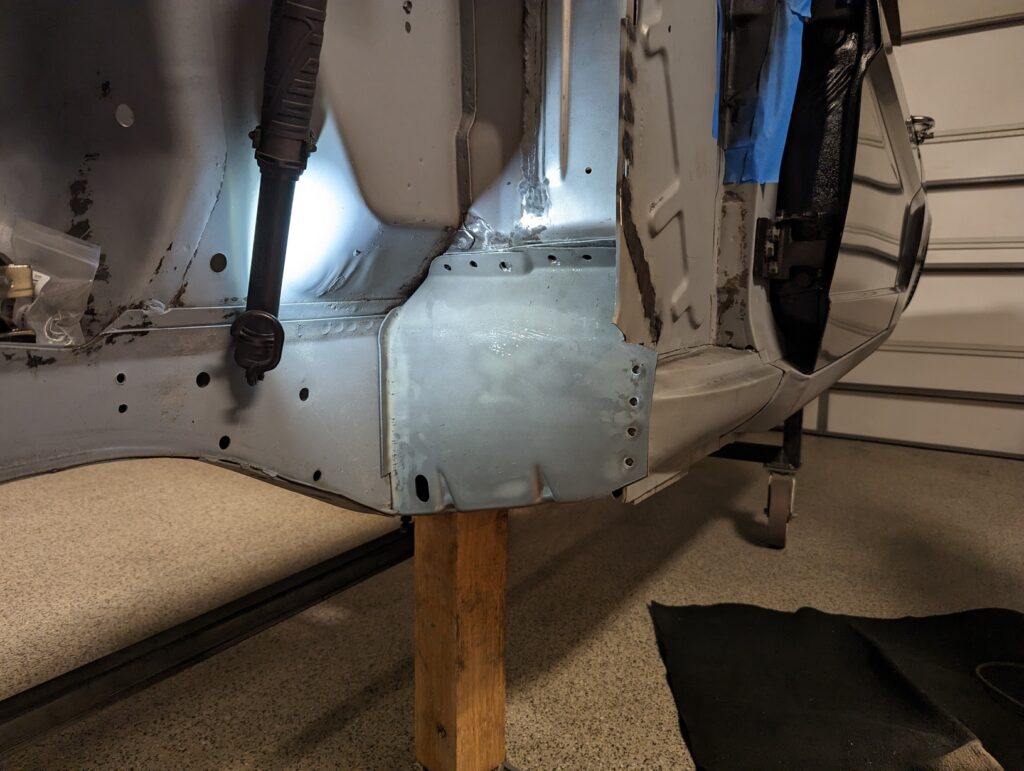
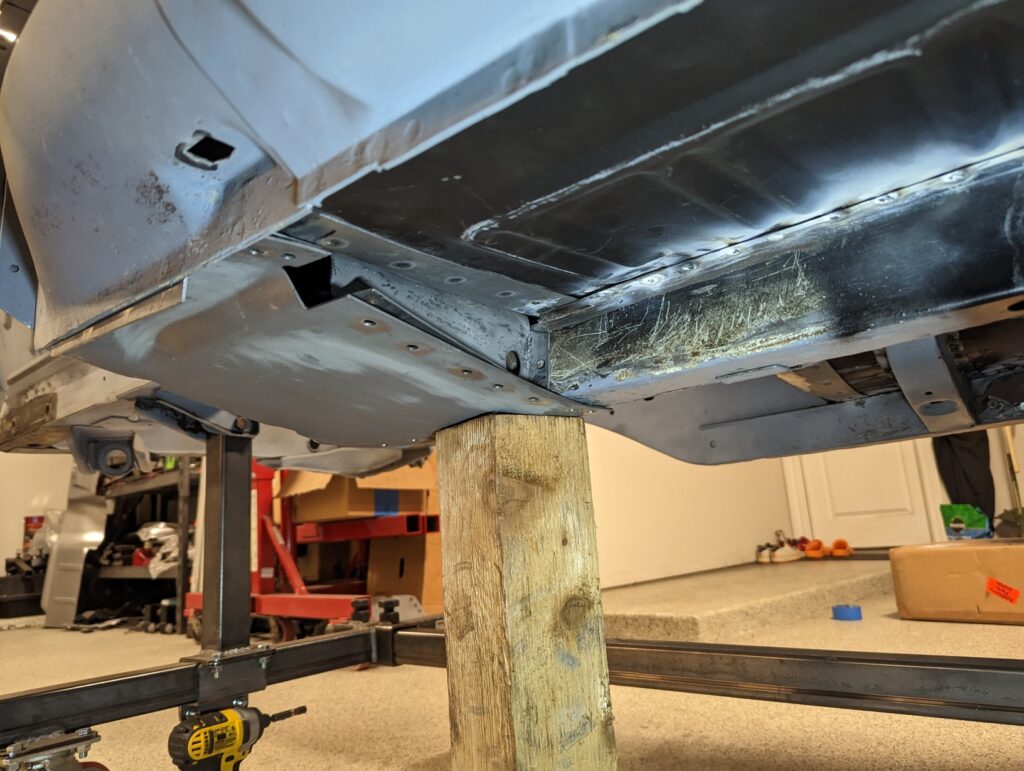
With the firewall patching complete I started coating the surfaces that would become inaccessible after the torque box install with rust encapsulator.
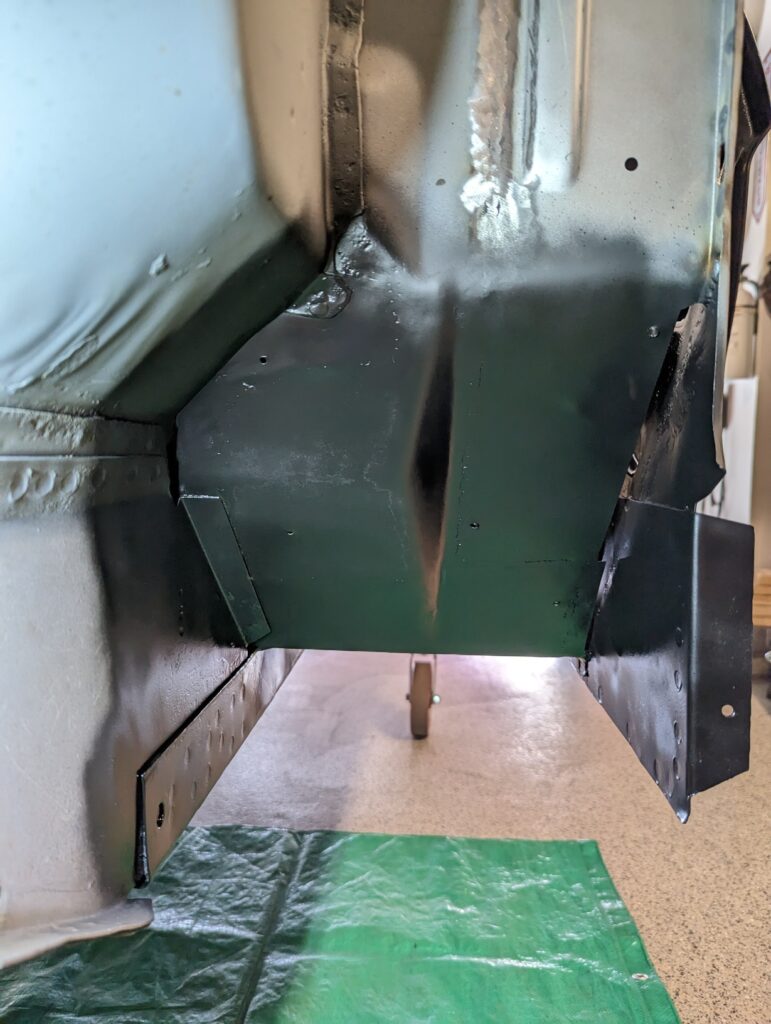
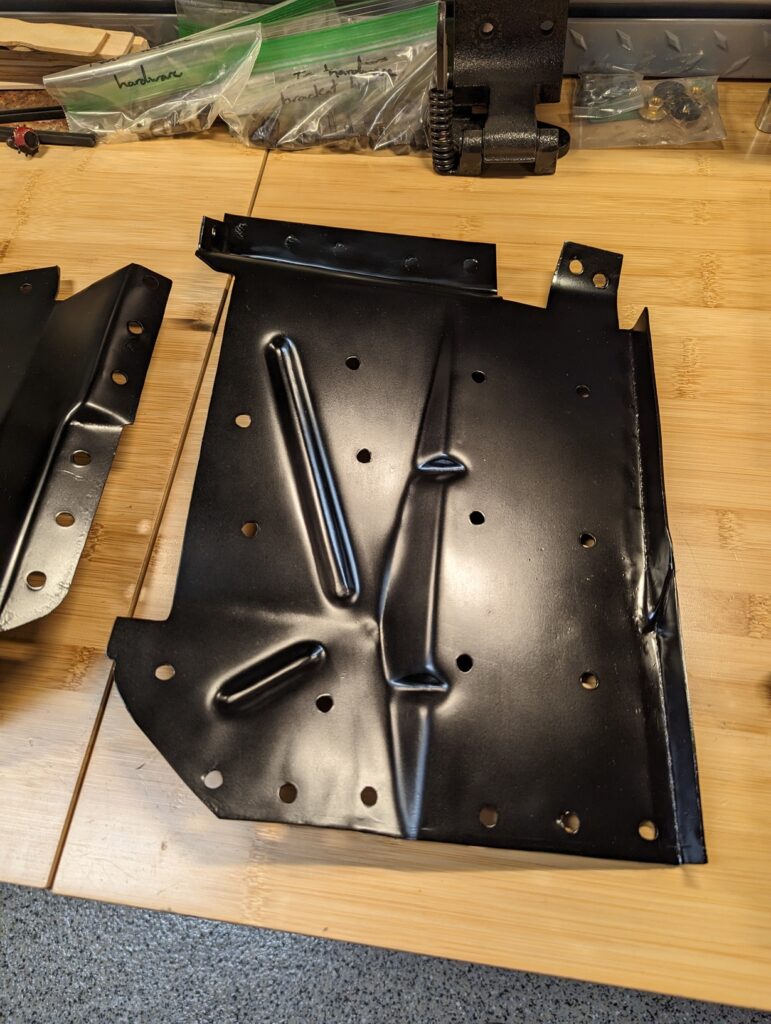
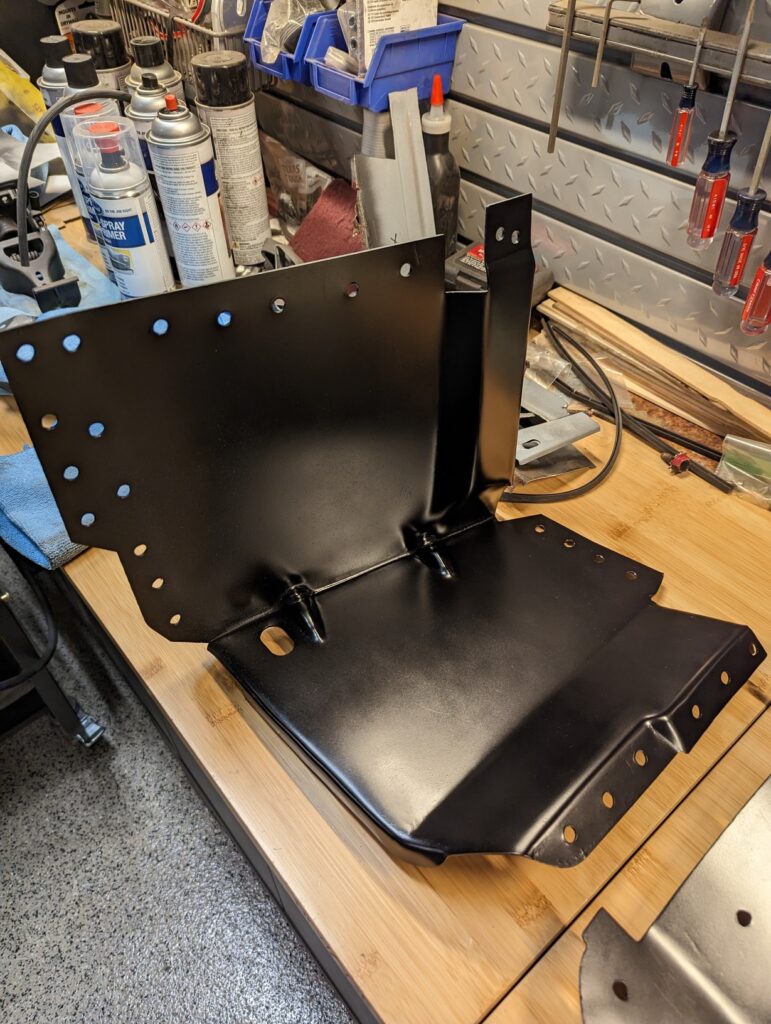
I used sheet metal screws to pull the inner torque box pieces as tight as possible against the firewall prior to welding.
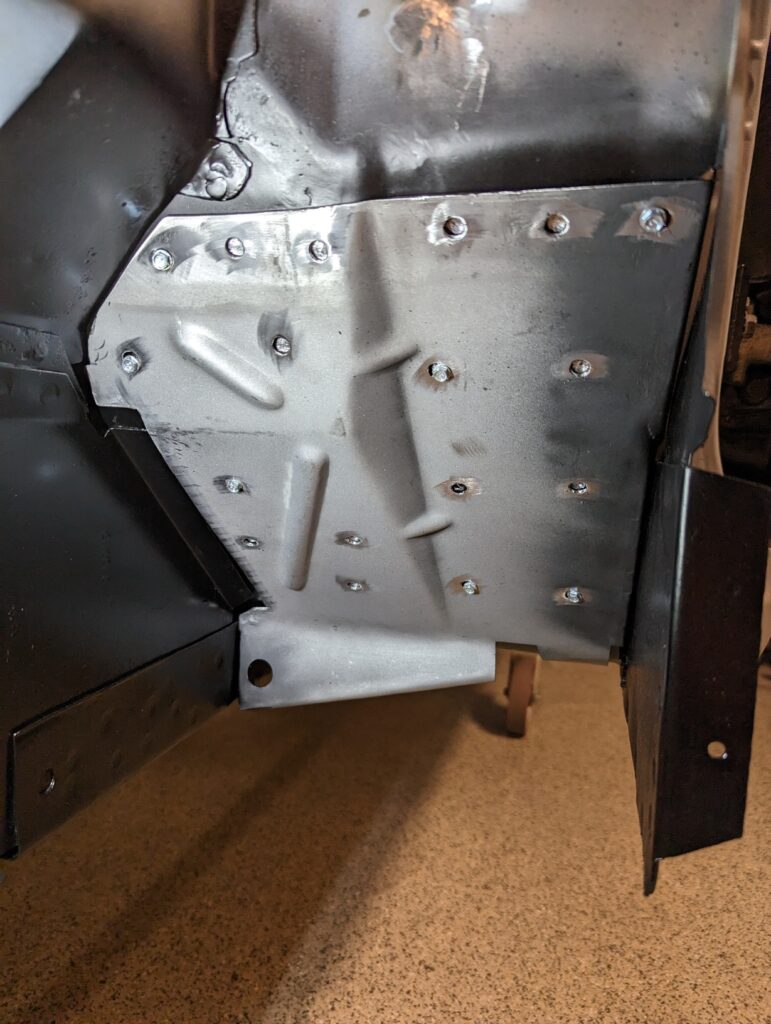
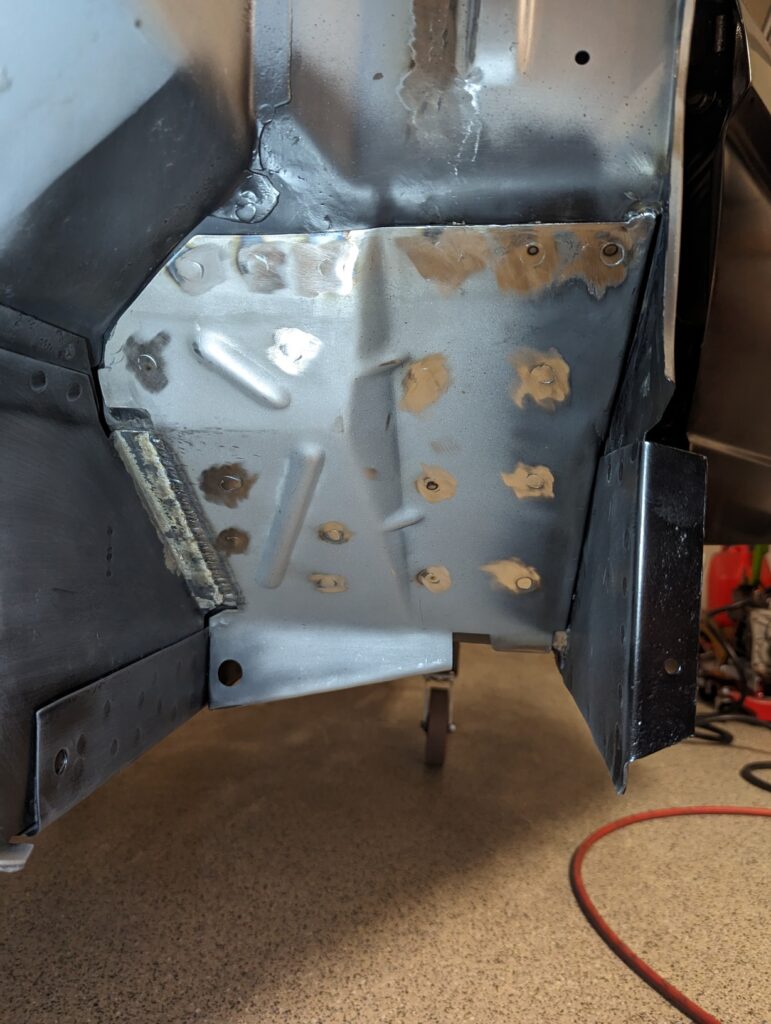
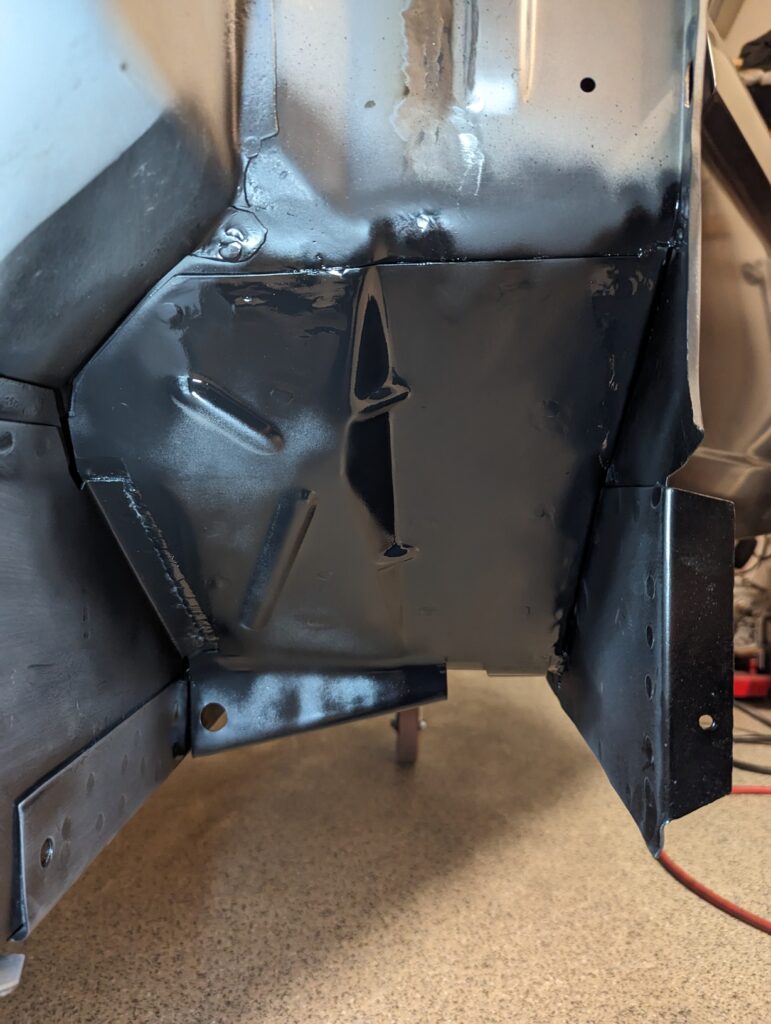
After cleaning up the welds a little I went ahead and coated the installed piece in paint before boxing it in.
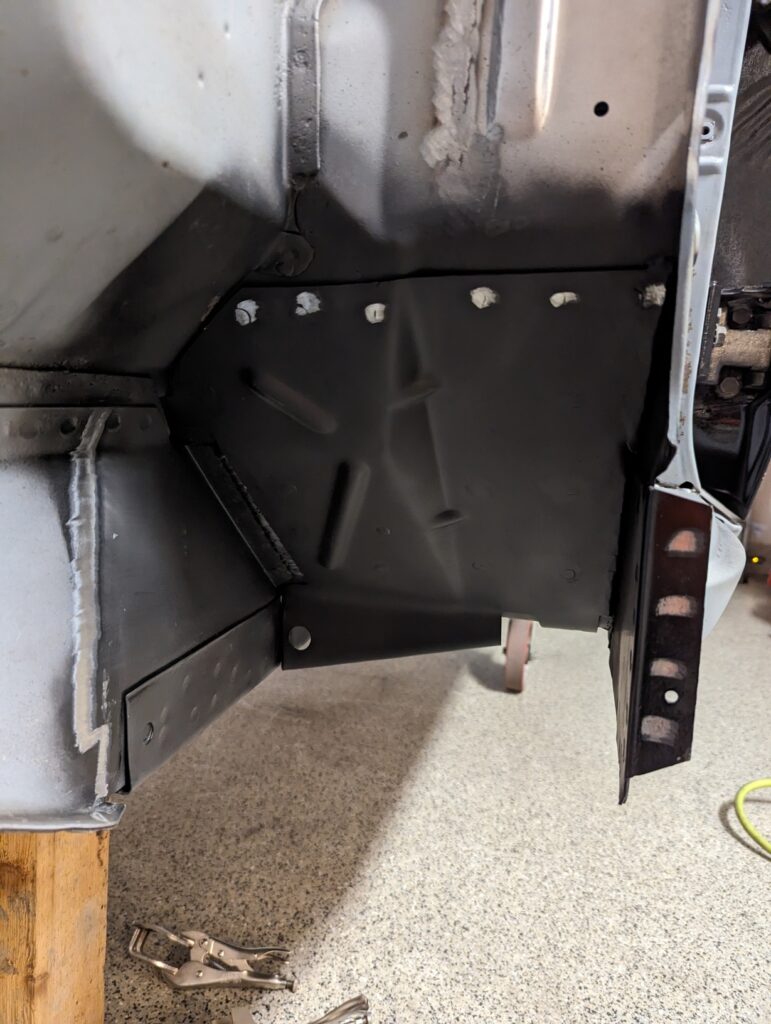
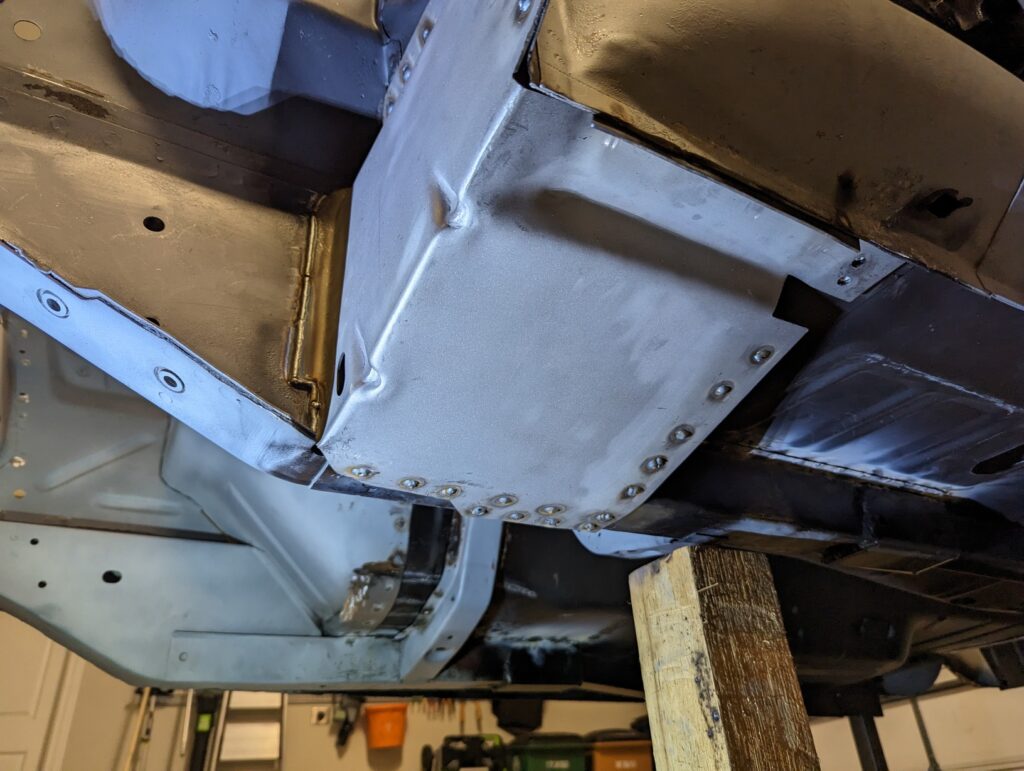
It took multiple hammers, clamps, floor jack, and a chunk of 4″x4″ but I was eventually able to get the outside piece of the torque box mated up and welded into position.
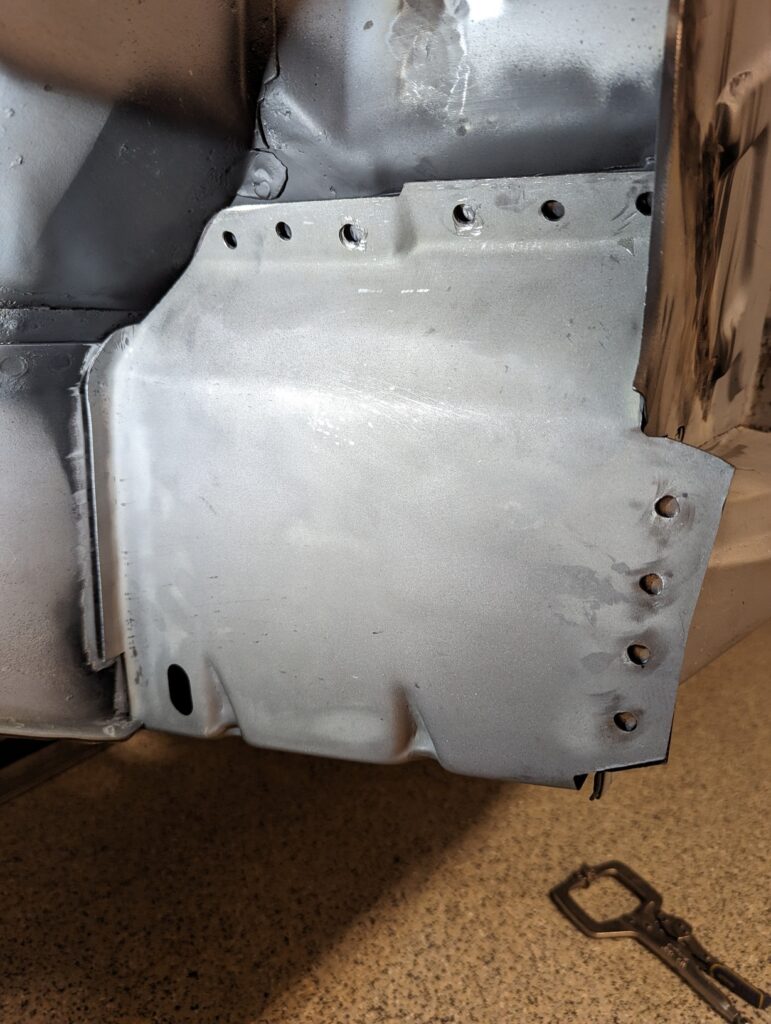
One down, one to go!
