First patch panel fabrications

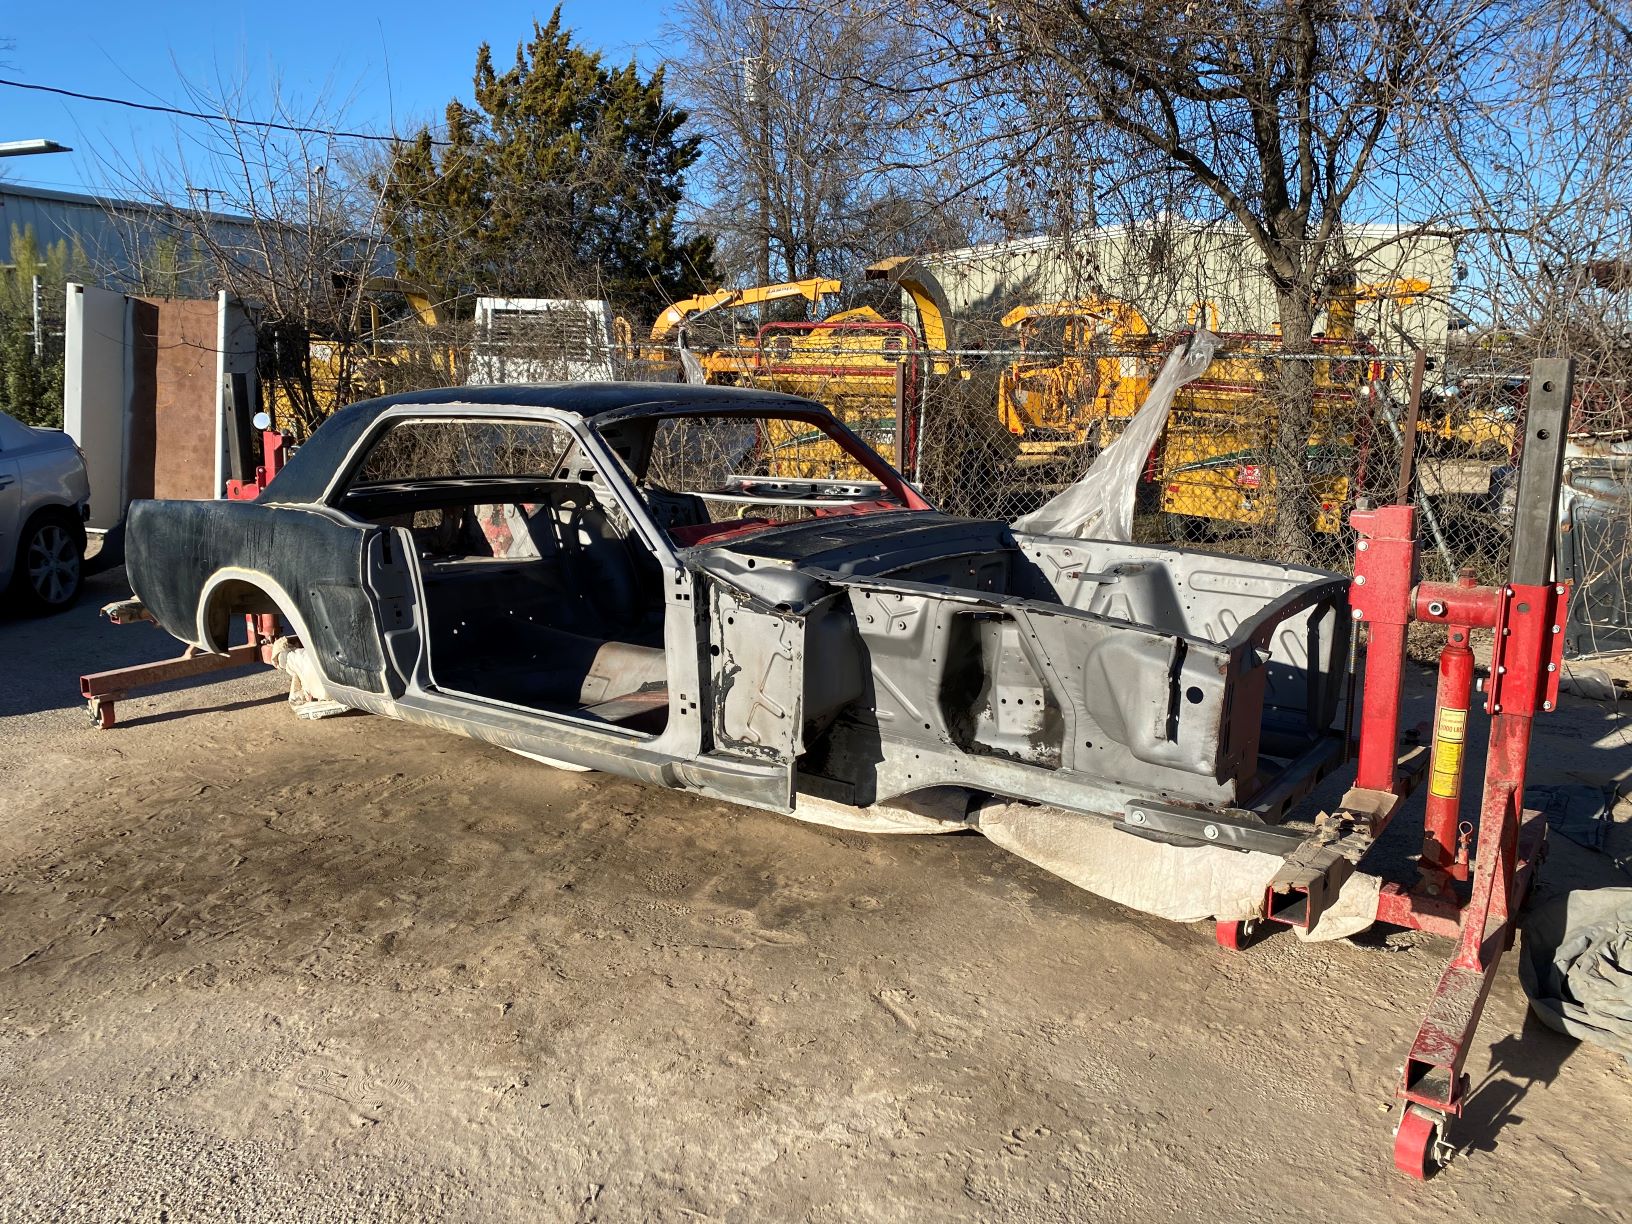
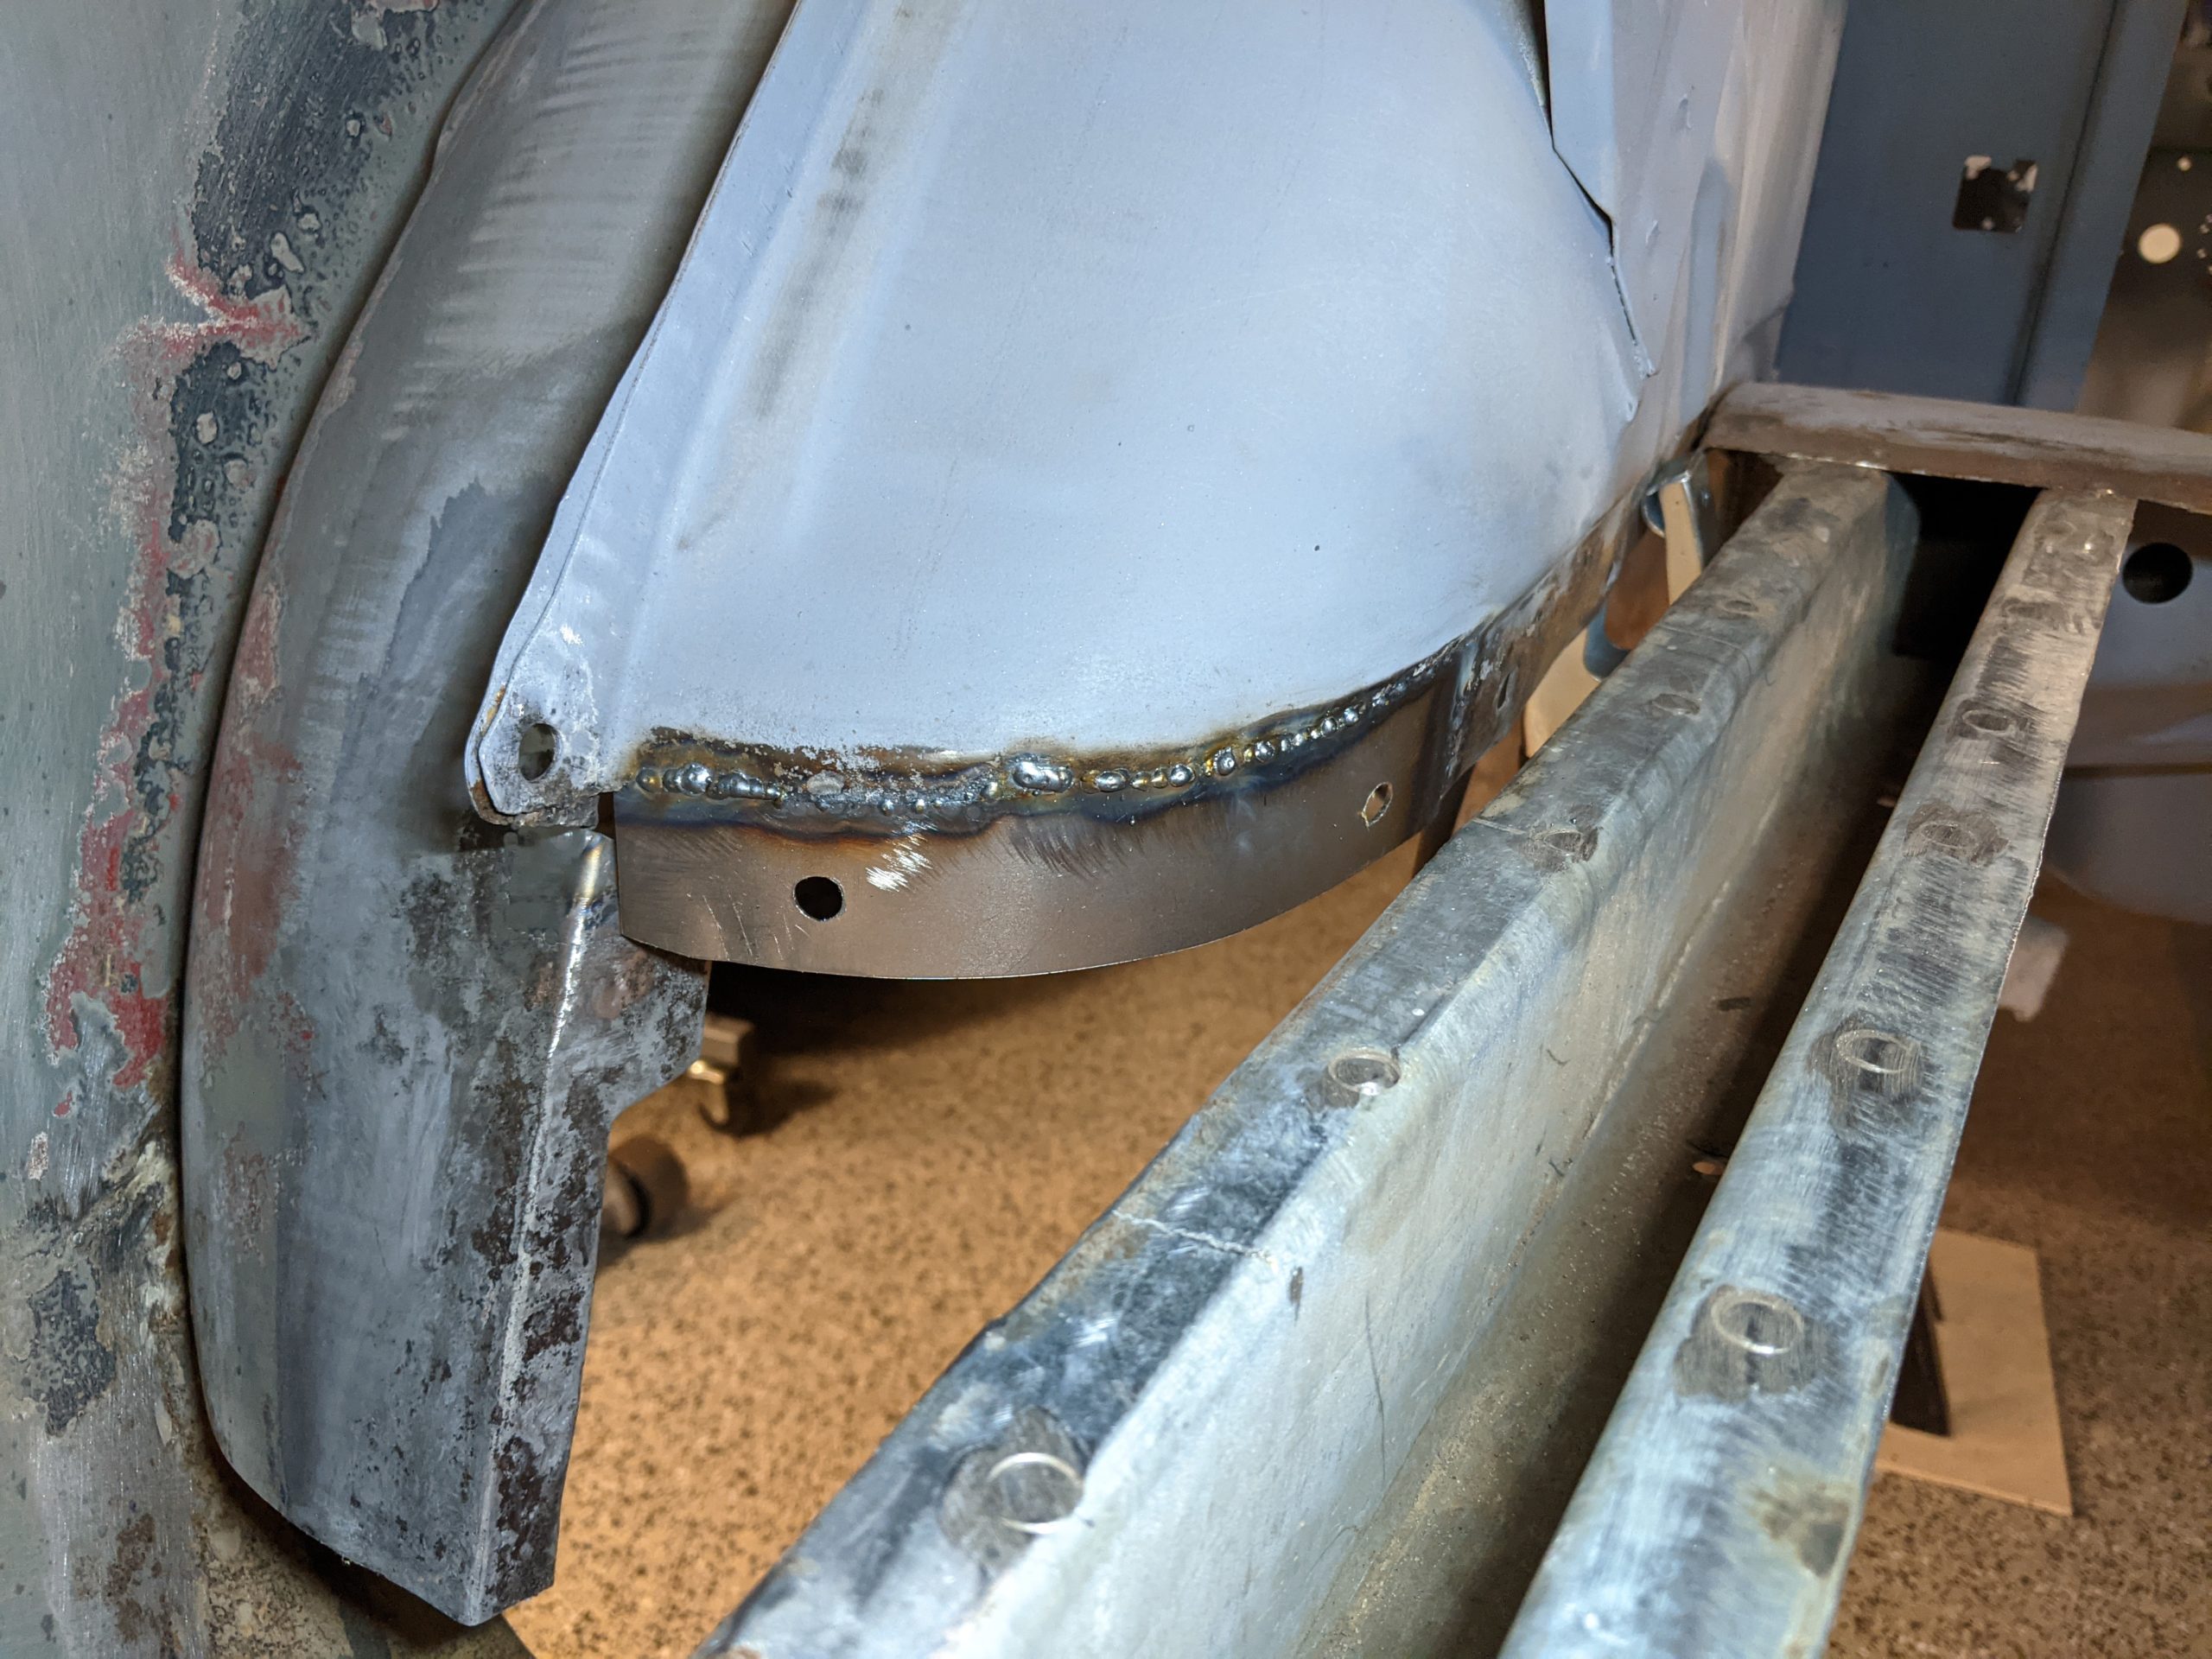
To start things off I sanded down the mess inside the rear portion of the driver’s side quarter panel, it was irritating me. With it sanded down to metal it became clear that the lower portion of the quarter panel had been replaced in the past, you can see the horizontal line of stitch welds […]

Continue reading

Cutting out the rust in the trunk

The primary reason for this entire restoration finally arrived – addressing the rust. I decided to start with the trunk since it was both the most severely afflicted and the least likely to be visible at the end of the project, the perfect place to make inevitable mistakes as I learn how to do this […]

Continue reading

Off the rotisserie

Unfortunately it took me several weeks to resolve shortcomings in the work that the shop performed. With that done it was finally time to get the chassis back on the ground. My goal was to get the chassis on the ground as far back in the garage as possible, ideally far enough that I could […]

Continue reading

Back home in primer

Today the chassis and associated body panels made their return trip home after being sanded down and covered in epoxy primer. It’s funny to see everything in primer gray and there’s still sand everywhere but now that it’s back in the garage forward progress can resume. The hand sanding of the large exterior panels revealed […]

Continue reading

Media blasting

On a chilly Tuesday morning the flatbed arrived to transport the chassis, rotisserie and all, to a local paint shop for media blasting and priming. Here’s what it looked like an hour later when it was rolled off the flatbed in the parking lot of the shop. Here’s what it looked like 3 days later […]

Continue reading

Front suspension and doors

With the chassis up on the rotisserie the next step was stripping it bare, starting with the front suspension. I started out by disconnecting the steering linkage and brake lines, then breaking the spindles free from the upper and lower control arm ball joints. With the spindles out of the way everything else came apart […]

Continue reading

Rotisserie

After several weeks of shipping delays the rotisserie finally arrived! The front of the rotisserie will mount to the bumper support attachment points on the front frame rails while the back portion will mount to the rear leaf spring perches. This meant that the front portion could be attached without any further disassembly so I […]

Continue reading

Window glass

Today’s goal was to get all window assembly and glass components out of the doors. I was not looking forward to this as access to the various components isn’t trivial and accidentally scratching the glass is all too easy at multiple steps along the way. The first step was to adjust the window to the […]

Continue reading

Steering column and quarter glass

The first target of the day was the steering shaft and column. In the picture below the black “box” with the steel plate on top is the steering box. On the bottom it connects to the pitman arm in order to drive the control valve back and forth, on the other end a steel steering […]

Continue reading

Clearing out the dash

With the rest of the interior exorcized it was time to start in on the dash. One of the challenges in working with the dash is that unlike modern cars where the dash typically consists of multiple removable plastic (or similar) sections mounted to metal braces, the entirety of the Mustang’s dash is a single […]

Continue reading