Laser cut repair of rear seat support brackets

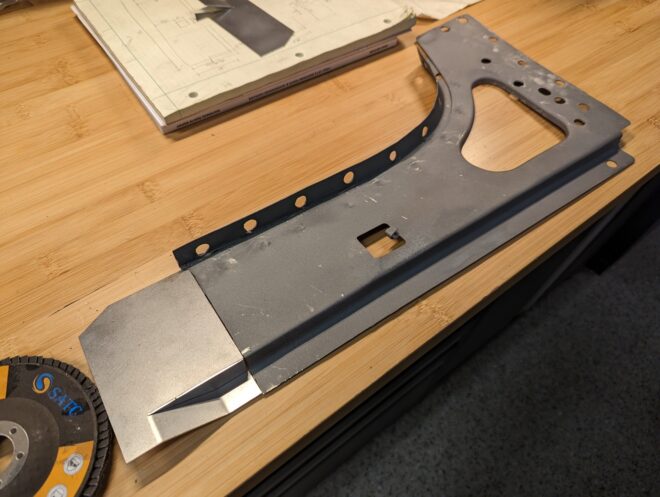
The rear seat support brackets both sported rust damage near the bottom where they attached to the floor. Rather than recreate the sections by hand I decided to attempt drafting them up in CAD and then having an online laser cutting shop cut the steel and ship it to me. The company that I ordered […]
Continue reading

Installing the seat risers

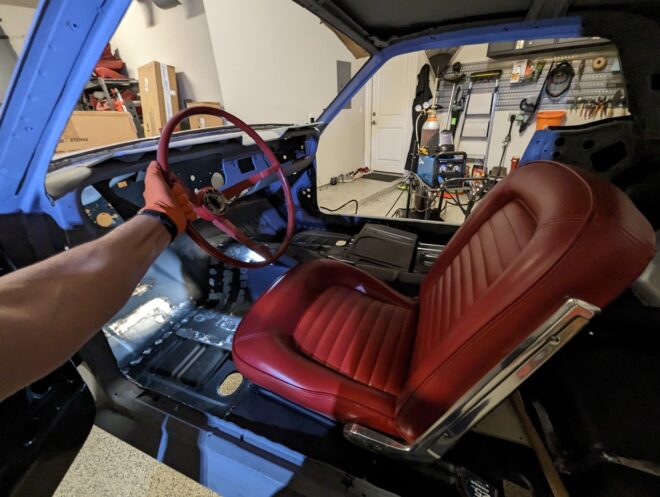
The completion of the floor install meant that the seat risers were up next! I dropped them in place and stood on them to try and get them to flex into shape. On the driver’s side I still ended up with a gap at the back right corner that was just large enough for me […]

Continue reading

Installing the floor pan

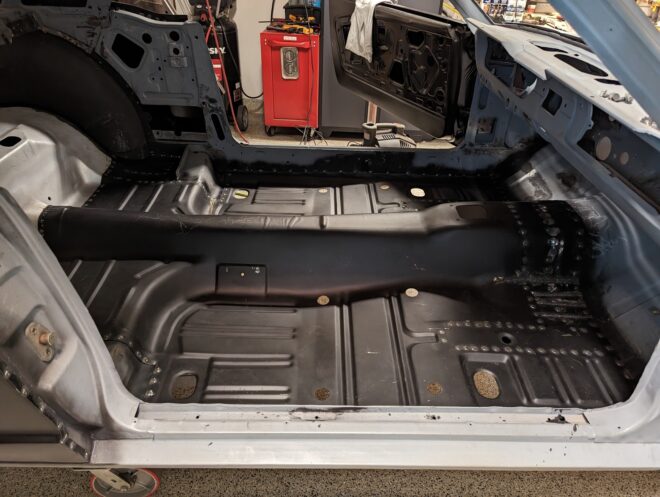
With the subframe connectors installed it was finally the floor’s turn. Getting the floor in and out of the car wasn’t particularly easy. If you angle it right you can lead the front of the pan in through the door gap, rotating it into place once the back left corner clears the quarter window. The […]

Continue reading

Installing the subframe connectors

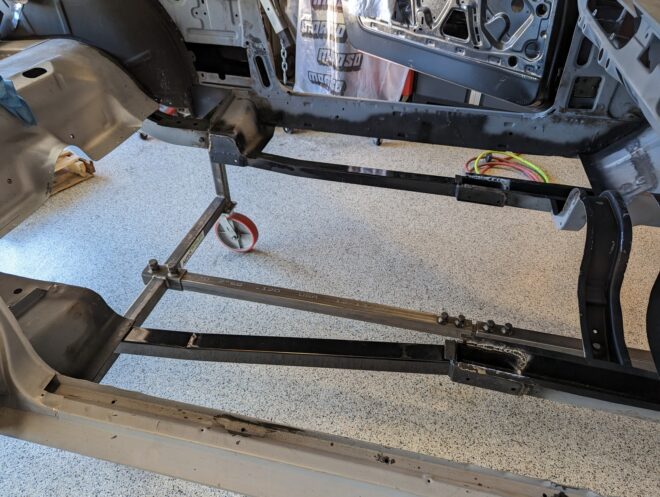
Time to get the subframe connectors installed! I started by mocking them up with clamps again to make sure that everything lined up the way I expected. While checking the dry-fit I found that the rearmost flange wasn’t fully flush with the torque box on either side of the car. To improve the fit of […]

Continue reading

Patching the toe boards

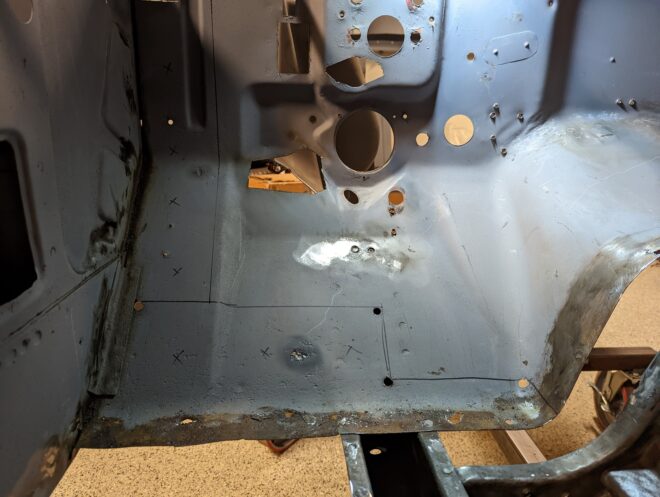
Since the leading edge of the floor pan lays on top of the firewall I needed to address the rust damage at the bottom of the toe boards on each side of the firewall before attempting to install the new floor. With the cowl and floor removed I was already in a position where I […]

Continue reading

Test fitting subframe connectors

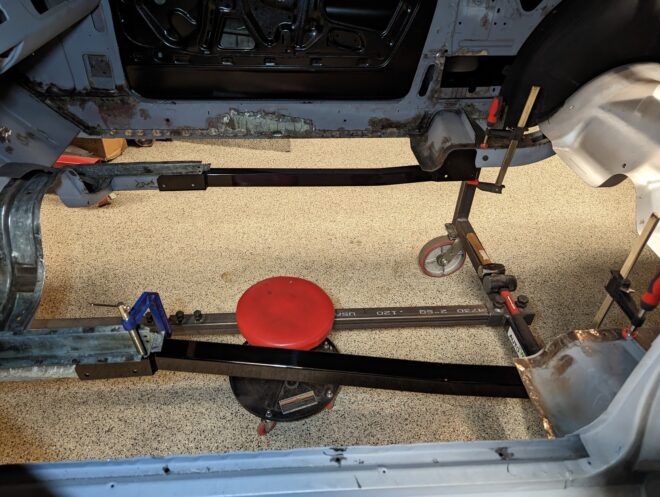
I recently received the pair of TCP subframe connectors that I ordered and wanted to test fit them to get an idea of how they were going to work out. There are a bunch of subframe connector options out there. I settled on TCP because I wasn’t a fan of tubular designs and wanted ones […]

Continue reading

Installing the driver quarter panel

Much like the passenger side the adventure started with cleaning up and painting any exposed bare metal that would no longer be accessible. Took a similar pass at the quarter panel itself, scuffing, cleaning, and painting over any bare metal that wouldn’t serve as the exterior face around a plug weld. I test fit the […]

Continue reading

Installing the passenger quarter panel

With the tail panel firmly attached it was finally time to start final preparations for welding in the quarter panels, starting with the passenger side. Pulling the quarter panel off for (hopefully) the last time, I sprayed paint over all the bare metal that would be nearly impossible to access with the quarter panel on, […]

Continue reading

Modifying and installing rear bumper mounts

The best part about buying a bunch of reproduction sheet metal from the same manufacturer and vendor is that none of them fit together. The latest example was the rear bumper mounts that sit flush with the back side of the tail panel. Each mount has a couple holes for the rear bumper to mount […]

Continue reading

Welding the tail panel

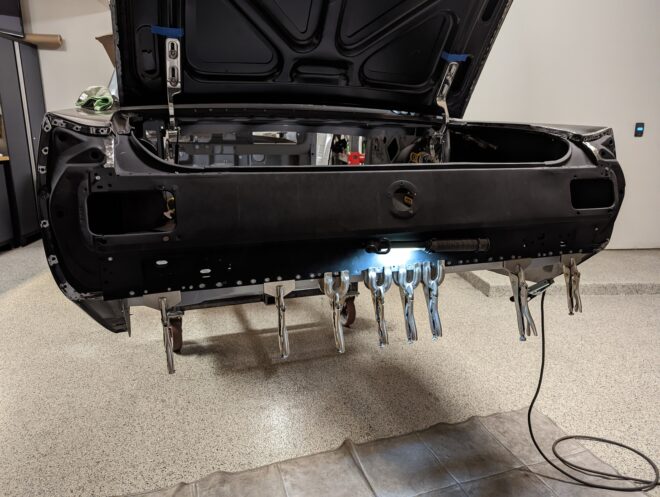
The day finally arrived, just a few steps away from being able to weld the tail panel back together and onto the car. Since I decided to re-use the original tail panel corners, I started off with cutting out and patching the small portions that still had braze on them. My frankenstein tail panel has […]

Continue reading