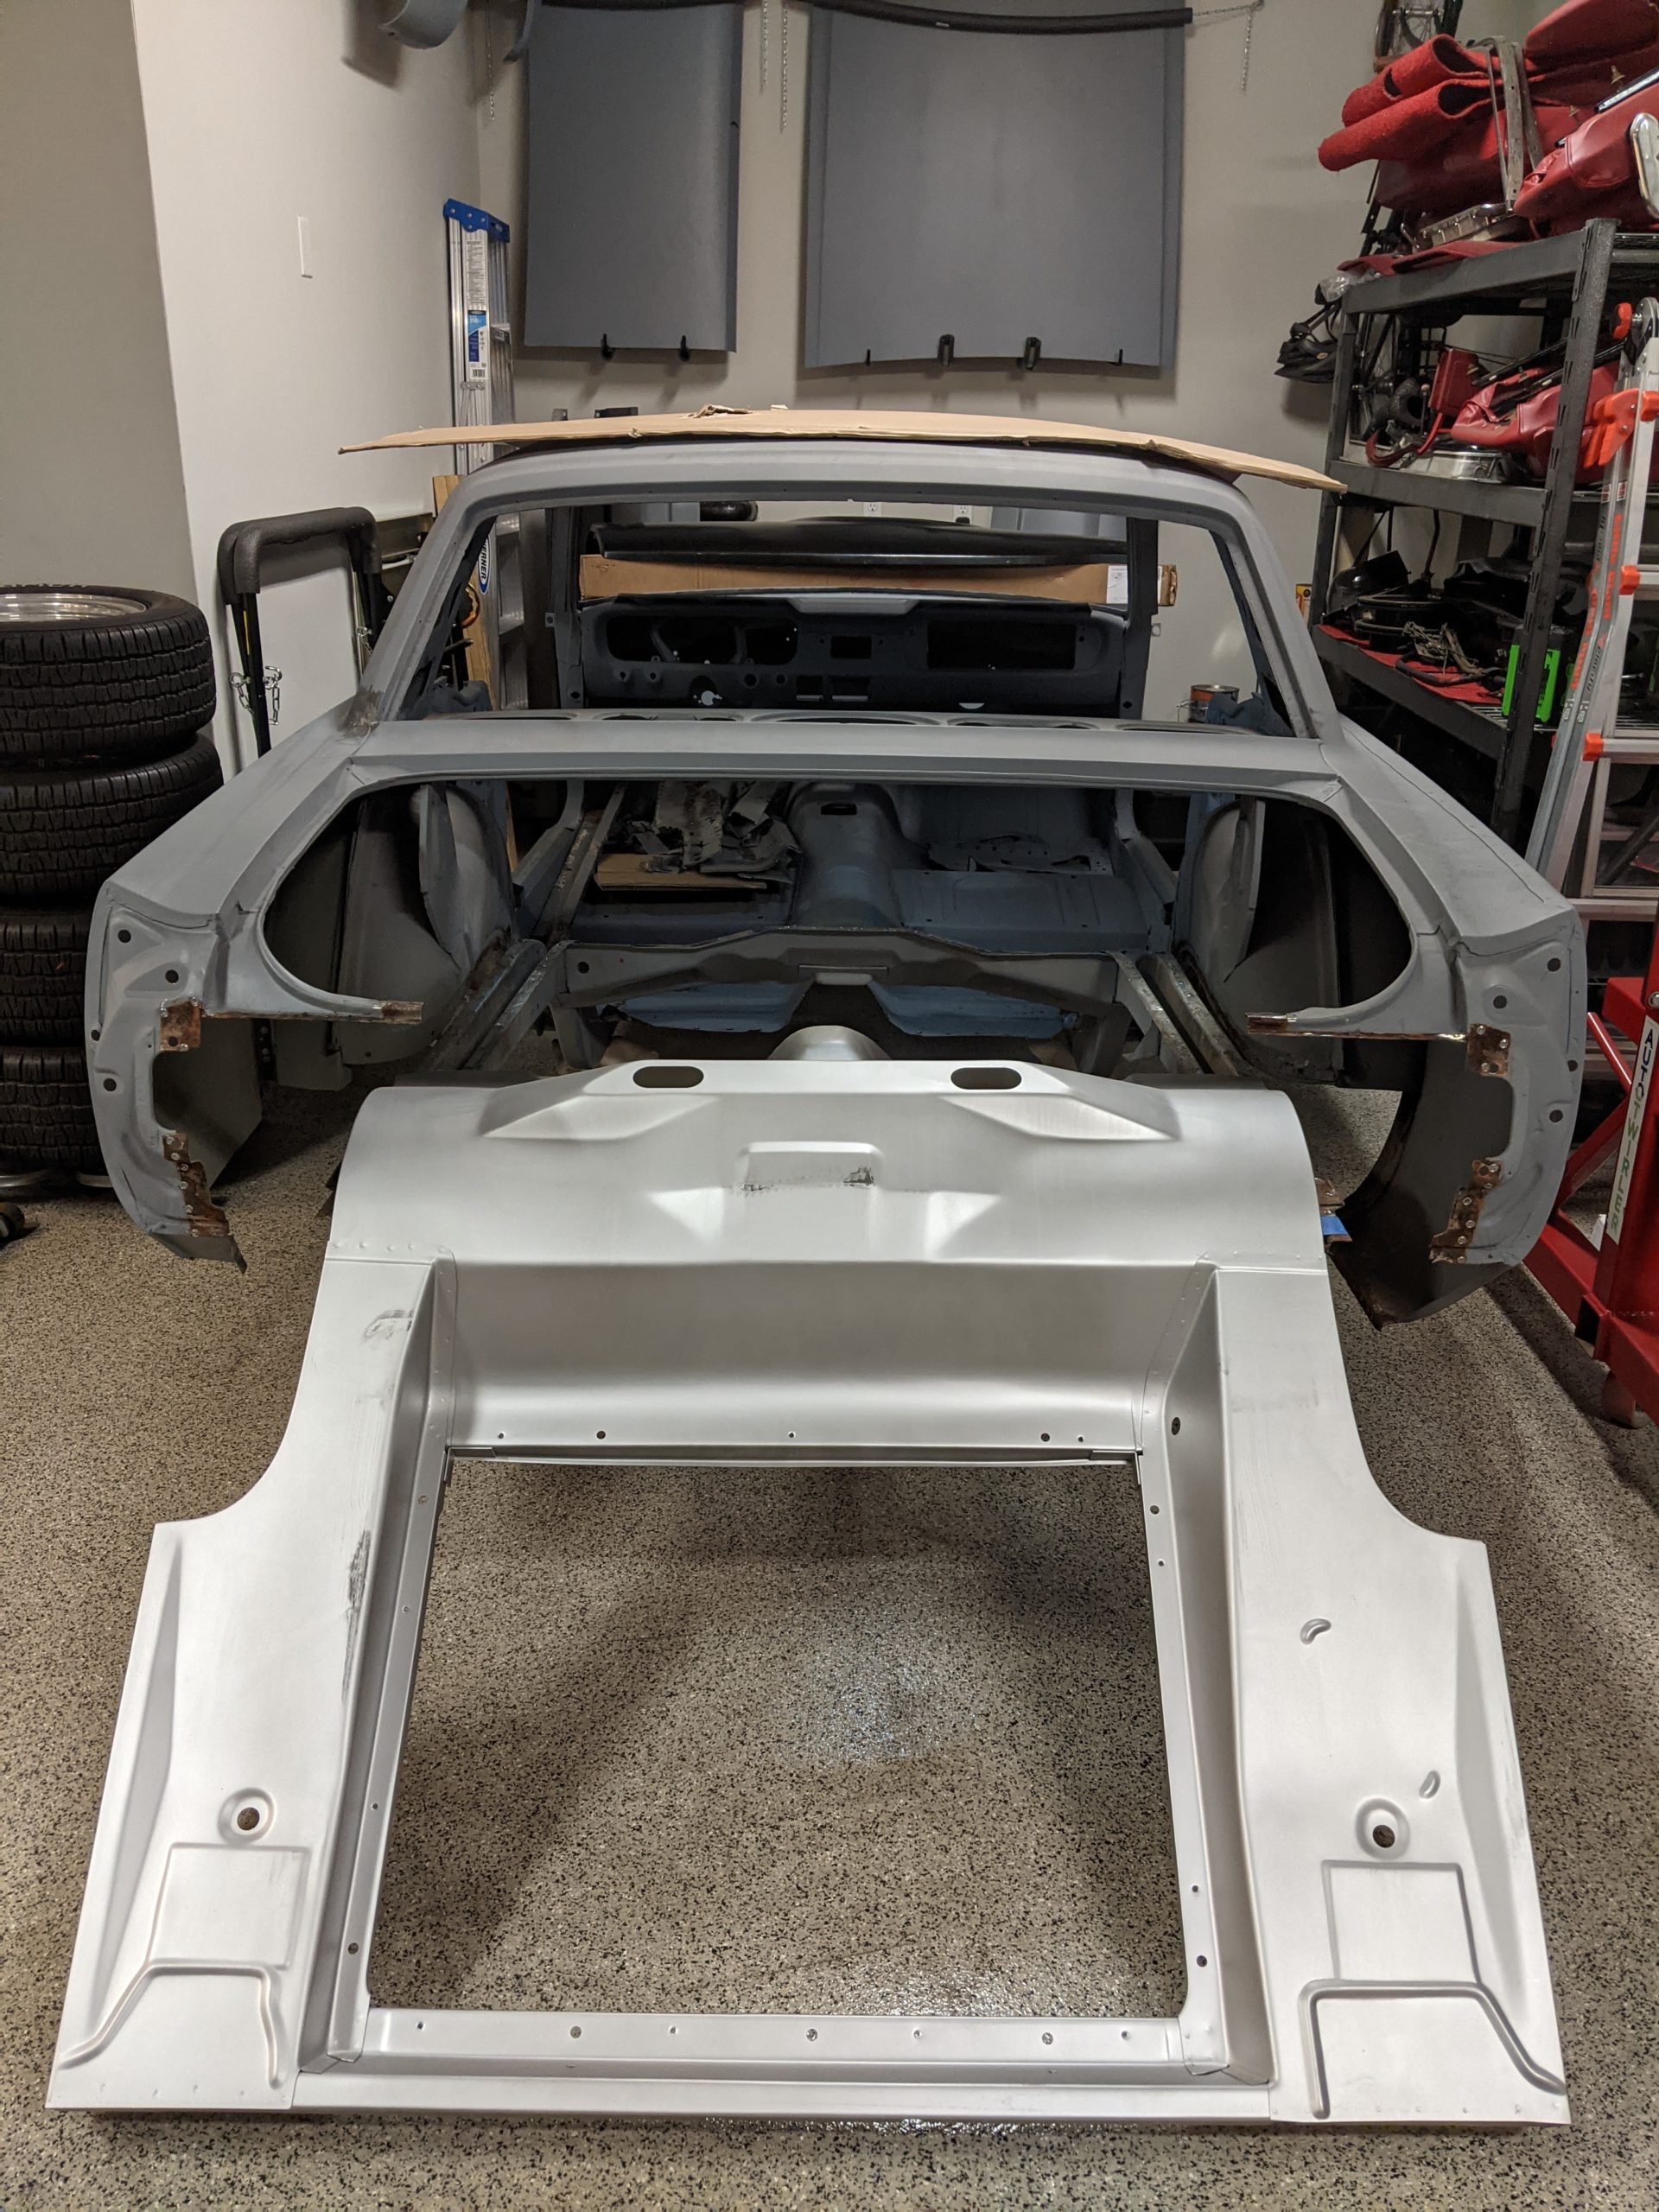
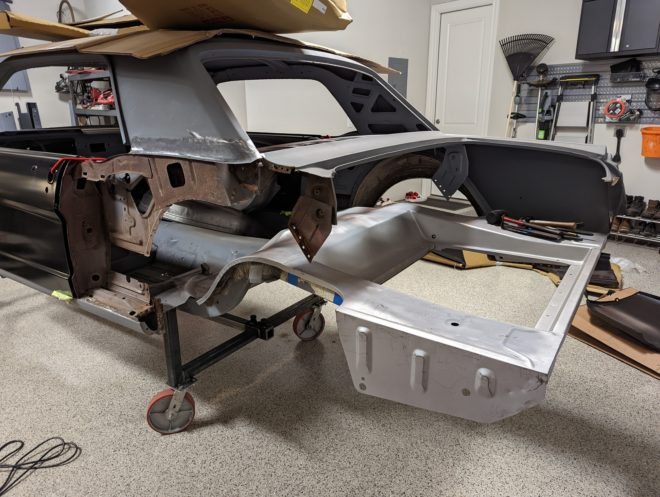
Removing quarter panels and wheel houses

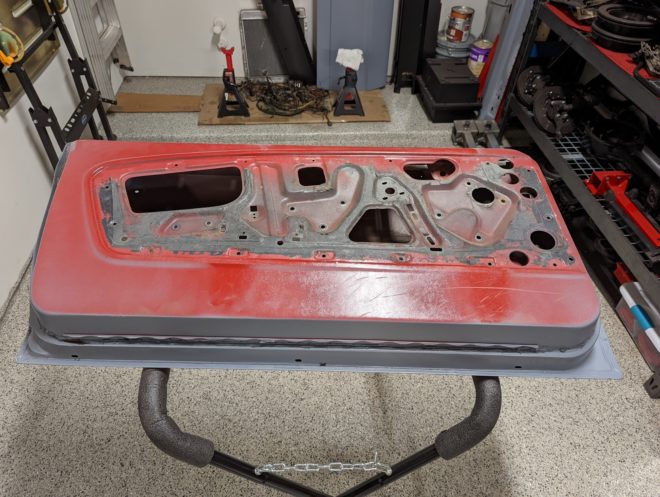
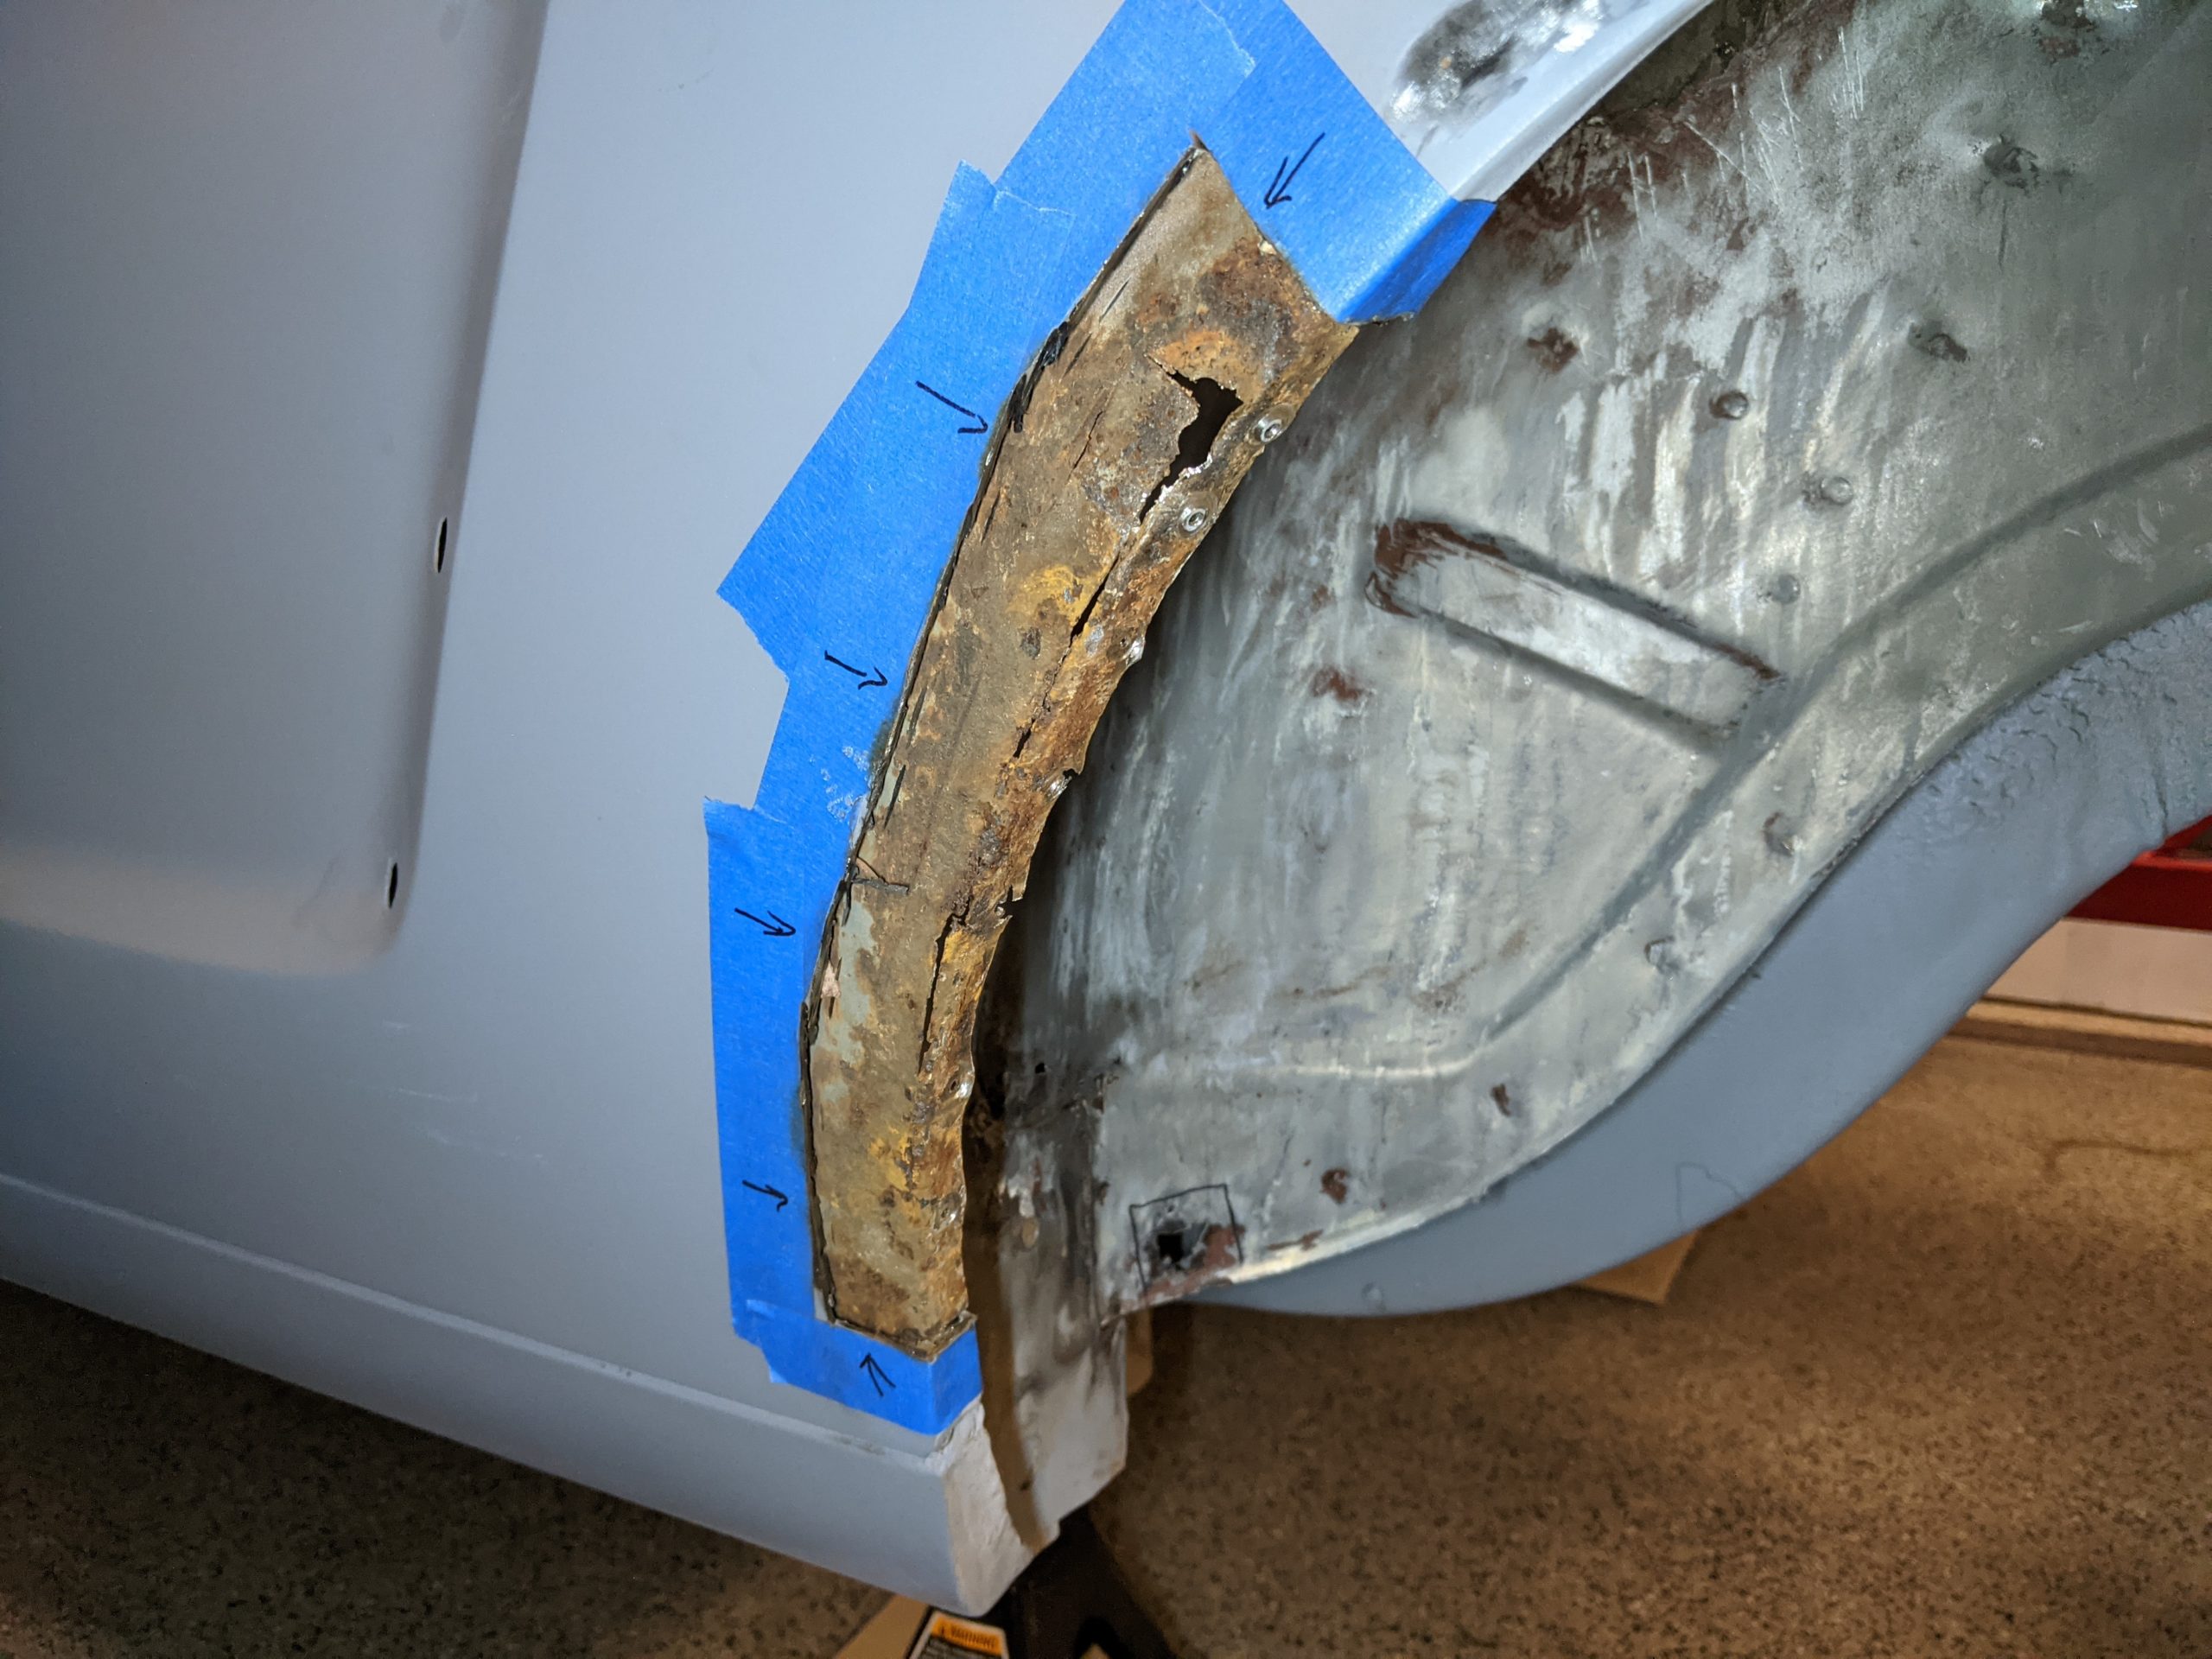
With the new doors in place to serve as reference for the body lines I started in on removing the quarter panels and what remained of the wheel houses, starting with the driver’s side. First I took a Sharpie and marked all of the visible spot welds that I would need to drill out along […]

Continue reading

Hanging the new doors

The doors came in from CJ Pony Parts in a matter of days, largely unscathed by their cross-country excursion. The first order of business before hanging the new doors was to clean up the backing plates that sit on the interior side of the car’s door jams. Never painted, they were looking a little worse […]

Continue reading

Exploring extent of rust in driver’s door

Unfortunately a quick look into the passenger side door revealed scale rust eating away at nearly all surfaces, it was a bit surprising how little was visible from the exterior of the door given the condition inside. As I don’t have a fabrication shop at my disposal I chalked the passenger door up as requiring […]

Continue reading

Installing the new trunk floor

With the frame rails prepared and the alignment with the quarter panels looking good I slid the trunk floor into place one more time to mark out the layout of the frame rails onto the bottom of the trunk with a Sharpie. I wasn’t particularly worried about exactly matching the weld layout of the original […]

Continue reading

Preparing the rear frame rails

While testing the fit of the new trunk floor it became apparent that the assembly was sitting about half an inch too far towards the rear of the car. The limiting factor in the forward movement was the interaction between the piece under the rear of the trunk and the end of the frame rails […]

Continue reading

Installing the rear shock mount bracket

The complete trunk that I ordered also came with a new rear shock mount bracket that runs underneath the front of the trunk just behind the rear seats. Originally I had not planned on replacing the bracket as the current one was in pretty good shape, if covered in a ton of sand that had […]

Continue reading

Mocking up the new trunk floor

With the tail panel out I figured it was time to slide the new trunk floor in and see how it fit. A significant piece of the car getting put back in place, if only to check fitment. Neat! Except that there was no way it was going to “slide in” because the forward most […]

Continue reading

Removing the tail panel

The replacement trunk floor that I ordered came as a fully assembled piece, making it rather large and unwieldy. So much so that there was going to be no way to get it into the car without removing the tail panel. There were some areas on the tail panel that needed attention anyway so this […]

Continue reading

Removing the last of the trunk floor

After coming to the conclusion that the quarter panels were going to need to be replaced I decided to switch gears and finish out the work in the trunk first. My thought was that while I still had the old quarter panels on (and most of the wheel wells) they would serve as useful guidelines […]

Continue reading

More rust

Though I had put it off as long as possible, it was finally time to cut off the lower rear section of the driver’s side quarterpanel. There were small rust spots along the seam where the section had been replaced previously, as well as some damage inside the lip of the wheelwell. I taped it […]

Continue reading